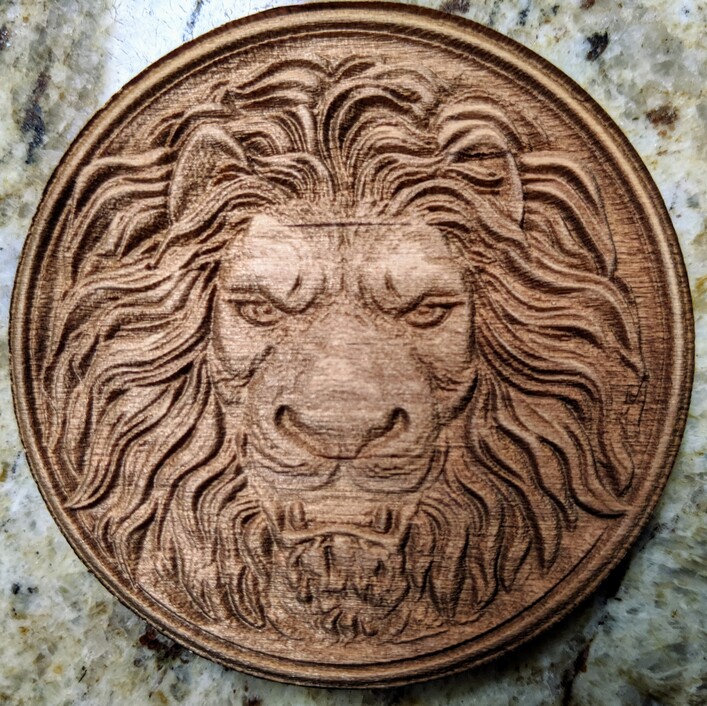
Had a bit of spare time this weekend and played around by tweaking some images I found online. Some were less than desirable, but I was happy with how this one turned out! There was a small issue with inconsistency in the wood grain but still cool. This is Ocooch alder wood. 3 passes.
36 Likes
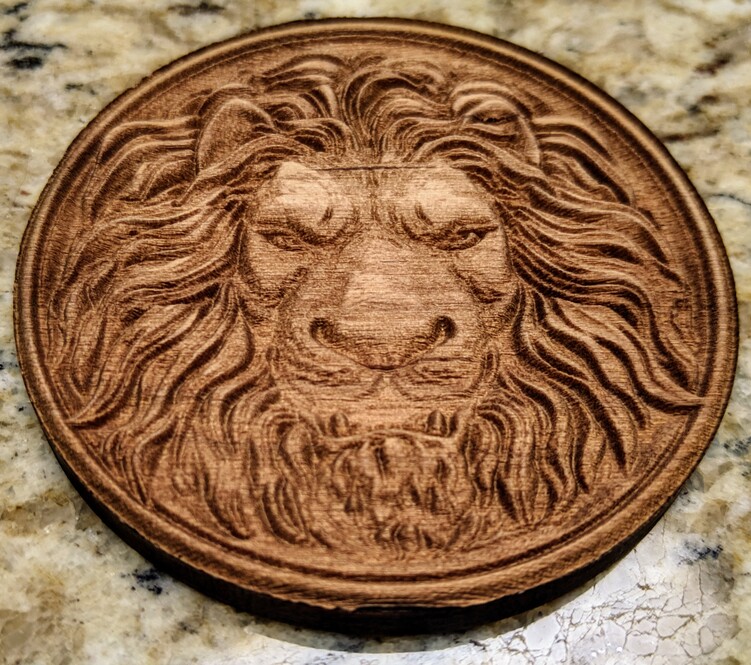
Really gorgeous. I love that lion design.
A few things I have learned.
#1 every pass will act differently on the various parts of the grain. The effect is lower the hotter the cut. Thus multiple passes at lower power will accentuate the grain and a single hot pass will reduce that effect.
There are reasons why a single hot pass may not be good (like if the material is very flammable) but even then faster with full power multiple times is better than slower at low power.
#2 Medallions that might be used as Xmas ornaments or pendant etc are good to have a hole to hang them on.
#3 As you cut hotter you will have more burn and char. I have a fine wire brush to get through the char and use bleach soap to reduce the burn. In cases of solid wood this often leads to warping, so I press the piece wrapped in towel between two flat tiles to dry and even the warping caused by cutting is eliminated.
15 Likes
Oh, that came out very nice!
2 Likes
Good info and observations! Now I’m going to have to test different woods/grains to see what the differences are. I sometimes get really nice results with one hot charring pass and then a fast and very low pass to knock the char off.
2 Likes
I use a brush. I found a nice packet with tree small brushes one a stiff plastic, one stainless, and one bronze. The Stainless one ,is very tight and sharp and very good at even getting into tight areas setting rid of char and if needed several bleach variations that will even knock of most of the brown,