Not sure what you mean by smoke marks, as acrylic doesn’t really create smoke. If you mean the little dots or pits, those are probably compression artifacts from your scanned image. Basically, your file is instructing the laser to make them. The only way to fix it is to fix your file. There are other people on the forum who know how to clean up image files better and faster than I do, but basically you’re probably going to have to open the image in GIMP or Photoshop, or even MS Paint and get rid of them. This problem is most commonly associated with jpeg files and the lower the resolution of the jpeg the more artifacts.
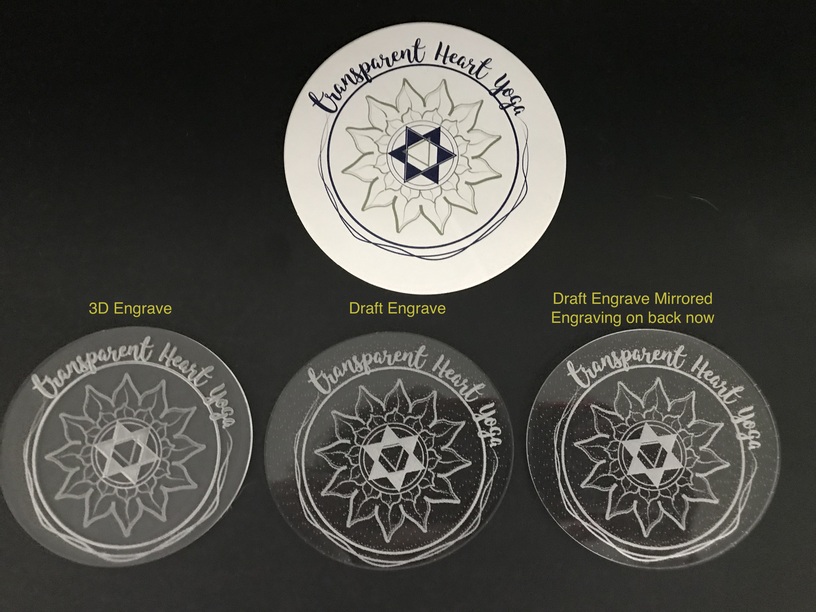
If you mean that the acrylic in the left hand one is blurry, again it is probably the source image, but I have never worked with the 3D engrave so no comment.
As for draft versus SD and HD engraves it depends on the material, your source and what you want to achieve. Wood engraves generally work great at a lower LPI and don’t improve with a higher LPI. Generally, there can always be exceptions. You just need to experiment and learn.
I tend to take off the masking with acrylic becasue it’s easier to remove it before than after. I’m pretty good with my settings and can avoid flashback and other marks though so the masking is not really needed. It certainly doesn’t hurt to leave it on though and it gives you a little more wiggle room with your setting. (Some none proofgrade acrylics can come with plastic masking though and you should always remove the plastic stuff. Paper masking can stay.)
Draft setting are just for what it says. If you need to do a quick test for whatever reason, the draft setting are faster to run. Draft-type settings can also work well with other images and graphics too.
I’m not sure what you mean by “smoke”. If there is a white hazing on the edges of the engraving it it has to do with settings and you can get it if the edges get too hot. All acrylic can vary quite a bit in thickness and there’s just no way for PF settings to be perfect for every pice of acrylic. Leaving the masking on can help with it or you can play with the setting to dial them in better to avoid it. (And once the hazing is there, you really can’t gt rid of it.) If by “smoke” you mean those little dots on the draft ones, that’s the GUI processing the background and converting it to dots. If you change it to “vary” setting like in your first engraving, the white background would be totally ignored and not processed.
Remember that the quality of your scanning can make a big difference. (Basically it’s garbage in, garbage out.) If it were me, I’d save the scan as a PNG with a transparent background with a high resolution. (Other types can work well too, PNG would just be just my preference for your project.) You might also want to do a forum search for “defocusing” acrylic and give it a try. It really helps with soothing out acrylic engravings.
For the smoke haze on unmasked acrylic, you can try polishing it out with toothpaste. (White, not gel.)
Or use Novus plastic polish. It’s worth it’s weight in gold.
I tested several resolutions and see what you’re saying about the quality of the images. I’m using coreldraw and/or affinity
still though - there’s a residue on the acrylic - I took off the masking per some other posts I’ve read, and I’m wondering how best to remove the residue without ruining the acrylic
microfiber cloth and elbow grease worked on this test
If you want real control on such designs I would bring them into Inkscape (or other vector graphics) and then use trace to get them in vector format, you might have to do a lot of work to remove extra points and make the curves “just right”. As simple as these designs are that is a lot less work than a lot of cases, but every odd zig shows up more,
Then you can use those closed vectors as engraves as deep as you like and and sharp deep edges you do not get with pixels, If you leave the masking on and cutting from the back, you can paint gold nail polish where the engrave is using the masking to sharpen that as well,
In general the 3d engrave needs the proper sort of image of many shades of gray with white not cut and black cut the maximum, for most engraving you want the same depth for all of the same thing, and closed vector engraving will do that best.
 If you need to do a quick test for whatever reason, the draft setting are faster to run. Draft-type settings can also work well with other images and graphics too.
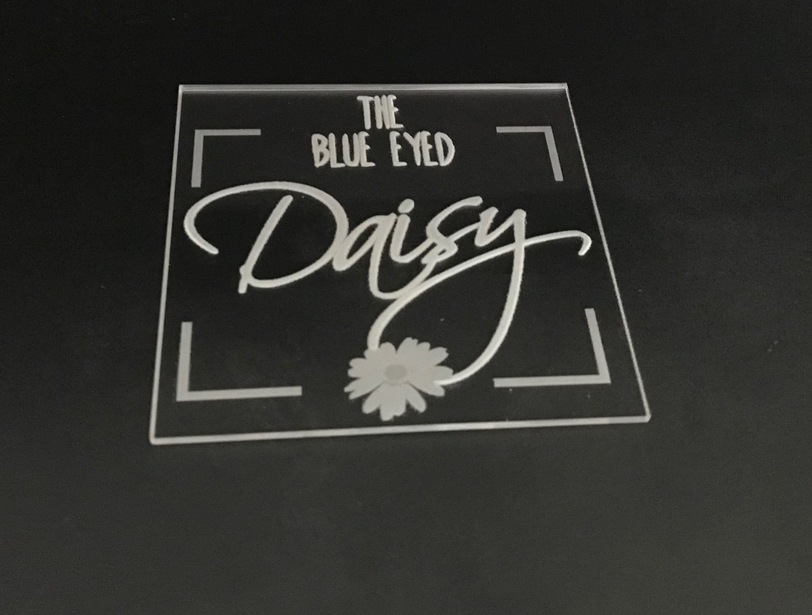