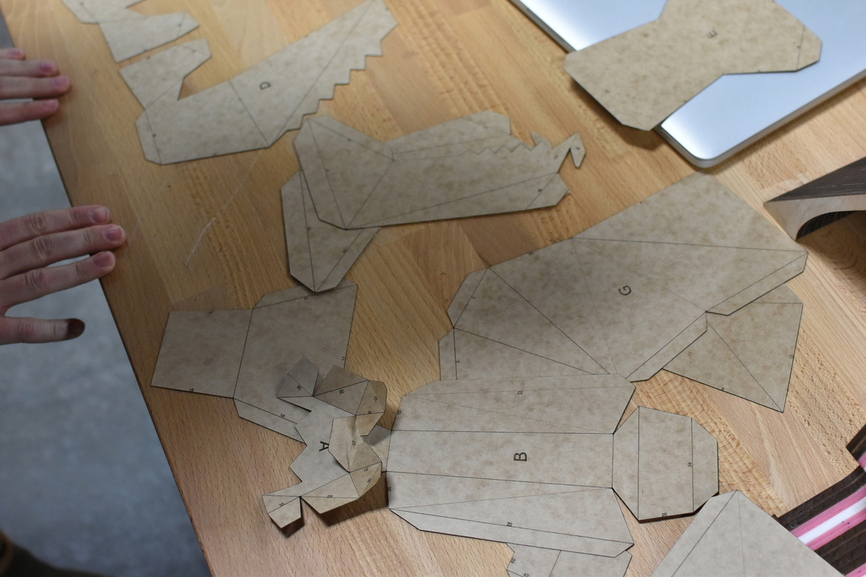
Here are all the pieces cut out of thin cardboard. Once I got the design set up (maybe half an hour’s work) the cutting took only 20 minutes. I engraved the numbers for the tabs very lightly so I would know where to glue them together. The awesome part is that I did a light “crease” engrave on the fold portions so it would fold easily and precisely.
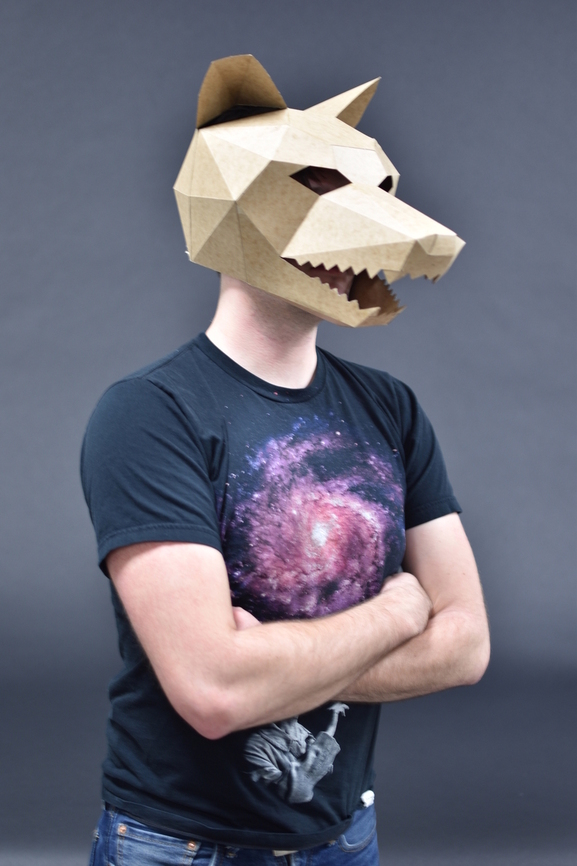
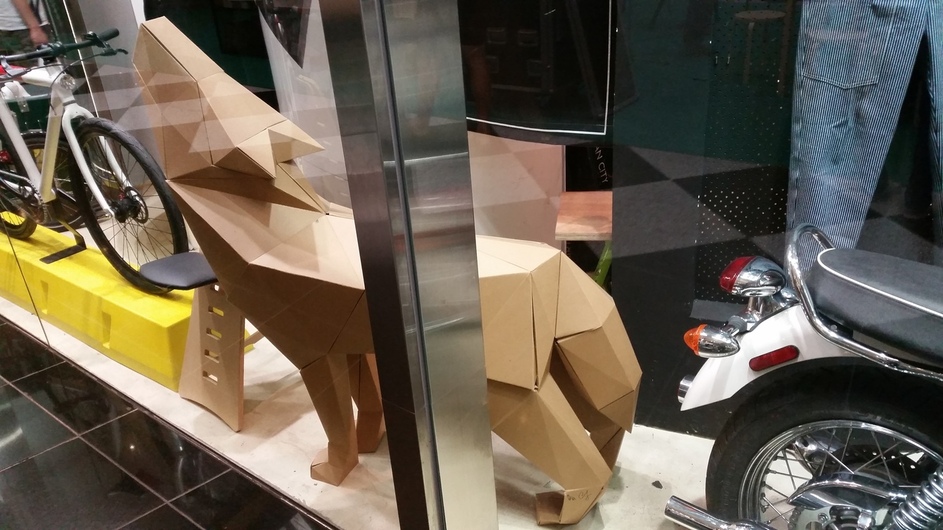
And here’s the final product. You can see those creases really came out nicely and made the final result look crisp and neat. Very satisfying project, just in time for Halloween! Now on to paint.
My son and I built a paper dragon head last night from that same collection - easily 6 hours of time between the 2 of us to set up, cut, fold and assemble… can’t wait for our Glowforge!
They have such cool designs! The crease lines really made a huge difference in lining things up and getting the folds right, and doing it on heavier material made it easy to work with too. I’ll bet yours was still a real fun project, though!
At the GF headquarters. There have been a few vids and pics and a live stream. GF Tweets the work on Thursday. Search the discussions for Lader Thursday.
For the time being Laser Thursday is for employees and their guests only, although we’ve had an open house instead one Thursday. That was popular, so we’ll probably do it again. In fact, we just hired someone who we met there, who sharp-eyed forum readers will recognize from a few posts…
That’s awsome! I have a Wintercroft file I’m waiting to try out. Would you mind expanding on the file/image prep that you had to got through to run this on the Glowforge?
This was a while ago, so I don’t fully remember all the details and things have likely changed since then. Mostly I took the PDF file, opened it in Illustrator, deleted any text or superfluous content, and applied different colors for cuts compared to engraves/scoring lines. Then in the Glowforge system I used a light vector engrave to score the fold lines and cut the shapes.
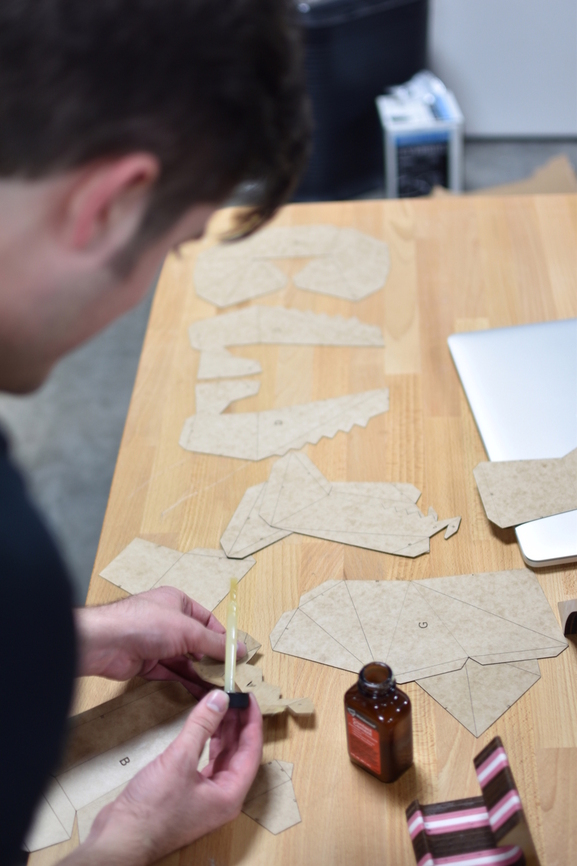
It was actually really straightforward! I think the first one took about an hour to set up and cut. Most of the time for the project was spent gluing the pieces together. Doing it with the laser let me use heavier material and get crisper creases than with paper, so the effect was much improved.