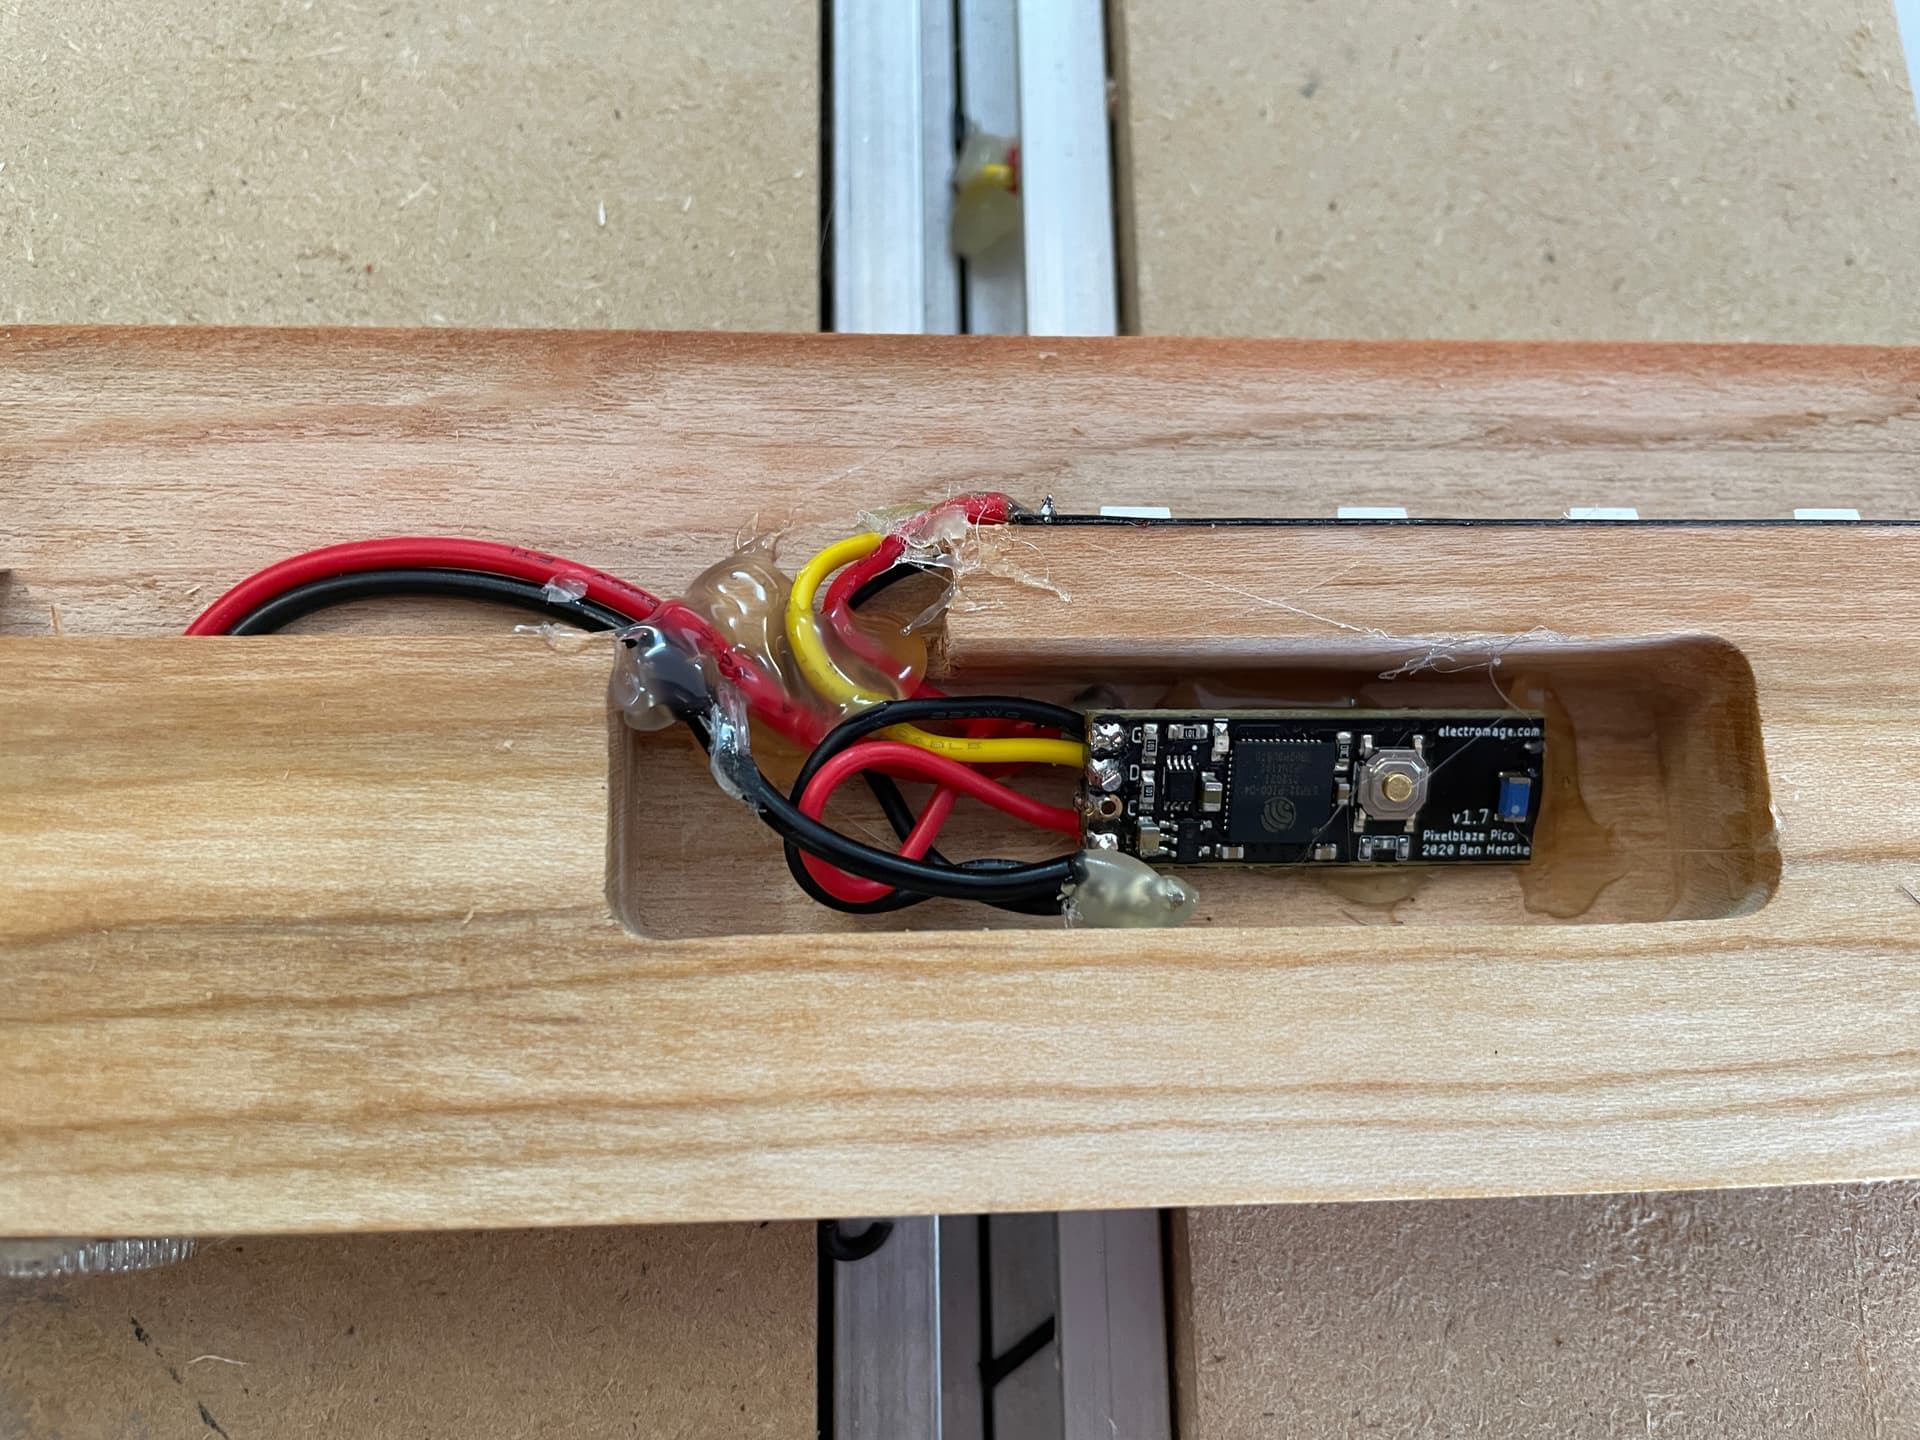
I was working on a project that required some soldering (something I am not great at) and I was having trouble with the connections wanting to pop free when I was pushing the electronics into the recess. Eventually I got it crammed in there, but after a month or so something popped free again.
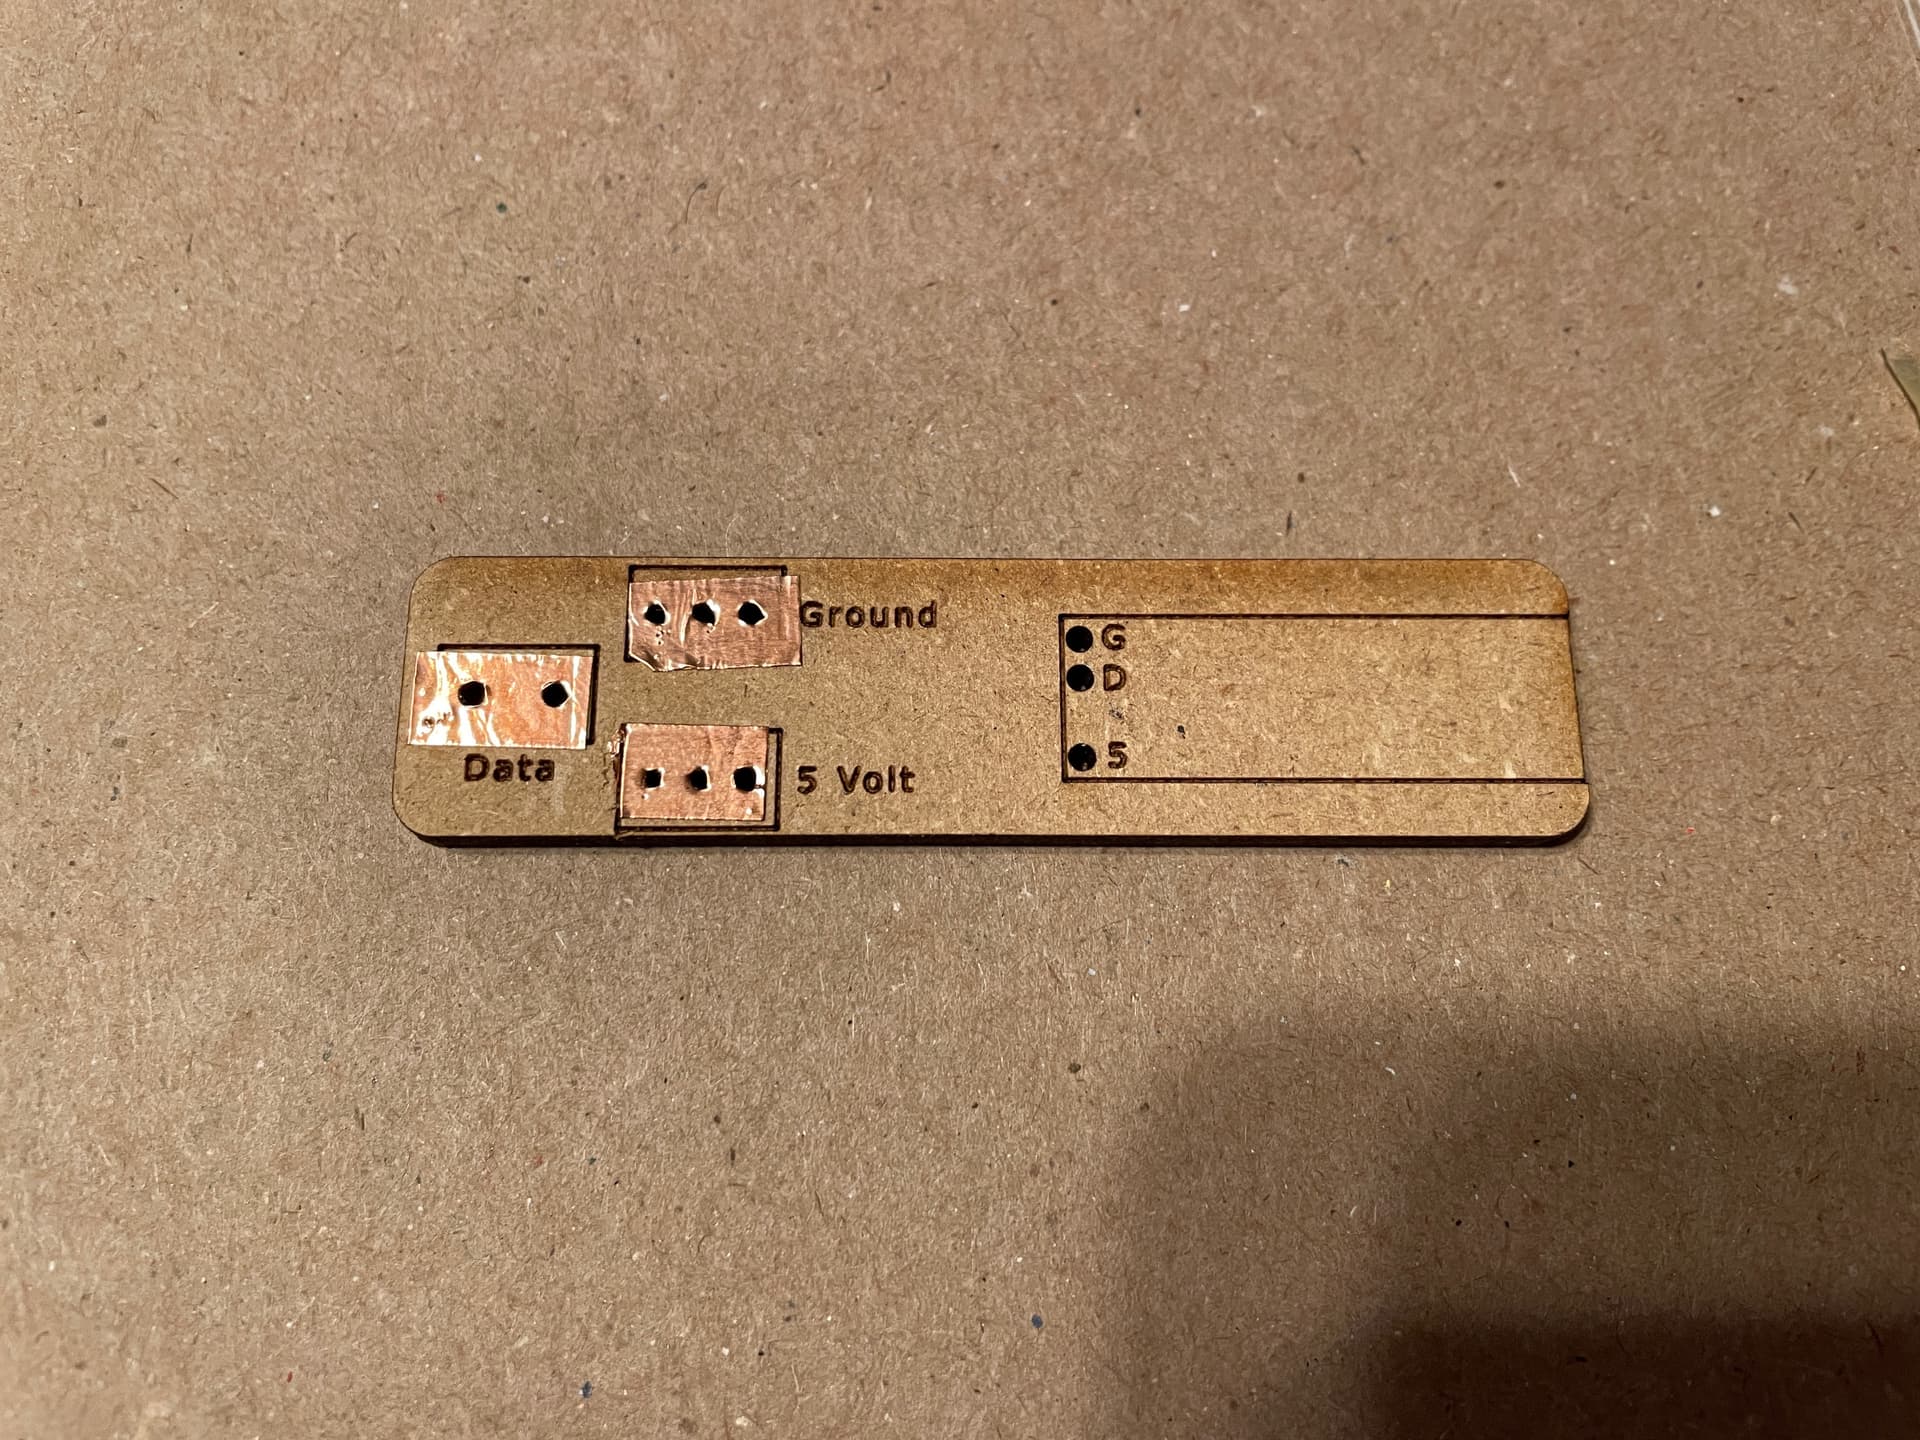
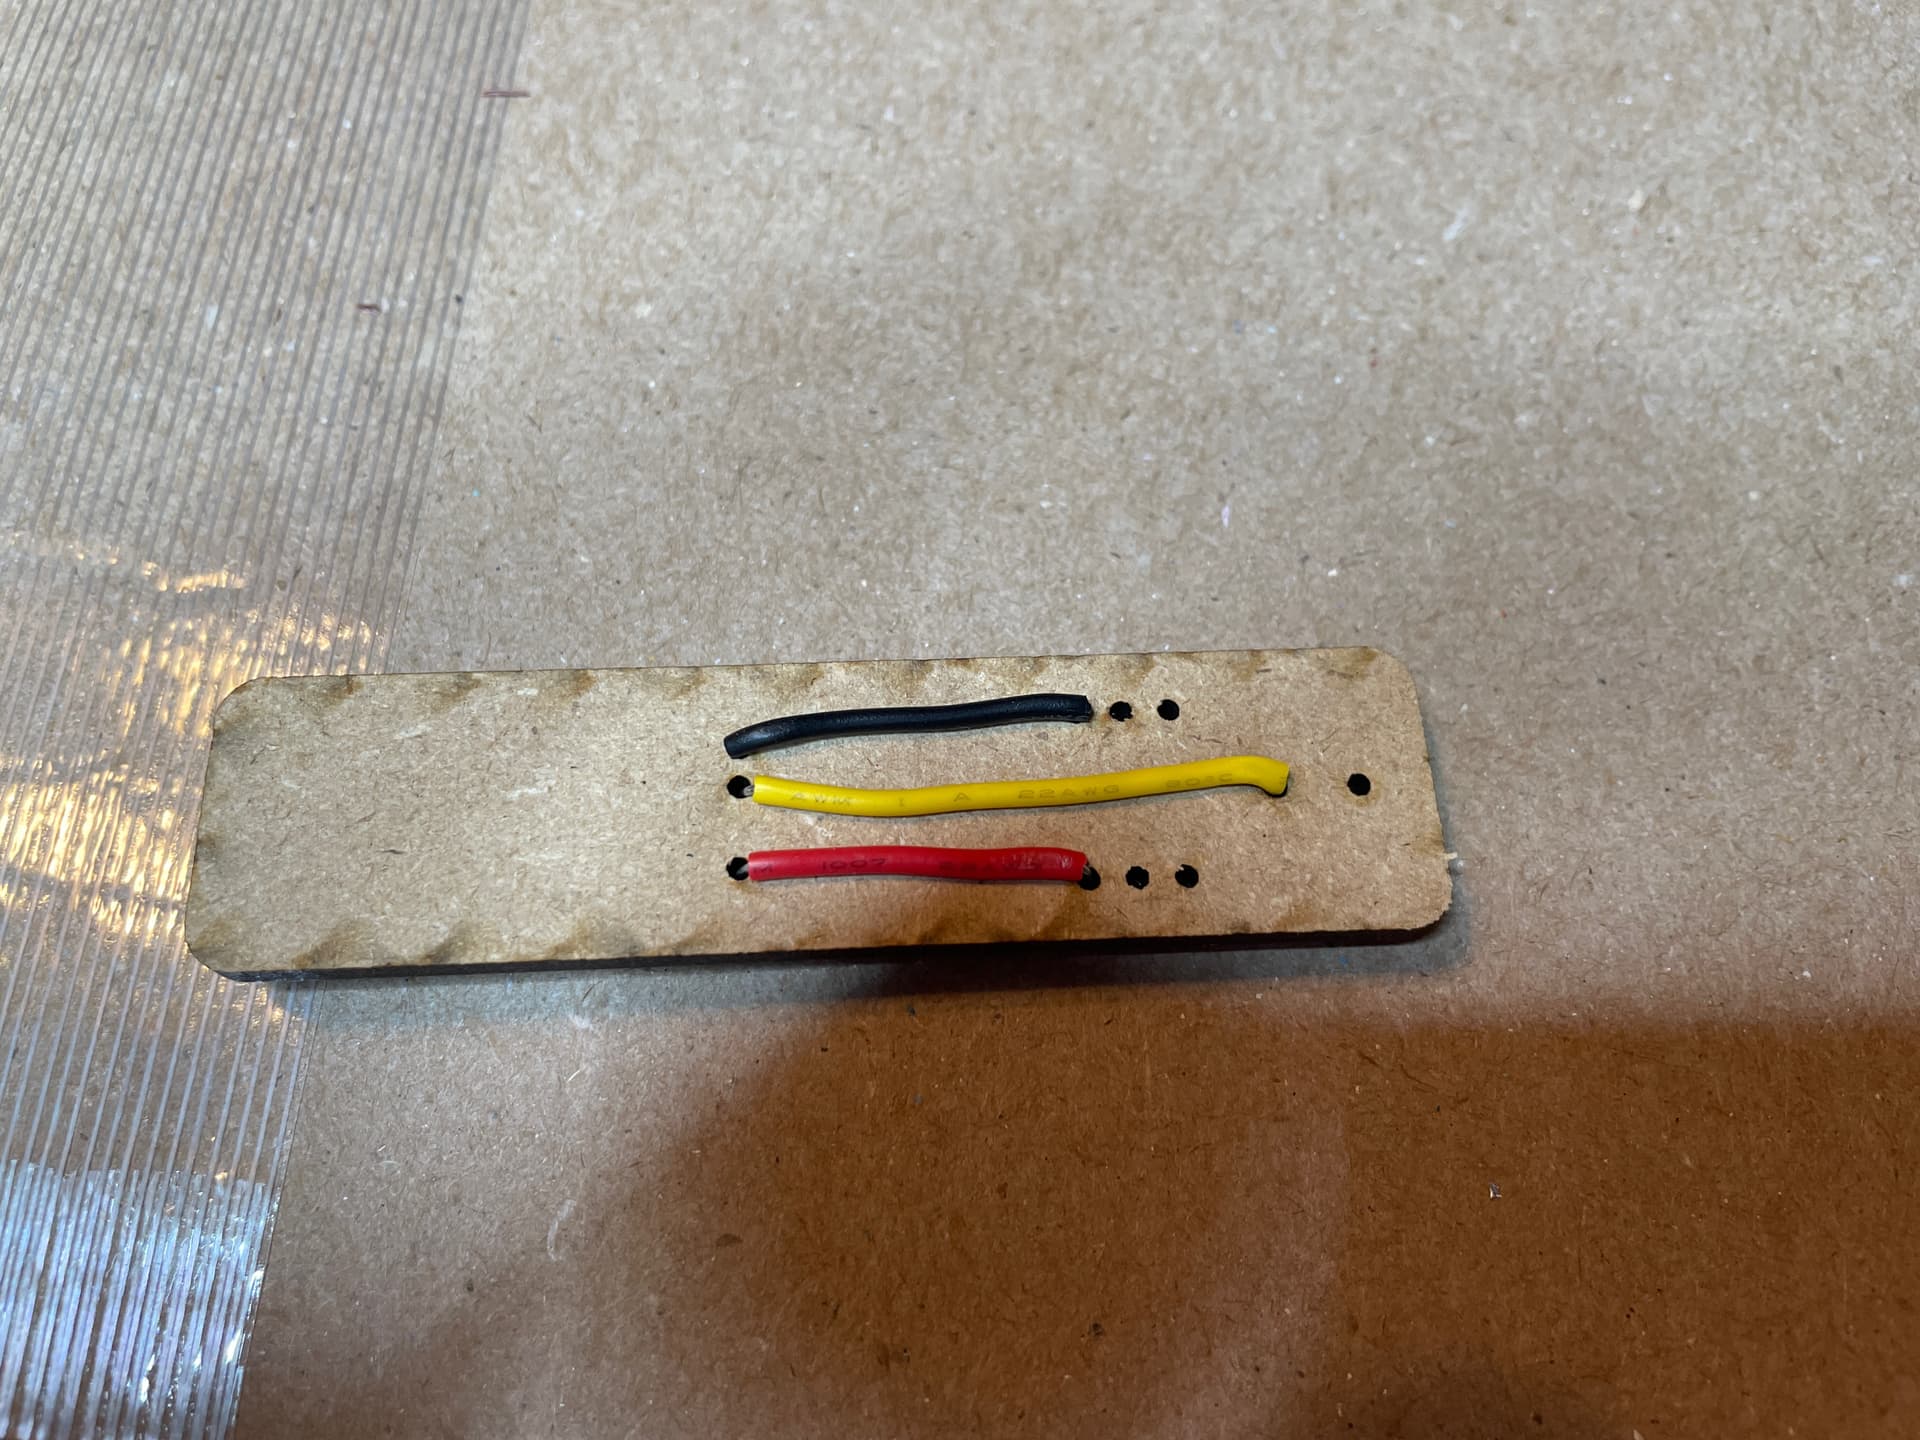
The holes are aligned for the driver board and the shared connections have a small piece of copper tape to connect things. The wires are run in from the back. The open holes are for the LED’s and the power supply.
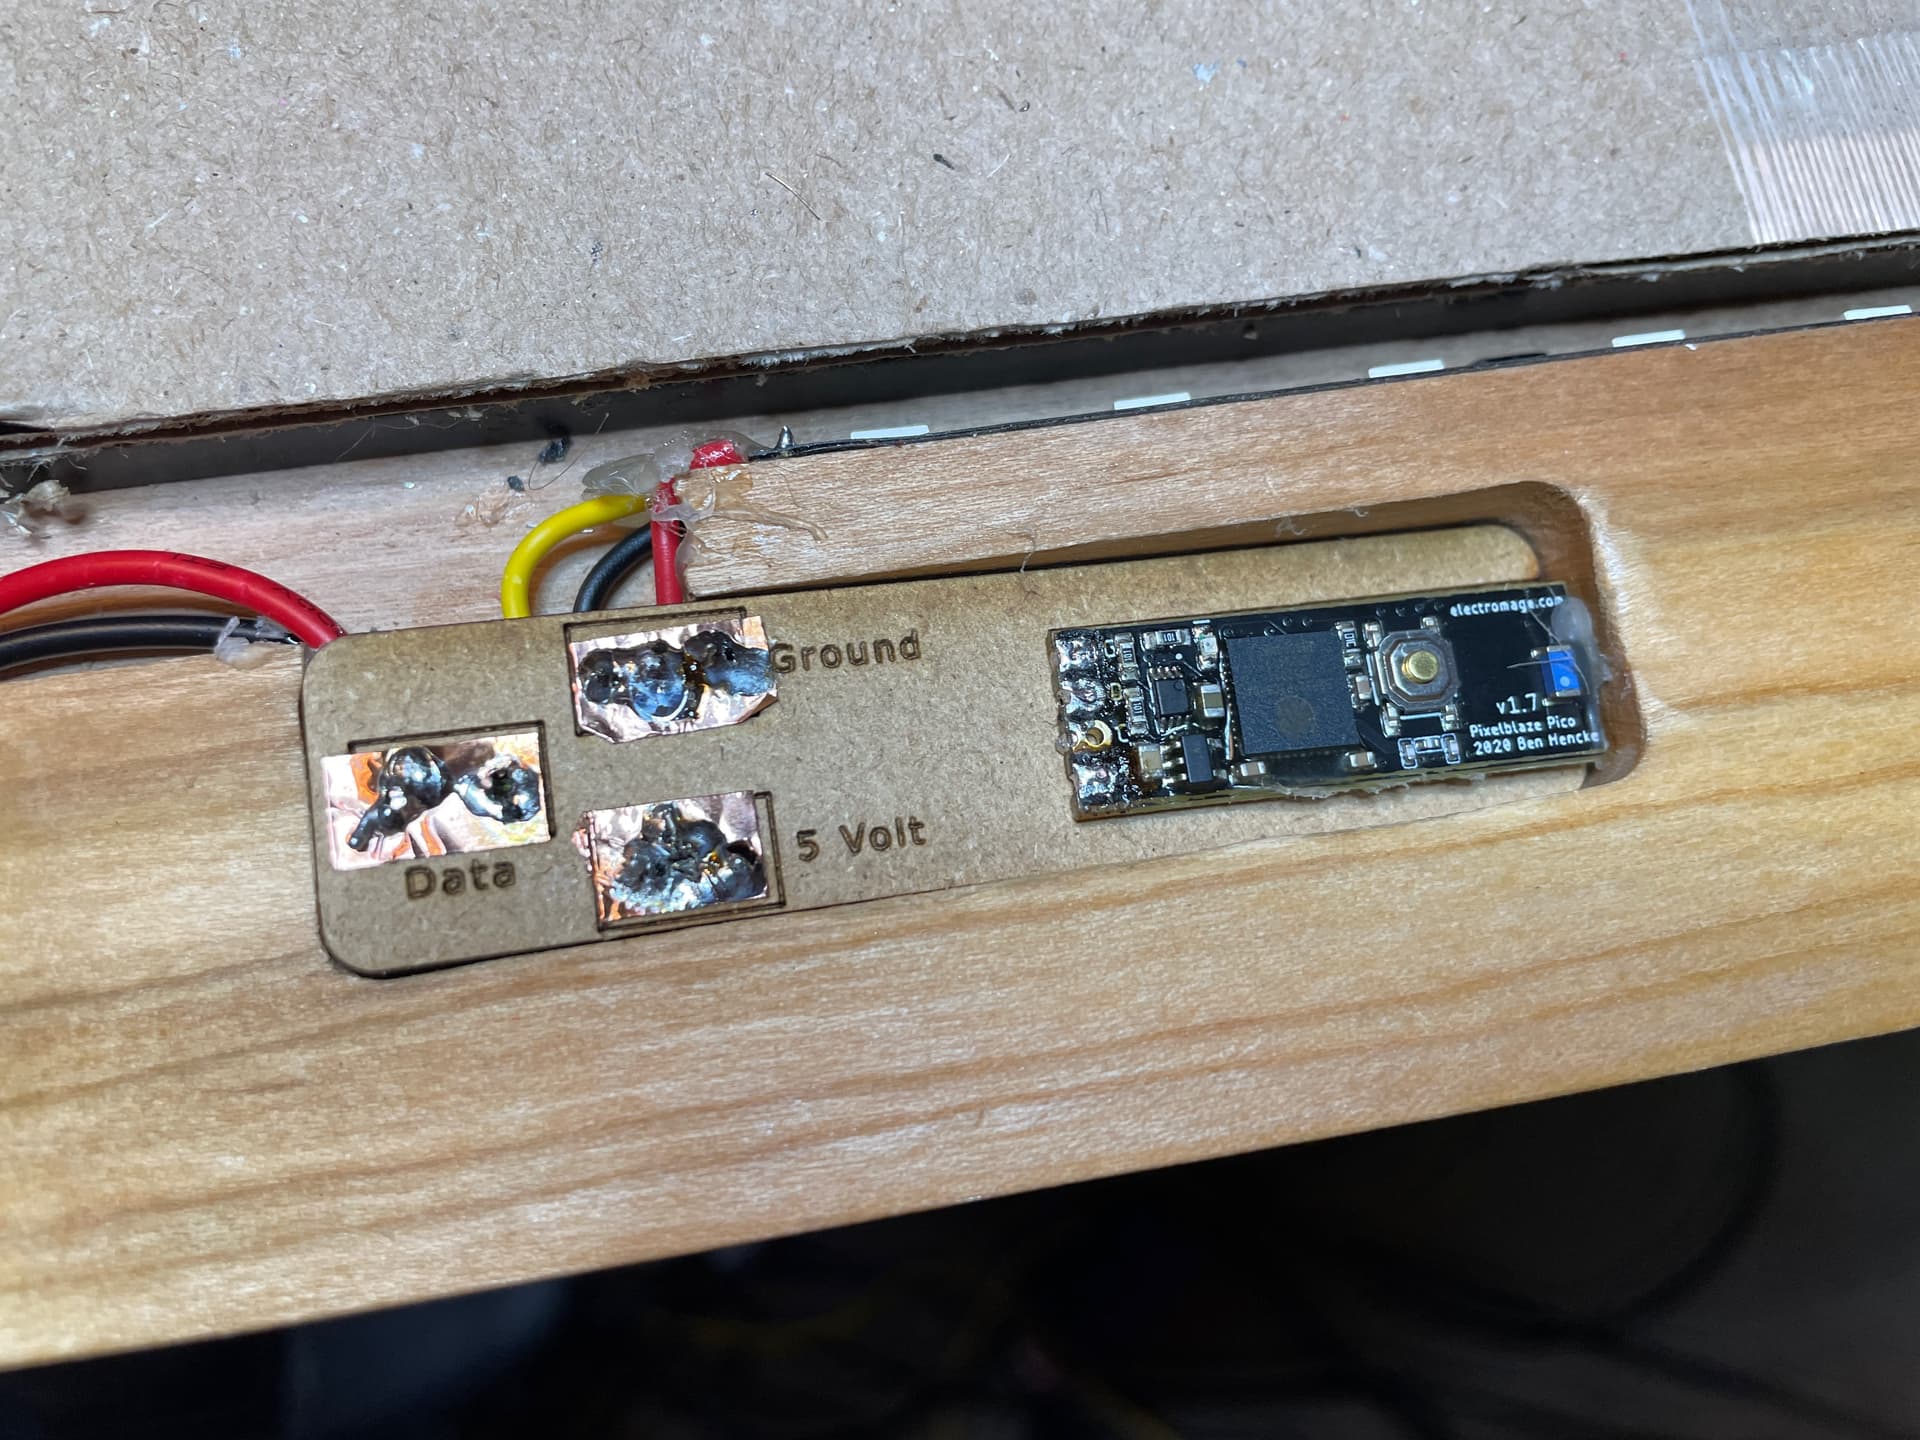
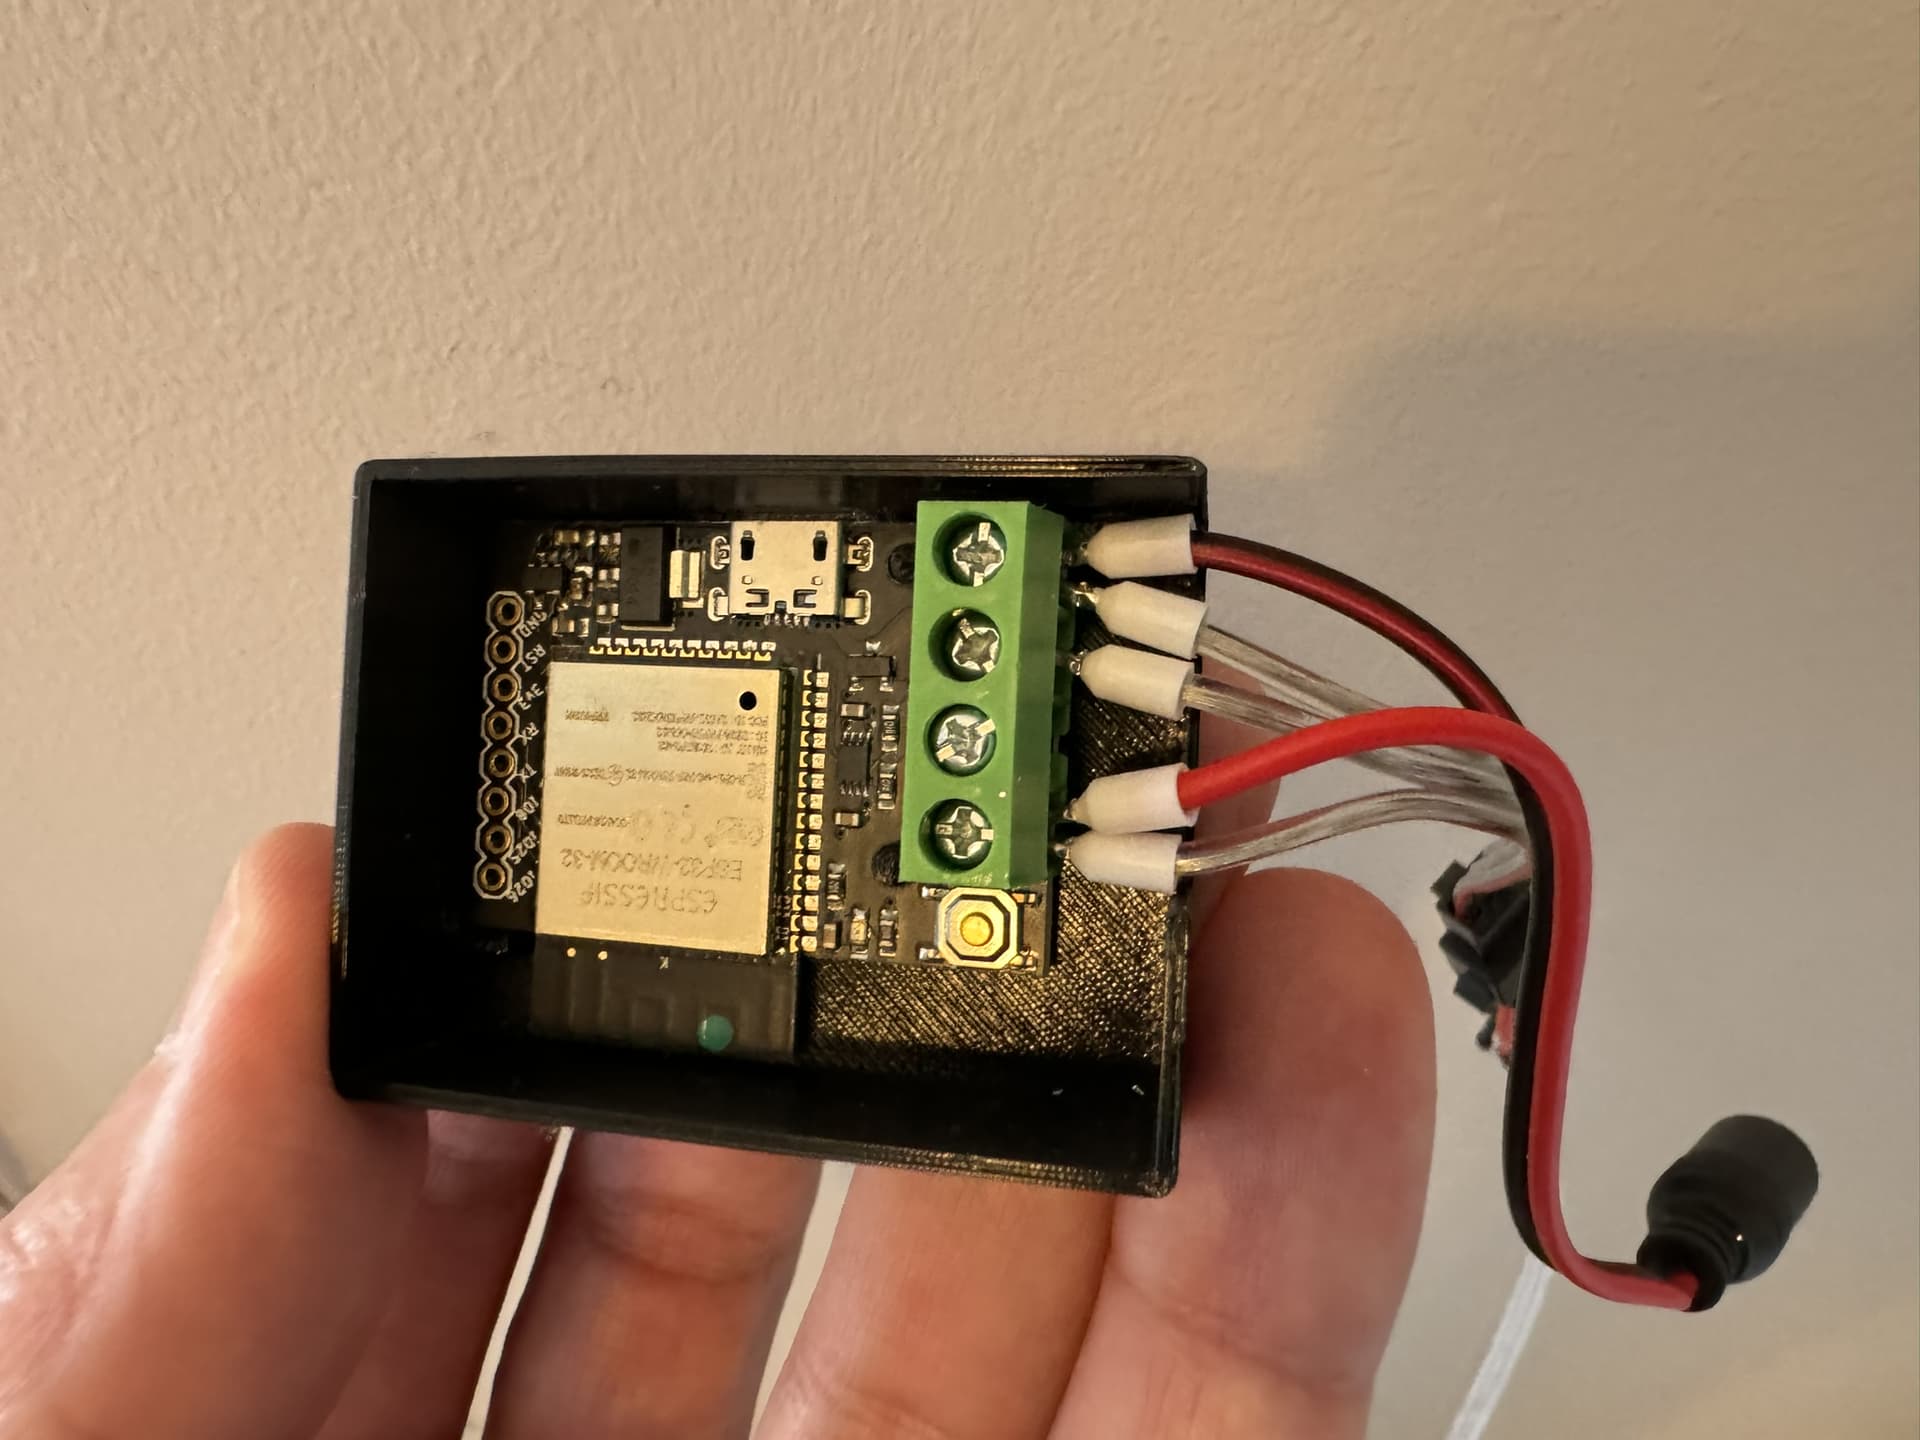
I still have to solder, but the board keps the wires in place while I do it. The board also keeps things in place when I push it into the recess of the frame.
For what it’s worth, I’ve been burned enough (figuratively) that I never solder wires directly to anything. For this kind of stuff, I typically use terminal blocks, and put ferrules on the wires so that everything is nice and solid.
Nice. I just finished wiring my own LED lighting fixture, and my solution was cumbersome.
I wonder how hard it would be to engrave channels for the circuits and then fill them with soldier. (I’ve no experience with this; I have no idea whether that’s a reasonable suggestion.)
There’s also conductive ink, but it doesn’t look cheap, especially for lower-resistance silver ink.
@chris1 I like that solution too. My soldering skills are lacking, so anything that helps.
@Purplie The copper tape is really cheap and I use solid core wire on most of this. That way I can bend the wire down flat against the tape and no matter what kind of solder apocalypse I create, I usually get a good contact with it. I do want to try engraving channels for the wires, but so far I have not gotten it dialed in.
I did something similar for my Glowforge logo hex tile. I guess I didn’t post it publicly here. I used a piece of clear acrylic with copper tape. You can see that starting about a minute in to the project video.
if you need something thicker than you might find with the copper tape. I would suggest looking at the copper foil tape used for Stained Glass work. it is pretty thick and both very sticky and durable.
Reading through the comments, I feel like I am floating on an ocean of ingenuity. I can’t do it myself, but I sure love that others can and they share it with us.
This is why this is my favorite place on the interwebs. Even on things where I consider myself competent I’ll always find someone who knows more about the subject than myself.
They’re pretty great. I just got two more yesterday, because I used my last one on the Christmas tree topper this year and I like to be able to grab one from the parts bin to prototype something quickly. There’s nothing better than having the pattern update live as you edit the code.
I’m having a blast with them too. Just finished a little light show for my yard
I did use my Glowforge to make a mounting plate for my junction box… more practical cuts, but not much to see. Anyway, fun to find fellow Glowforge+PixelBlaze enthusiasts!
I’ve heard of those WLED chips but haven’t looked much into them. Seemed like they might be a little trickier to use, but I could be wrong.
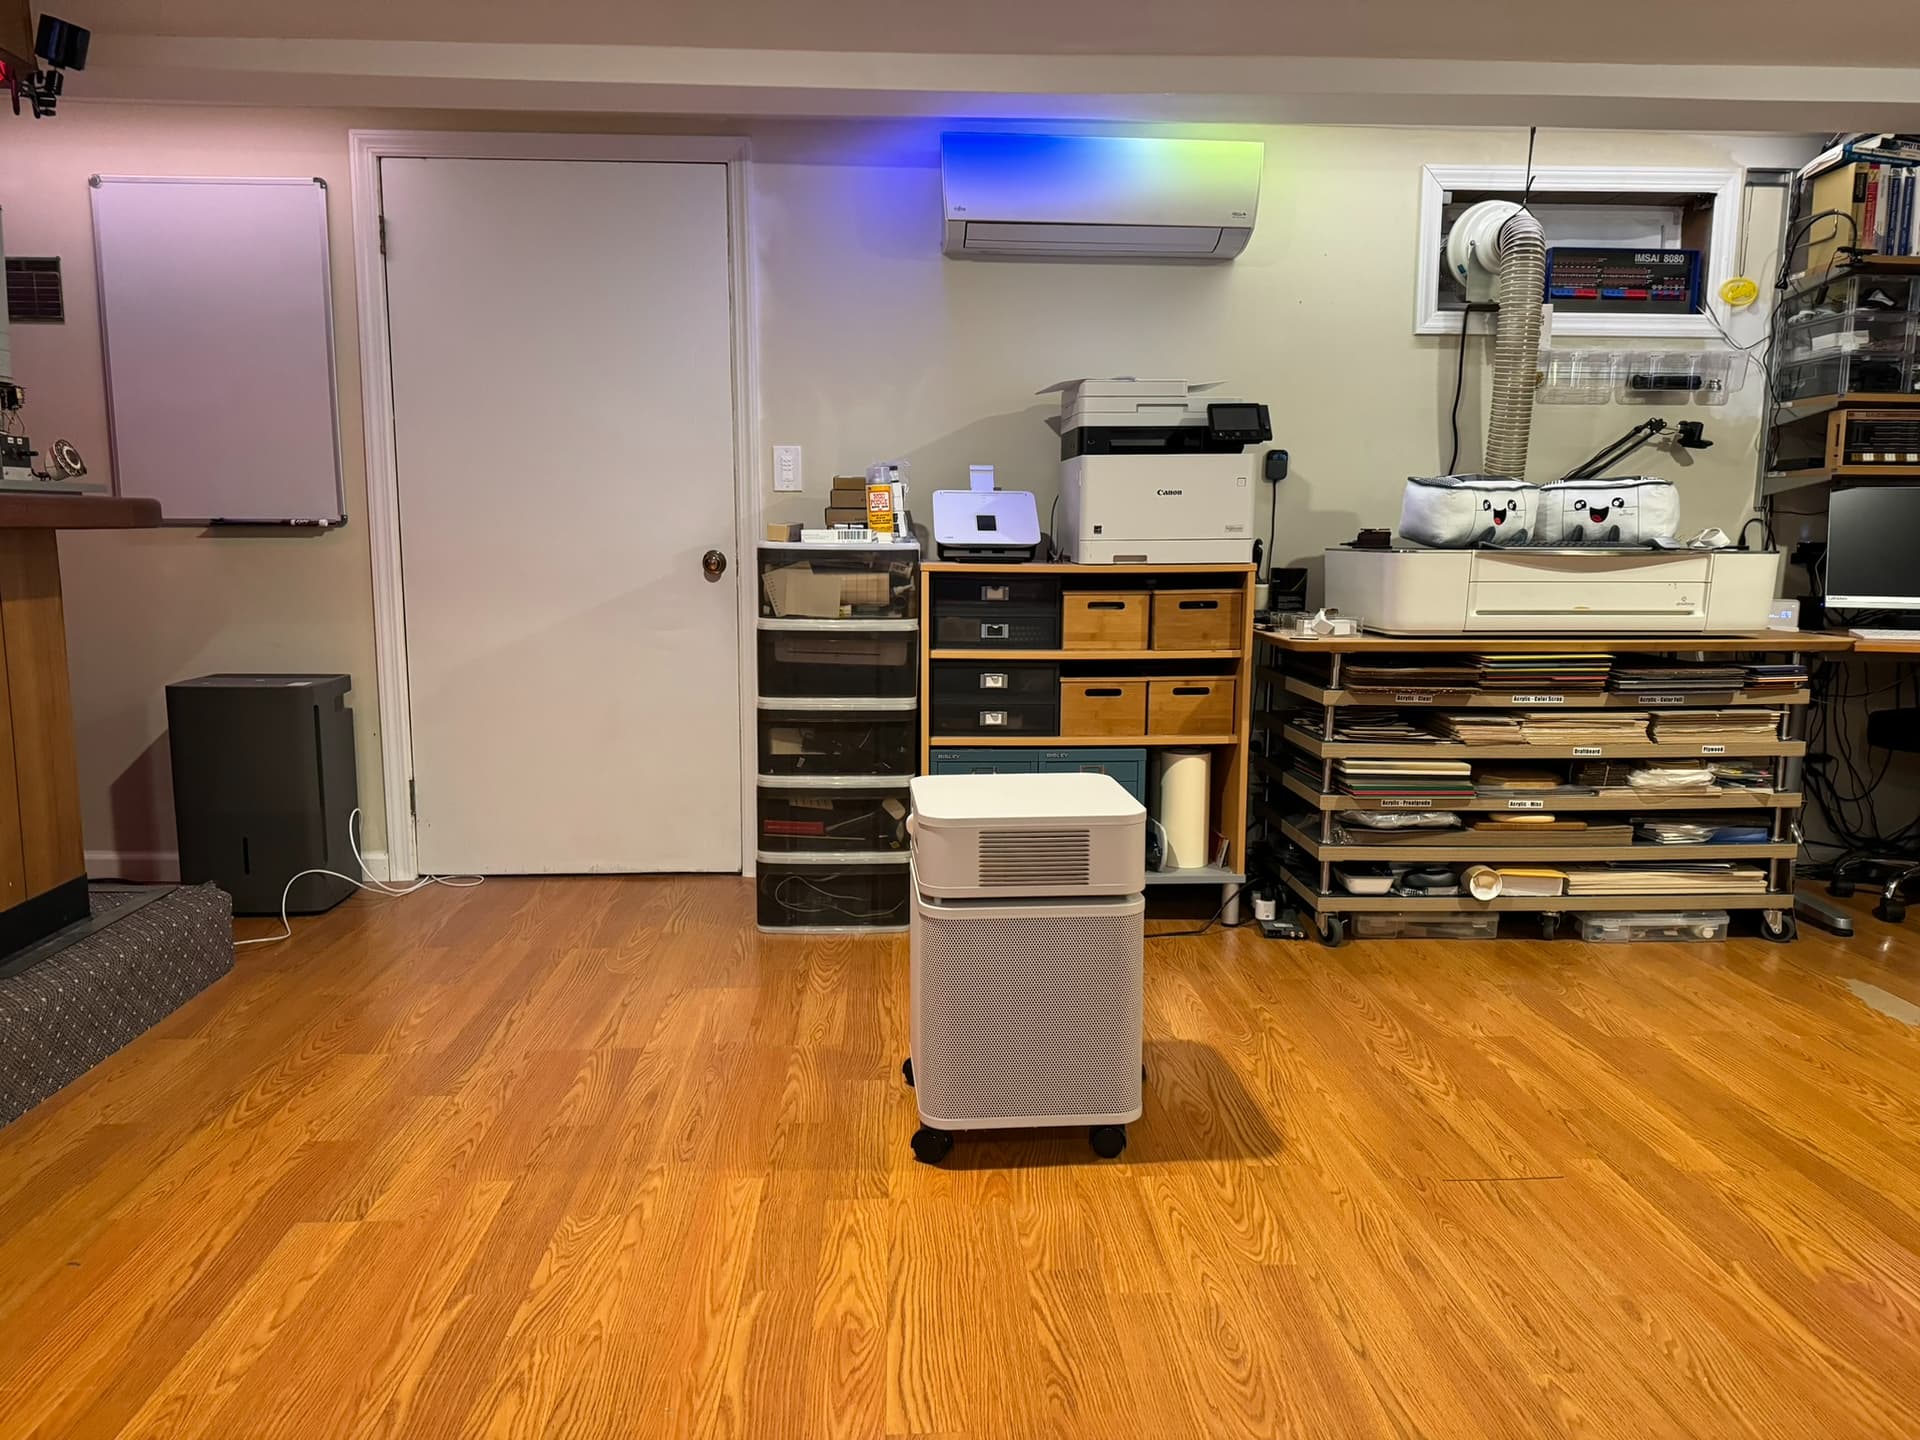
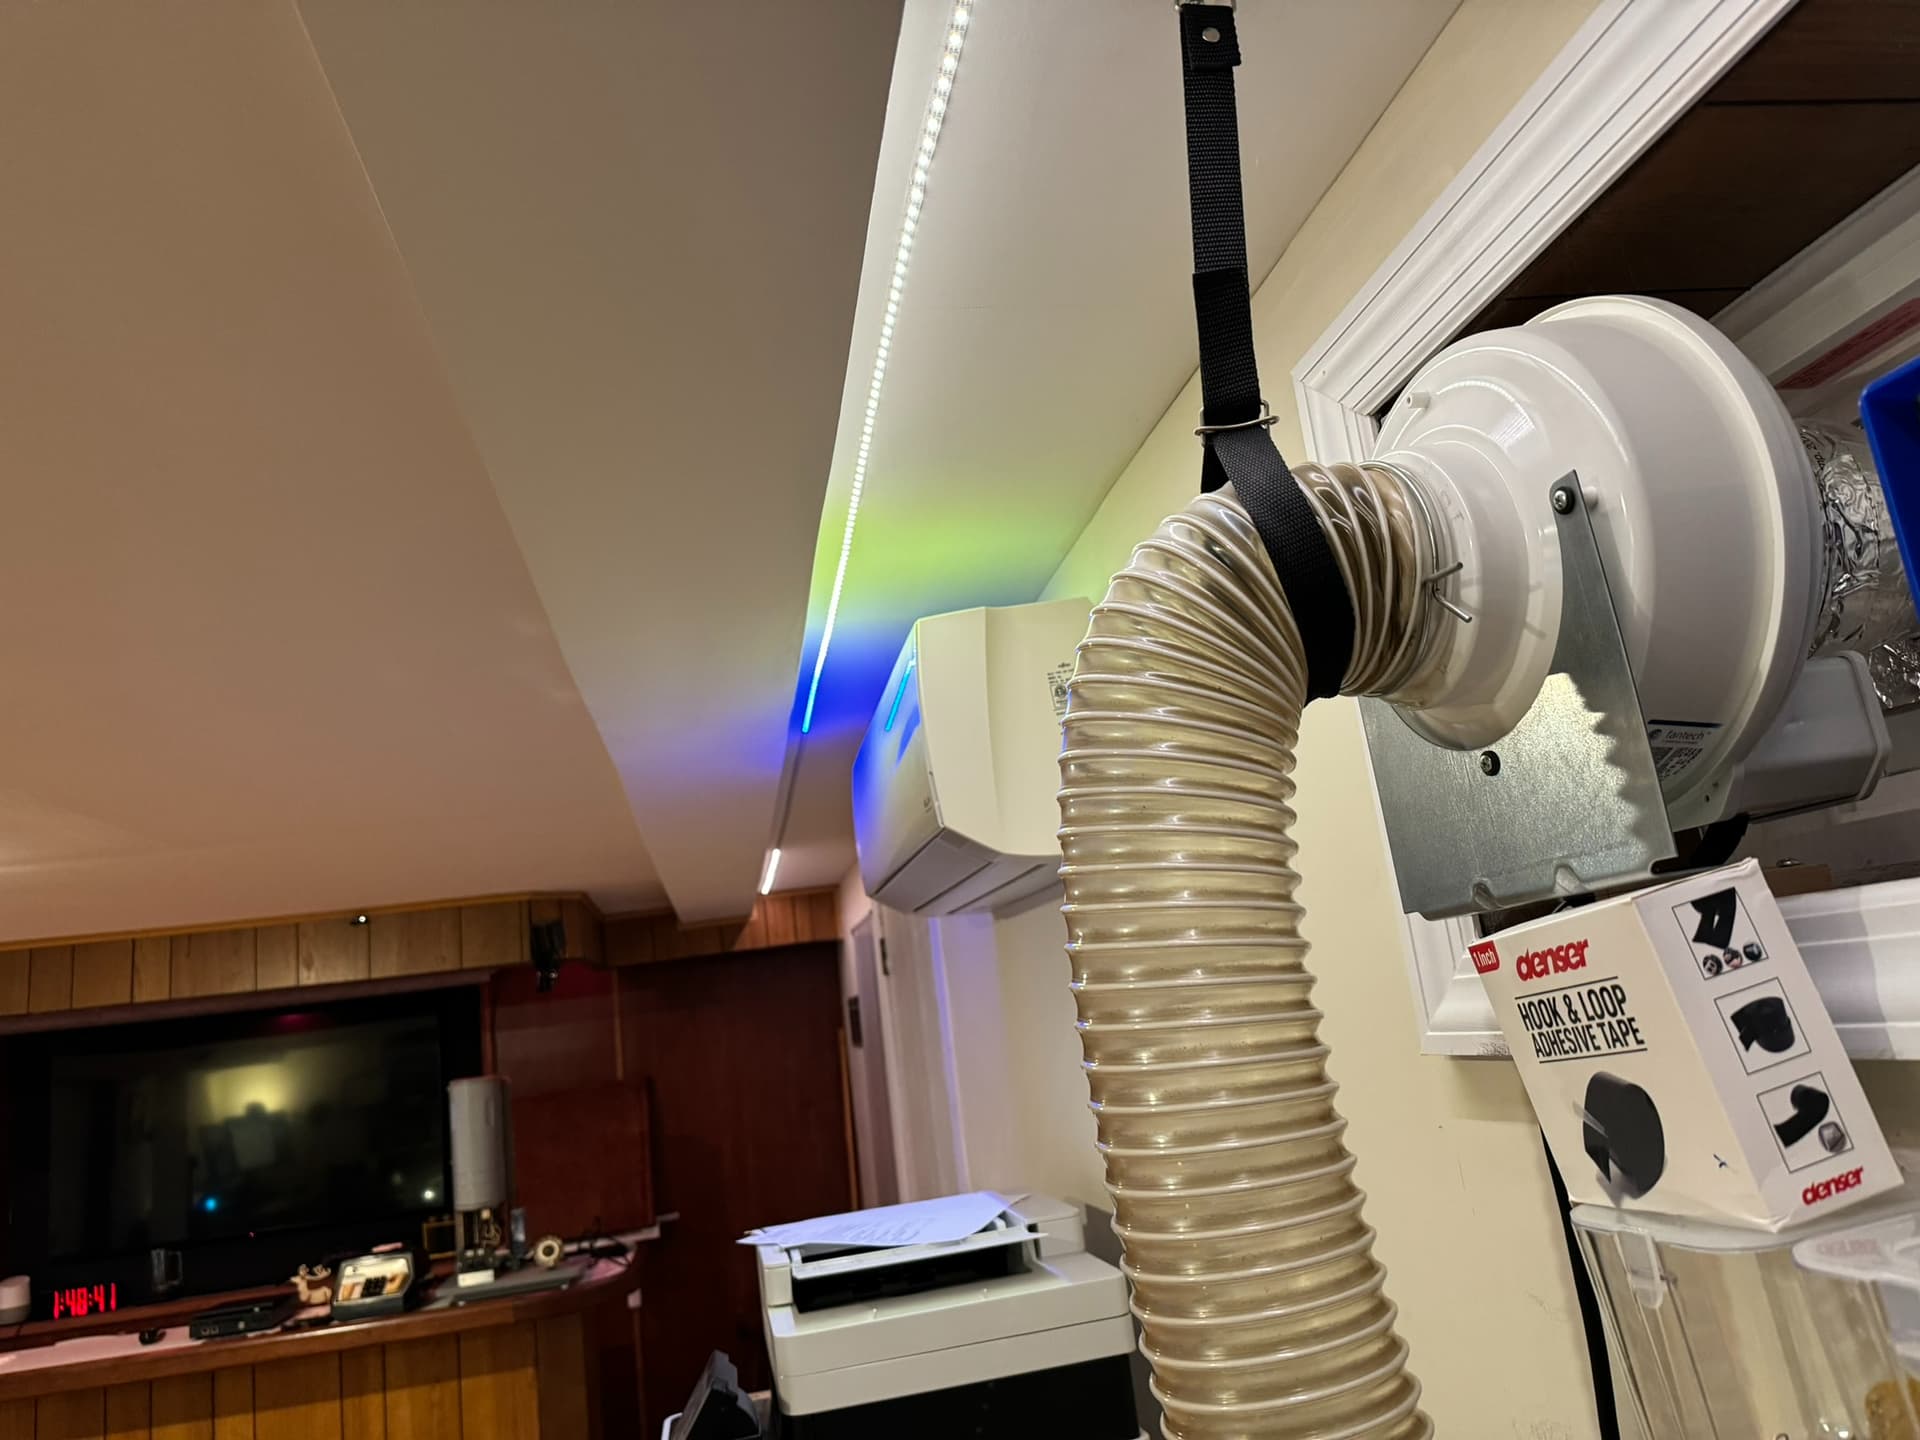
I’m using WLED on a few light strips in the basement. You can’t really make your own complex patterns, but for these I mostly just want ambient light, like this wall that was a bit too dark, so I put up a strip behind the soffit.
It has a cool feature where you can subdivide it into sections, so for example I have individual controls for the areas above the glowforge, the air conditioner, the door, and the whiteboard. When I discovered the air conditioner acts like a projection screen, I set it up that way so I can put different things on it.
It’s nice to be able to buy existing controllers and reprogram them to WLED. It also integrates with Home Assistant, so it’s really easy to treat these lights as part of the basement on/off scenes.