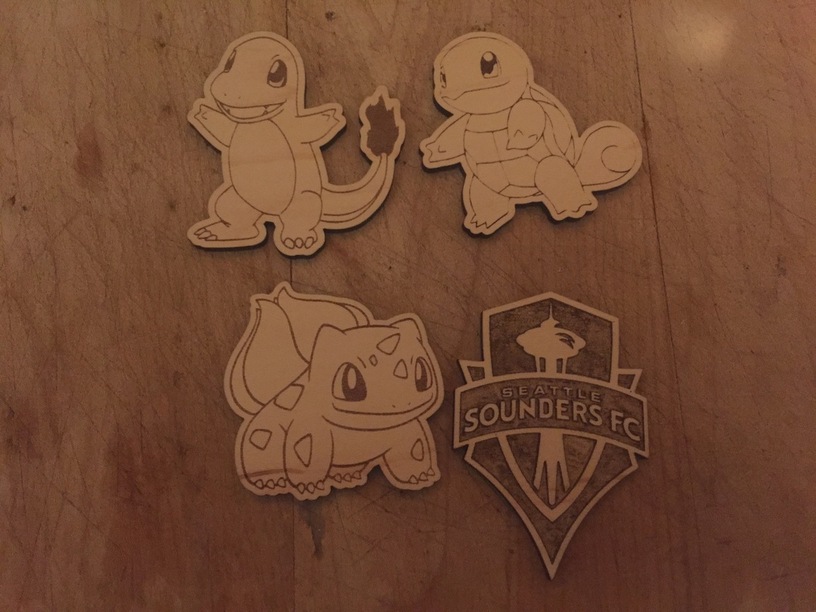
Last night I spent a bunch of time practicing how to convert raster (bitmap, like png, gif, jpg etc) images to vector line drawings (basically svg for the glowforge). Here’s some of the results:
There’s a few steps to converting the images, and couple of gotchas that I encountered along the way.
Here’s some of the things I learned with this process:
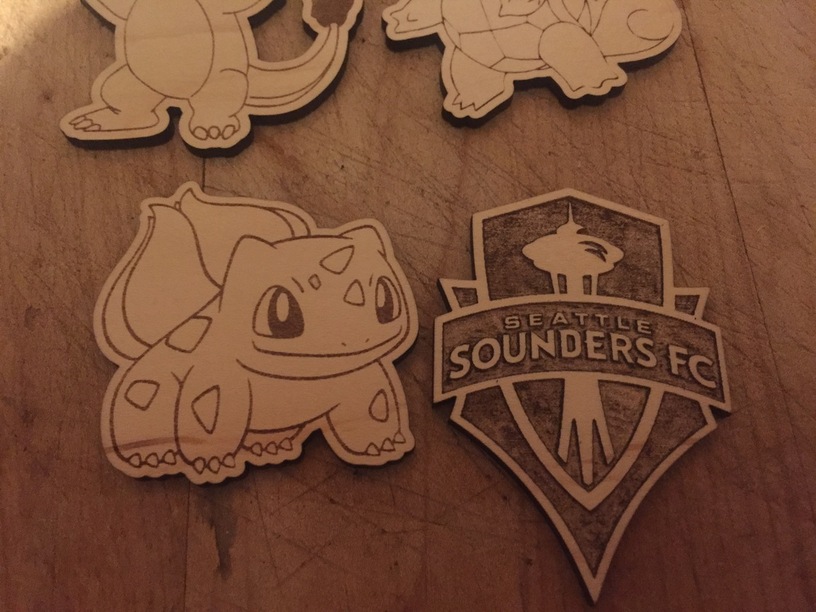
When engraving large areas (in the Sounders logo) it’s best to use the light engrave setting on proofgrade. I’m not sure the technical terms, but the heavier engrave leaves tiny hair-like fibers that are very prone to being scraped off, causing blemishes in the resulting piece. In the logo, I scraped these off with a knife, making it look very irregular.
The SSFC logo was also an svg to start with, I thought it’d be easier to work with but it ended up taking a lot longer to prepare the image. (mainly because of overlapping shapes)
Images with heavy black lines convert and look best (example: bulbasaur).
Images with tiny black lines (squirtle) don’t work very well without some preprocessing. These can be enhanced with a pixel editing tool such as photoshop or affinity designer. I’m using illustrator and I haven’t figured out how to do this yet.
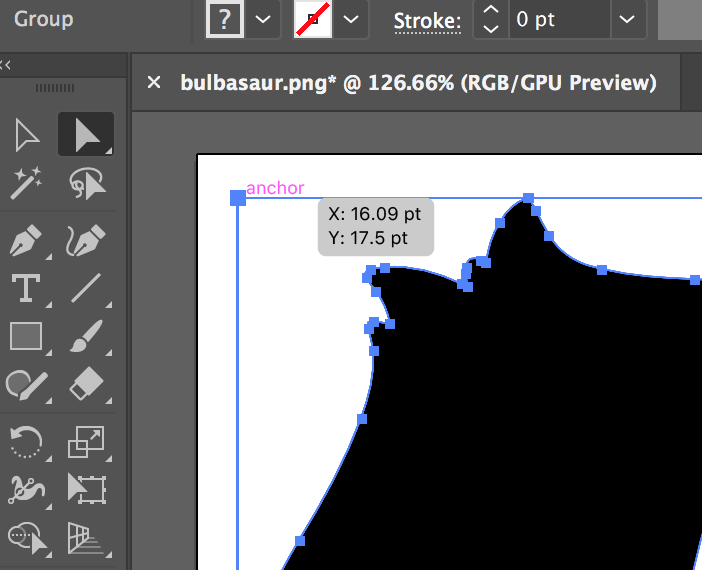
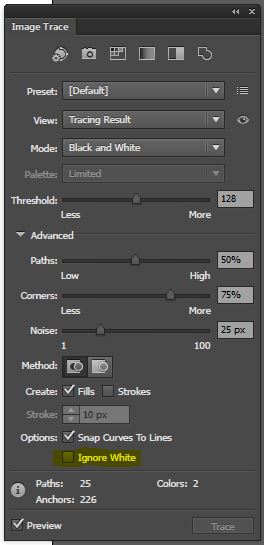
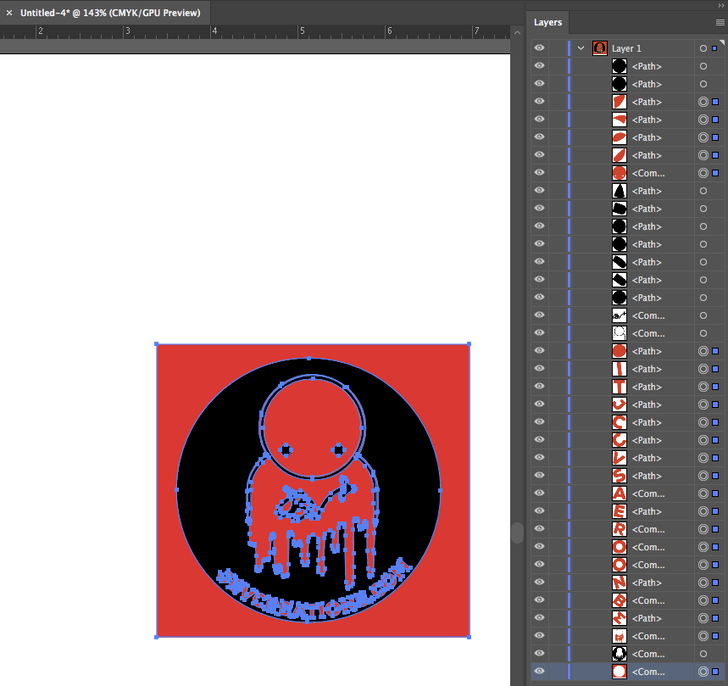
With illustrator, the traced image has a large background object that needs to be removed. This could probably be avoided with the ‘ignore white’ setting.
So I’ve only done a couple of traces in Illustrator and I’ve been using the Ignore action as you described. But that’s only because I can’t seem to delete just the layer that contains the background object. I’m sure I’m doing something stupid (or not doing something smart). What am I missing?
You can also use the Select > Same> FillColor function from the top menu, if you forget to check off the “ignore white” box before expanding the trace. Lots of good uses for Select >Same…
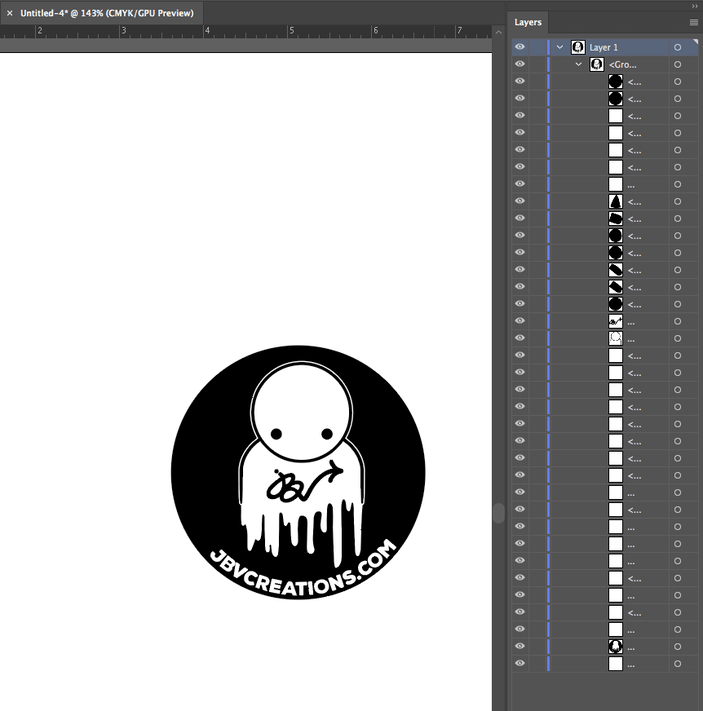
Or expand the group in the layers pallet, select the white layers within the group and delete using the trashcan icon.
Or double-click the group onscreen to enter into the group, delete, and then click back out of the group using the breadcrumb-like levels in the top left of the main work window.
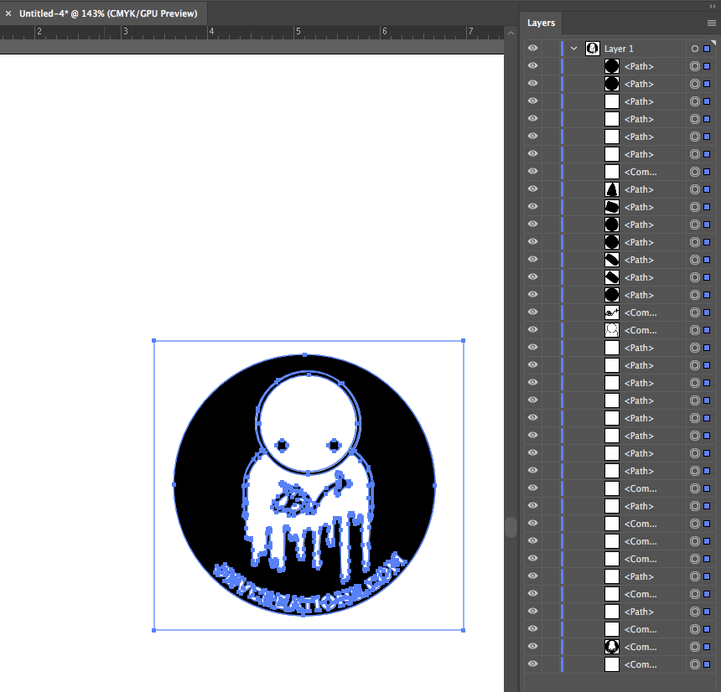
If I am parsing this correctly, I worry that this might give you an overlapping double line: the interior line of the white (compound) object + the exterior line of the black object. You can check by placing a bounding box over the area, and checking in the layers pallet to see if you have selected more than one object.
Don’t forget to group again afterwards when needed. its really annoying when you zoom in and start adjusting something, and then later realize that everything is out of whack because you forgot to re-group something that you had un-grouped earlier.
If you select any one or multiple points on the outer object with the Direct Selection (white) arrow and then hit delete TWICE in succession you will delete your selected points with the first delete and then the rest of that object with the second delete.
For black and white final imagery I find that the Shapes component of the Adobe Capture app (IOS or Android) does a much better job than Illustrator’s Live Trace. Conveniently, the app sends all your captures right into your Adobe library so you can tweak further in Illustrator or Photoshop.
one thing to keep in mind with tracing an image in illustrator. when you expand the “advanced” portion of the image trace dialog box, there’s a cool little checkbox that says “ignore white” (highlighted yellow below). if you check that, it won’t actually generate any white areas, it will just consider those transparent.
This is correct, but only for a basic shape. If you are working with a compound shape, selecting a node with the direct selection tool & hitting delete twice will delete the rest of that particular path, but not any of the others contained in the compound shape.
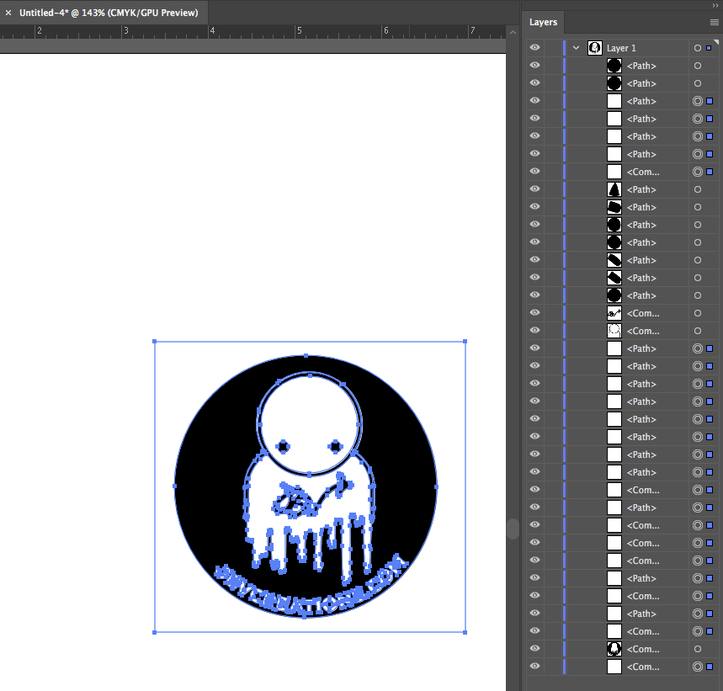
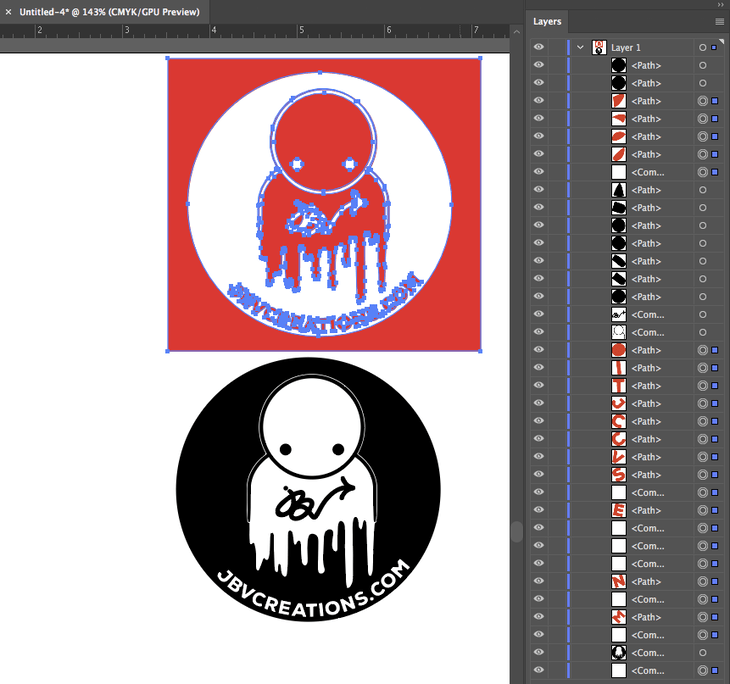
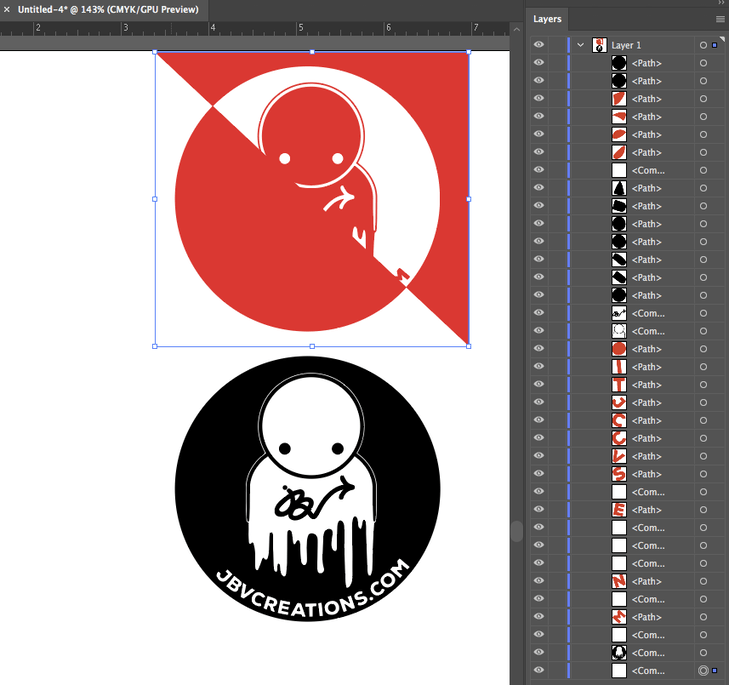
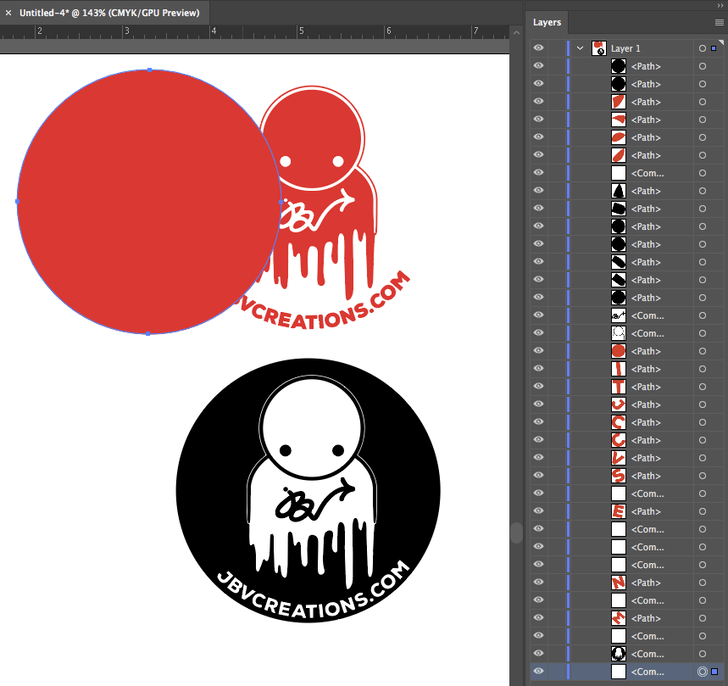
Dragged the red (previously white) layer up out of the way. Here we can see that the image trace made two complete versions of my b&w design, a positive and a negative (which can be handy to have for inverse operations):
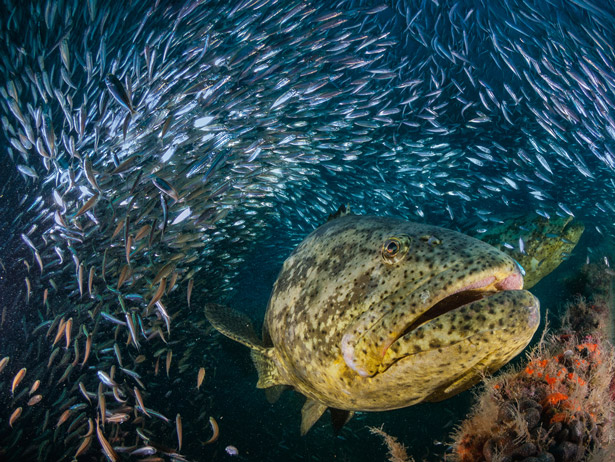
(I have dived with bathtub sized grouper like that, magnificent fish ((ball of muscle)). Spear fishermen are taught to avoid them or either have their arm dislocated or be pulled out to sea.)


 Thanks!