About a week or so ago I posted about wanting to paint draftboard, but having mixed results. It took the paint readily enough but, once varnished, had a very blotchy, “fuzzy” look to it.
A lot of folks commented with suggestions of how to remedy this, including sanding the draftboard and replacing the masking before cutting, etc., but I was trying to find something that would not involve more time, work and materials than I could conceivably “gain back” in the eventual sale price of each piece. I also wanted a finished product that would both paint and finish like regular painter’s panel, which is my preferred painting medium.
What I ended up doing was cutting the pieces out of the draftboard, unmasking them, laying everything out in the bottom of a cardboard box, and spraying it with PlastiDip.
PlastiDip goes on like spray paint, but is more viscous, and takes longer to dry. I remedied this by doing everything in like-colored batches (if something was eventually getting a lighter coat of paint, I sprayed it white. Darker pieces started out with a black basecoat.
Each piece takes at least two, but ideally 3 coats of PlastiDip (it doesn’t go on as smoothly as spray paint, so don’t try to coat the entire thing in the first go or you’ll end up gloppy). This is a good way to break up big batches of work, because I can spray them before I leave for work, do another coat when I get home, maybe a third before bed, and in the morning they’re ready to go.
Once they’re fully dry, make the lightest pass with a 220 grit sanding block. It doesn’t take much. They’re ready to paint.
Although I suspect you could skip this step, I also gave everything a single thin coat of gesso before I started painting. I did not sand after the gesso.
I painted my design with acrylics just like I would panel, let it dry, then gave it a coat of brush-on varnish. The finished product is as near to panel as I think I can get it without spending a ton more effort. It isn’t glass-smooth, but the texture it has is far more natural, and not as blotchy and fuzzy.
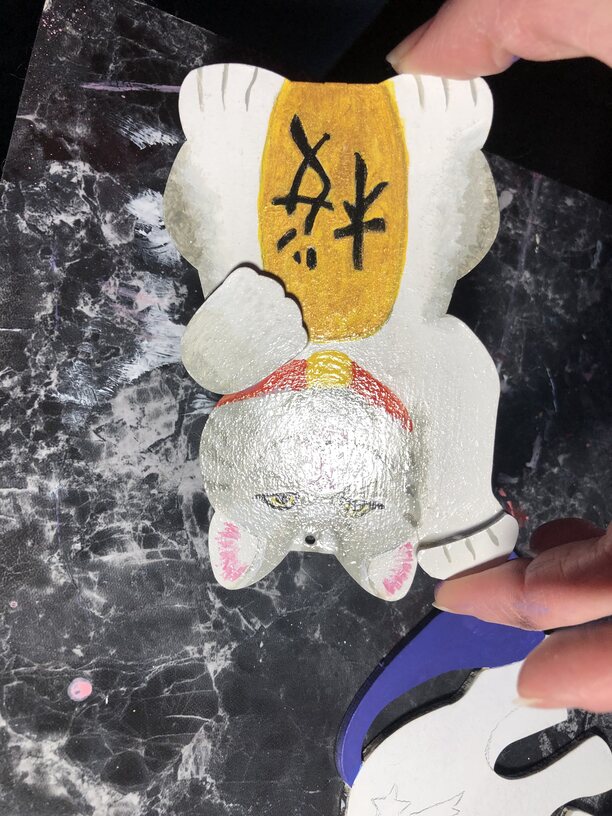
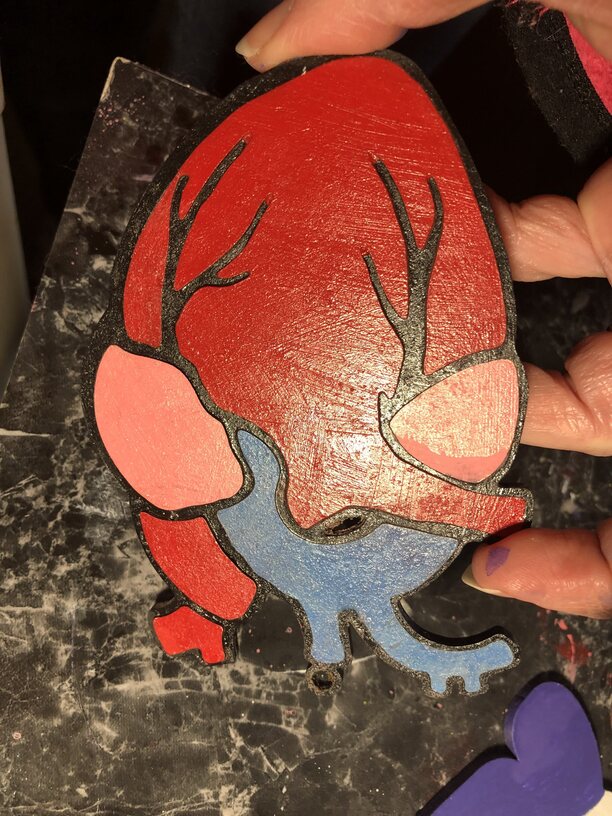
The cat was done using this method, compared to the heart which was sprayed with regular black spray paint, then painted and varnished. I tilted them into the light, so you could see how the reflection affects the surface appearance.
PlastiDip also comes in a variety of colors, so you can choose a base color closest to your base coat, and at +/- $6 a can at Wal-Mart it won’t break the bank.