I was just about to post this when I saw yours, hope you don’t mind if I add this as it is germane to the issue.
I also have some useful and encouraging info to report. Encouraging because, although Dan has told us that improvements are on the way, pinpoint placement accuracy is currently not there yet but there are ways to improve it until that happens.
Using a method based on 3-point registration supplied to me by @jules (Thanks again!), I was able to significantly improve the cutting accuracy of line art on card stock.
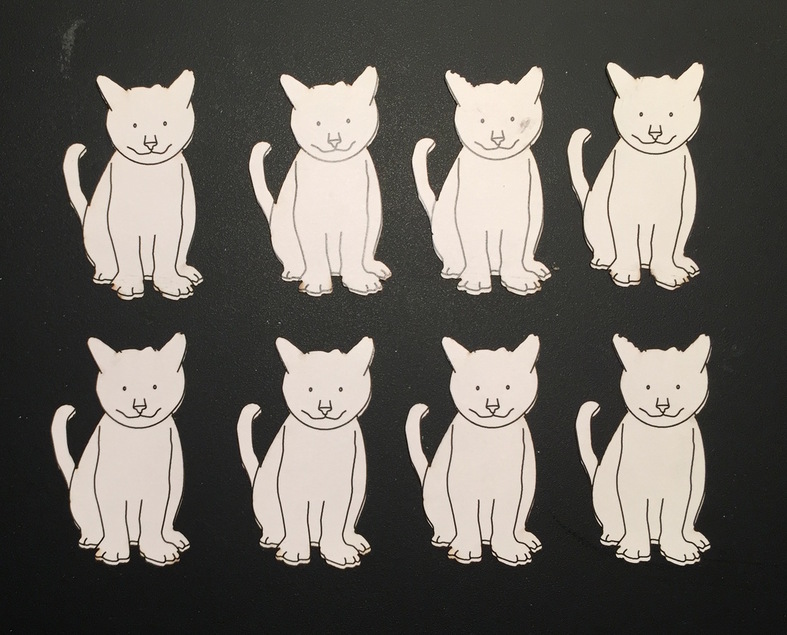
Here’s what I get if I place the art in the center of the bed and manually place my cutfile over it in the GFUI; there is an offset of about 0.05" at the bottom of each cat:
Here’s what I get if I use @jules’ registration method:
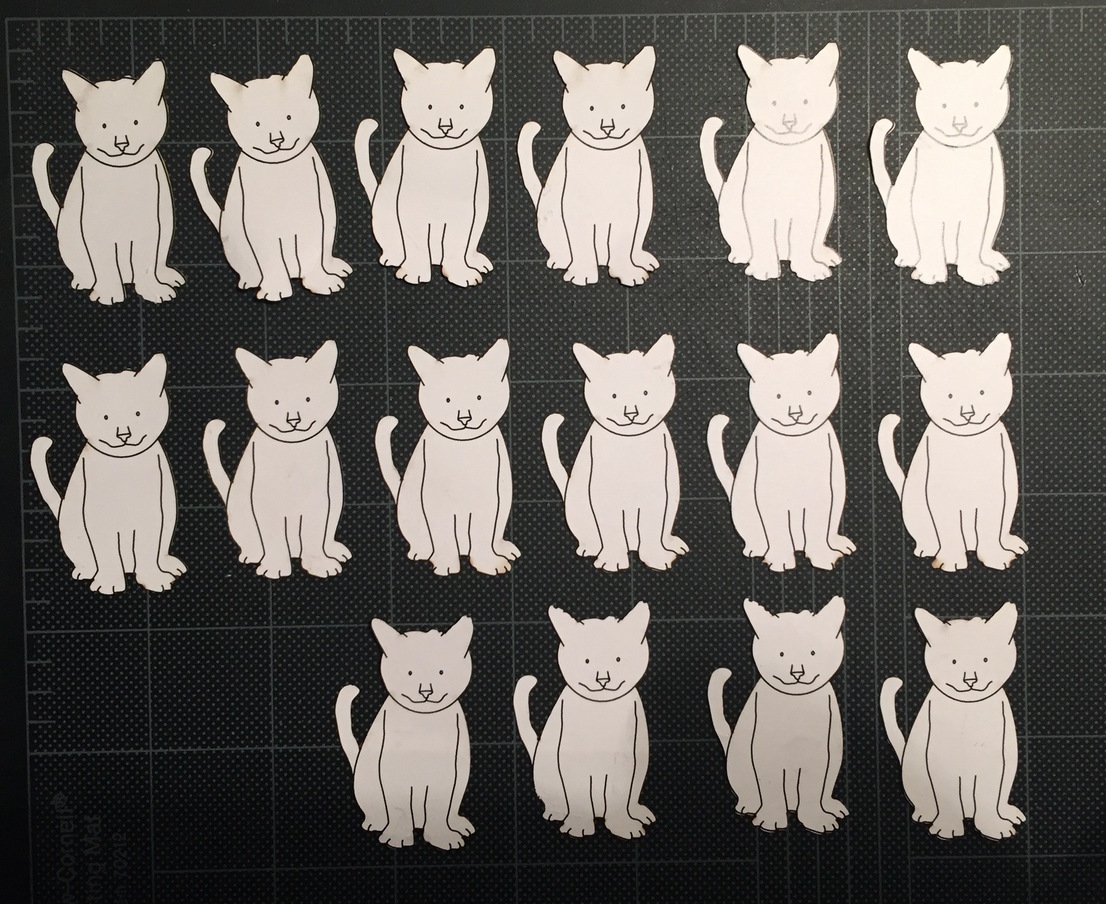
I did it twice, just to confirm. Pretty awesome, I’d say. So everybody, take heart. If it’s not there on day 1 there are things you can do!