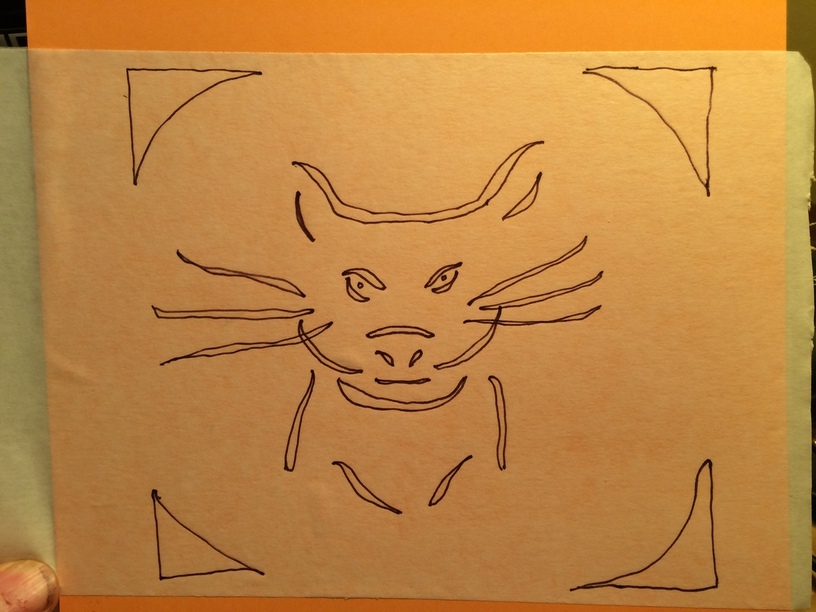
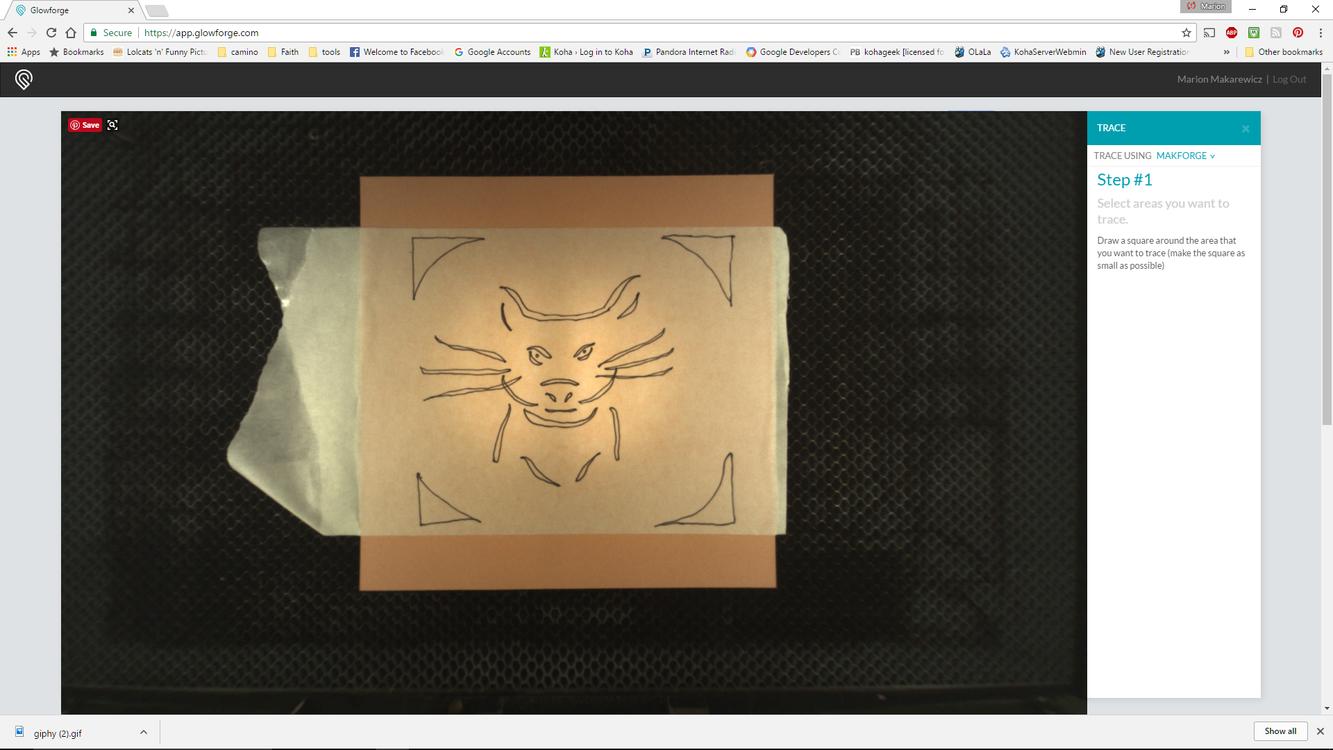
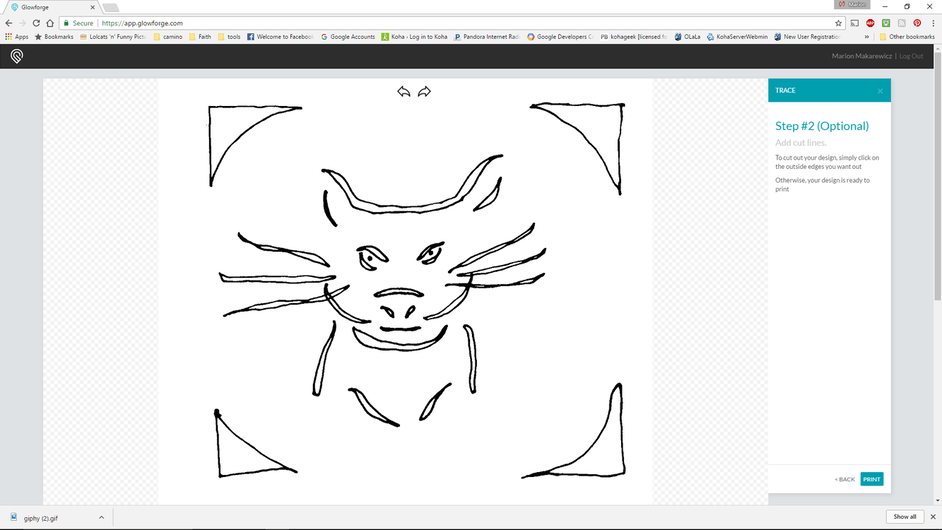
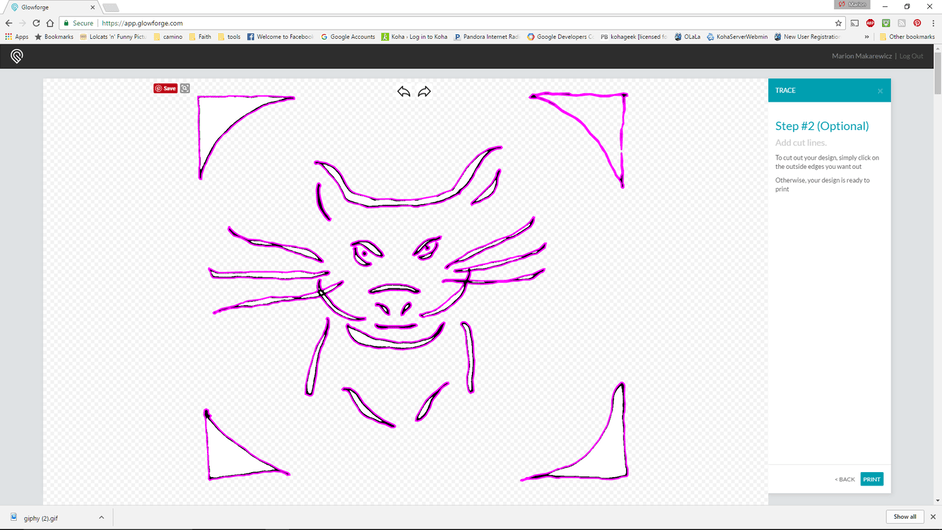
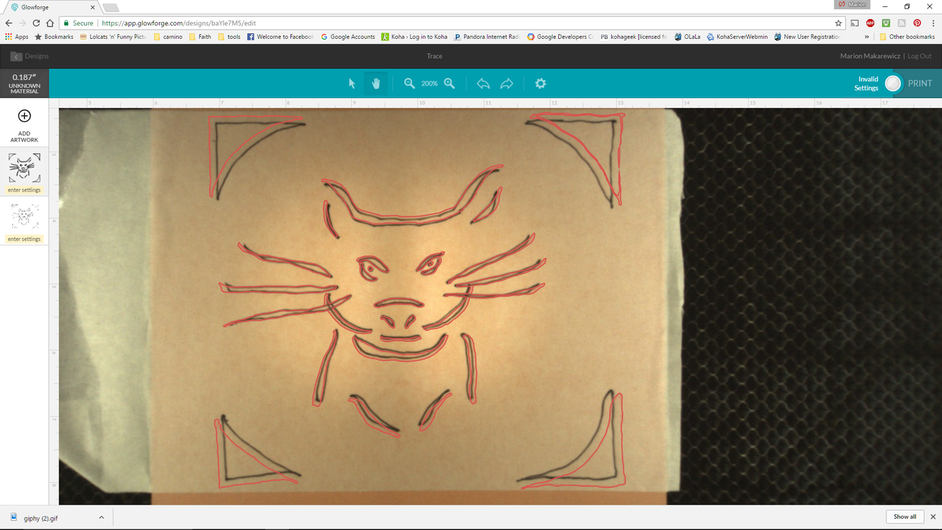
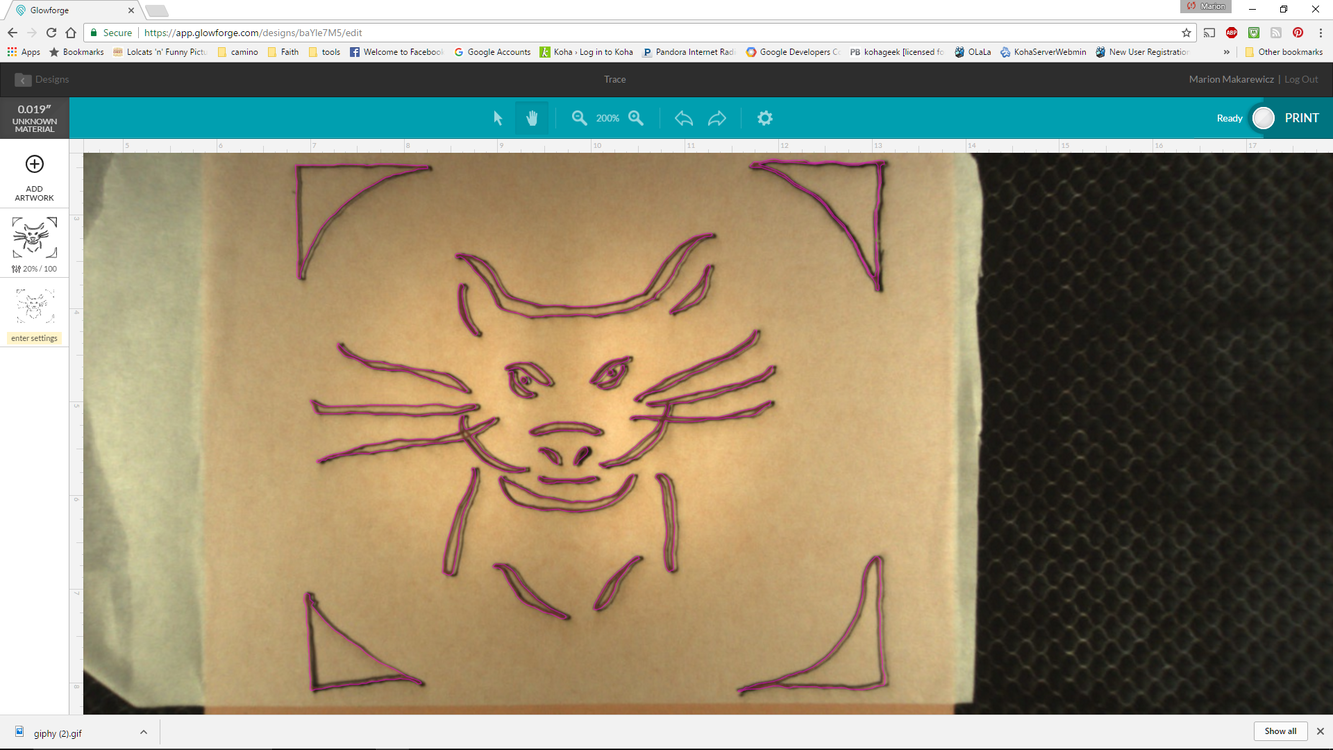
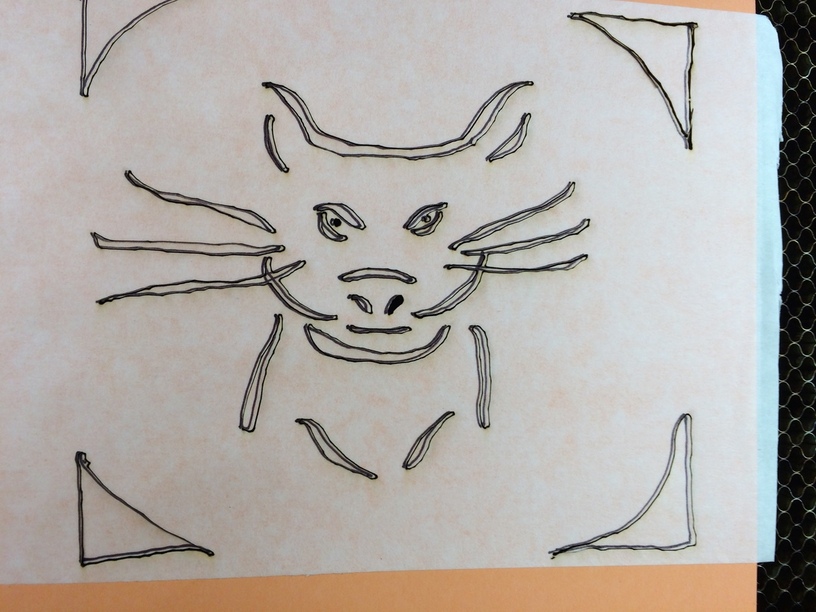
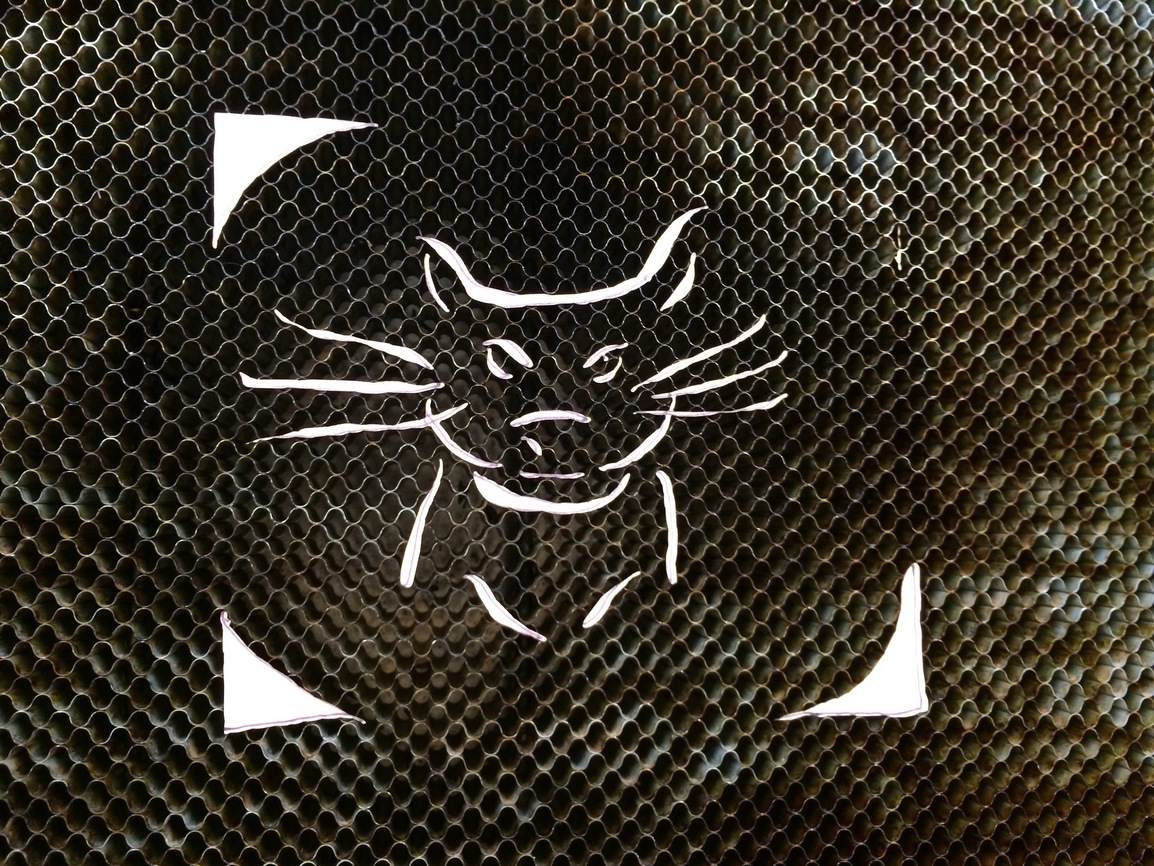
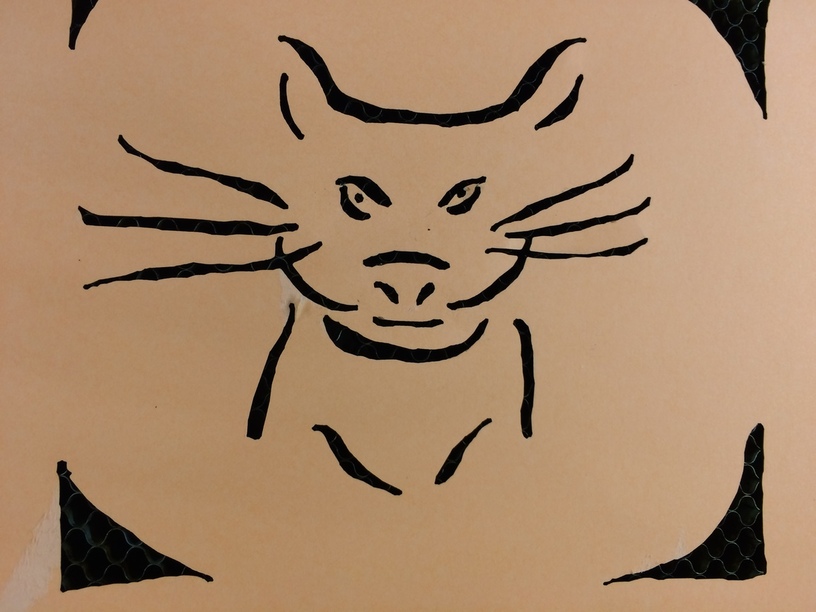
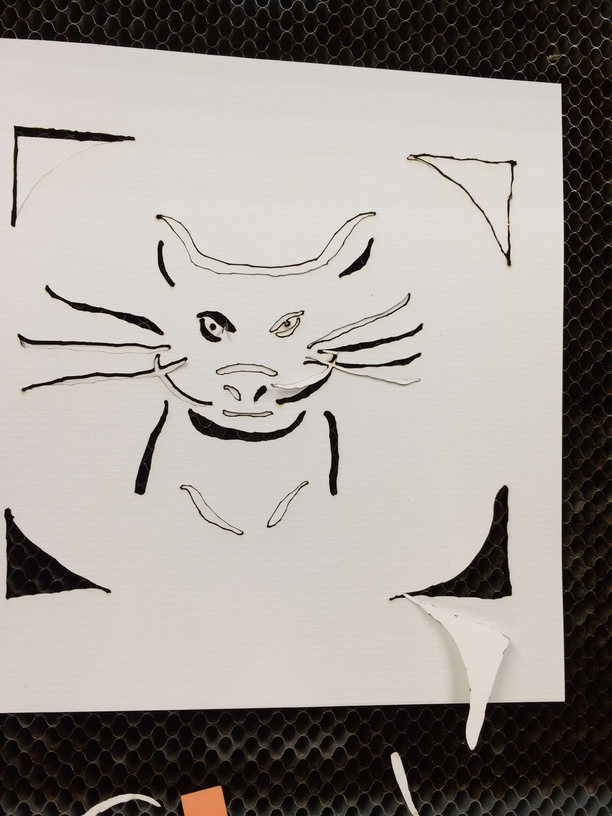
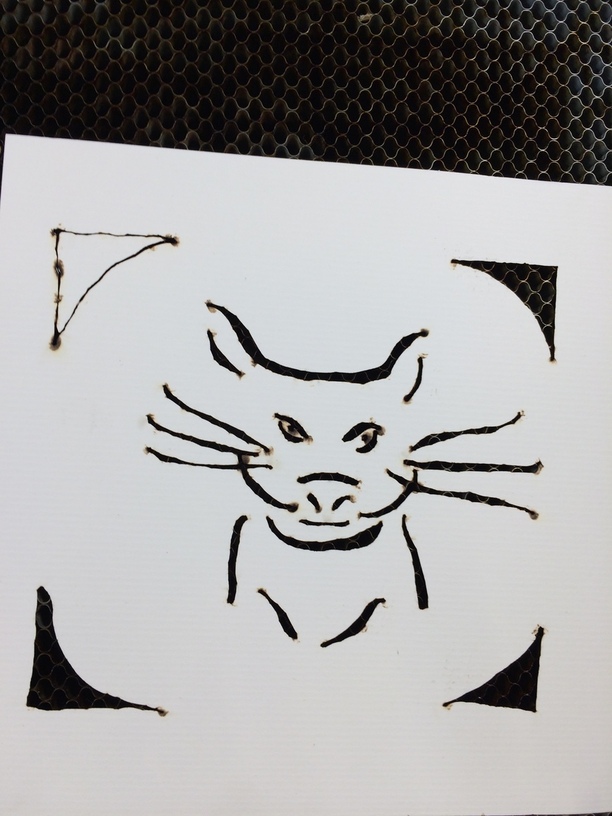
We have had many discussions about the accuracy of this function. Here is an example of the different steps. I also show the use of masking on a paper product, .012" cardstock (thanks again @cynd11!). I also show why I do not use this function much as you can see from the hand drawn cat/pig that is the subject.
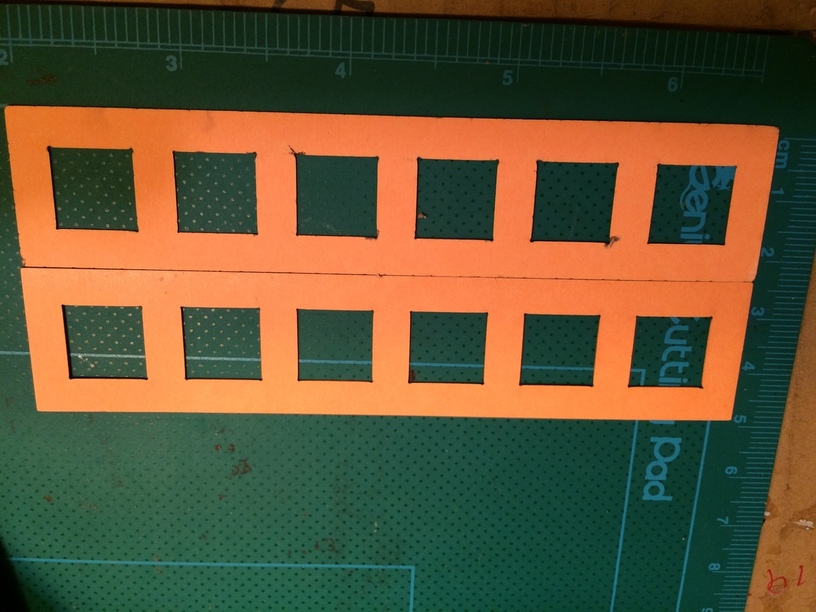
With masking removed. With care you can remove it without damaging the cardstock. Smoothing the masking out without pressing too tightly to the cardstock will help prevent tear away.
Backside. A little flashback at corners. I had a bit more power than necessary to cut through this thin cardstock. I hadn’t cut this before and didn’t bother to do a test.
Not really for the surface but it depends on what you want for the surface. Since paper cuts so quickly with low power, you aren’t getting much soot blowing over, as you would for a slower engrave. If you enlarge the photo that was taken in the bed after the cut but with masking on, you can see the soot buildup on the small curves and corners where the head slows down or concentrates its movement. The back flashback might be undesireable though.
Edit: masking is desireable to weigh down light paper. The cutouts fly away and can obstruct the laser beam as they move or swirl around.
Not trying to derail…honest, but cat pig? That’s hilarious! Seriously though, I loved your walkthrough. This is definitely a feature that I’ll be wanting to try. Eventually, anyway.
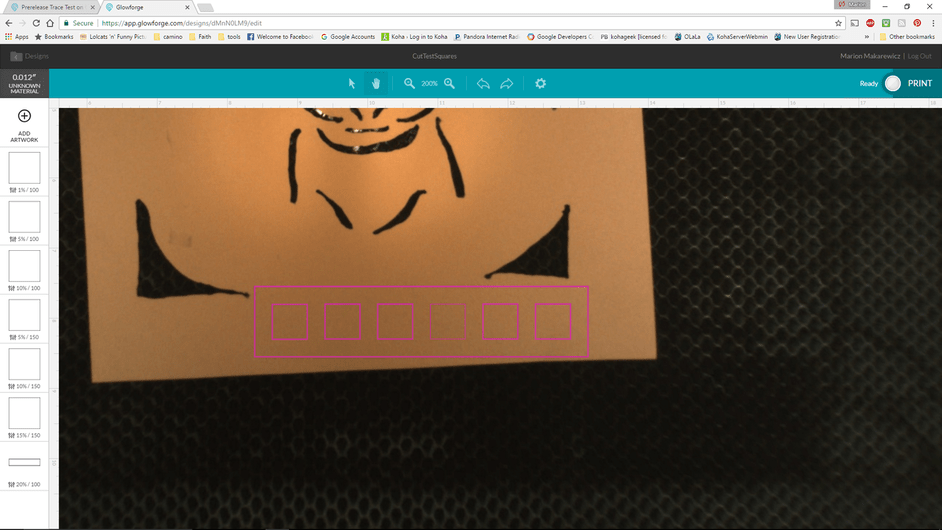
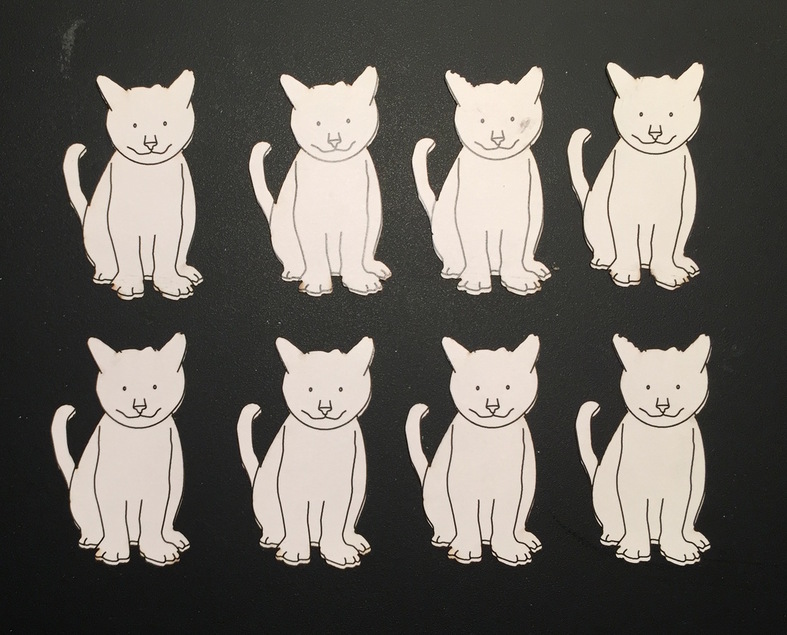
First set of test squares with higher power and lower speed. Note cut settings in left column.
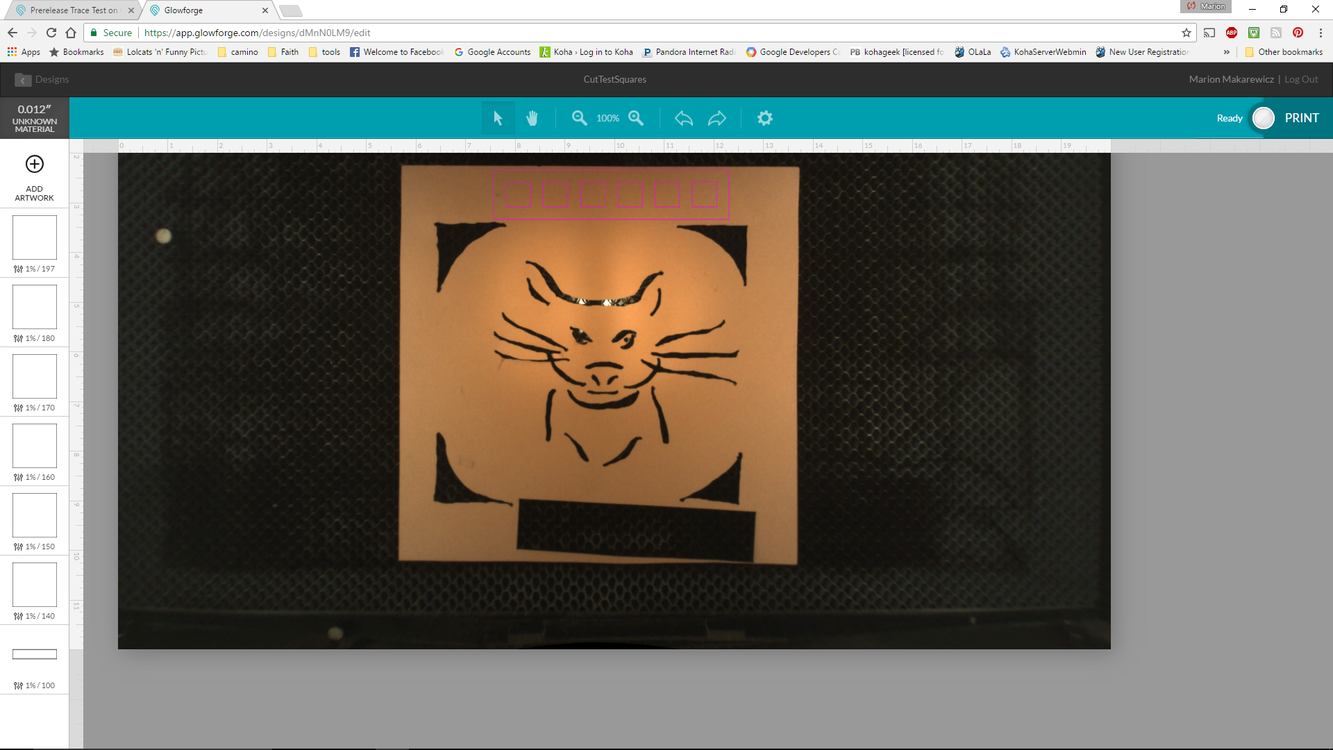
Second set of test squares using only 1% power, varying speed. Result: on unmasked thin cardstock 1% power and 197 IPM goes through fine, with the usual cautions regarding prerelease “results” and developing software in the mothership.
1% power, 197 IPM. Front side, no masking on light weight cardstock/construction paper). Verdict: Masking makes a difference in two ways: it weighs down the material so it doesn’t fly away and obstruct further operations and it also prevents flashback on back and soot buildup on front.
I had to re-read 3 times because I couldn’t get pass the Cat/Pig creature… I try to read the words but my eyes just couldn’t stop starring at the pictures.
I was just about to post this when I saw yours, hope you don’t mind if I add this as it is germane to the issue.
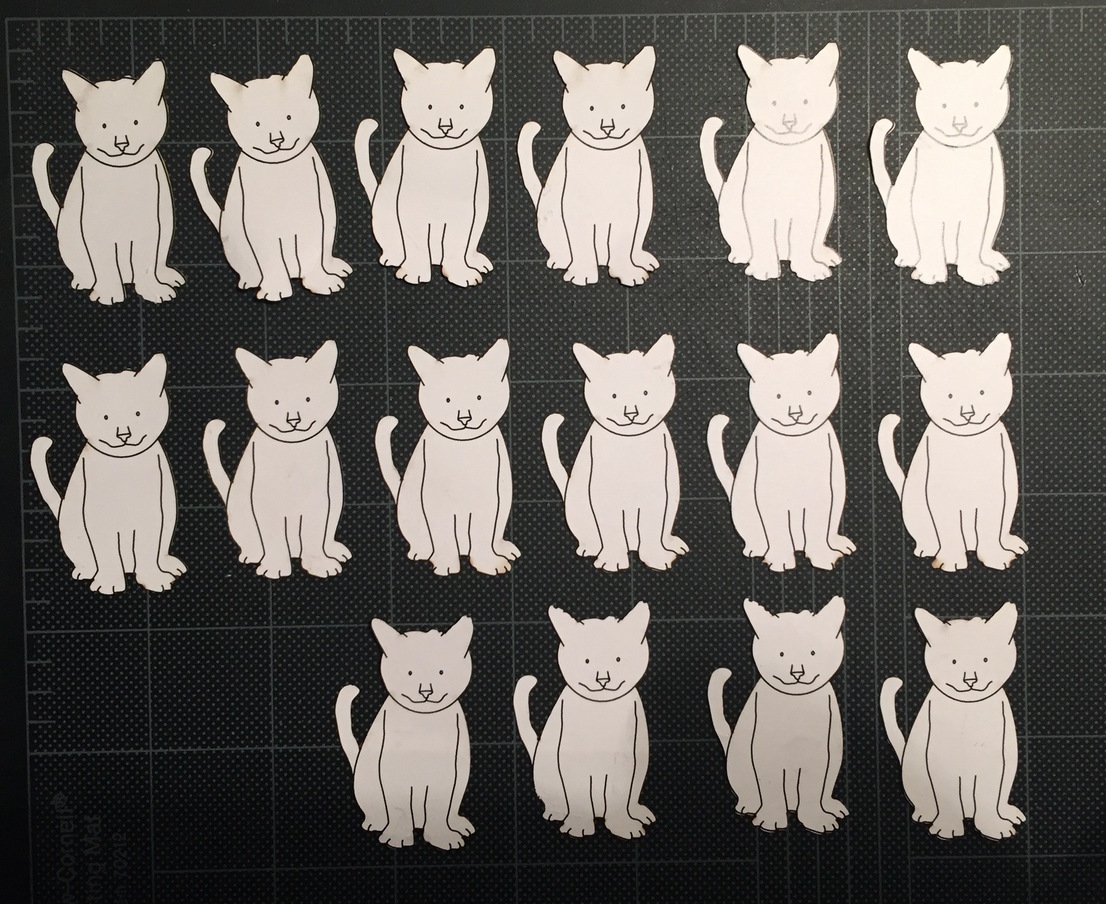
I also have some useful and encouraging info to report. Encouraging because, although Dan has told us that improvements are on the way, pinpoint placement accuracy is currently not there yet but there are ways to improve it until that happens.
Using a method based on 3-point registration supplied to me by @jules (Thanks again!), I was able to significantly improve the cutting accuracy of line art on card stock.
Here’s what I get if I place the art in the center of the bed and manually place my cutfile over it in the GFUI; there is an offset of about 0.05" at the bottom of each cat:
I’m going to respectfully decline your request because A), it’s not my method, and B) it may well be unnecessary anyway. I just wanted to make the point that the software is still under development but there are things that can be done to improve positioning accuracy.
Don’t know about that! Can’t really experiment today, we’ve had thunderstorms passing thru all day and I unplug my precious Glowforge when that happens.
That made a huge difference. Definitely excited that those of you with pre-releases are working on figuring things out in case it’s not working perfectly at the start of production.