Print and Cut Process.pdf (755.4 KB)
33 Likes
I’ve tried @jules’ procedure and it works great!
5 Likes
I just tried a variation on this, and it works! No Xacto knife, though, I have a laser, pew pew!
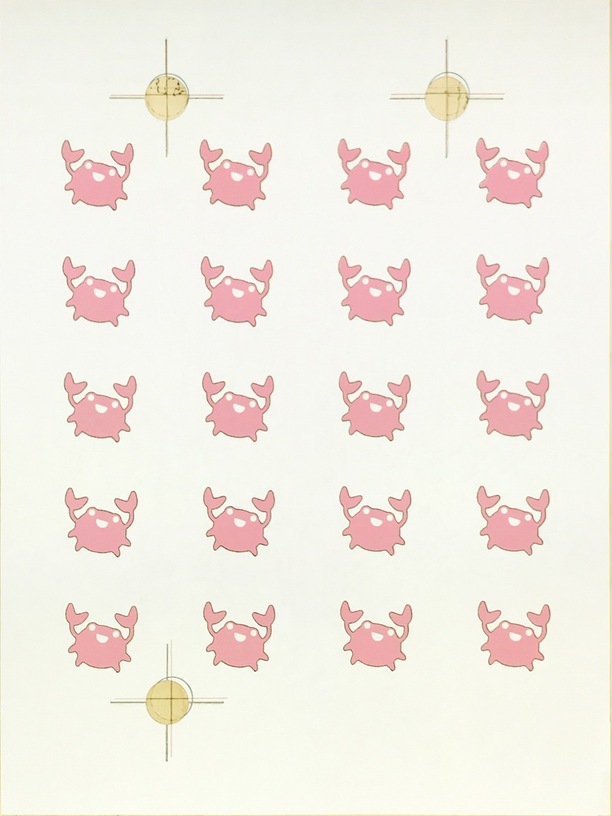
I’m using a piece of plywood sprayed with easy tack spray as a cutting mat. I put in three crosshair/bullseye fiducials in my design. On a first pass, I cut out the bullseye, then scored the crosshairs right through the paper, into the plywood. Then I repositioned the paper carefully to line up the printed crosshairs with the laser scores.
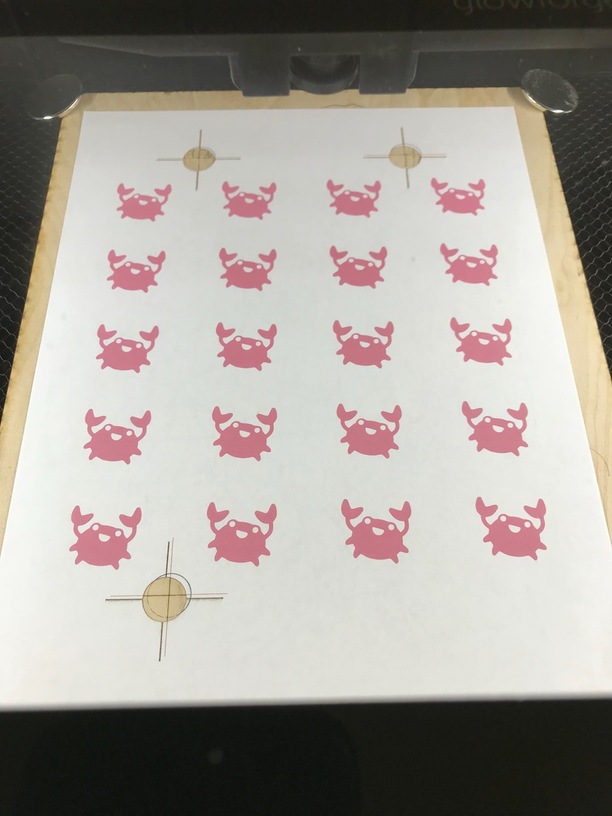
And voila, the rest of the cuts are nearly perfectly registered, as good or better than craft cutter registration. Dark outlines are from the cut:
25 Likes
Those results look fantastic! (I didn’t try it with that many cuts.) 
I’m going to change that writeup to include your method I think…Duh! I have a laser! 
1 Like
Very clever! 
I’m definitely saving this for when i get my GlowForge. Thanks for creating this tutorial! So helpful!
1 Like
how did you cut with out burning the paper?
I cut paper by sticking it down using low tack adhesive spray onto a piece of waste plywood. Works great. Other than that, low power, high speed, like 200/2.
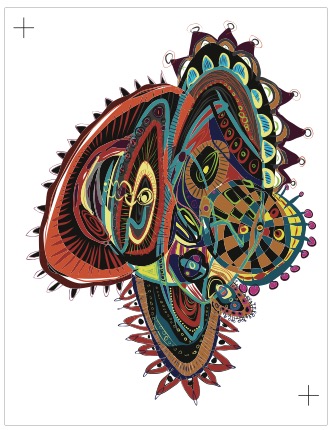
I learned something recently that bears on Glowforge print and cut: laser printers aren’t dimensionally accurate! They don’t have to be, because they’re just black and white. Inkjets are much better calibrated, since they have to be precisely registered. The example above was done on an inkjet.
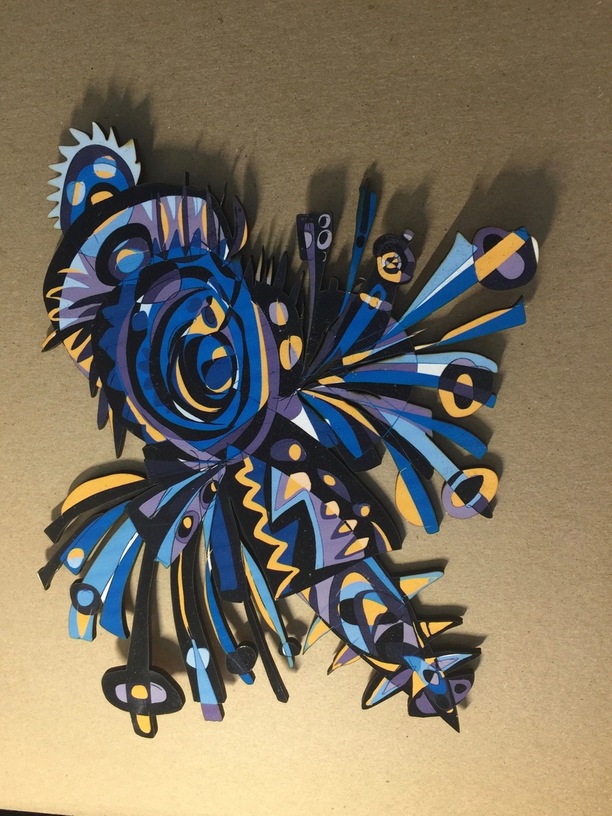
I tried your technique for cutting out some inkjet prints mounted on 1/8" birch ply, and I came up with a variation that seems a little simpler.
I put a piece of plain paper in the glowforge and tape it down and score registration marks from the file I used to print the inkjet prints. Then I use two 8" cardstock wedge shaped arrows (with magnets on the non pointy end) to point at the center of the scored registration marks. Then I gently lift the pointy end and put my plywood underneath, align the registration marks to the arrow points and cut the outlines out. So far it has been accurate enough( 1-2mm ).
9 Likes
Yeah, that’s another good way to create Registration marks.
(Anything that works.)
does that go for color laser printers as well?
I’m not actually sure, but I think so. I think the inkjet printers are more accurate because they have a physical head under tight control. Laser printers have a spinning mirror and a fixed laser, and only needs to be relatively accurate in the X direction to itself.
This entire thread is BRILLIANT! Thanks @Jules for initiating it, and great contributions from @jsc and @macrumpton !
I like @jsc 's variation as it will help with “manufacturability” by reducing steps. What low tack spray did you use? I’ve used " iCraft Pixie Spray Stencil Adhesive, Repositionable, Low Tack" in the past, but learnt the hard way that I cannot leave it on for an extended time, or it will adhere very tightly. The second time around, I did it better and didn’t leave it on for long, but still had some pullout from the cardstock paper.
Thanks,
Sridhar