I just wanted to give a huge thanks to all the experts working on these.
I spent last night trying to turn a raster map into vector and ending up giving up as I wasn’t happy in the slightest with the trace. I decided it would be far smarter to talk to the local GIS tech I know and see if he could just get me an SVG of the map from his system. I figured out I really need to decide if I’m going with Illustrator or Inkscape and put in the time to learn at least one of them. I can’t get motivated yet, without being able to just walk over and pop it in the Glowforge to get results from my effort. I’m used to designing on paper then just going into the workshop and tweaking as I go along.
7 Likes
this is just a guess… but I think this ought to work:
- make your letter A
- as Jules said, turn it into a path
- duplicate it (control-D)
- move the dup from on top of the orig to someplace where you can see it
- with the dup selected, look at the top bar for “width” and “height” of the object
- select the little lock icon so it will scale maintaining the ratio
- choose either height or width and add .005 px to it
hopefully, then, you have 2 objects with one of them .005 bigger than the other
but, again - it may be more complex than that / factors I didn’t consider
6 Likes
I just love these explainer posts. Thanks for sharing your trials and triumphs @marmak3261! These write-ups have been very helpful to me.
2 Likes
We are always looking for more volunteers, we are all just amateurs, well a few are real experts but for the most part…
As to there being more than one way, yes, f360 especially, there are usually no less than three way to get to the same place.
2 Likes
While I am very unfamiliar with any of the programs that can be used, we (me and my employees) are very skilled at making, proofing and so on of tutorials. We make them quite frequently for our customers. If I can be of help, I would be happy to do so.
7 Likes
You are PERFECT for reviewing then. We need people who know nothing about a program to work through them and tell us where we missed steps or was unclear. Just ask @Jules to add you to the PM list.
1 Like
Stupid me. I’ve been looking through the illustrator tutorials, but if I didn’t see a problem I didn’t say anything. I’ll correct that so you know it’s had multiple eyes on it. Sometimes my brain only half works.
4 Likes
Excellent t work @marmak3261, I love seeing your work and especially your explanations.
4 Likes
If I ever come up with anything innovative, I’ll be happy to share. ![]()
1 Like
Uhmmmmm…Yeah, you guys need to tell me! ![]()
Snort!+ Chuckle!= Snortle!
That’s okay, I guess that means there’s not a problem with most of them, which is cool, and I guess they’re being reviewed for accuracy, which is cooler! ![]()
And thank you kindly for the generous offer! ![]()
We’re not planning to rewrite them to make them pretty though, there’s not enough time for that. These things are going to start shipping before too much longer.
So I’m afraid the tutorials will be technically sound, but not particularly inspiring.
7 Likes
Well, the offer stands if you decide I can be of any assistance.
3 Likes
Is that also true for text or does it only work easily on geometric shapes?
1 Like
The text has to be converted to a joined polyline before you can offset it.
Here is a letter A.

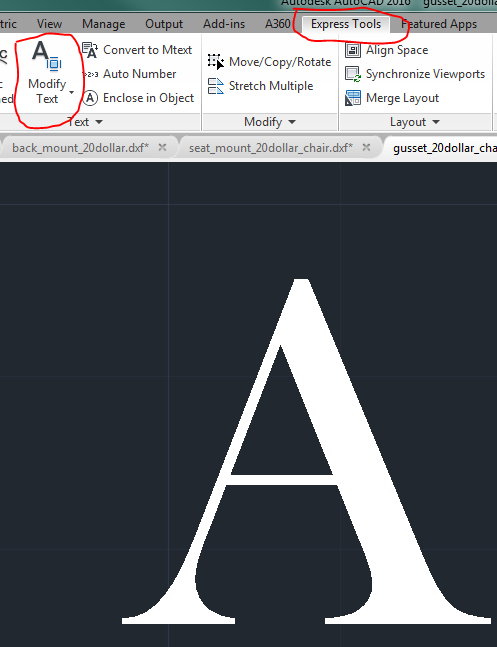
Under Express tools, there is an option for modify text, explode text…
that command yields this result.
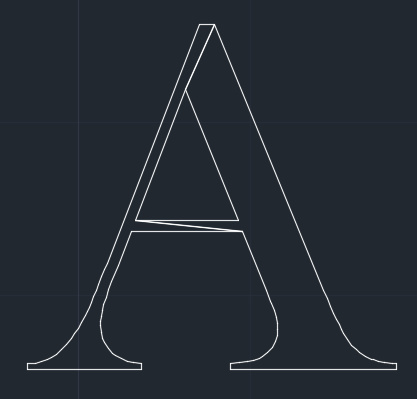
For some reason there are 2 polylines, a RH and LH instead of an inner and outer. I explode this again and delete the 2 extraneous lines. Which gives us this.
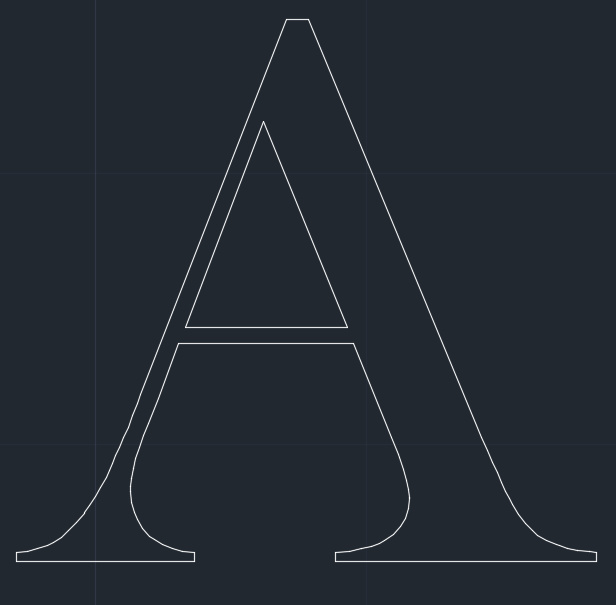
Now I quickly add .001 fillets to the outer corners and .011 to the inner. (for this example).

Use the join command to make an inner and outer closed polyline.
Offset .010" (again, this is just and example) The actual numbers depend upon your kerf dimensions.
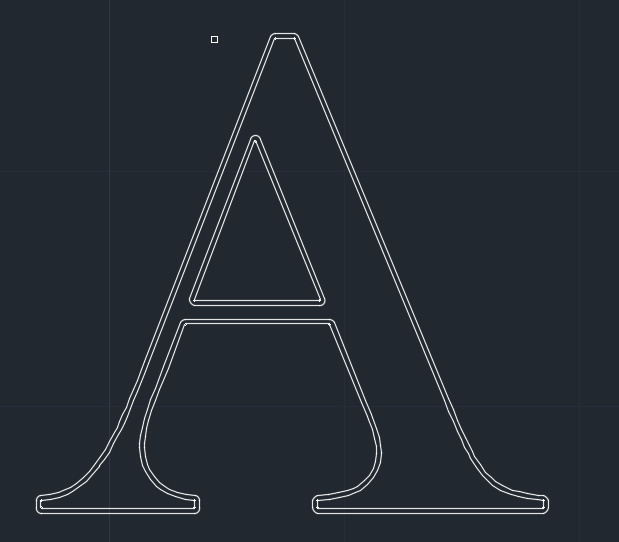
The reason for the fillets is that you won’t get a good offset in the corners if you don’t do this.
See the difference?

It seems like a pain, but once it’s done you can copy the letters and use them over and over. The CAD program allows for complete control over all aspects of the letters and kerf which is vital for good fitting inlay work.
19 Likes
That would make a nice little tutorial. You ought to write it up. 
12 Likes
“Sorry, you don’t have access to that topic!”
I’ve started seeing this a few times recently, no idea why.
If I go to the “tutorial” tag I see a list of topics, but nothing about kerf and Inkscape.
What is the title of the topic so I can try searching that way?
1 Like
It’s just a repository for folks who volunteered to help with developing tutorials. When they are ready and find a better repository everyone will have access. I can’t see it either.
2 Likes
Makes sense, thanks!
Yep, @rpegg nailed it.
We don’t want to show them to anyone who hasn’t volunteered to help on the Training Team until we get all the bugs worked out. (Like this one, that we just tripped over.)
We don’t want to be giving you guys bad intel. ![]()
@marmak3261 - Okay Marion, I’ve got the revision uploaded. If you would give it a try and see if it works a bit better for text, and then please let me know how it works.
(Just post something on the Training Team thread so we can take it off the main boards and quit confusing everybody - I watch for Private Message flags, and I’ll see it.) ![]()
5 Likes
It works better than the scaling command but not quite precise. Might be able to tweak the scaling in each axis separately.
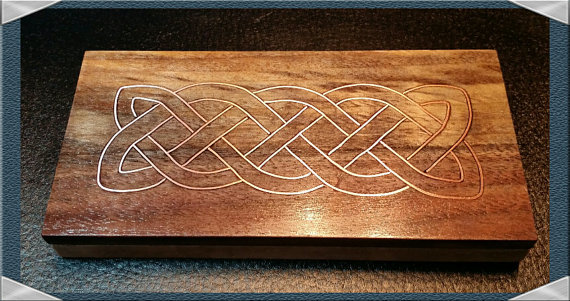
I can’t wait to do beautiful inlay with the glowforge. I currently do copper wire inlay into black walnut by hand.
38 Likes