Is that the effect you were hoping for (that it would be rasterized) or were you looking to accomplish something else? I know @tony has been thinking about what vector gradients should do.
1 Like
May I has input? 
It would be beyond cool if they could do a variable depth engrave the way the rasters do. It would make beveling possible at edges for nice finishes on boxes.
24 Likes
What @Jules said.
10 Likes
What @johnwills said that @Jules said🤓
10 Likes
Can I request that the GF Manual has extensive explanations of the different options for engrave/raster, etc (including pros and cons of each).
Going get to need to get the most out of our GF investment.
2 Likes
I inadvertently had made a fill a gradient and when I went to print the design, a message popped up about gradients being simplified to one color.
Interesting. I’d expect the same result as raster there, only with more precision. And that might change my design thinking… And that was in Inkscape or Illustrator or…? And whatever the app, have you had a chance to try it in another app to see if the result is the same?
- Tom
We recommend rasterizing the gradient before printing. Then you will get the (most likely intended) effect.
8 Likes
Okay… I see. So I can start off with a nice, clean vector gradient and then just rasterize it. I have no problem with that. ![]()
4 Likes
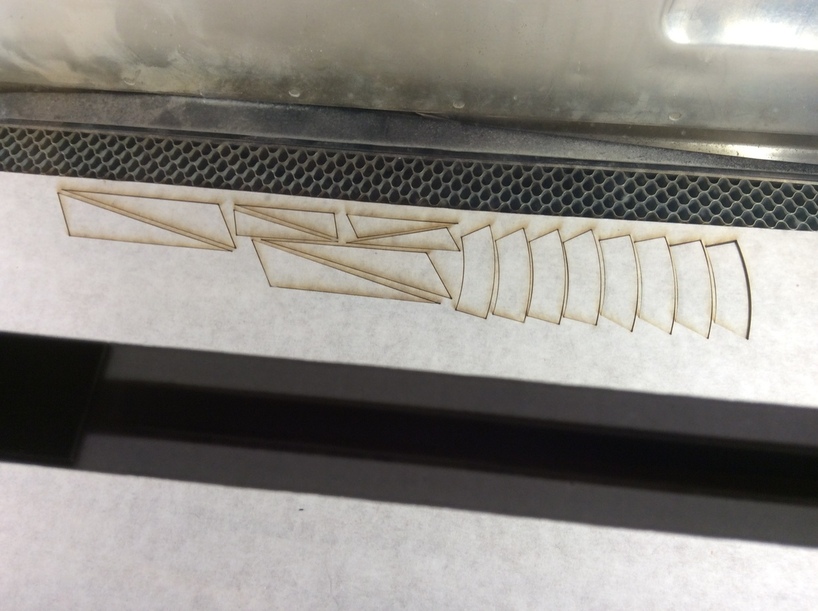
Worked on a practice cut in chipboard. I think I have the design file set. I got the basic shapes made and then cloned them. Interesting that the way the kerf works it just all collapses down.
This also helped me understand how to place the parts on the grain patterns and do an efficient cut.
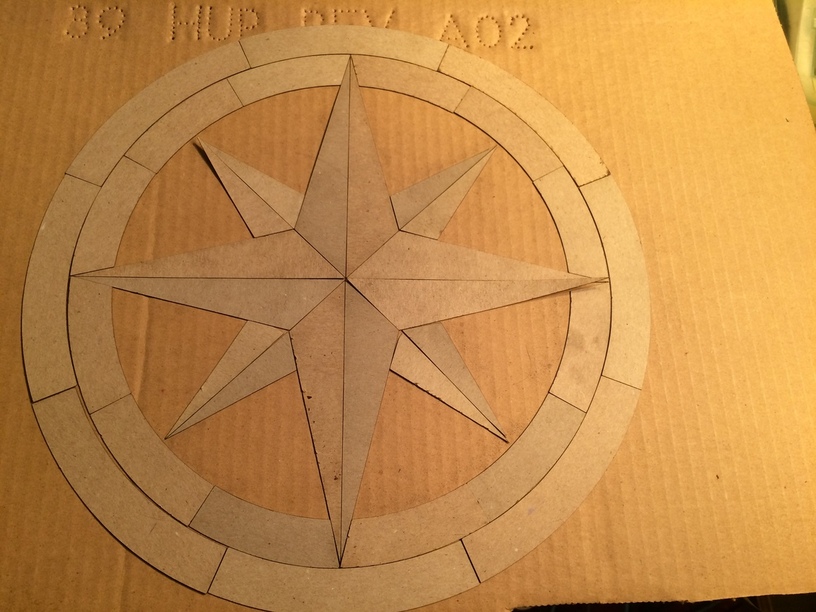
42 Likes
Lookin’ sharp! Can’t wait to see the finished piece…it’s going to be stunning! 
5 Likes
Really excited to see how this one comes out! Take good pictures!
4 Likes
Looking good 
2 Likes
What @Jules said! It’s looking great. I’m looking forward to seeing the finished piece.
3 Likes
I ended up resizing everything to be able to fit on a piece of wood I can get into the bed to work with, so this is about nine inches.
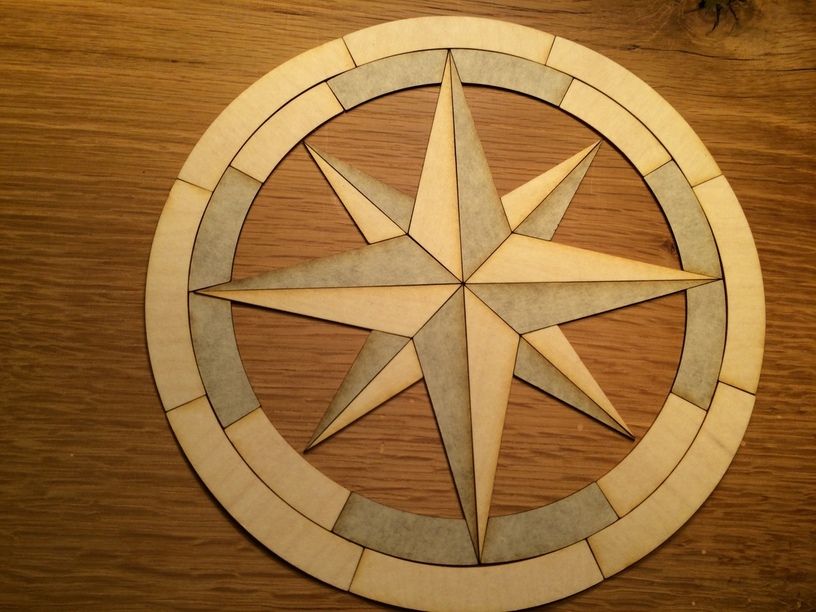
The way the cut profile works makes the kerf thinner at the bottom than the top. Ideally you would cut the veneer on the back, flip it over and then you would have a close tolerance with the edges lining up. Since this veneer is masked on top and adhesive on bottom there is going to be a slight gap between pieces. Not sure what I’ll make of that. See what develops.
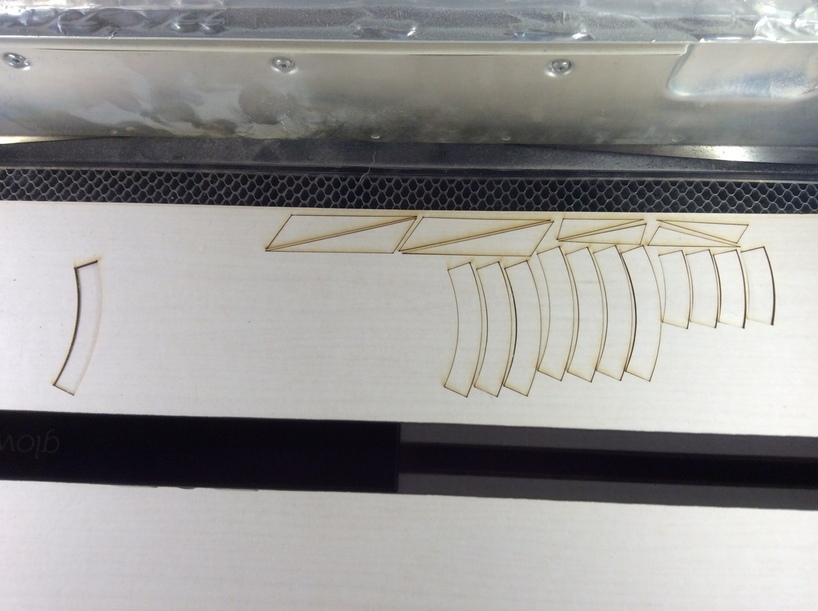
I cut the darts out of the maple and walnut veneer. I could use one more type of veneer to add contrast. Need four colors. The base will be one color.
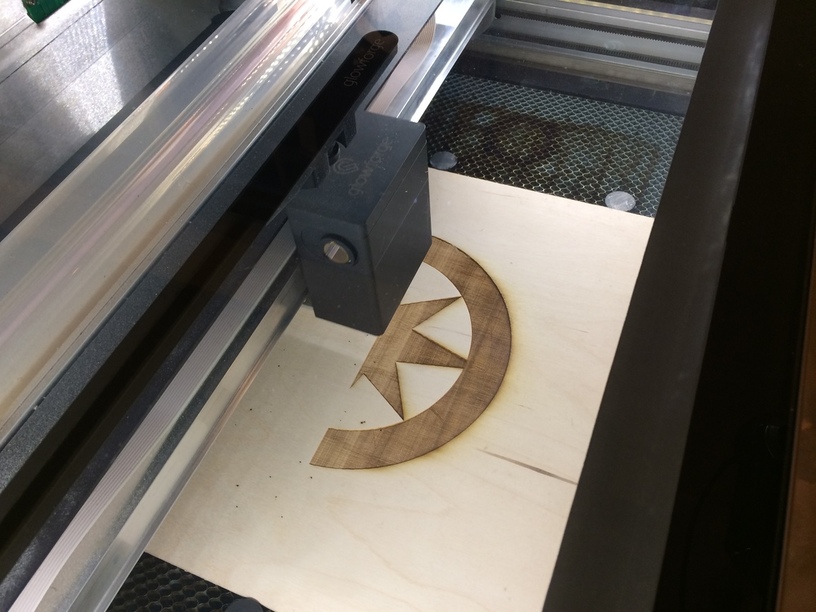
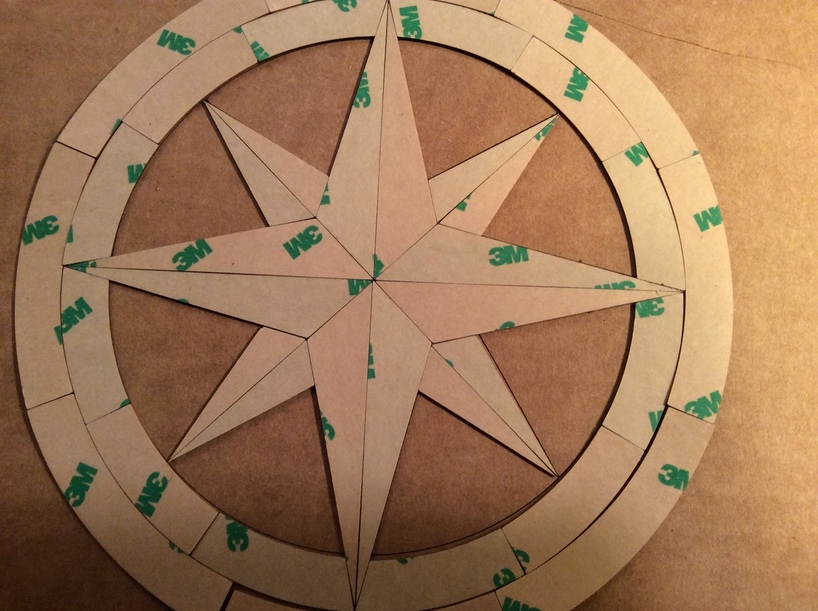
Working on the base engrave. Interesting problem. I could have cut pieces and have the whole thing inlay, but I am trying to use the base as another contrasting wood. So I punched out the design and shrank it enough to compensate for all the kerfs and everything should lay in the pocket. 1 hour and 30 minute engrave. This is in some plywood for a test fit. I scored it first to see how it lined up on the outlines of all the pieces. Now I’m engraving. Not full depth for this time because that would take quite some time.
Very simple design file in the end. four different darts and three different inner rings, one type of outer ring.
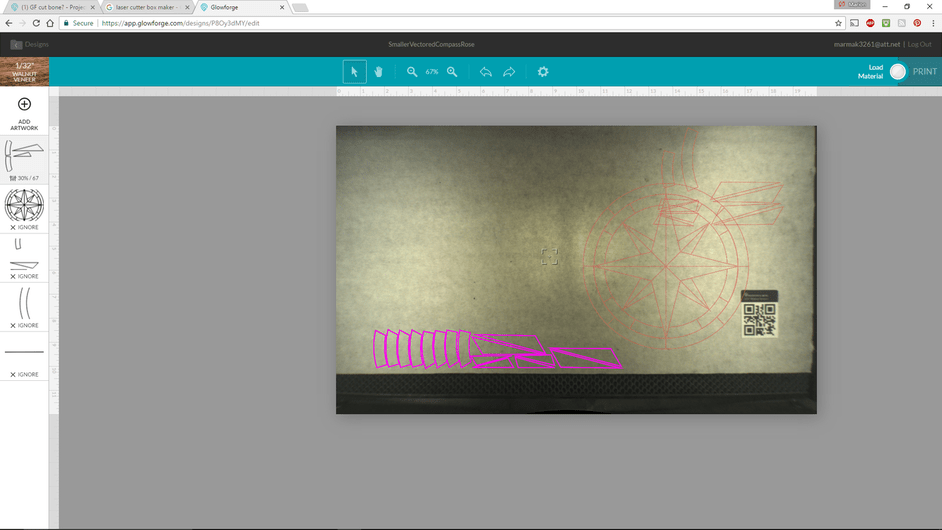
Whoops, orphaned a ring on the left.
Test engrave for the base.
38 Likes
Very nice work my friend. I will need one like that for my nautical theme bar.
3 Likes
That is just lovely!
I’m hoping that you really can just flip it over, so that you engrave with the bottom-side (with the adhesive backing) facing up and the proof-grade masking facing down. I’m assuming you can just “tell” the GF software that the material is proof-grade “xyz” or have it scane in the masking before flipping and cutting.
Is that correct? Can you tell the software that “this is proofgrade walnut veneer” ?
1 Like
No. That’s been pretty well covered before. But your trick with having it scan the QR code first should be good. Until it’s UV painted on in which case maybe GF needs to be able to paint the QR code on the adhesive side as well.
4 Likes