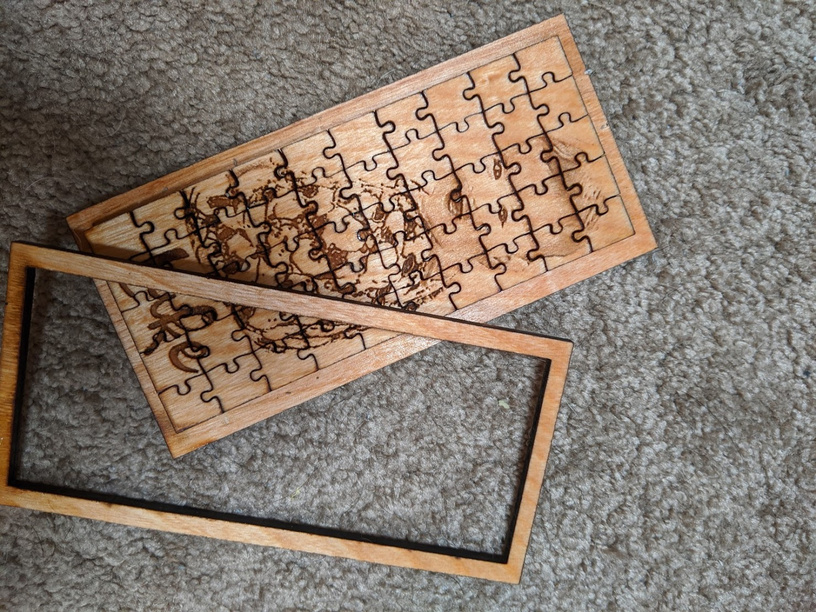
Hi friends - I’ve begun my way down the rabbit hole of puzzles.
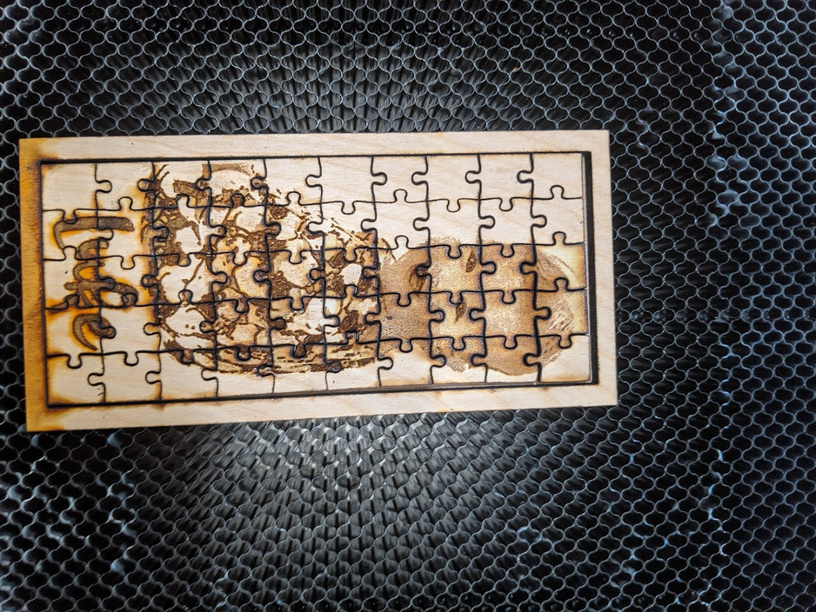
Just because you can cut a lot of pieces, doesn’t mean you should (I spent the last +hour trying to piece this back together… I gave up
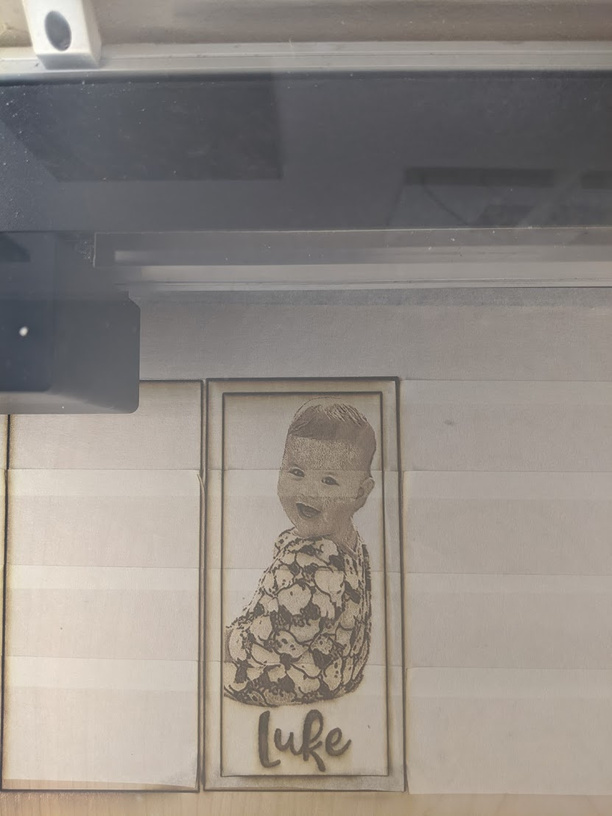
Order of job: engrave, then cut
I’m re-cutting this engraved puzzle (with only 15 pieces this time around) and would like to understand your tips and tricks on make it look like the photo when the puzzle is together.
Masking with a light engrave will screw up the engrave, meaning it will take off layers of mask rather than layers of wood. So yes, engrave, mask then cut. I don’t think it matters which side you cut from and use 1/8" wood and not much thicker (IMO).
You will get banding if you use overlapping tape to mask. So skip the masking. It doesn’t look like proofgrade, so I work on getting you cut setting dialed in. You have some crispy edges there.
I would try engrave first, then cut out the photo and carefully remove the engraved inset (piece of tape helps) without moving the frame. Clean up the engraving and mask with blue tape on the engraved side. Put it engrave side down into the cutout frame and cut.
I’d have to go searching, can’t remember whether he’s done one of those or not. If he did it would be in the Tips and Tricks section, so you could narrow your search to that area to make it easier.
Last time I printed a puzzle, I used masking tape after the run, before moving anything. Lift the whole puzzle out; turn over and weed the bottom side. Then apply masking again to the underside; flip and weed the top. Voila, no need to make the puzzle.
Kinda looks like you might have had doubled-up cut lines (each piece was an actual shape, so all of the adjoining shapes also had cut lines). Was that the case?