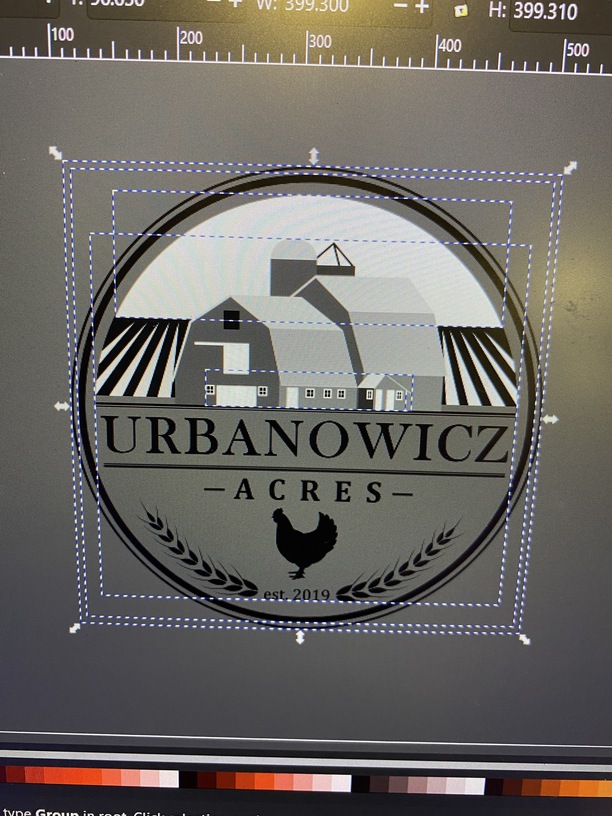
So I’m currently trying to print this logo on a piece of fabric. I am using inkscape 1.0 software. My goal is to print out the logo and have a 1 inch circle around it that will be designated as a cut line. When I go to select the item it shows me the following.
Is there a way to eliminate what is not needed. By that I mean the squares on it. When I load it into the gfui it says the design has a clip path. It has been changed to a path. This design contains a vector gradient. The vector gradient has been changed into a single color. To print a gradient, you can use design software to rasterize it before saving. All I am looking to do with it is to engrave the logo and have a inch circle around it and then cut it on the one inch circle. The file is an svg . I have used the logo before but it wasnt an svg file. When I used it then I didn’t have to go and pick all the settings for each piece. With the svg file it makes me. Hoping for help! I have alot of learning to do .
It’s going to be a bit tough to get it exactly right for you if we don’t have access to the svg. Stuff like this can be a little tricky to revolve — not hard, but it’s probably a few steps, and those steps will be pretty specific to your file.
If you feel comfortable uploading it here I’m sure someone can tell you just what needs doing.
This is the file I am using. I would imagine I would eventually figure it out after racking my brain over it for who knows how long!! Practice practice!!
So I’m not at my computer but one solution is to rasterize the whole logo at a nice high dpi PNG (I like 600) and import the image back into your svg. Then you align it with a cut outline in the svg and send it to the GF UI.
It might seem like this is the long way around, but the big benefit of doing it this way is that you can scale it accurately. Whatever size your vectors are when you export them, that’s the size the raster will be.
It sounds like you know your way around rasterizing so I think you know how to do those steps? Anyway if it’s still giving you trouble I’ll dig into the file tomorrow.
I’m a little tired so I don’t know if I’m following exactly, but here is what I did:
Opened in Inkscape
Selected everything and grouped it (this is because I have a habit of moving elements without realizing it)
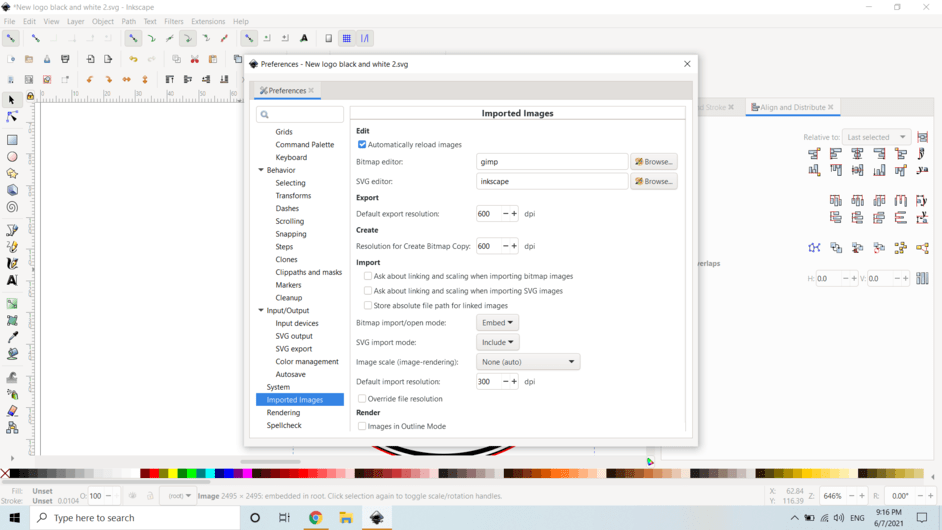
Click on Edit-Make Bitmap Copy (I have it set to save at a high DPI…I think I did this a while ago in Preferences)
I took the copy and resized it to 1-inch.
I made a 1-inch circle and assigned a stroke color to make it cut
I realized that the outer circle of your original logo fell outside of my circle, so I resized it to 0.99-inches to get it to fall into the cut circle (not sure if this was needed or not)
Align and distribute the circles for just in case I didn’t have it centered.
And that was it. I deleted the original vector file from this, but you should be able to recreate it.
Then I forgot I can’t upload an svg with a photo in it on the forum, so it should be in this zip file. I attached the PNG of the logo from before resizing it.
That looks awesome. Quick question though. Can you add a circle around the outer circle. I would like it to be one inch from the outer edge of the logo. Also thank you for your help. I really appreciate it.
This is why I was advocating scaling it before exporting. You can lock all that in ahead of time. The way @cmadok did it was to scale the logo to 1”, I can see why she did, your phrasing could be read that way.
That same technique works with bitmap copy too, just like @cmadok showed. This is fundamental Inkscape skill set stuff, if you get the hang of it it’ll pay you back many times over.
If you did want the logo to be 1” tall, then the way I’d handle fixing your cut circle scale now would be
select the existing too-small cut circle
click the lock scale icon
add 2” to the width. That’ll also scale the height by the same.
use the alignment buttons to recenter things
…and now your logo is now in a circle that is 1” from the outer edge.
The rescaling action is literally 10 seconds to do once you get familiar with it. Inkscape is really good at stuff like this
If the 1” size is too small I’d start over and follow @cmadok’s workflow starting with the logo scaled to whatever size you want. I’d just be sure to go into preferences first and set the bitmap export DPI to something >300, otherwise you’ll get “jagged” edges with the default 96dpi.
Well with everybody’s help I finally got it figured out!!! Thank you to everyone that helped me out. Truly appreciate it. I’ll probably be back asking for help on something else so don’t be surprised. This is challenging to learn but fun!! Thanks again.