I wish there was an easy way to invert the what the GFUI decides your engrave should be. I wanted to engrave a flask (by removing the powercoating) and each time I uploaded my image from inkscape it always had the oppisite of what I wanted.
I now know the process to achieve what I was going for, but a simple option in the GFUI would be amazing when you just want to do a quick change.
Yes but if you are using uncertified materials (in this case it was a metal flask) the only option is to engrave. Also, it was an PNG file off of google images, I don’t know if that makes any difference.
The UI can be a bit confusing until you get used to using it. Anything that is black in the original image gets Engraved (parts that show in pink on the bed), and anything that is unfilled is not touched.
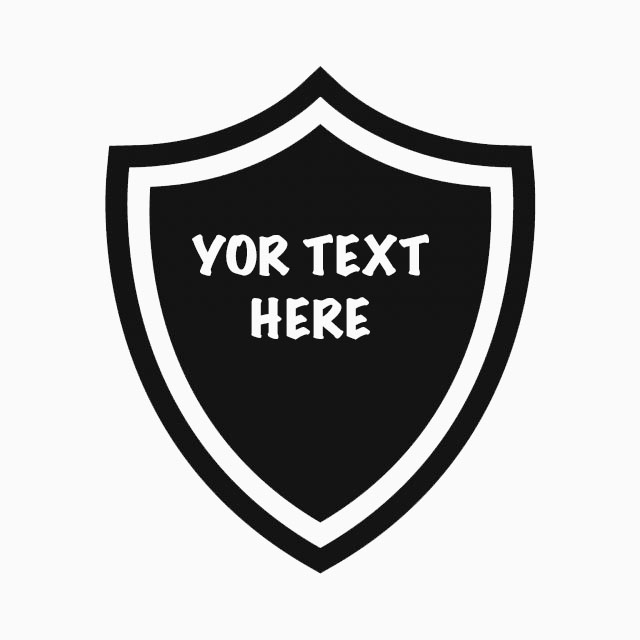
That’s going to engrave exactly what the thumbnail is showing. Are you wanting to invert that so that the text is engraved and the rest of the shield is not? In Inkscape, remove the fill color for the shield and set the text to black fill.
You said you knew how to fix it, but I’ll show it here for posterity…it depends on whether it is a bitmap or a vector drawing…
For a bitmap, take it into GIMP or Photoshop and invert it. For a vector drawing, take it into Inkscape and change the Fill colors. Black will always be engraved. So you would need to remove the fill color from the shield and change the Fill color to black for the text and skull.
One reason it would be hard for Glowforge to offer this option built in is that after your file is exported to a bitmap, it’s a rectangle, and it’s not necessarily going to do what you want if you invert it. For example, if you had something like this:
We could argue that one of Glowforge’s core competencies is image processing in the cloud, so this could be done with boundary detection in some kind of Smart Invert, but then it’s guessing what you wanted. So in the end, like so many things, it’s more complicated than it seems. Fixing it in your design software is really the way to go.
Thanks for the suggestion! Since it sounds like everything is working as expected, I’ll be moving this thread out of Problems and Support to Everything Else so that we can continue this discussion.
If you run into more trouble, please reach out support@glowforge.com or start a new thread in Problems and Support. We’ll be happy to take a look!