What do you do if you have a really big potted plant in your not very big living room? Turn it into a side table! We’ve had a small side table to the left side of our couch for years, but we realized that one big potted plant would be less in the way there. Giving up the plant is not an option. My partner loves keeping and propagating indoor plants and we have several large ones, including a ficus (grown from a cutting ~ 5 years ago) and a Ti plant. The ficus is about four feet high from the surface of a large (a bit over 20 inch diameter, 20 inch deep) pot on wheels. But if we replace the side table with it, then where does the person on that side of the couch put a drink?
Enter the Glowforge!
Despite working here for over two years, I am still pretty poor at designing or making non-flat things. It turns out when you spend all your time coding features (and debugging and designing software systems) and you have a lot going on in your life, you don’t exactly prioritize learning drawing software. Or at least I don’t. : ) This design took me a lot longer and is less pretty than I expect someone experienced with a drawing tool could produce, but we got it done in a few hours at home. It solves a real problem for us that we would probably not have been able to do with our skill level with “traditional” tools.
First I prototyped in some cardboard. It’s just this oval shape and some holes, plus the bits to go through the holes. Really nothing fancy:
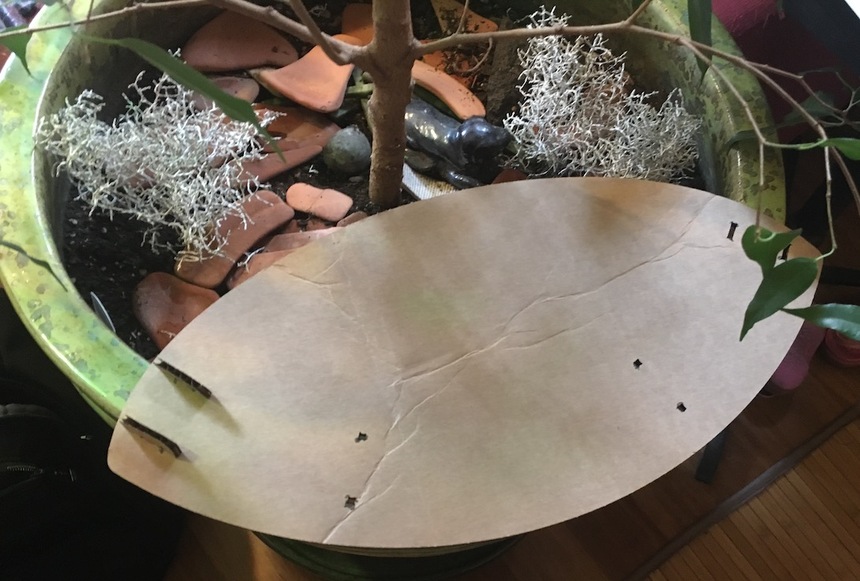
There’s two little ‘T’ pieces that go down on either side of the pot rim. There’s also some extra holes here where I was going to try a square “U” shape to hold it in place, but that was hard to prototype in cardboard (not enough structure) and it turns out the rim of the pot is less consistent than we realized such that getting the positioning right would have been really hard. Each T slot is about 3/4 inch wide and the piece extending below was intended to be about flush with the pot rim on either side.
This is not made with Proofgrade! My partner has a huge stack of wood box lids made of a quarter inch plywood that cuts pretty well which we’ve used for some projects. Here is the piece cut out and test fit to the pot:
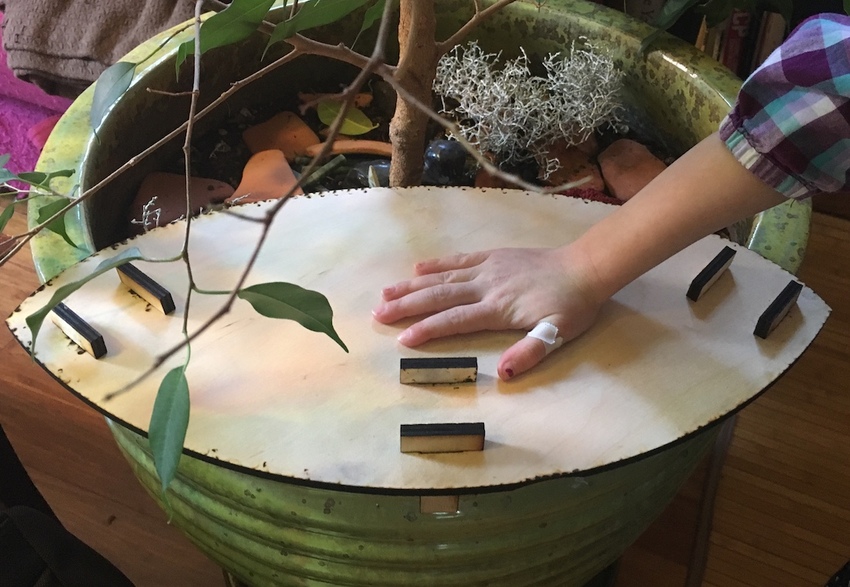
That’s our four year old’s hand for scale. ![]() I ended up going with three pairs of Ts as it seemed like it would be tight enough. It was! In fact, due to the unevenness of the rim, the middle ones were impossible to put in unless the overall piece was positioned just right.
I ended up going with three pairs of Ts as it seemed like it would be tight enough. It was! In fact, due to the unevenness of the rim, the middle ones were impossible to put in unless the overall piece was positioned just right.
We didn’t mask it and the settings were not carefully dialed in. Knowing I was going to sand it and that this plywood can be pretty finicky about consistent cut through, I biased towards it definitely cutting through on the first attempt rather than minimizing scorching and flashback. This image is in fact the “back” side of the material because the other side has a groove cut out of it for the “handle” to the lid. But a little sanding and it looks pretty good:
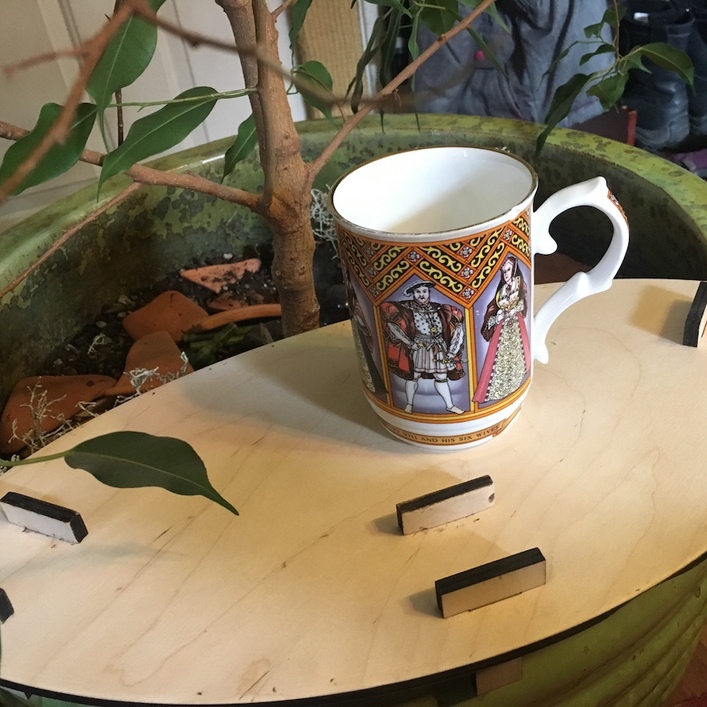
It’s fairly sturdy and not really wobbly. If you smack it under the edge, it will move, but due to the aforementioned unevenness of the rim, once the middle set of Ts are placed, just a little rotation tightens it down pretty securely.
Aside from sanding it more thoroughly, my partner is already thinking of ways to hide the Ts. I’m also thinking we could engrave something decorative on it (because we can!) But knowing our schedules, it’s likely we won’t do too much to improve it, unless he gets a bee in his bonnet about it. There are too many other projects we could spend our time on!
