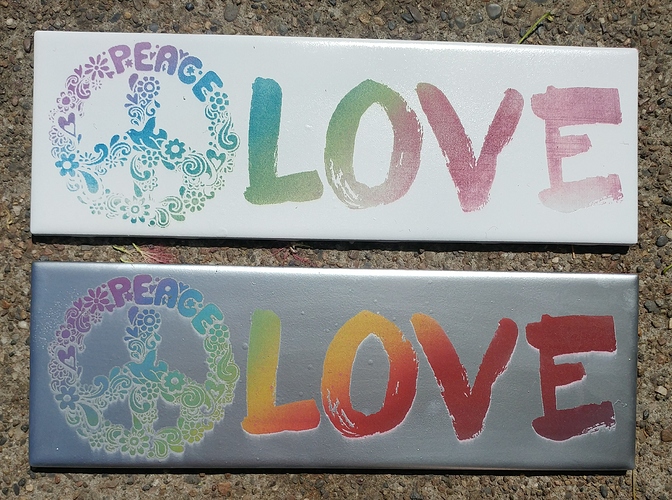
I spray painted the rainbow colors first and let it dry. Putting thick layers of paint will give you more wiggle room. You can see in the white tile on the lower right “E” that I was too thin with the red paint and it ate through to the tile.
Then I did another spray paint top coat of white (or silver) and let that dry.
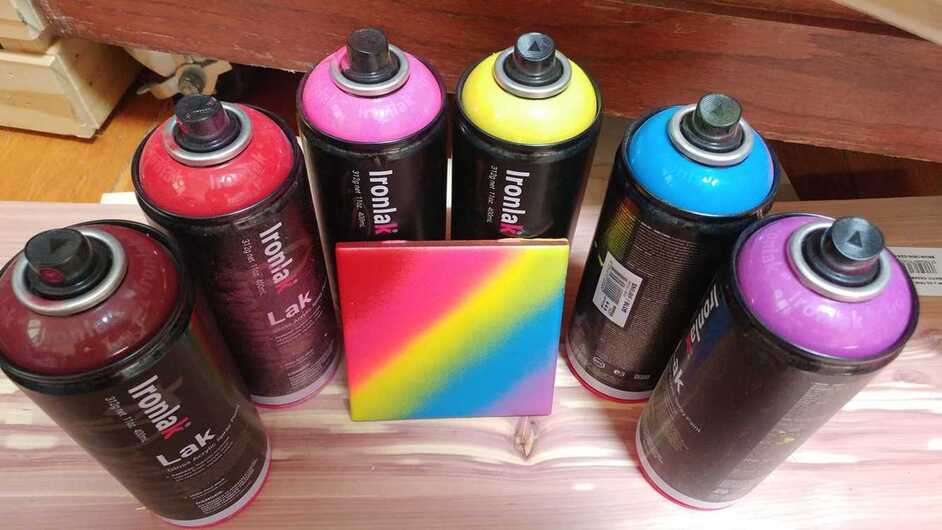
(The bottom pic with the paint cans is what it looks like prior to adding the top coat.)
I lasered off the very thin top layer of white (or silver) paint revealing the rainbow colors below.
Settings
Power 15/speed 975 /270lpi
I also defocused the laser on the silver tile. The actual height was .3 and I set it at .4 so there was a wider beam hitting the surface. This helped get rid of the lines you can see in the “E” of the white tile.
What kind of paint did you use? I’m new at this so my next question is, when you etched the top photo, did you etch off the paint and reveal the white? Thank you
The paint is Ironlak spray paints - any good quality spray paint will do though.
Order of operations is:
Spray paint rainbow.
Spray paint white (or silver).
Upload LOVE image to Glowforge.
Use the settings @kittski provided, remove a thin layer of the white/silver to reveal the rainbow beneath.
Spray clear topcoat over the entire tile.