In one of the other discussions about alignment of bulk batches, mail merges were brought up. Discussing this with my wife had her instantly drooling.
The idea is that if I wanted to engrave student names on #2 pencils, I could open a pack and just toss them in the forge. Not worrying about orientation at all.
I then tell the forge to locate the shortest flat end (the tip of the eraser) and offset 1.5" in from there, centering with the short extent at that point, and engrave the name selected from the mail merge style list.
With those few commands, boom… my excel list of student names is moved onto the pencils, and they all align flawlessly with one another (sure, some may be on the side which comes factory etched, but if I really care then after my careless toss I just flip a few to ensure those sides aren’t facing up anywhere)
The way I picture this happening in the actual software would be that I use the magic wand to isolate a pencil. I then choose some command which indicates I have just identified an object which exists in multiple, the software asks how many are on the bed, and I enter a number. It then identifies what it thinks is each object, and I have the option to cycle through the list and verify each one (if I select item 5, then a standard mask is overlayed on the display blanking out everything except the fifth identified pencil).
I then accept the identified lot of pencils, and am presented with a nicely straightened out mask on which to align my intended cut/engrave. I select the Mail Merge option, and am provided a standard text box type of selection tool (after locating the file from which to generate the mail merge text options). I click on the spot where I want it to start the engrave (and if I wanted I could select a box area with click/drag, then choose to shrink text to fit, or truncate overflow). If I am satisfied with just manuallly clicking, I can leave it with my first click, but I want things nicely aligned, so I click on the Alignment button, and then select the top and bottom bounding lines, and click center. I then click the edge of the eraser and click offset, entering a value of 1.5"
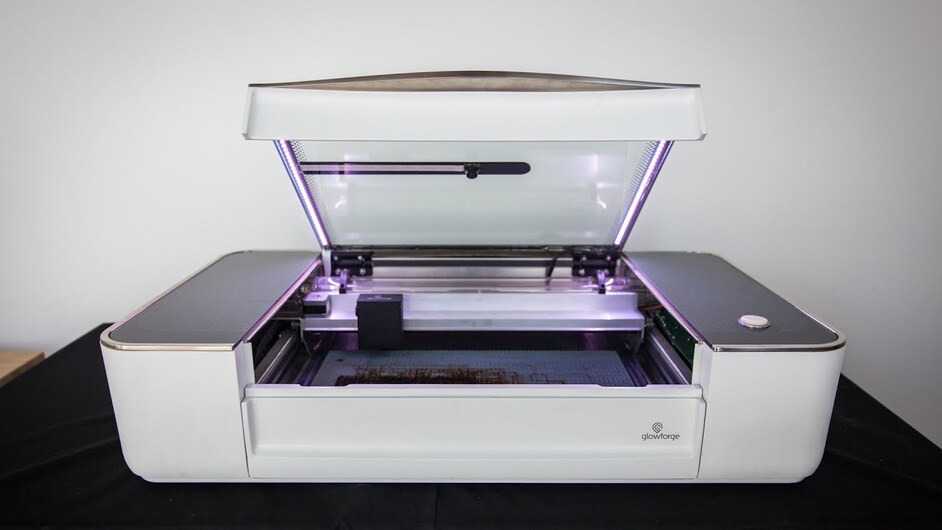
At this point I click OK, and it shows me a preview of the expected engrave, again I can cycle through each pencil individually and see a masking isolation to check the work. If I am happy, I send to the Glowforge and press my magic button on the unit itself in moments.


