Longtime lurker, first time posting. Just got my GF up and running and man, what a trouble shooting adventure this has been…
This is for all you Rhino3D users out there. Seeing how support for .DXF and .SVG exports from Rhino is either non existent or does not work, here is what I came up with.
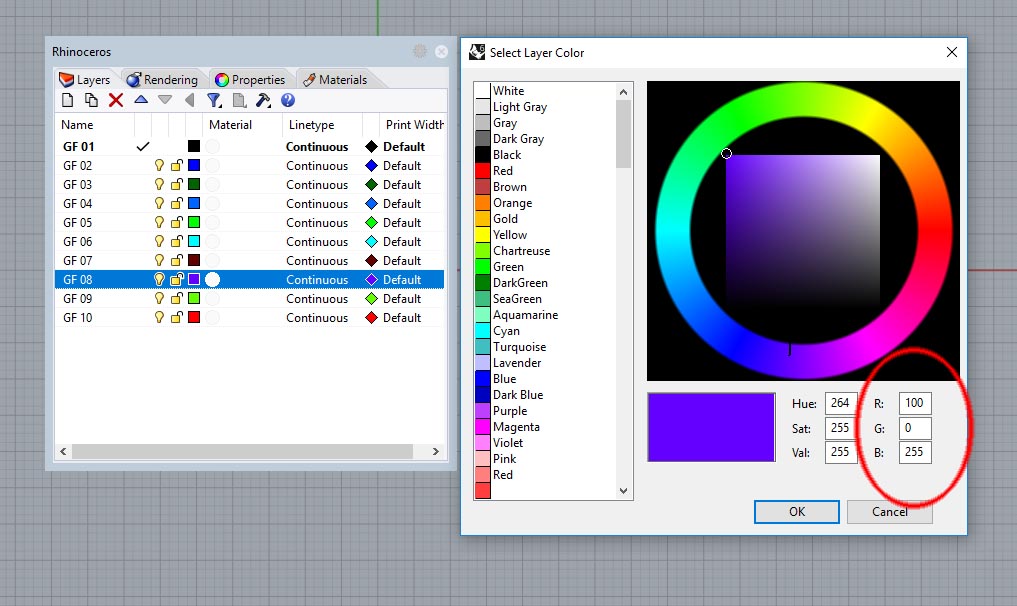
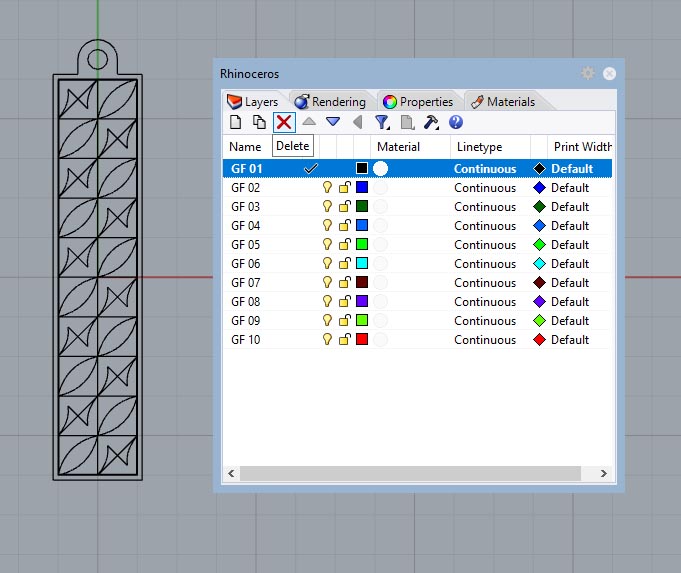
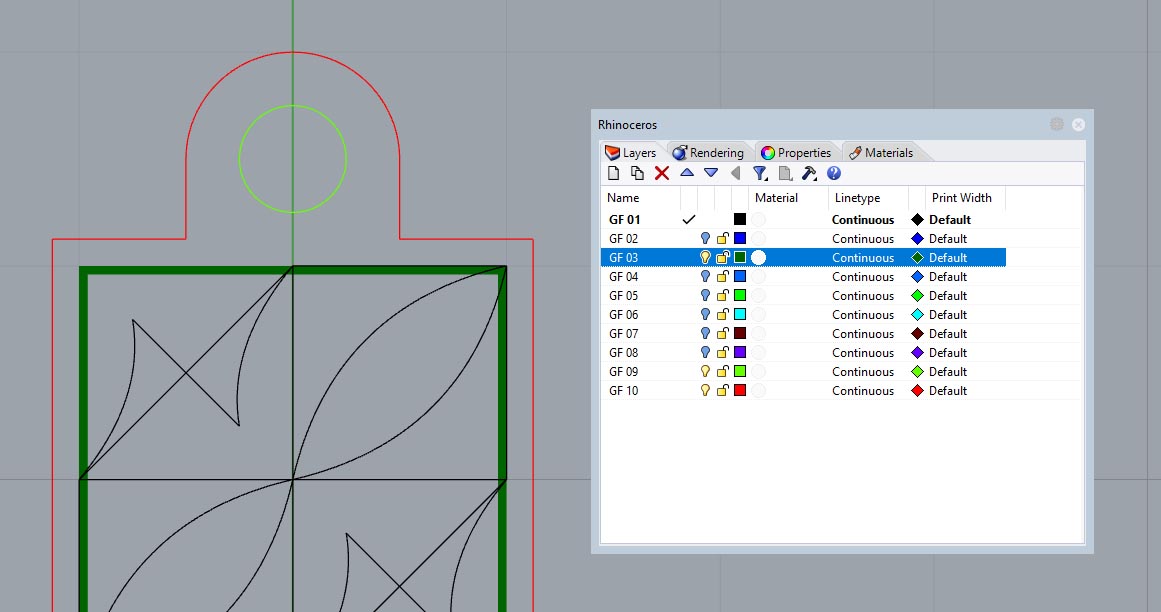
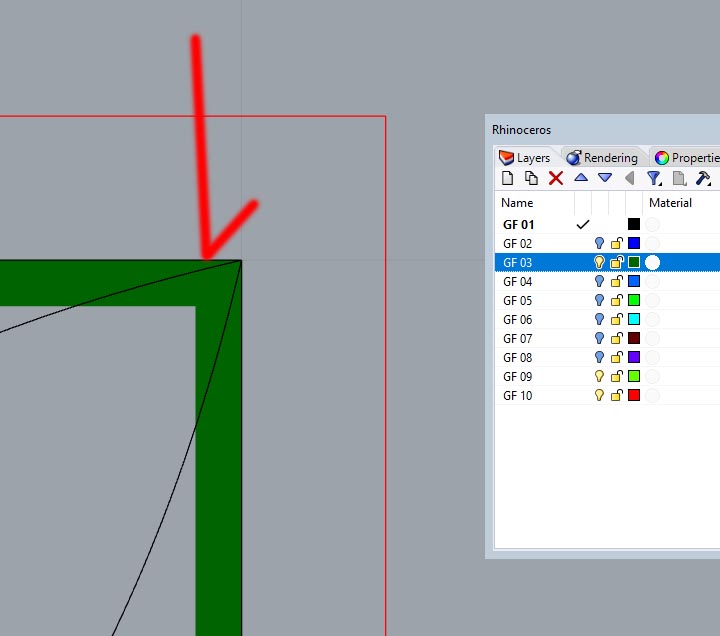
First things first, start a new file in what ever measurement system you use, you need to establish layers with appropriate colors according to the engrave/cut order you want to follow. Information can be found in this thread.
Edit: Color really does not affect the order, the layer positioning is the determining factor, so keep that in mind. Top down will be first operations to last.
For the sake of not having to click, here are the values
| 0 0 0 | 1 black |
|---|---|
| 0 0 255 | 2 dark blue |
| 0 100 0 | 3 dark green |
| 0 100 255 | 4 navy blue |
| 0 255 0 | 5 bright green |
| 0 255 255 | 6 aqua blue |
| 100 0 0 | 7 brown |
| 100 0 255 | 8 purple |
| 100 255 0 | 9 lime green |
| 255 0 0 | 10 red |
Once you have all your layers with the correct colors, save this as a template
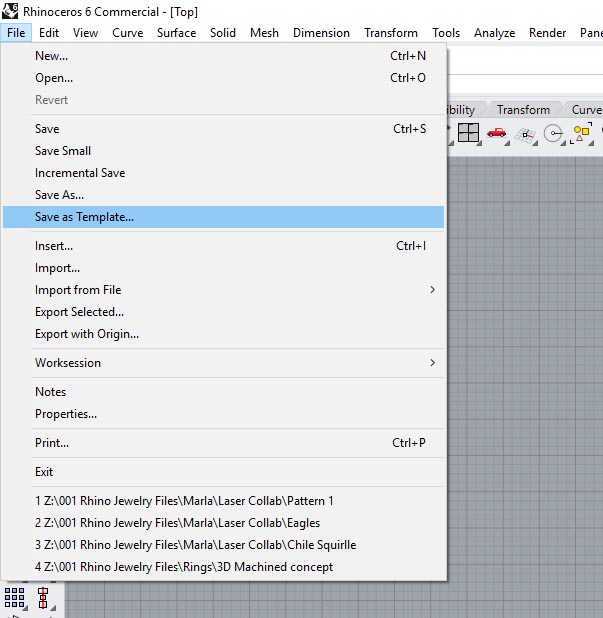
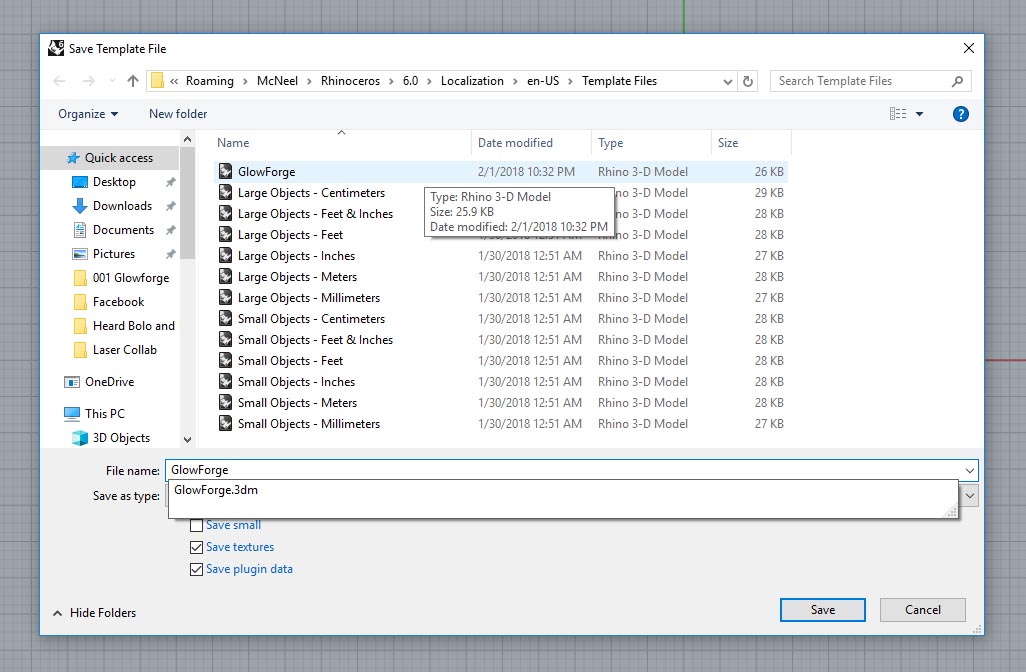
Use this template when ever you are going to be transferring your designs from Rhino to Glowforge.
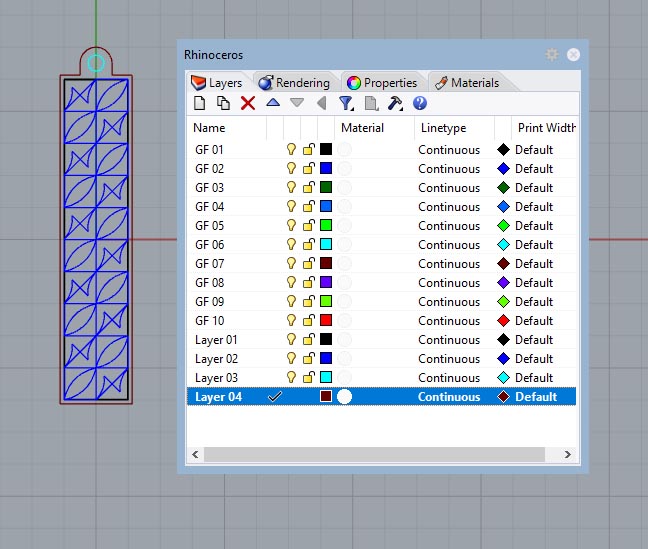
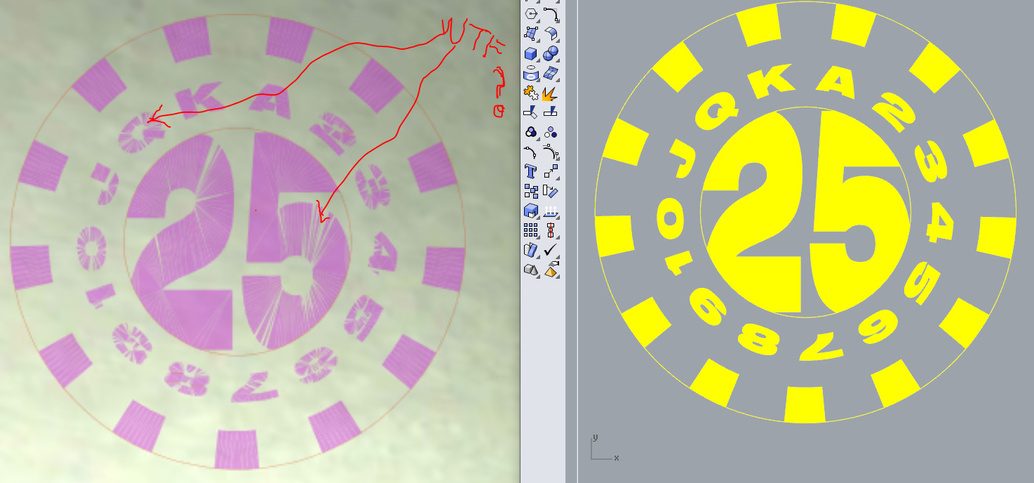
Now import or copy-n-paste your file into the new template, this is a super simple test file for illustration purposes only. By default, it will import the layer structure from where you brought it from.
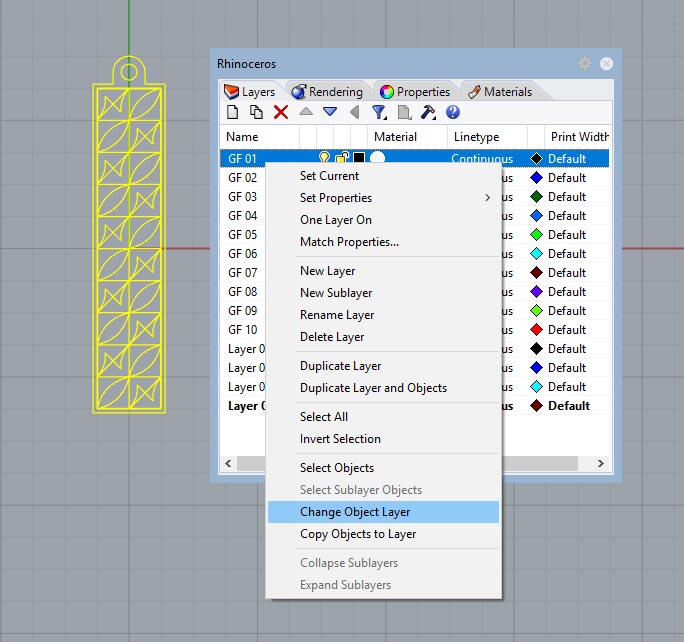
Okay, “Select All”, and “Change Object Layer” to the first layer in the list. Now delete the layers that were imported.
You should have something like this.
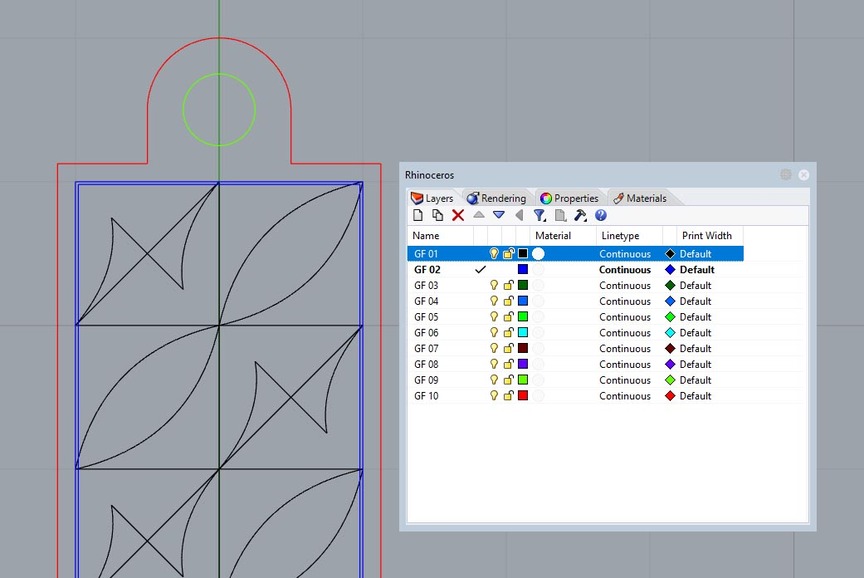
From here now move all the objects to the layers you want Glowforge to create the features. For instance, if you want an engraving pass to be the first thing, then move the object you want to engrave to the first layer. If you want the object to be the last thing the laser does, say cut the final outline, move it to the last layer. As you can see, I have the black features listed first, and the read outline listed last. When you import into the GF database, this will become apparent.
Note: If you have what I call “nested” objects that create a feature you want to engrave, you need to use the “Hatch” function, to create a filled area. In this example, I have used two rectangles to create a wide outline on the part. If you just leave these as rectangles, GF will only recognize these as rectangles and not the outline you want to achieve.
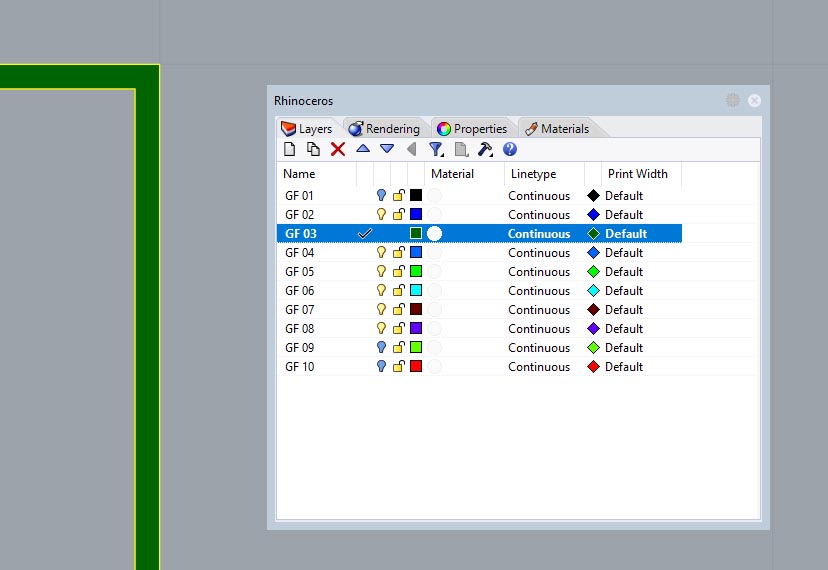
Create this Hatch on a different layer
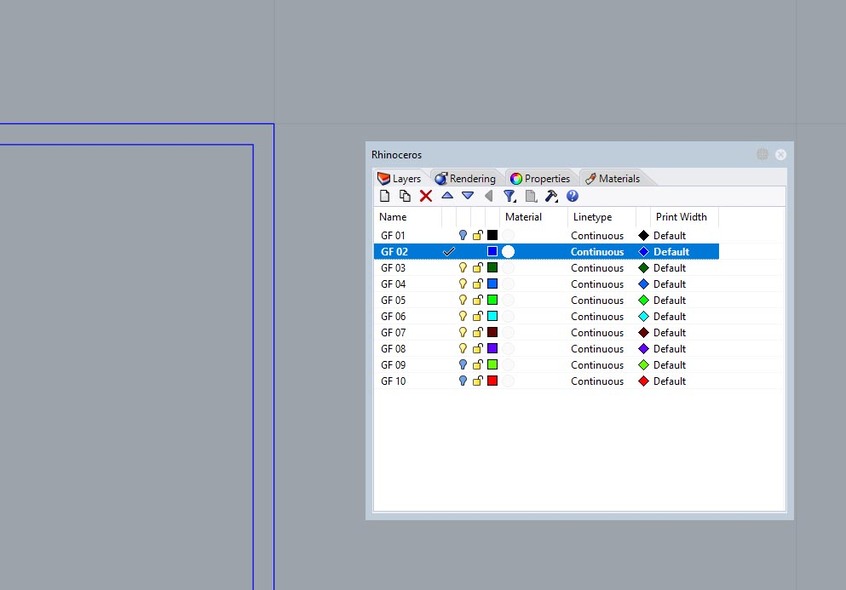
Next, turn off the layers that you are not using, or you do not want as part of your GF operation. Empty layers will not affect the output.
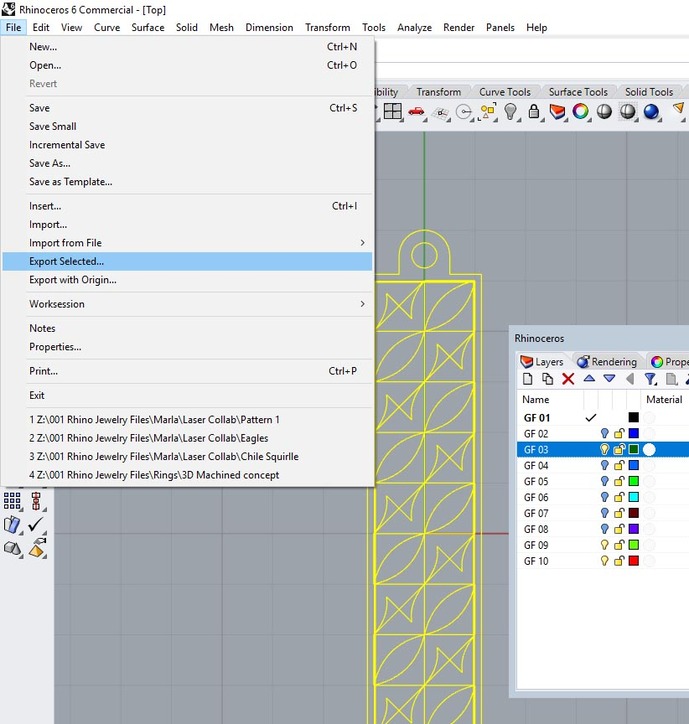
Now “Select All”, or just select the features you want GF to work on. You want to “Export Selected”
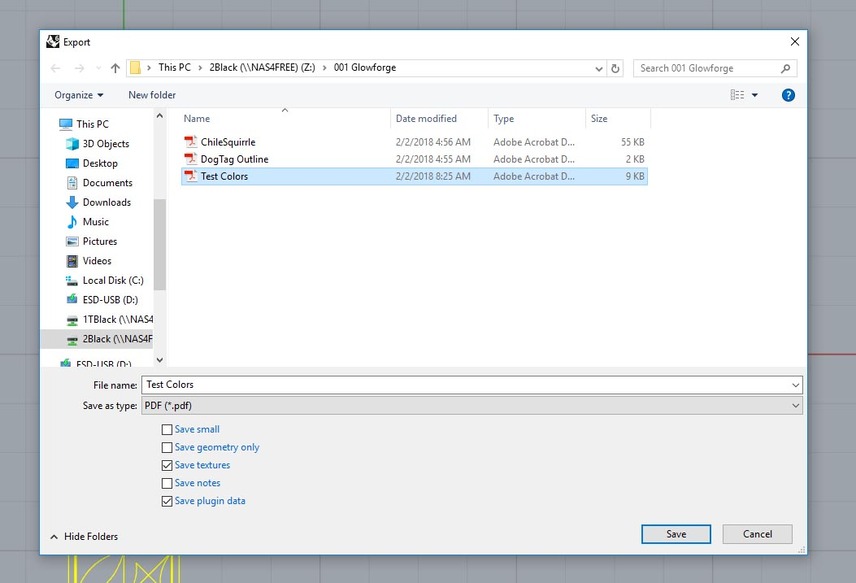
Then “Save As” a .PDF!!!
Yes, a PDF…If you didn’t know, pdf files contain vector information along side raster information. With Rhino, it will save the vector information.
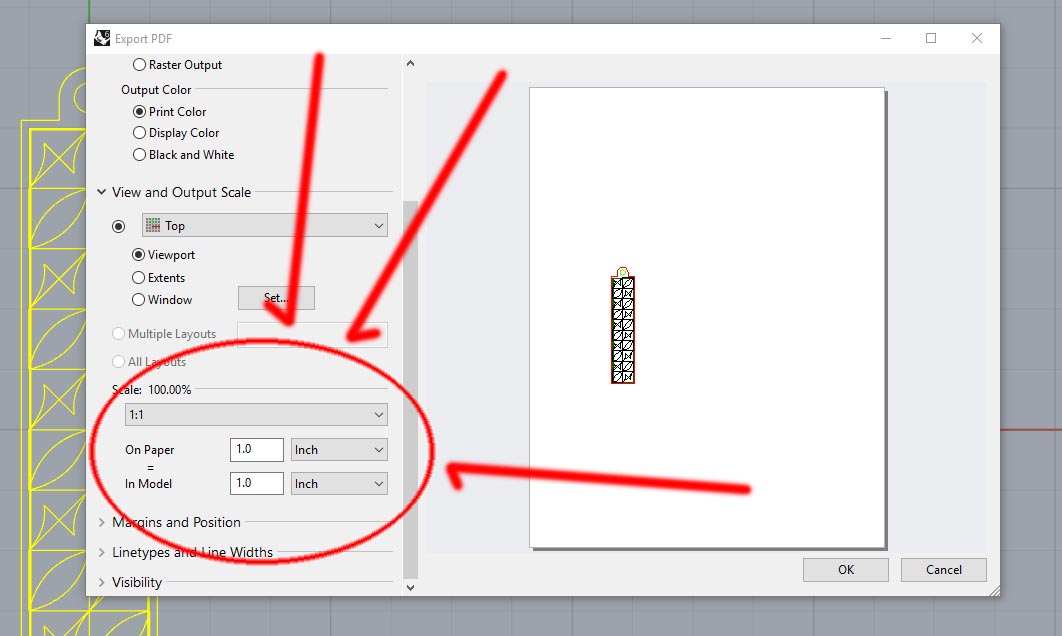
SUPER IMPORTANT!!! Set your scale to 1:1, if you do not, the import will NOT be the size you created in Rhino.
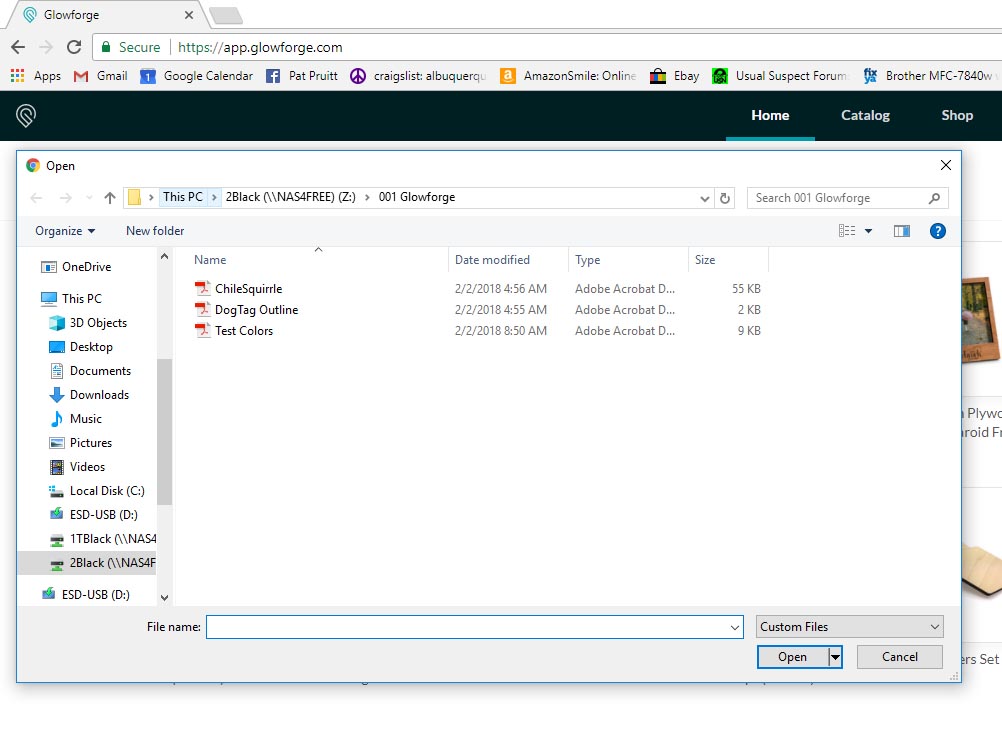
Now import your .pdf file into the GF interface…
Ugh…
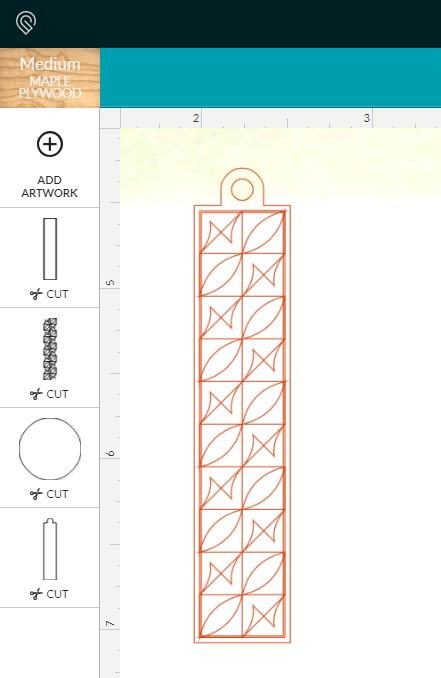
By default, GF will “see” all the features as “cut” features. But HEY!!! Look at the operation list, all these features are listed as individual items, so you can apply different attributes to these…how freaking cool is this!!!
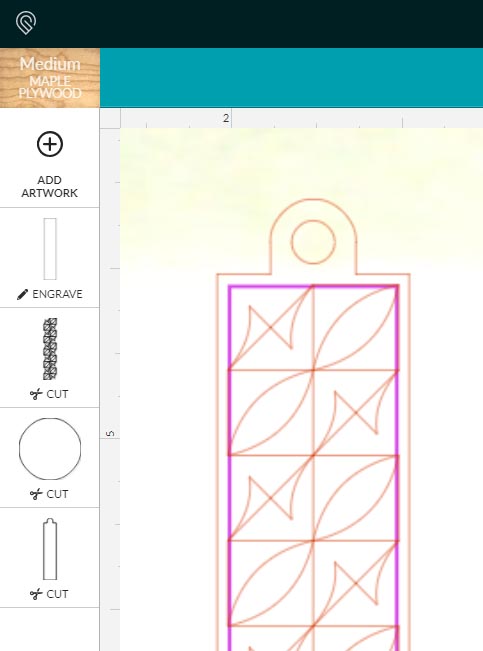
Remember that “Hatch” layer…well, here it is, gonna convert that to an engraving pass…
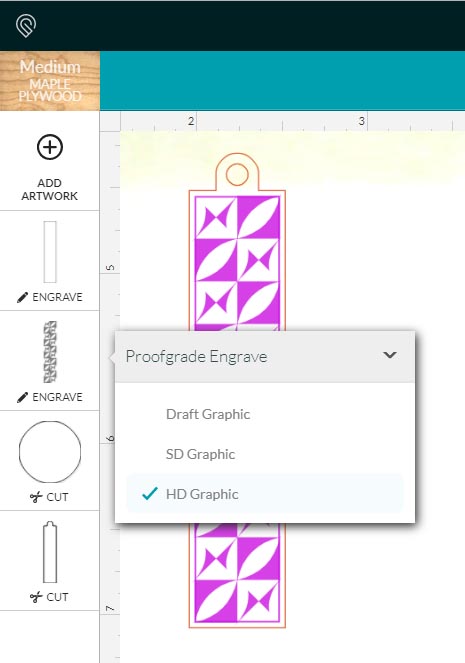
In this case, I am converting two of the passes to engraving passes…the other two (last two on the layer list) I will leave as “cut” passes…
Keep in mind that if you have overlapping engraving passes, the final pass will have a deeper engrave pass where they overlap.
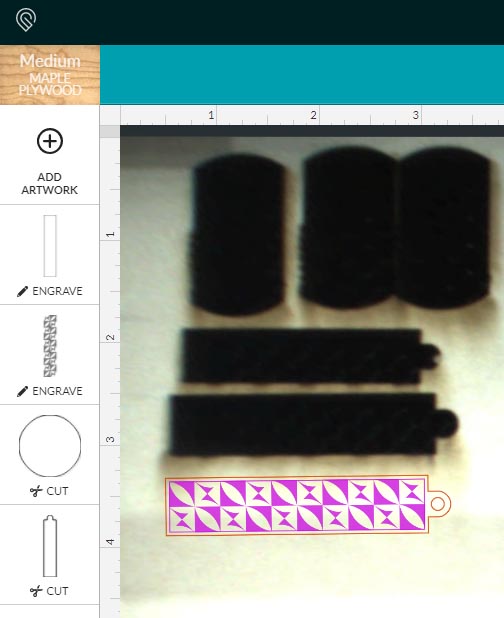
All said and done, I have two engraving passes, two cut passes (cut hole first, then outline second)…
Ugh…
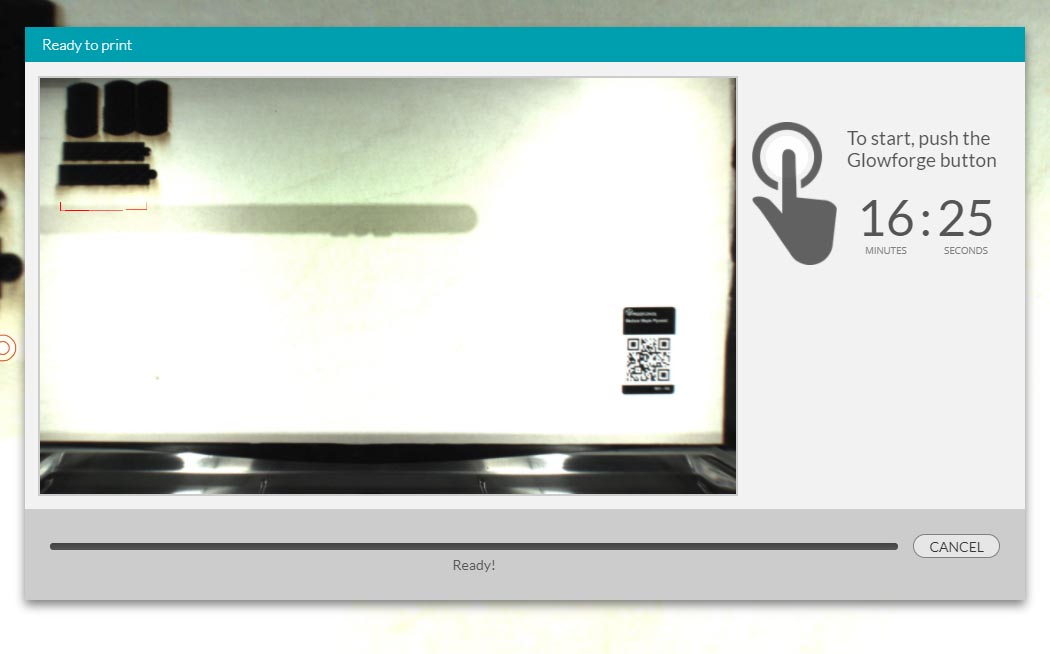
Sixteen minutes…are you freaking kidding me?!? lol (Okay, HD engraving, with 450 LPI step over, it’s gonna take some time…
Okay…so some explanation to the long cycle time…it sees each layer as a single pass of the laser…If you take the time within Rhino to create your features (say the first two engraving passes, as one object) it will reduce cycle time. Reason being, it will run the first engraving pass separately from the second engraving pass, and NOT combine the two.
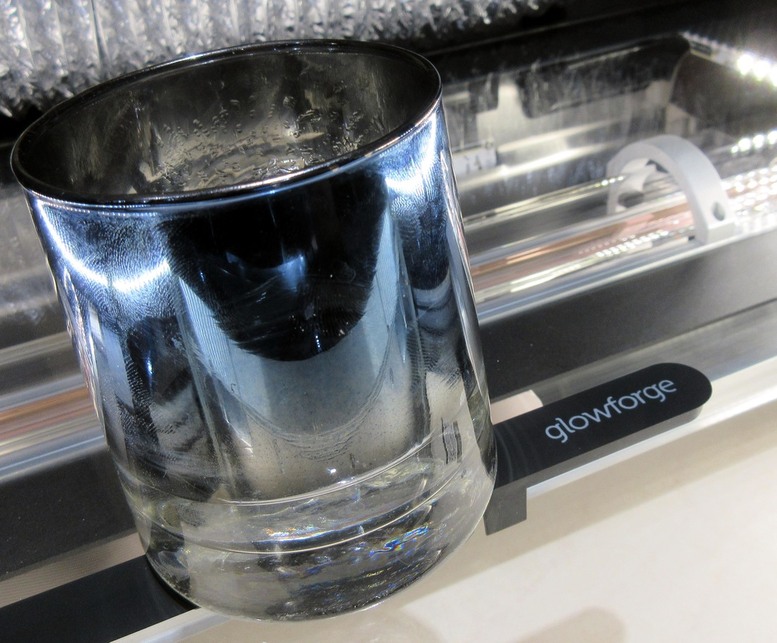
Good lord…blessed be the vodka gods… ![]()
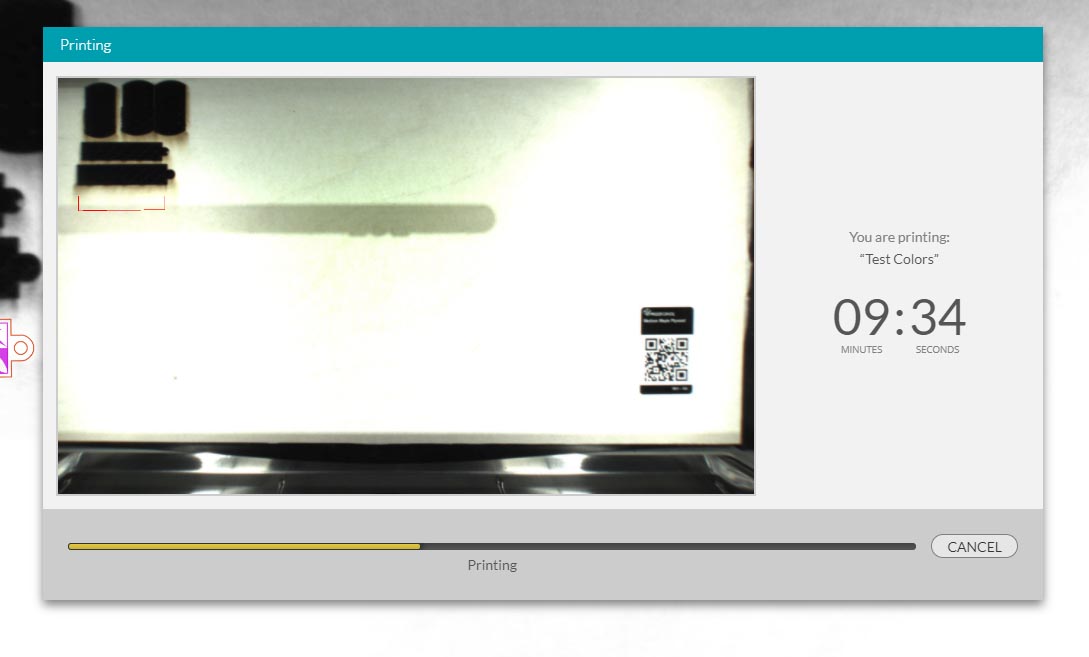
In progress
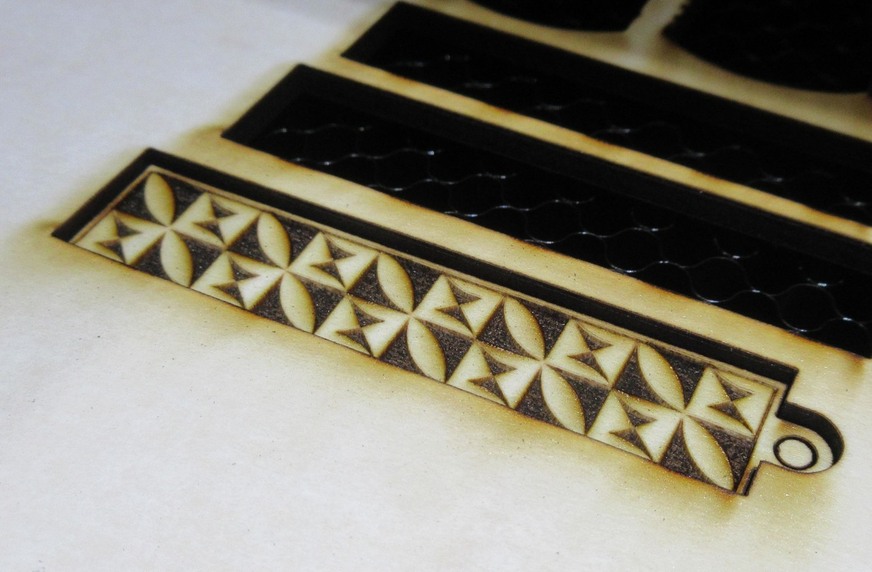
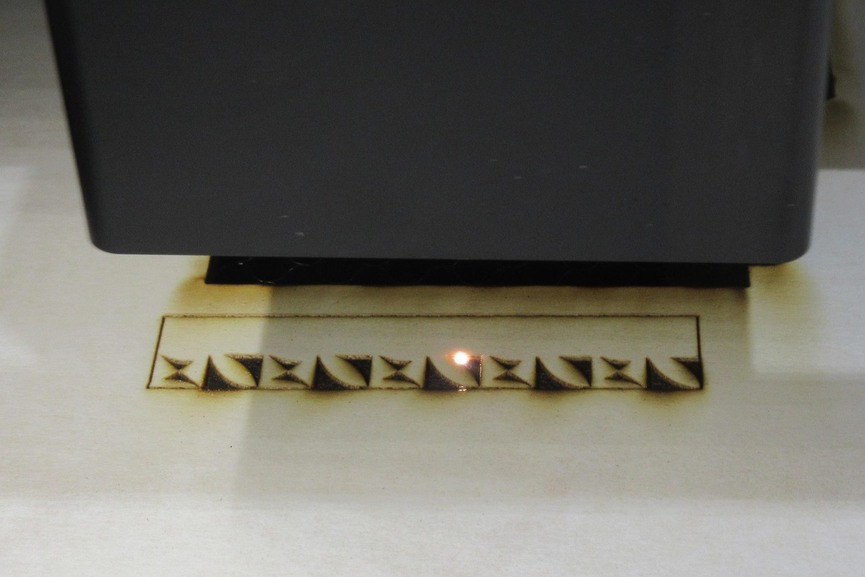
Cut
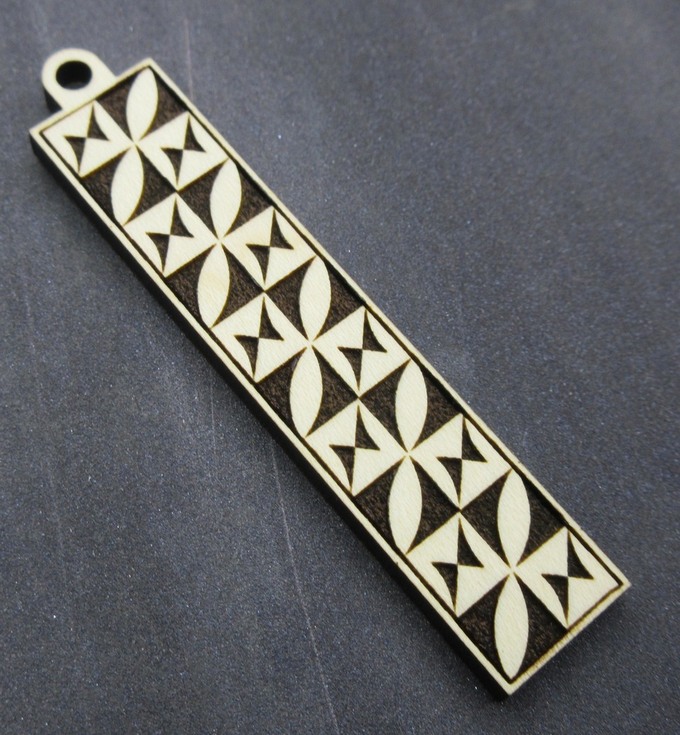
Finished
Yeah, so there you have it…exporting from Rhino with a little bit of prep will let you sleep very well at night
Many thanks to @marmak3261 for the color separation/order of operation sequence.
I hope this helps those that are using Rhino3D like I do to use their GF more efficiently.
P@
*note - Using PROOFGRADE material in this tutorial, if you are using other materials results may vary…