I find scoring the red lines helps to keep glue from wicking out when adding the decorative faces, but that step is optional. Save the shape insert cutouts and glue them to your decorative faces using the jigs to line up center. (the slots in the jigs allow glue to be dabbed right in as you hold the alignment) Then just pop the faces on and they are pretty well lined up automatically. I didn’t do this process in the triangles of the sample photo & it was a real pain to have skipped. The jigs are not kerf corrected so this process is not absolutely exact but I found it close enough for my eye.
As always cut a sample single unit of each to check fit first! This should work as is for 1/8 inch materials.
Shout out to @geek2nurse for the original share & ideas! Thanks for the never ending inspiration!!
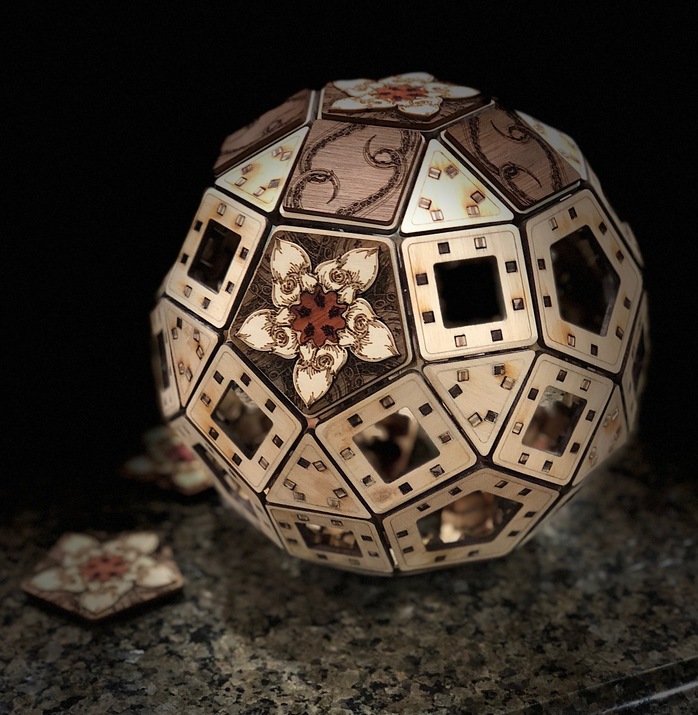
Mid build photo, 1/8 inch base materials, ~1/16 inch decorative faces in this photo.
Thank you very much for the file. I’m trying to put it together, although having a bit of question on where does each type of connector goes. Could you share that info please.