Trying to get an early start on Halloween costume. Daughter wants to dress up like Ripley from the Alien movie franchise.
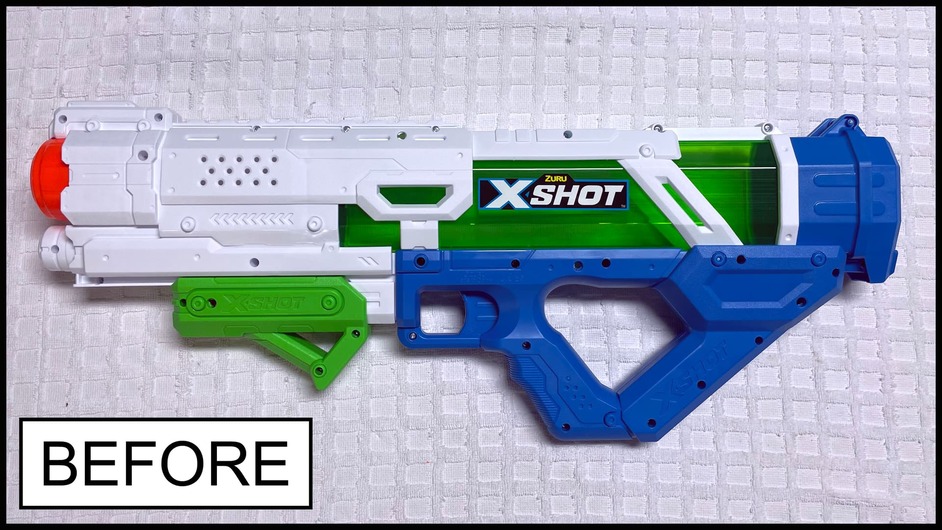
I found an inexpensive water gun set at Sam’s Club (2 rifles and a pistol for around $20). Figured it was good to have 2 rifles since this would be my first attempt at faux finishing.
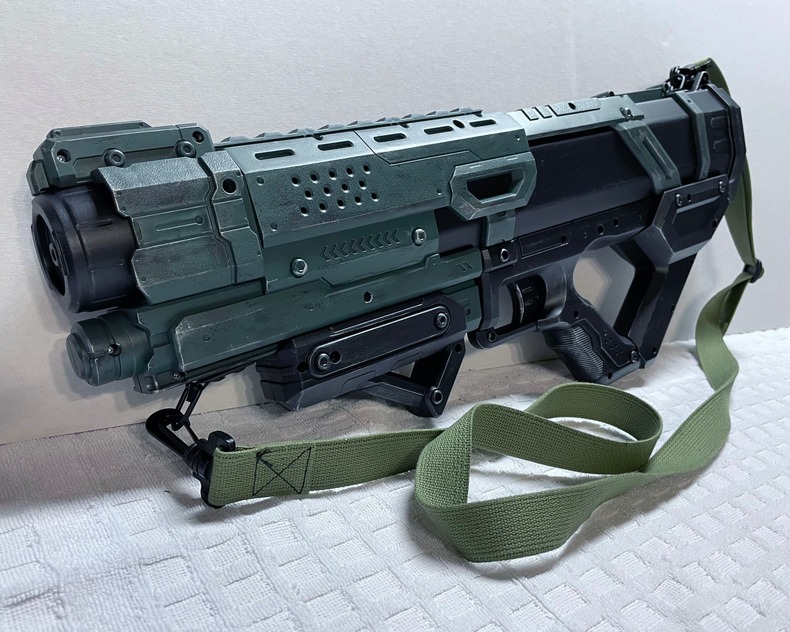
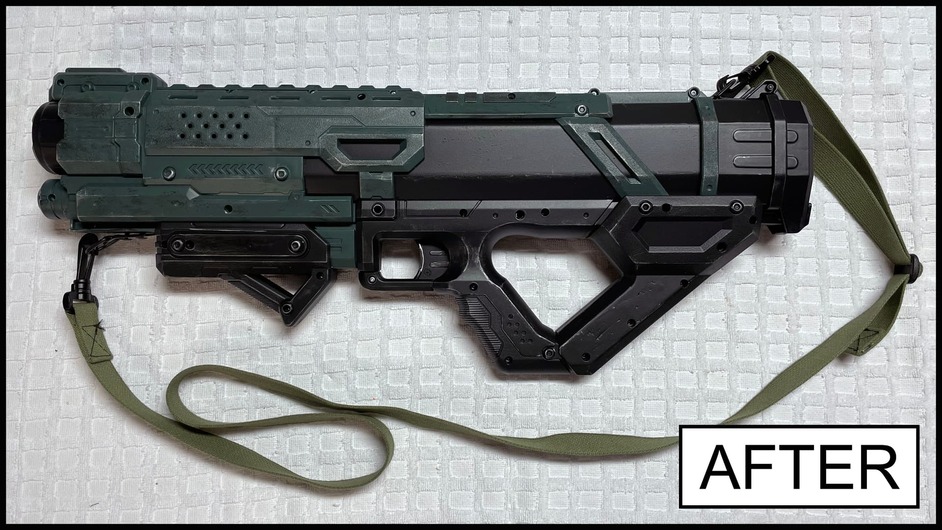
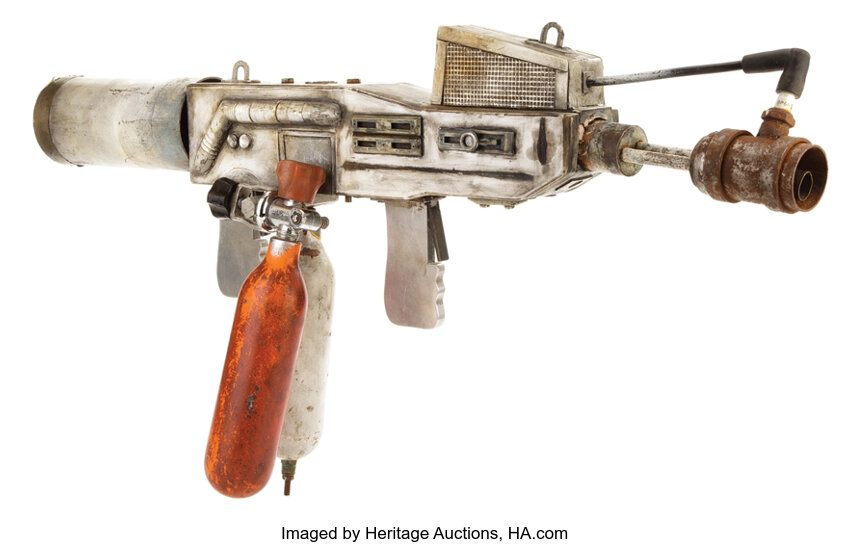
Took the rifle completely apart then sprayed pieces with black and green spray paint. Reassembled and added “wear” to edges with silver model paint. Dabbed on black and brown paint for a little more “wear”. Think this first attempt came out pretty good. Not sure how durable it will be since some plastics don’t hold paint too well. I probably could have done better surface prep but I’m kind of impatient.
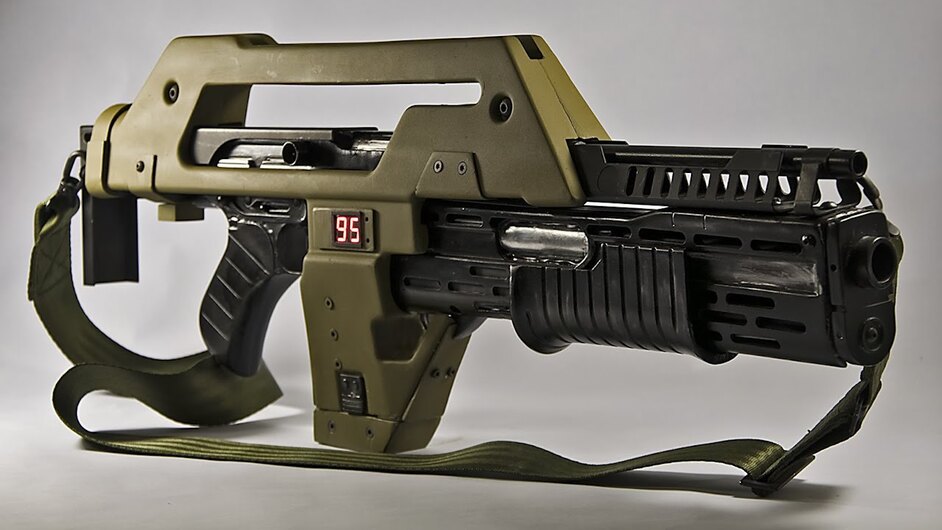
Rifle from the Aliens movie
38 Likes
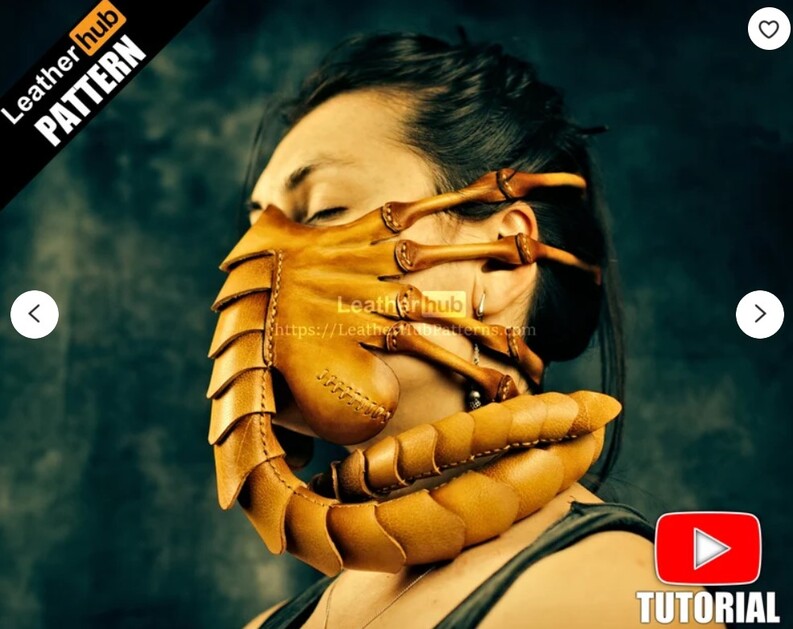
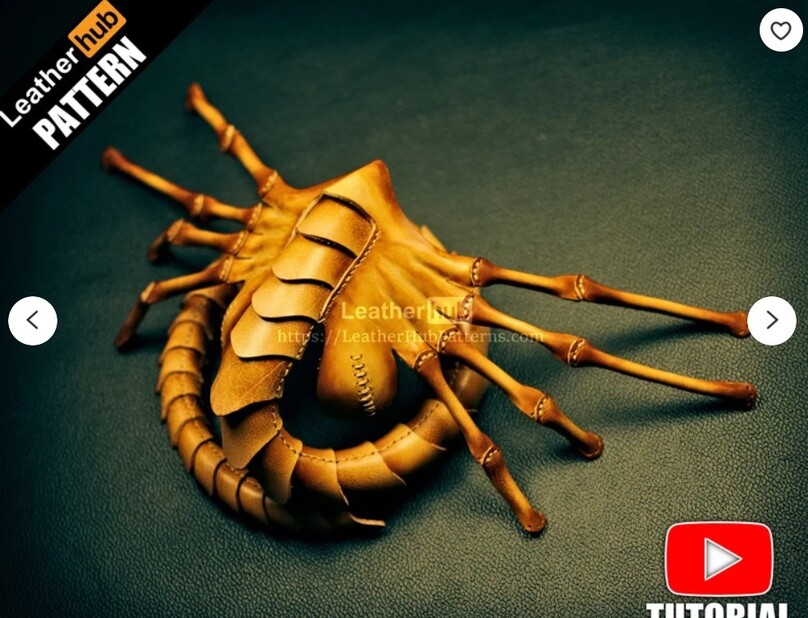
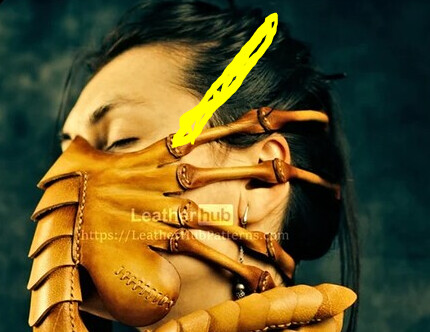
Next project will be making this leather facehugger mask from
I already have the patterns digitized to cut on my Glowforge. Will post pictures once I get it cut and start assembling.
22 Likes
I think you did a great job on the rifle.
3 Likes
What an improvement on the rifle! The paint job is perfect. OMG, I would be totally creeped out if I met someone wearing the face-hugger mask. (Which means it’s a great mask.)
5 Likes
Already told my wife that I’m wearing it if mask mandates come back.
7 Likes
FYI - it will generally sit better (and not be constantly feeling like it’s falling down) if you move one of the legs up to about here:
7 Likes
May also get carried away and make one of these flamethrowers. Think I can do a good bit of it on the Glowforge.
8 Likes
I would use caution. The reason that the water-guns are colored like that is to keep folks from jumping to conclusions, and reacting like they were real.
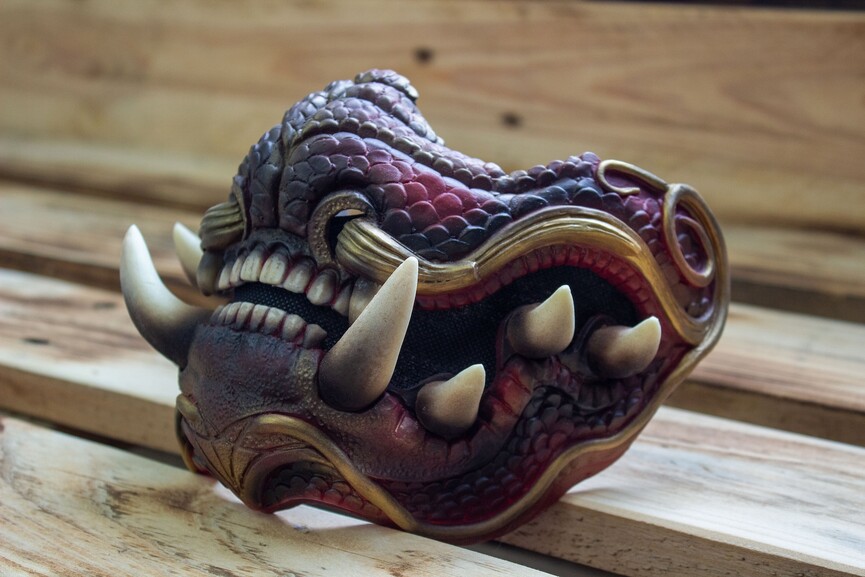
The Alien mask is interesting but you do not have to have a mask mandate to wear one. I have wanted to do something resembling this…
but how to get there has been an issue.
10 Likes
On the gun, I can always swap out the tip for the orange one off the other rifle.
On the mask, you may want to check out this website…
5 Likes
Wow, that looks really good! She’s going to be the envy of all her friends!
2 Likes
I see this. It’s crazy cool
1 Like
This is epic work, and your daughter is lucky to have a talented parent like you!
(As someone who was in law enforcement though, I would gently encourage you to put the orange tip back on too. It’s a one in a million chance that it’d be needed, but that one time could be tragic.)
2 Likes
Can’t believe how real that looks! Amazing!
1 Like
I’ll probably put the orange tip back on. It’s also not for roaming completely free. Maybe for Comicons or Halloween parties.
2 Likes
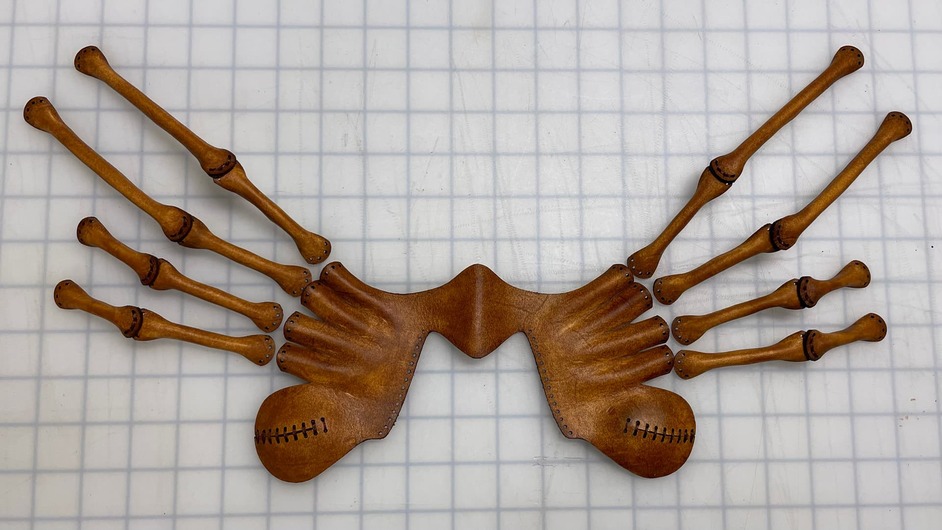
Made a little progress on the facehugger…just the body and legs. The tail is going to take a little while with so many pieces.
8 Likes
That looks fabulous!
Is the forming done with wet leather, or wax and heat, or something else?
1 Like
I just threw all of the pieces in a tub of clean water for about 5 minutes then shaped it. The legs were easy…just pinched the middles together while keeping the ends flat. For the body, I used pencils under each leg joint. Found it easier to have something the shape around. Then just let it dry overnight.
5 Likes