My office is above the garage so I typically get there by 5:00 or 6:00 AM. When I read the thread, I became curious if Corel’s Blend tool would behave this way. I have used it a few times but never for this kind of thing.
6 Likes
Thank you so much @m_raynsford for bringing this to our attention. I haven’t looked at the Edit menu items in Inkscape for a long time. I’ve explored many of the extensions and they do some cools stuff, but this has been there all along. I wonder what else I am missing!
5 Likes
Things you’re probably missing (not intended as offence but it’s some of my common advice for customers)
View->Display Mode->Outline, lets you see which lines are actually there and allows you to work with zero line width.
Edit->Preferences->Tools->Geometric Bounding Box, the size actually represents the size of the object without the line thicknesses, makes the align and distribute functions work much better.
Edit->Preferences->Behaviour->Steps->Inset/Outset by, lets you control how much you offset by when you use ctrl+) & ctrl+(
Path->Object To Path, converts objects to paths, essential for circles and rounded rectangle objects which don’t export to dxf.
I really should get round to writing my tutorial series but it all takes so long
13 Likes
This is going to one of those things that I’ll forever be fighting with. There have been several things where I neglected the steps to make a circle a single path and have seen the laser go over it twice.
2 Likes
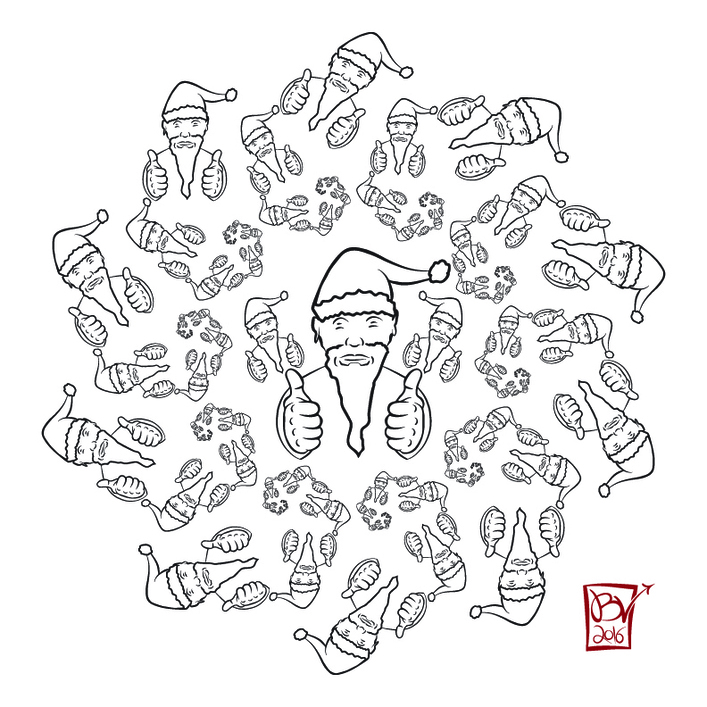
Finally got to the office to play.
I used the transformation tool in Corel that lets you make copies to paste around a rotation point.
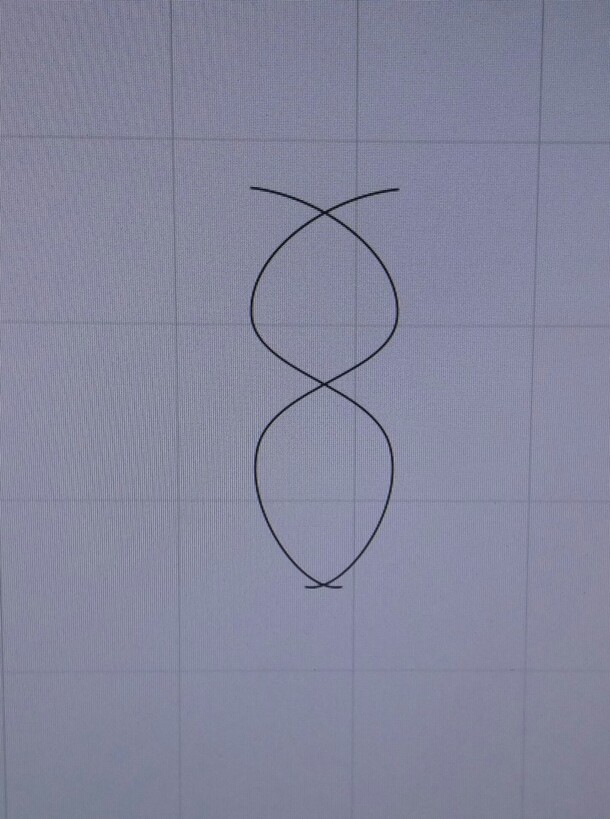
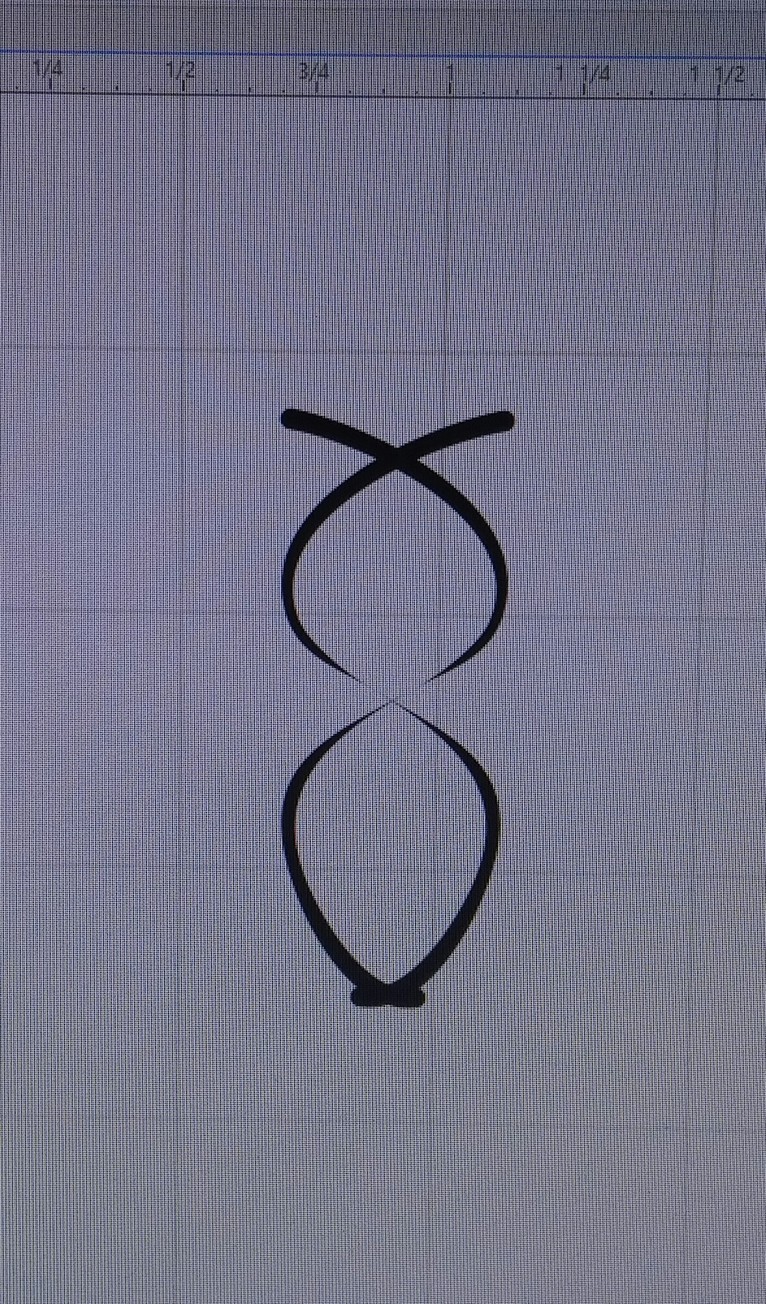
Started with a simple line, mirrored it then applied a brush stroke to beef it up
Then with Transformations I made 17 copies to rotate 20° around. 360 divided by 20° is 18…that’s how you get 17 +1(original)
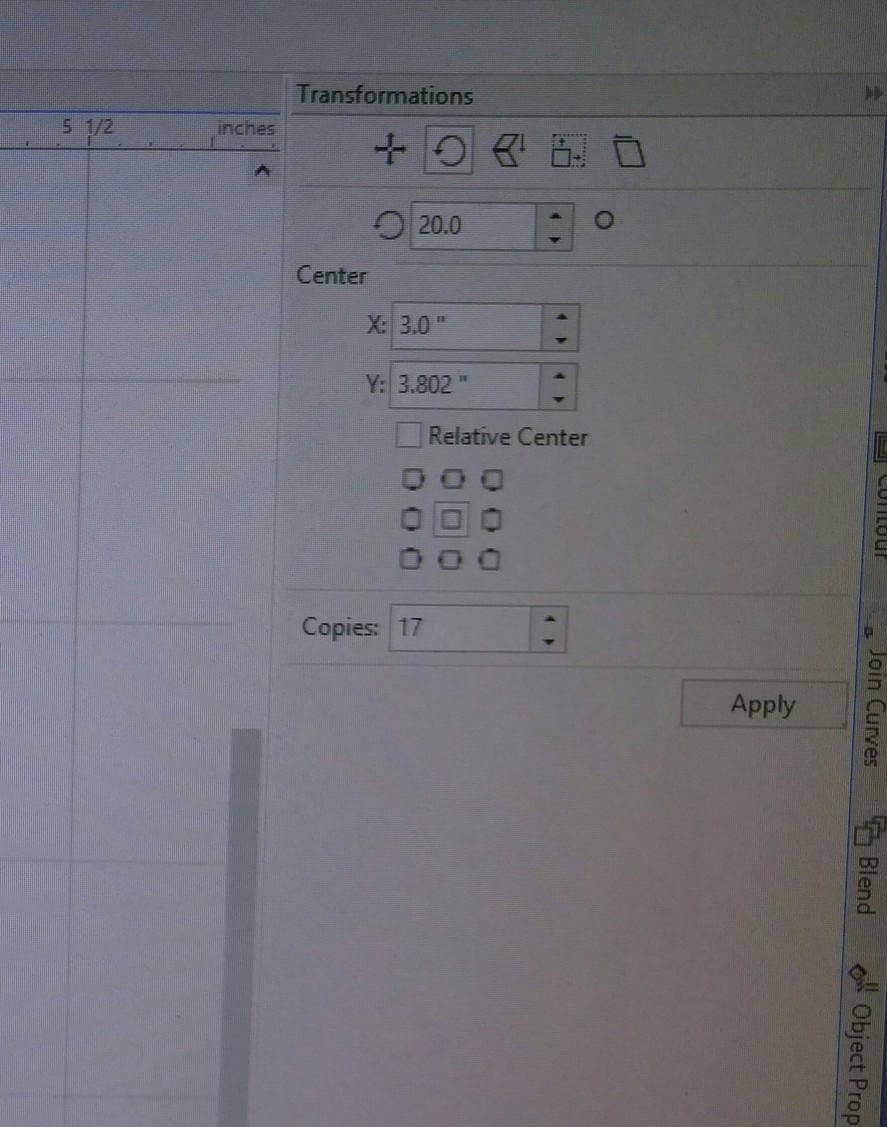
Click apply and got this…
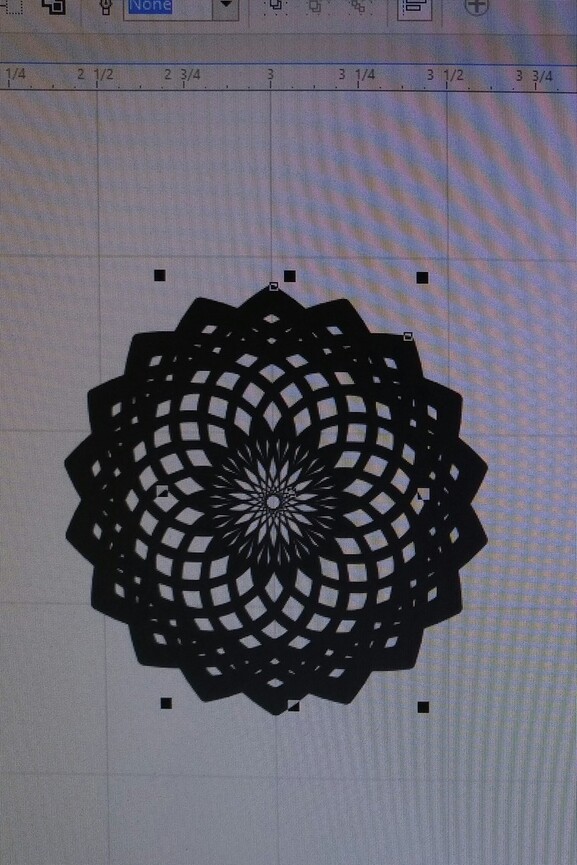
The shapes were too close together so I moved the rotation point to the bottom of the shape and got this.
Then added a few more shapes, moved the rotation point to the middle of the design and applied transformation.

In order to get the extra shapes to line up, I had to fiddle with placement.
Next I made a larger more complex starting shape. (sort of ugly…lol)
First time I did the 20° with 17 copies but its pretty dense.
So moved it to 40°.
28 Likes
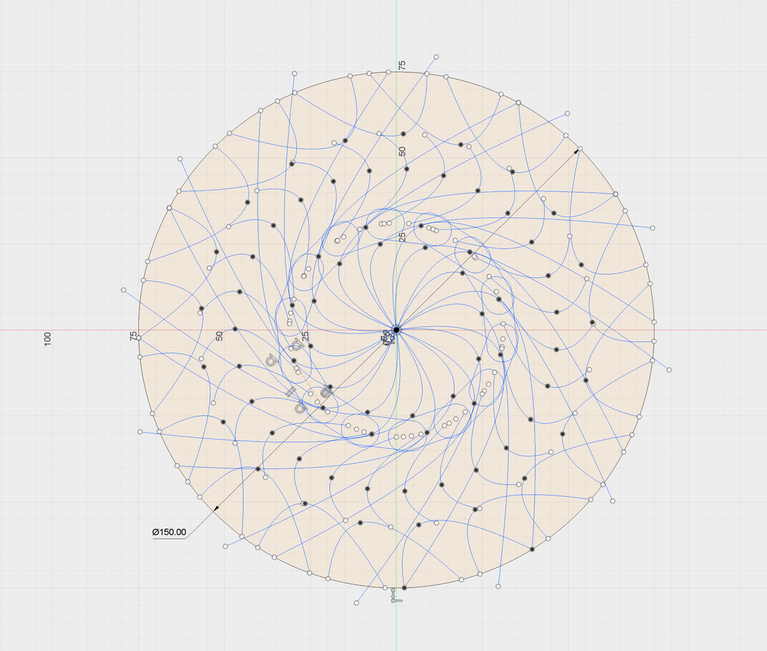
I want to try this in F360, and will.
3 Likes
Which program?
Fusion 360
2 Likes
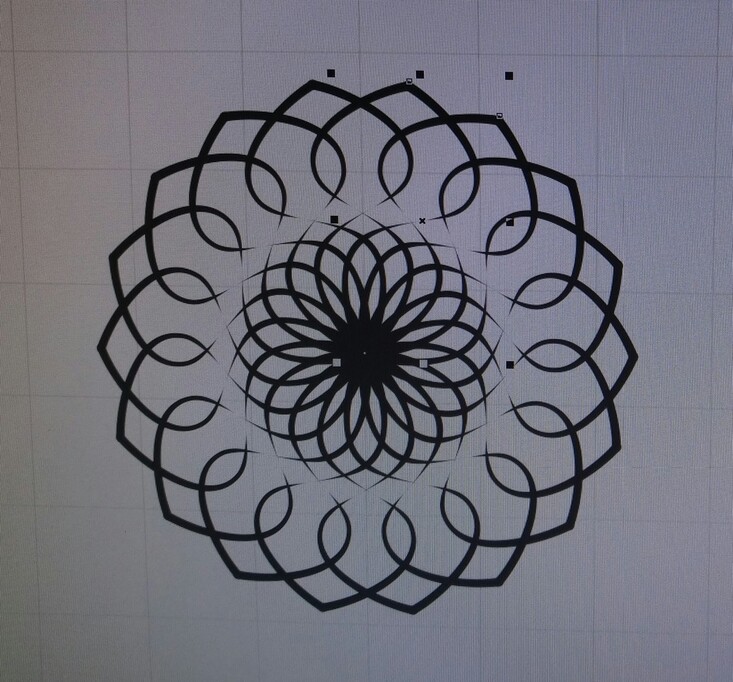
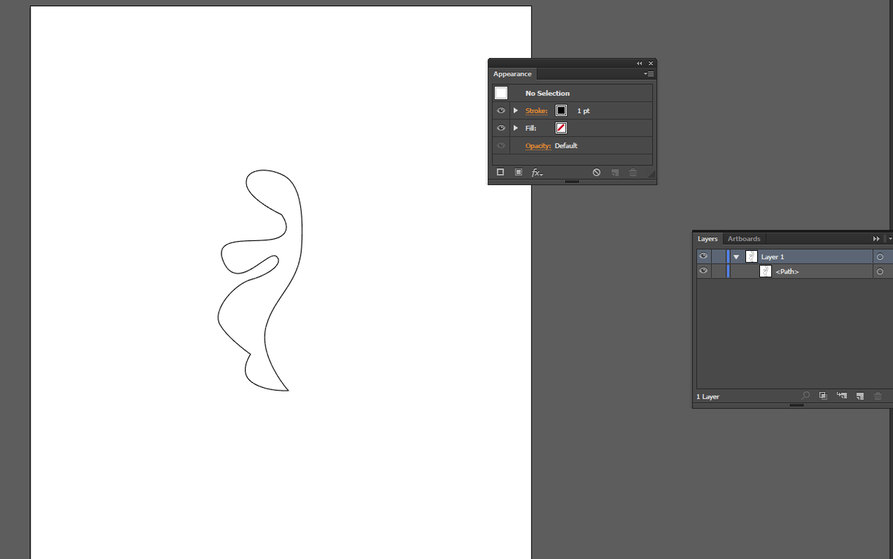
Okay, Illustrator time!
This all uses the “Appearance” tools, so if you don’t have them already open, Windows>Appearance will get you there. Next, draw a shape. You can change this later so don’t worry about getting it perfect right now.
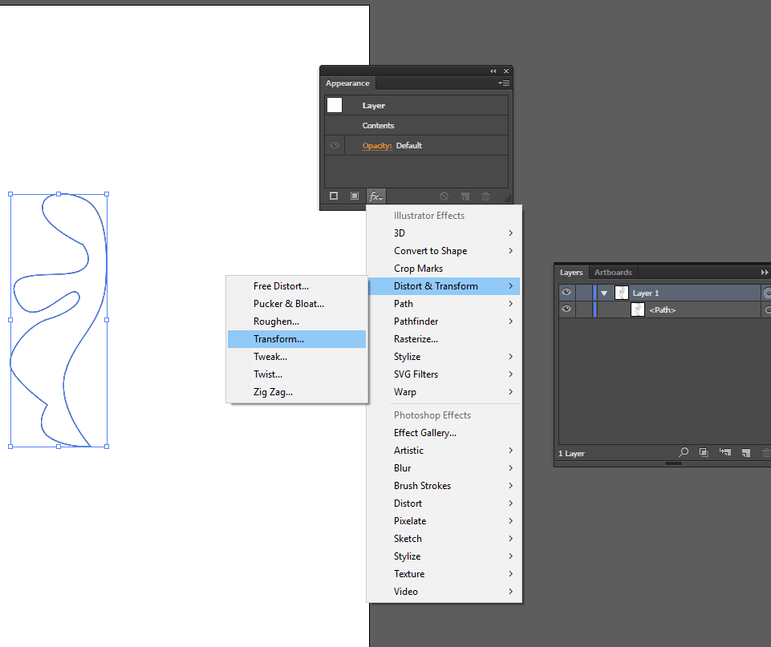
Make sure, if you want to do multiple paths/shapes/whatever, that they’re all on the same layer, because that’s where we’re going to make the magic happen.
Now make sure you’ve got the layer highlighted in the layer menu (the contentsneed to be selected) and in the appearance tools, go to the function (fx) button and choose Distort & Transform>Transform…
Now you’ll get a transform effect menu and a wide variety of tools. I’d recommend clicking the "preview box so you can watch it change live, but then you can just go nuts with the options. Here I did a simple 36° rotate, copied nine times (for 10 total, with the original.) I also told it to pivot around the bottom right corner, but you can pick any of the spots using the small grid in the bottom left above the preview button.
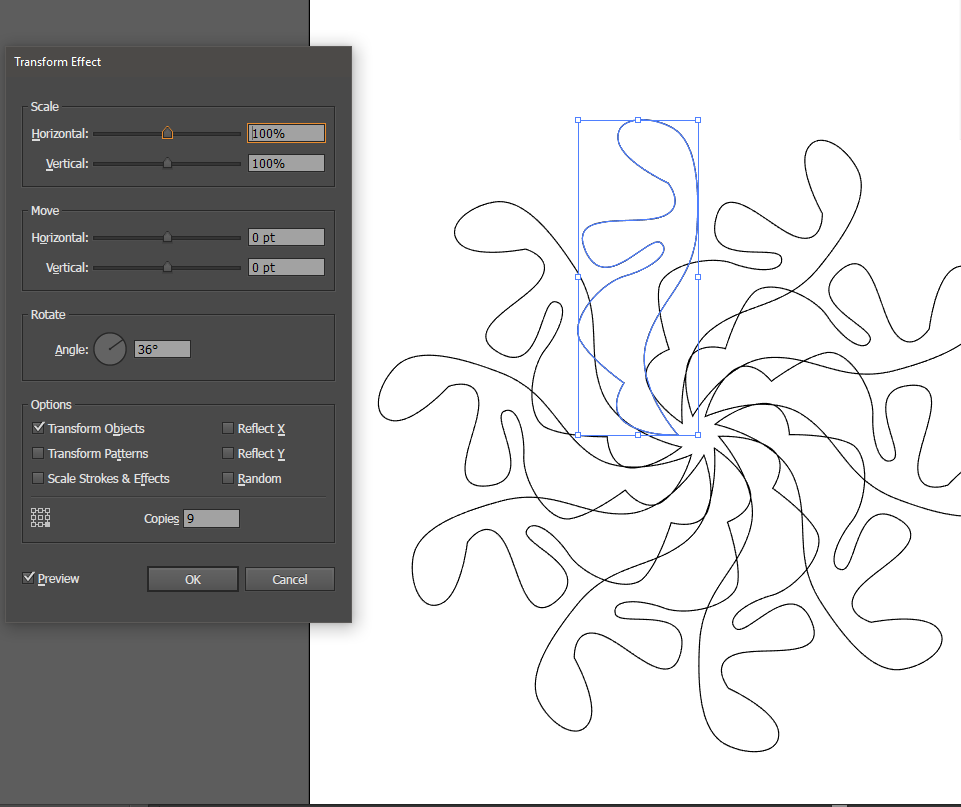
Play around with the moving and scaling options, too, and see the kind of crazy results you can get. Once you hit ok, you’ll now see a “transform” effect listed in the appearance toolbox. You can double click on that to change the settings you just picked. Not satisfied with a single effect? go through your fx menu and add a second… or a third… or a ninth. Go nuts.
Then, start adding other elements to your layer and watch as the transform effects repeat them throughout!
Here’s one with two transforms, one doing the rotate and a second reflecting across the x-axis.
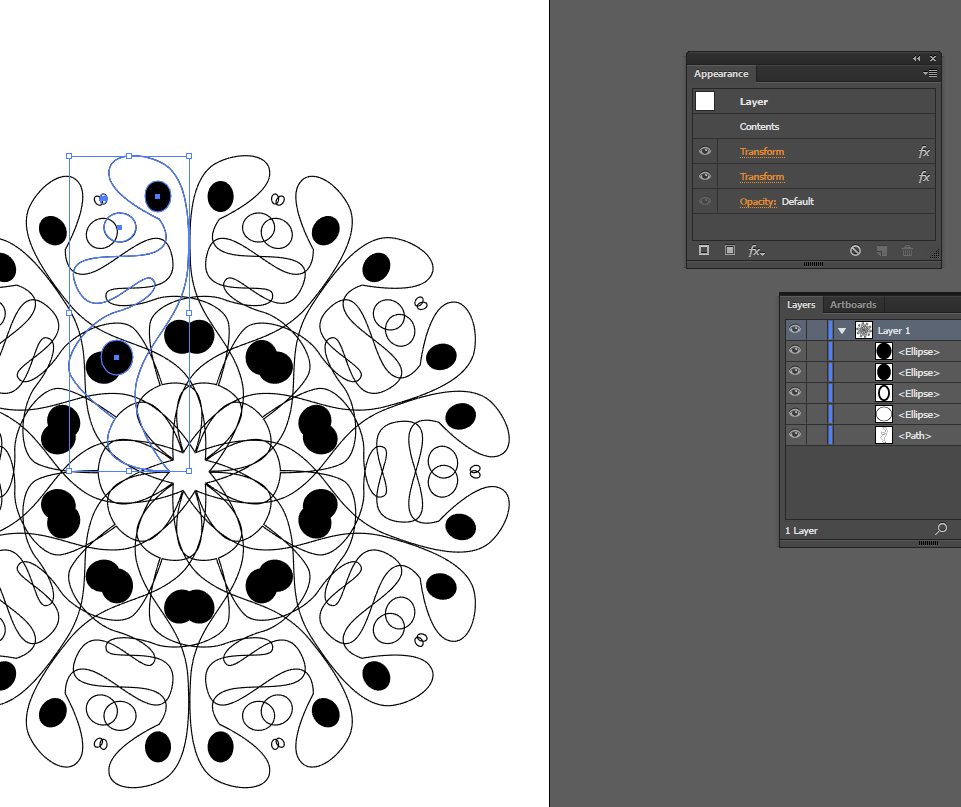
You’ll notice that the transform effects do not give clickable paths and only your original is editable. Not a problem! Once you’ve gotten something you like (and not some horror show like mine above) and are ready to go to your laser, you can “expand appearance” it to give you all of the necessary paths.
Keep playing with it, get creative, and eventually you’ll be able to knock out some awesomeness like this:
27 Likes
Thanks, all the years I’ve been using illustrator and I still need good tutorials like this to remind me of the features I have t been using!
5 Likes
Sorry I’m just getting back to the forum on my lunch break😋
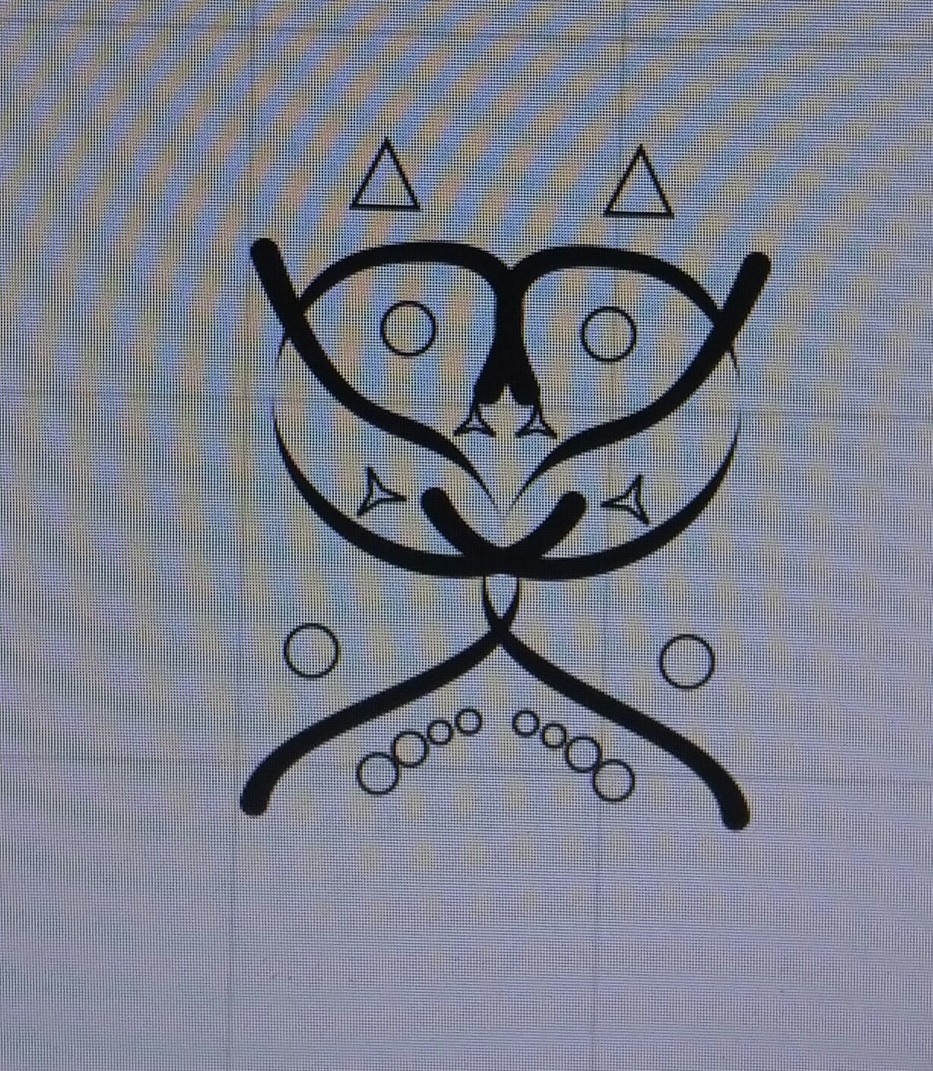
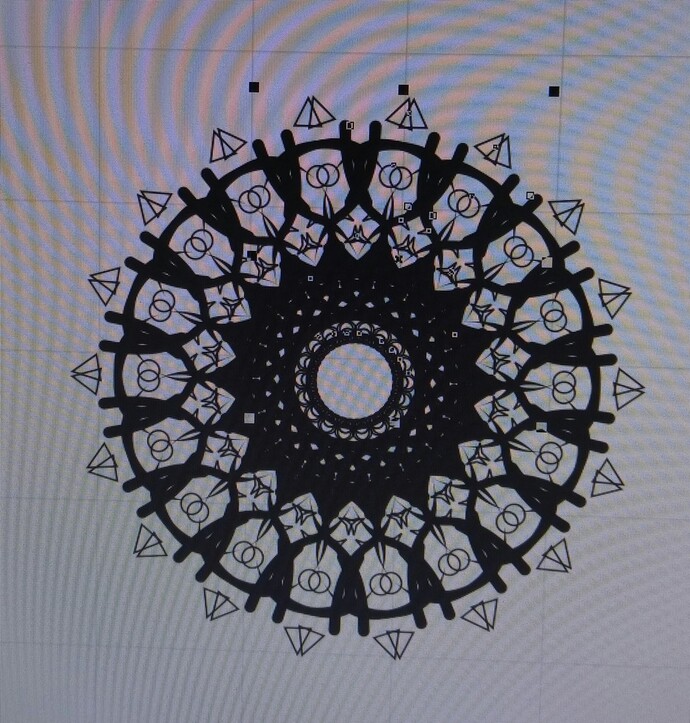
Actually if you use a symbol (you can make a symbol out of any vector art) and rotate a symbol, if you change one symbol you change them all. FYI
I hope this helps someone 
4 Likes
Oh I’m just catching up. Good one @likeablejerk I haven’t used transform in this way. Thanks for the tip.
2 Likes
Yes @kennethclapp I need these reminders as well. 
2 Likes
Thanks @Pprmntpaty! I sorta knew that once but totally forgot and would not have even tried it. Bookmarked!
Now that’s what I’m talkin’ about @likeablejerk!!! Genius! I never knew you could do that!! I’m bookmarking this one for sure. Thanks so much!
Did you do the last one shown in your post? I love it! Very Escher-like.
1 Like
One difference between these two methods is in the placement of the rotation point… not that one is better than the other, just different. It is very interesting to see the different methods people use, especially when there are lots of “right” ways to achieve the same/similar results.
If you like going down the rabbit hole, you can use the [Copied&Rotated] Symbol instances (as in the tutorial @Pprmntpaty posted) in the Appearance pane (as in @likeablejerk’s tutorial). Updating the symbol will propagate changes to all instances, no matter the duplication method (as long as it is still a symbol: you can always “break link” if you want to edit one instance without the others updating).
If you need to go deeper into the rabbit hole, just go ahead and pull the file into photoshop as a Smart Object…
2 Likes
Yes, that’s one of mine. Same general idea, but slightly different effect as the more mandala-like things people are going for here.
Here are a couple others that use basic rotational transformation:
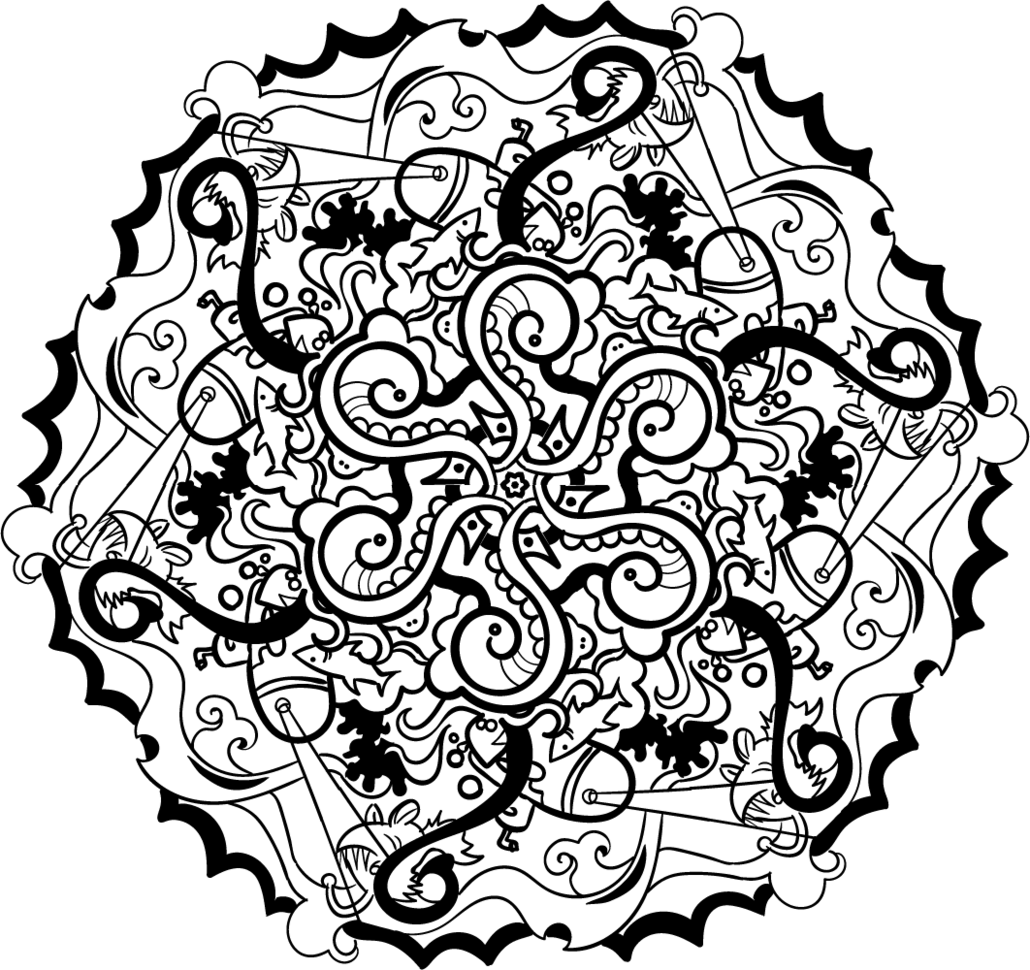
This one is reflective and rotational:
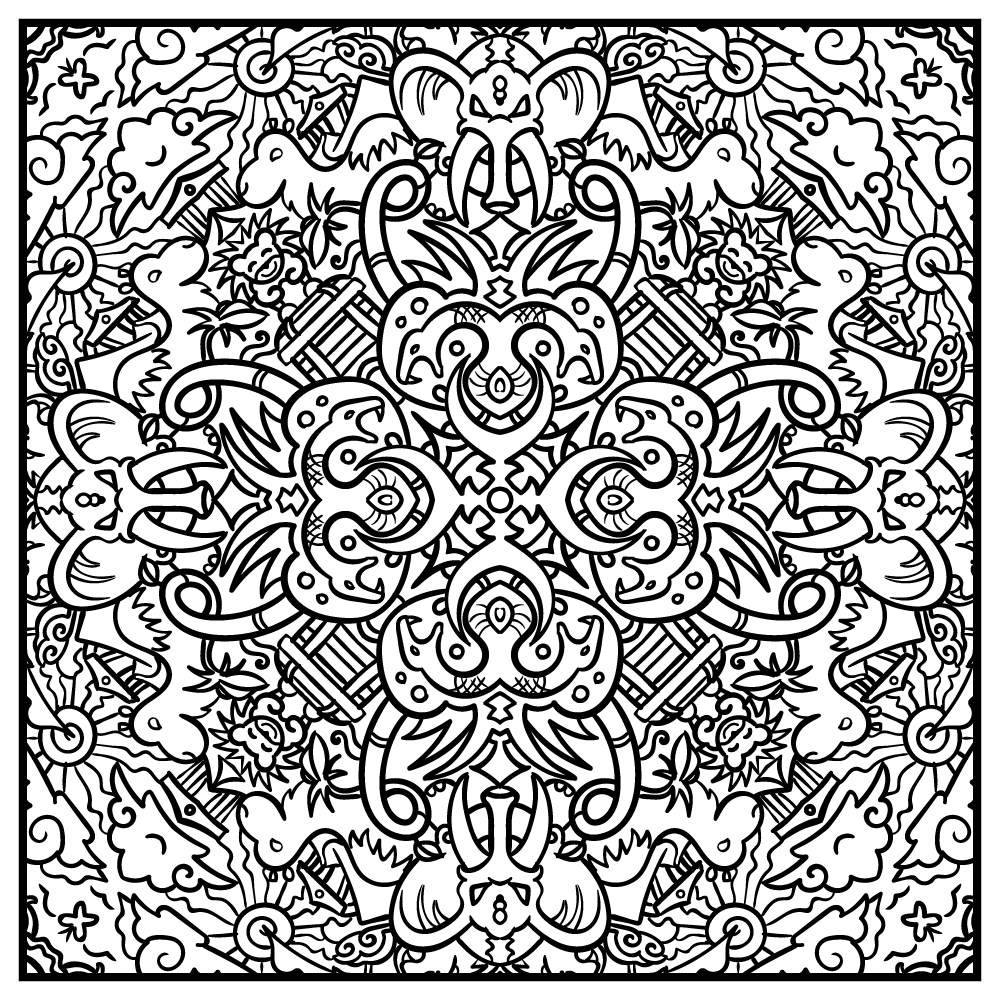
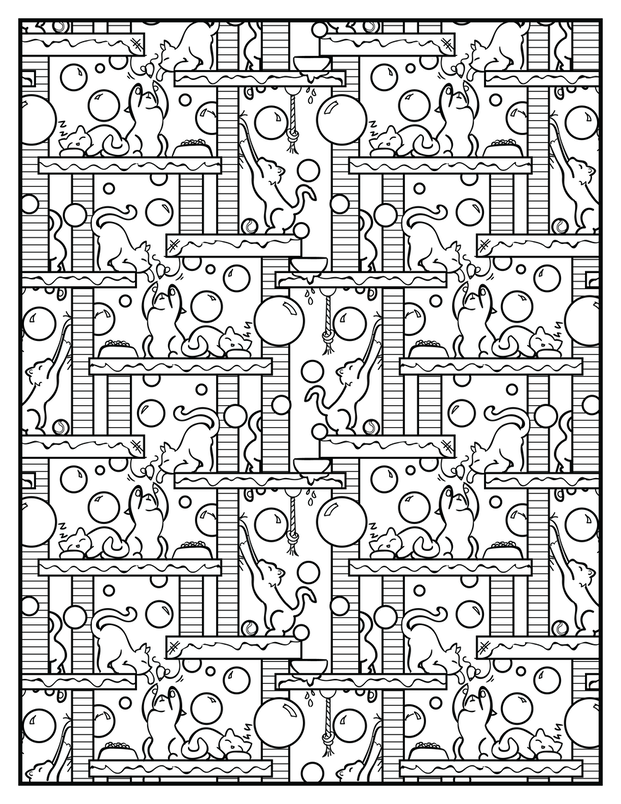
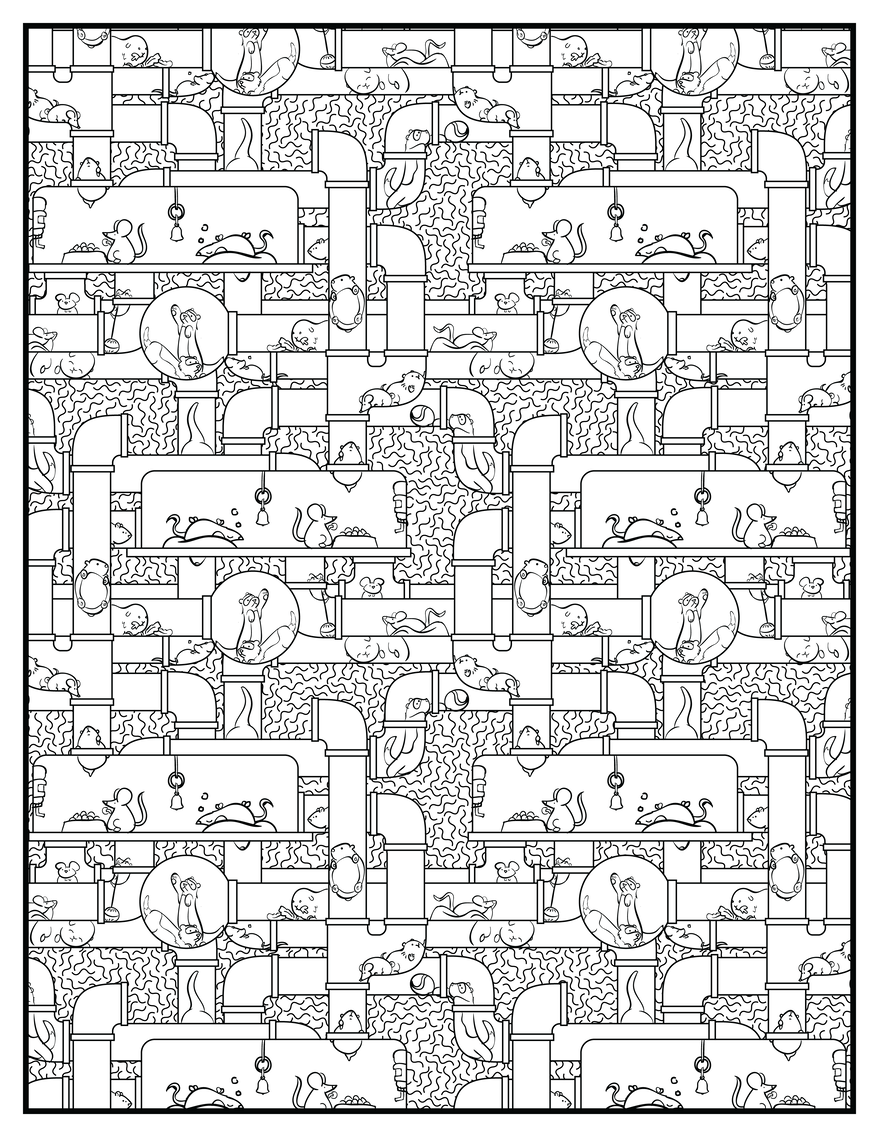
These are linear and reflective:
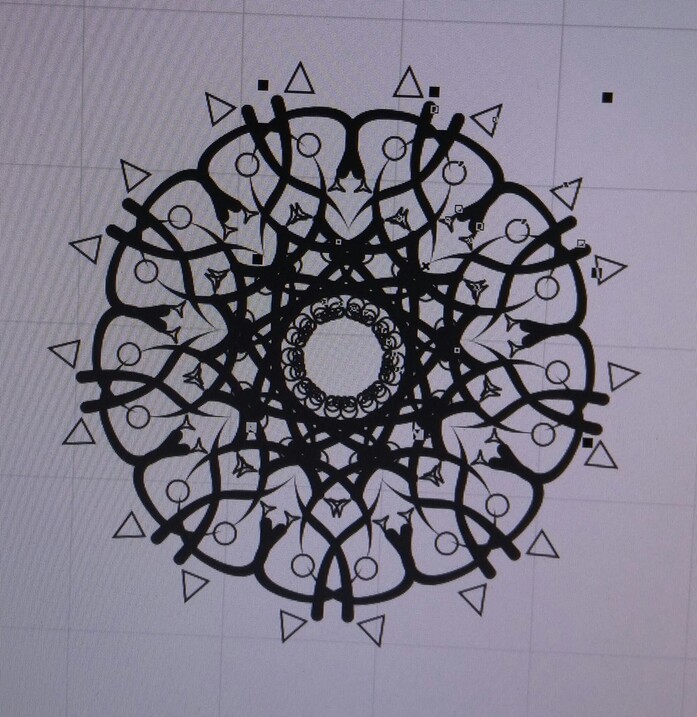
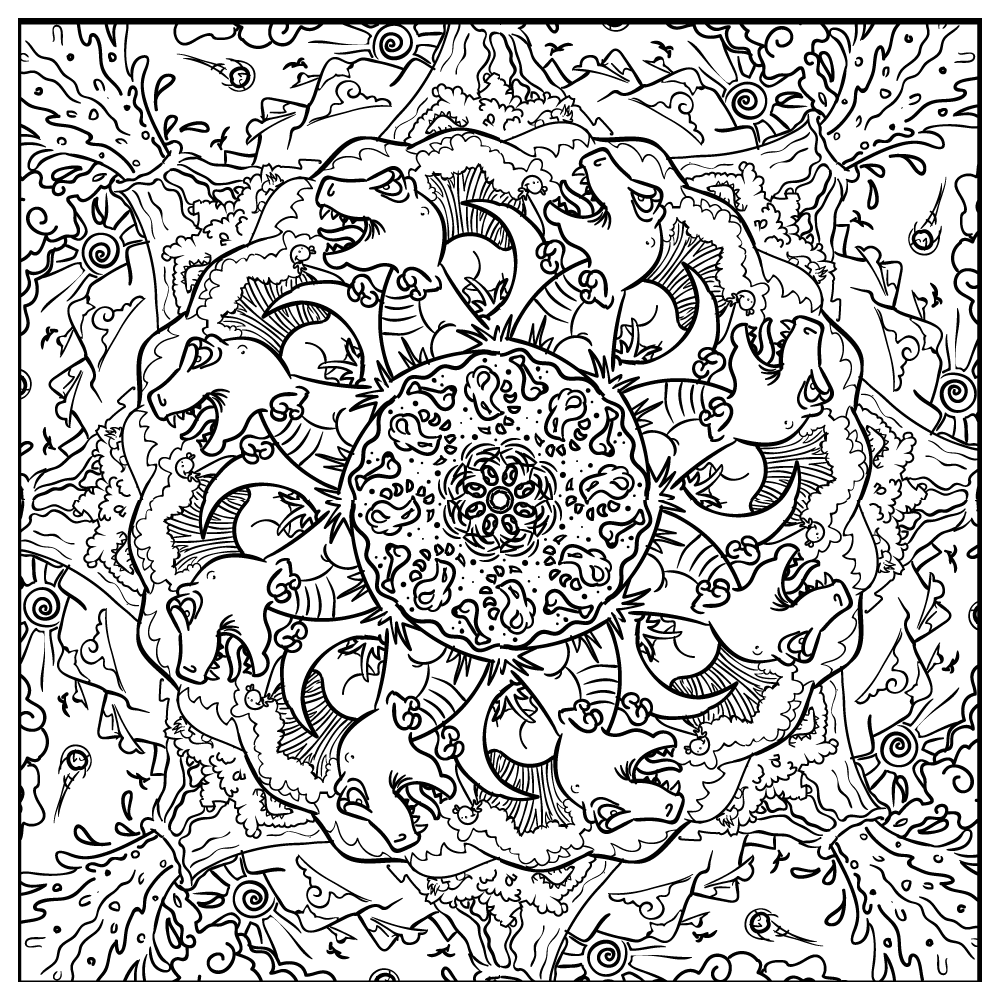
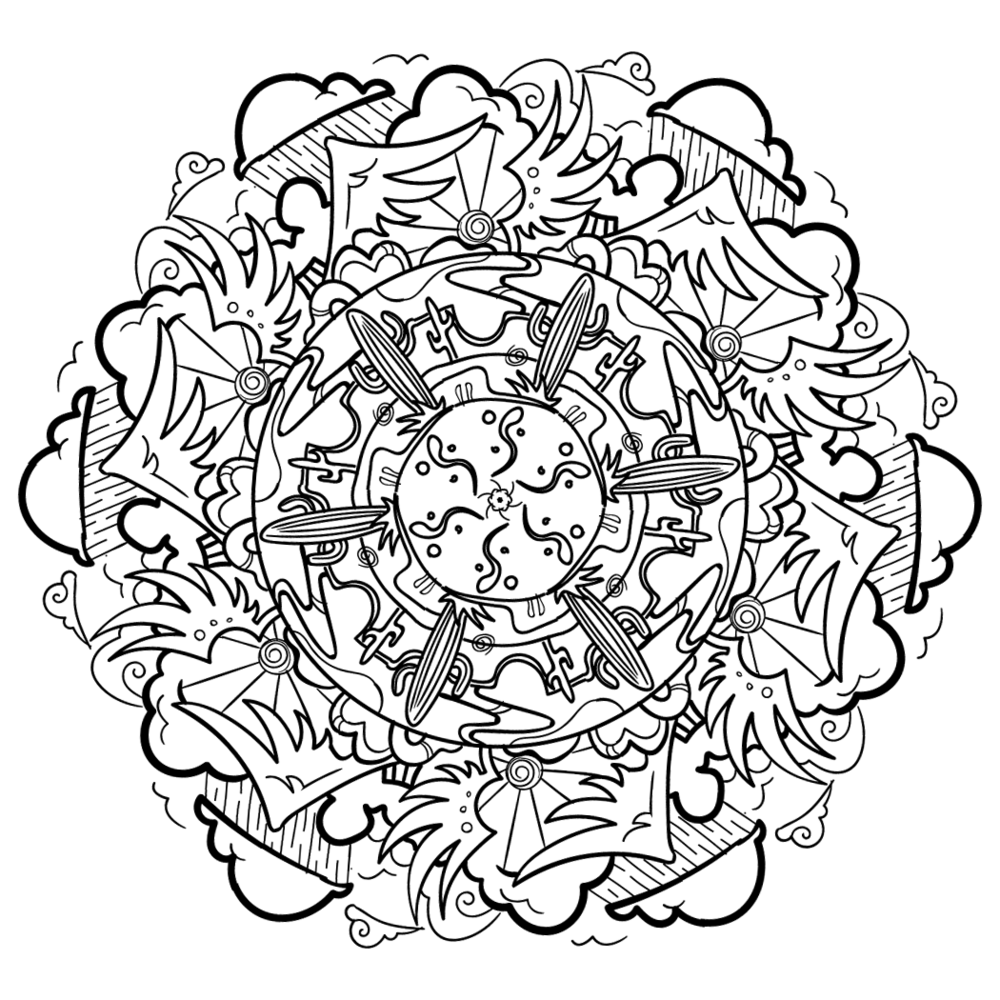
You can get pretty stupidly complex, if you want: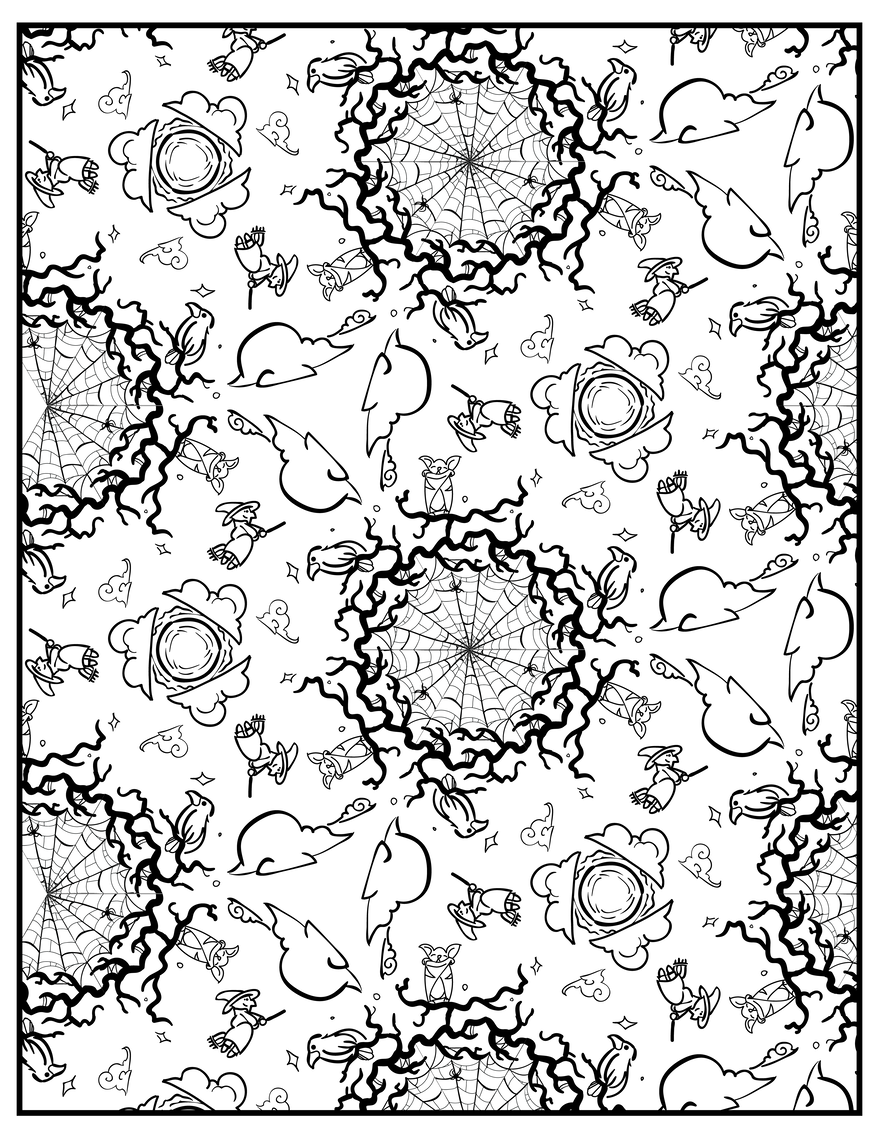
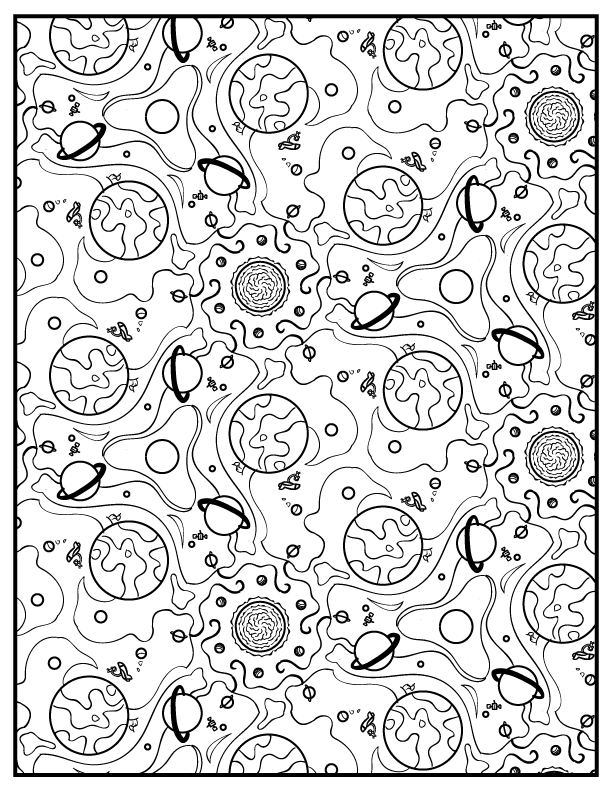
It’s just a matter of how much time you want to waste.
37 Likes
Definitely not a waste of time–I’d say you are an expert. I love them all! How awesome they will look laser engraved.
3 Likes