Not a super exciting Glowforge part but one of those aha! moments. I was trying to figure out how to cut an MDF router template for a flat pack bar I’m building. It was looking like I would need a jigsaw, drill, router, and sander to make the template and then deal with it not being as nice and clean as I would like.
I was planing on cutting a full size template for each panel. Then I realized I could get the clean lines I want on the Glowforge. So I quickly mocked something up and cut it out. I scored some center lines to make alignment easier.
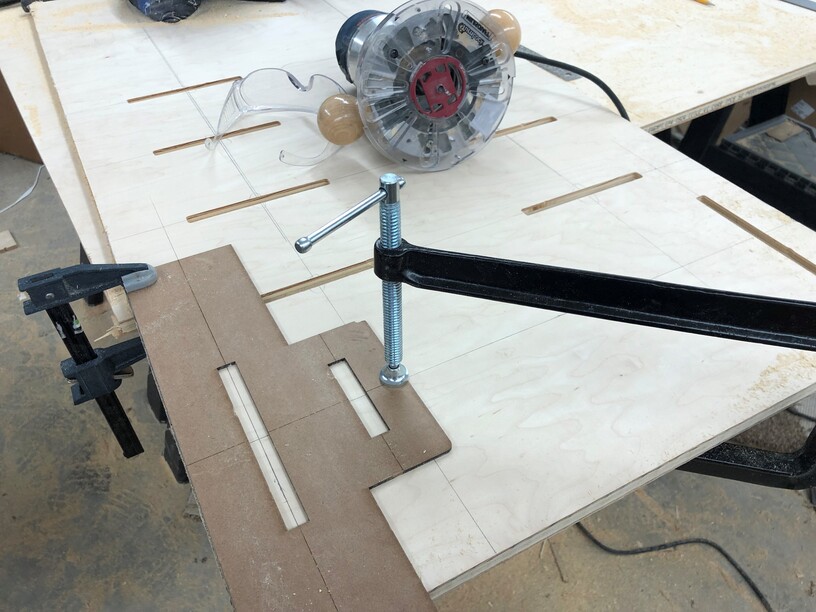
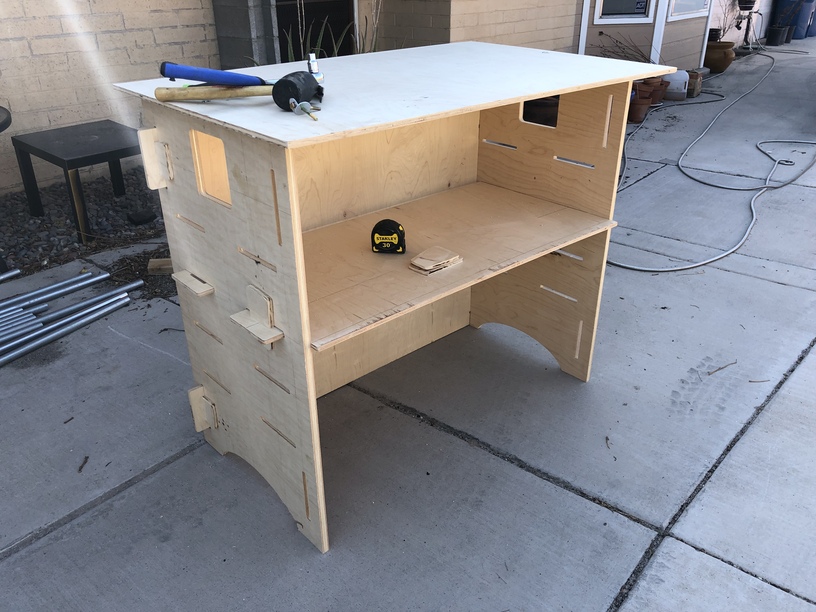
I made it extra wide so I could get clamps on it without interfering with the router. The smaller section is the tab design that slots into the larger cutout. So far the shelves tab in perfectly into the slots. Then I’ll use a small plywood wedge to go into the smaller slot to pin it all together.
It has turned out to be a much cleaner project than if I had tried to cut the slots and tabs by hand. I love that I can use the Glowforge to make a tool so quickly.
I’ll never forget @dwardio making a wrench for a large nut for a toilet tank connection out of ply.
" well, measure that and cut a hole to fit it." And his wife wondering why cackling was coming from the bathroom.
It was all pretty simple and pretty basic once I stopped trying to complicate things.
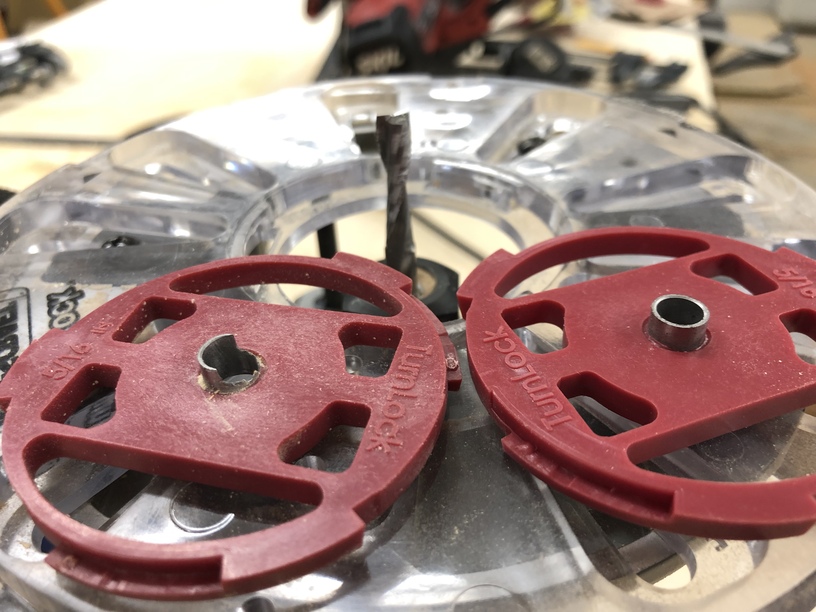
I have never used a router like this before. I picked up a Milescraft bushing set locally and attached it to the router. I had planed on using the 3/8" bushing but it was too deep as I was using 1/8" MDF for the template. I ended up with the 5/16" bushing and a 1/4" spiral up cut router bit.
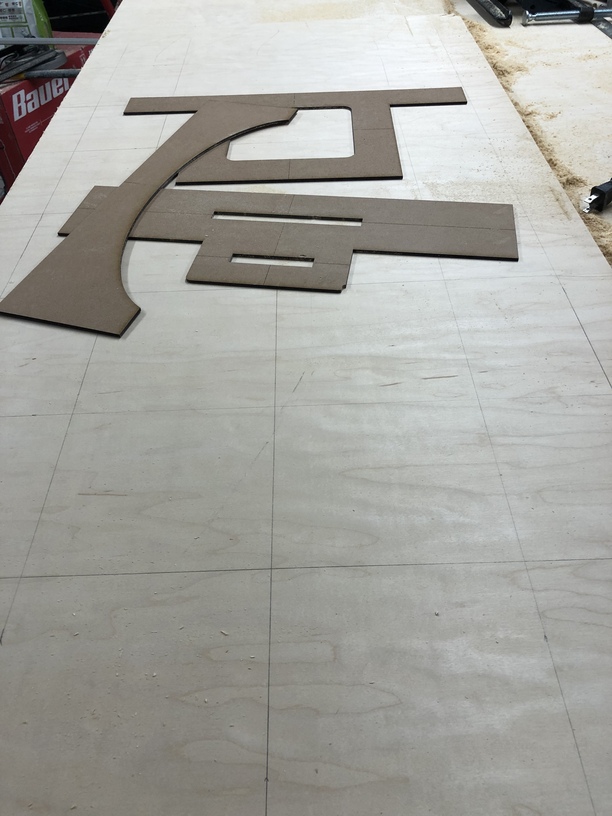
In Illustrator I made a box the size I wanted to cut out (6" x 1/2"). I then made duplicates 1/8" larger (1/16" on each side). I had tried some other sizes as well but this one worked out for me. I’m not doing fine cabinetry so a little bit of play works well in the slots. I think I later took out 1/16" form the 1/2" dimension.
I also drew some straight lines through the centers of the cutouts. I set these to score when I cut the templates. That way I only had to measure out the center of cutout and not worry about doing the math to find the edges. The pencil lines on the plywood are then used to align to the score lines on the template. You can see the score lines and pencil lines in the picture. It was pretty easy and the parts fit together nicely.
For the tabs it was the same procedure but I used the outline of the template rather than the cutouts. I’ll try to take a couple of more pictures tonight.
I ended up using a router bearing that was too small because the one I really needed was too long. Next time I’ll use thicker MDF so I can use the longer bearing.
This is what happens when you get too close to the bit.
Wow, a project like this deserves an instructable. It could well become a featured instructable because it really stretches what you can do with only one smart tool.
I know this is a bit of an older thread but, just saw it and its a fantastic use of the glowforge. Well done. I’m a woodworker who purchased a glowforge to support my woodworking habit. Your project is another great example of that great combination. I create templates a lot. To accommodate for bearing sizes I typically just cut two identical templates then double sided tape them together. I’ve made templates for bandsaw reindeer, charcuterie boards etc. Initially I was hoping to use the glowforge to “brand” my work as well. Works great for projects that fit the bed (i dont have a passthrough). For those that don’t, I make a shallow cut in my project with a forstner bit , then engrave and cut out a corresponding piece from similar or contrasting plywood on the glowforge, then inlay the piece. I’ve even used a piece of acyclic with some hobby paint in the engraved portion to do the same thing. I make keepsake boxes and plan to use the glowforge to make removeable trays, dividers etc as well.
Would love to hear how other woodworkers have used the glowforge to support their own habits as well
yes indeed the GF is quite handy for things you’d not have imagined before. I’ve used mine to make templates to modify fence posts. Templates for the corner of a light I’m designing for my pool table and will certainly use it for the creation of the jig to make those corners in the future.
not to mention making terrific little tabbed boxes to keep the bits and small parts organized.
Since Burning Man was canceled for 2020 I made my own ten foot tall man last July. Similar to this project I cut some templates out of heavy paper and then traced it to the plywood. While the arm and leg rings were simple circles that could have been created with a compass the ribs were a section of an oval. The paper template made it easy to transfer to the plywood to be cut out.
Other than that I have used it for random projects. I made a chalkboard for my nephew. The frame was basic joinery with biscuits and a dado. I engraved the pieces before assembly and added a fighter jet cut and scored from a piece of Home Depot white chalkboard material.
Otherwise it has been random things here and there that I’m working with. I don’t have a business use case so my projects are all over the place. I even used it to cut a push stick for the table saw.