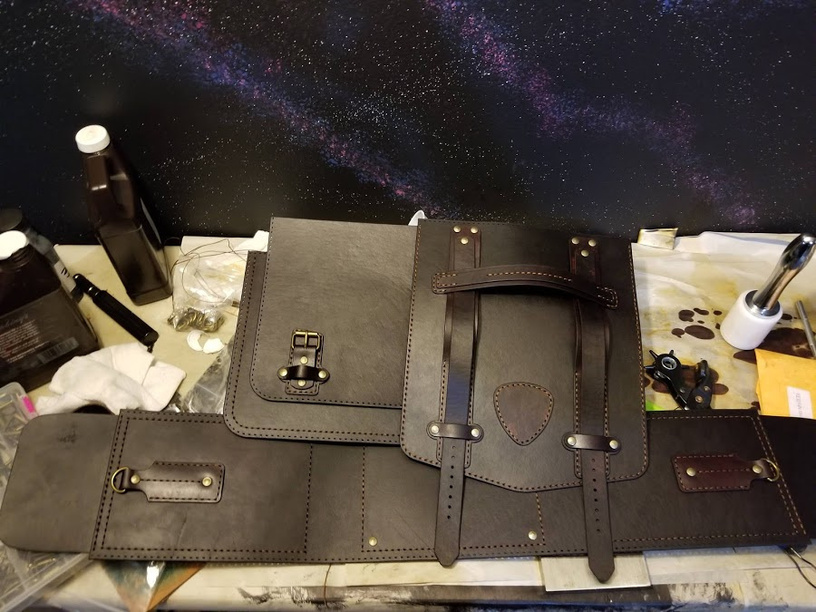
This thing…
This thing hated me. And it taught me a ton.
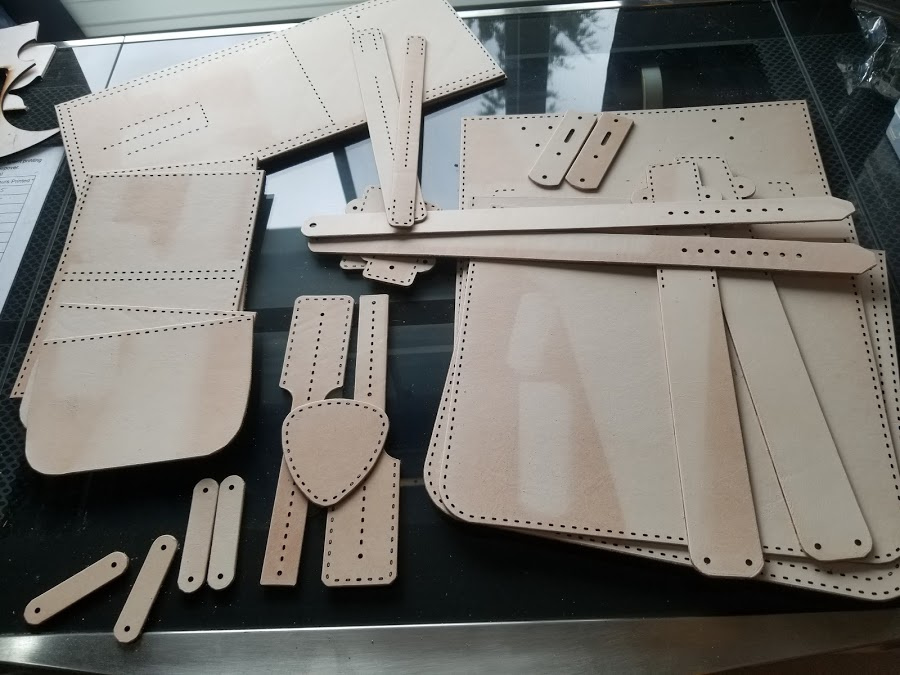
I printed this back in July, not long after I got home from the hospital. I wanted to give myself a project with a bunch of stitching to do that I could manage while I was basically restricted to bed rest (2,000 steps a day isn’t much!) The thing is, I really didn’t appreciate how much work I put into things before I got to stitching. This forced me to better understand my own process, but it very quickly became overwhelming to contemplate the work before sewing could begin so it sat on my bench, cut out and mocking me, for… months.
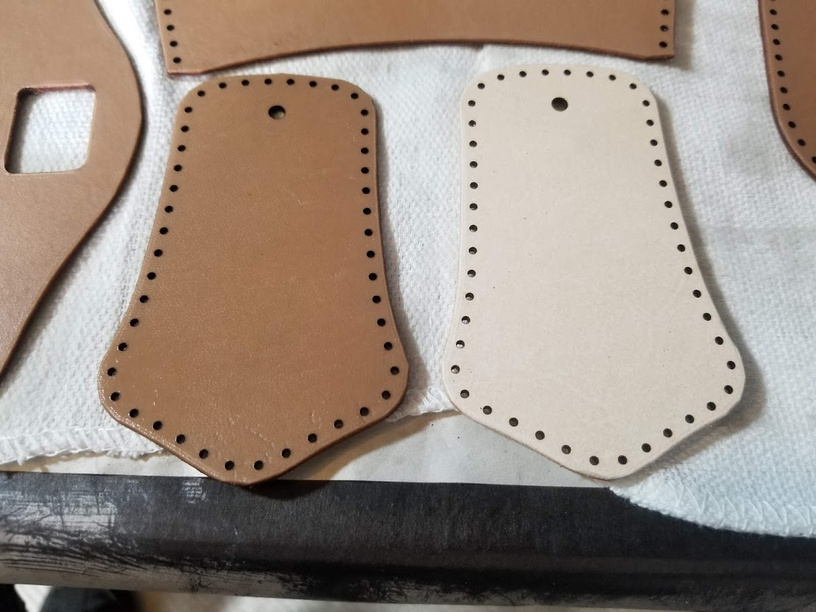
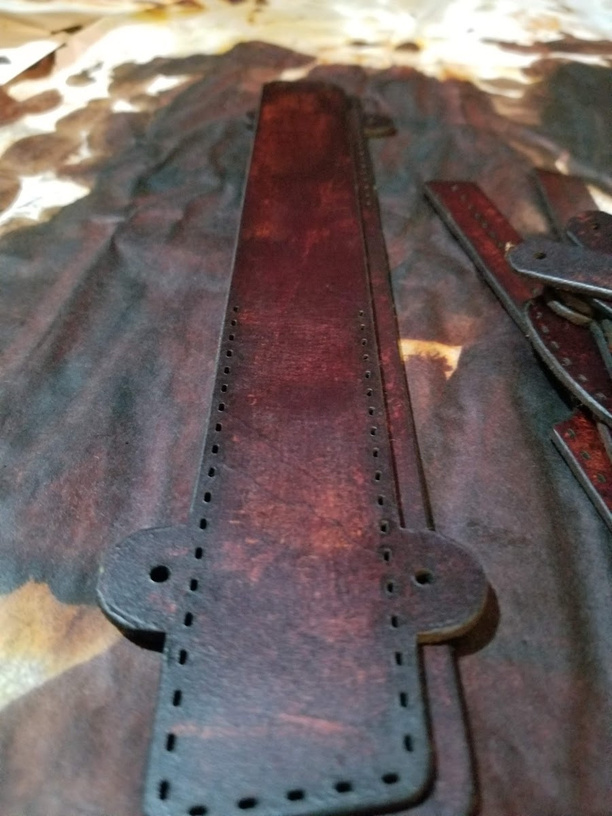
Eventually, I managed to get all of the edges sanded and the backsides that needed beveling beveled… I took the masking off and found this…
Nothing says ‘epic bag’ like tan lines on your leather, right? Just what this project needed! Something else to feel overwhelmed about… ![]()
It’s okay, when this happens (and it happens) there are solutions. For me, it started with an oil bath. Yeah, bath. Bath was maybe a bit extreme but it seemed like the right idea at the time so, armed with a disposable aluminum pan (I use lots of them during BBQ season), I submerged each piece in Neatsfoot oil until it stopped bubbling. Pro-tip: Don’t do that. Nothing wrong with dipping in Neatsfoot, but do so briefly, then set aside so that the leather can wick the oil inward and not become over saturated. If you do that, you’ll get something like this:
Before dipping on the right, after dipping on the left. (Not parts from this specific project, but the technique is the same.) The mistake I made was in trying to get to that nice even saturation before taking the parts out of the oil. Dip, wipe off the excess (I used a piece of acrylic scrap) and set aside overnight to let the oil distribute itself evenly through the leather… the result is significantly better.
So, what did I do with my overly oily leather? I stacked everything between layers of paper towels and let it chill for a week or two, changing out paper towels as they wicked away oil. Not elegant, but it improved things enough to move on to the next stage. Time to make a mess!
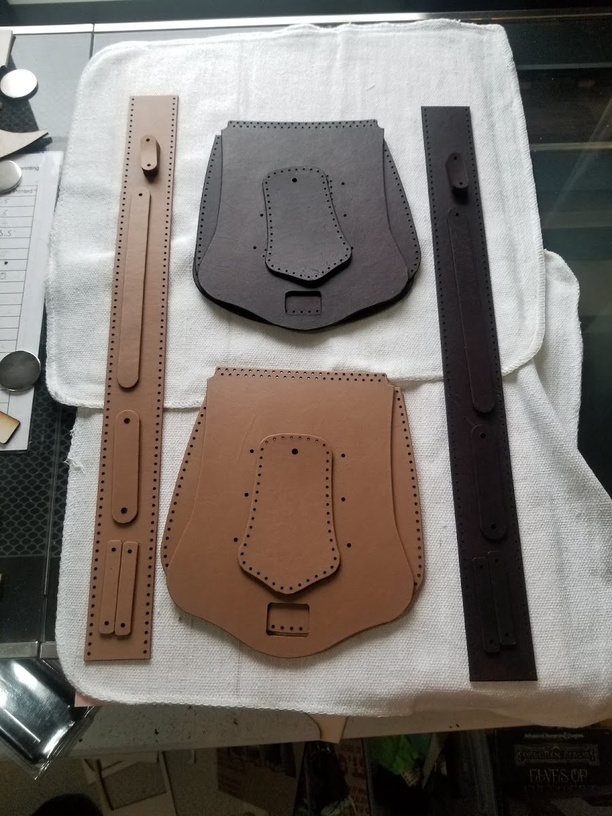
The nice thing about oil dyes is that they penetrate nicely and you get a very even color. The bad thing about leather that’s been over oiled is that it resists dye or anything else penetrating the leather and giving you the even consistent look that you want. So, after submerging everything in dye, two to three times each, I was left with the above… Brown on the left, English Tan on the right.
Super even and consistent… right?
Right.
This is what it looks like when you do it the right way
(Just oil on the left and bottom, dipped in the same brown dye on the top and right.)
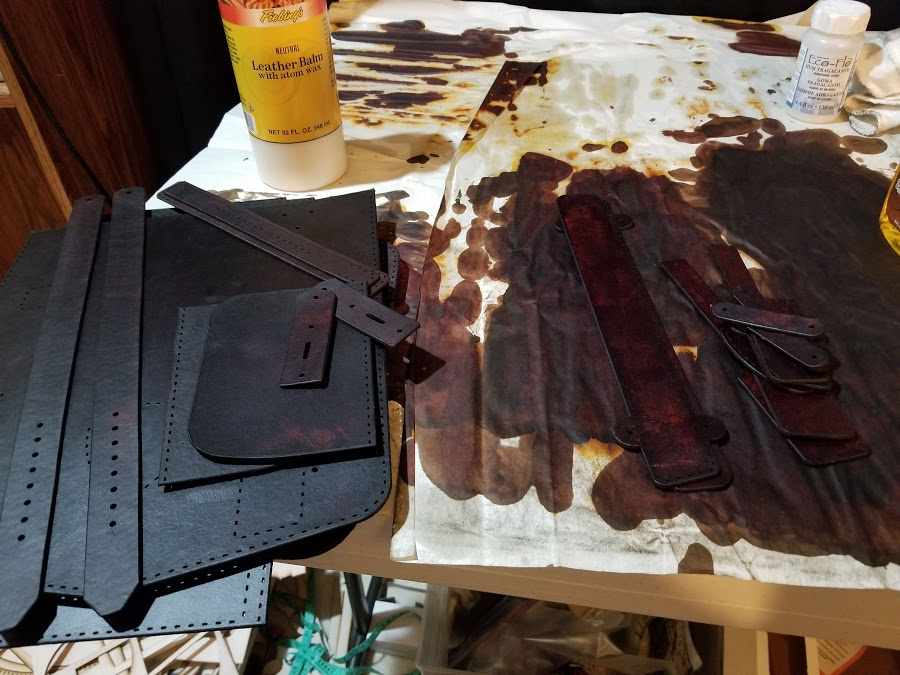
But no, this bag was going to be beyond fussy. It’s okay… I soldiered on. It could be a little ‘rustic.’ Yeah, rustic, we’ll go with that. Leather balm w/ atom wax and lots of buffing… which kept pulling up pigment that had been effectively just sitting on the surface of the leather. Perfect! Sigh. I finally moved to the saddle soap and got to a surface that I felt fairly good about (and that wouldn’t feel oily or leave pigment on your fingers when you touched it!)
So, finally, I could begin the stitching I’d wanted to do when I started this whole thing!
Did I mention that the specter of a cut through issue had been hanging over this project since I cut it out? Not a significant problem and if I’d cleaned the lens before starting this project (of all people, I really should know better!), I probably wouldn’t have had an issue but… I wound up with scattered spots all over the project where I needed to use a needle to ‘convince’ a tiny bit of leather to exit a stitching hole. I felt like I’d been given a personal delivery of hanging chads ![]()
No matter, on with the stitching!
Stitch around the entire edge of the top flap? Just for decorative purposes? Sure! Bring it on! Who needs fingers?
I didn’t pay much attention to time until the end but let’s say that I’d spent something between 4 and 5 hours on assembly to get to this point…
And it felt like the home stretch! All I had to do was stitch the entire length of a meter long gusset, twice, and attach the top flap. What could go wrong?
Philosophical differences in pattern making.
So, fundamentally, when you’re attaching a gusset to a front and back panel, you’ve got two choices about how to bend things. (Yes, I’m ignoring the use of transition pieces, that’s another topic.)
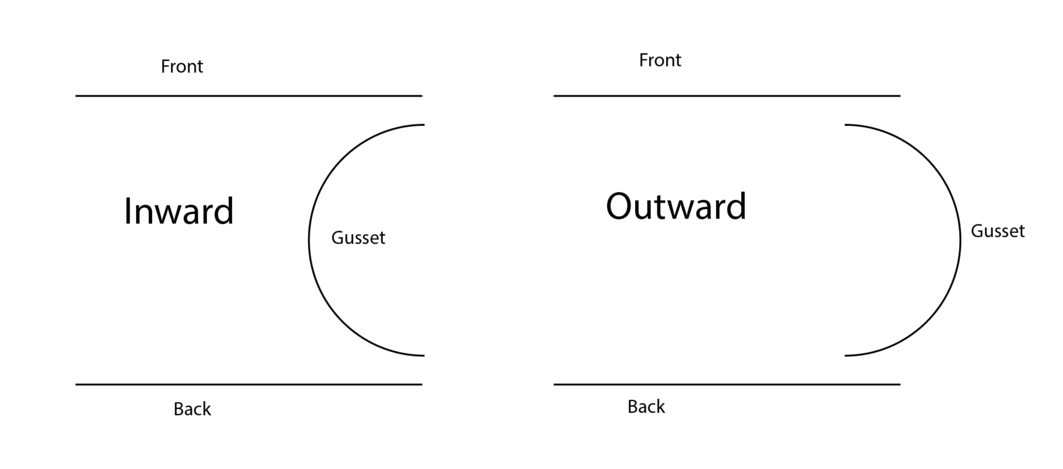
Really, either works. The difference is largely aesthetic. For smaller projects, it doesn’t matter too much which way you go and a pattern designed for one can flip the other way without much issue. As you round corners though, and the longer the length of the gusset… the more the little fractions of a millimeter in stitch hole placement pile up, and some times, for a given pattern, there is a distinctly right way and a wrong way. And I totally knew that before I started this project. Promise! (Or not.)
In general, I prefer to attach gussets and end panels with an outward bend. Like this:
It means that I only have the edge of one piece of leather showing and I don’t need to finish a seam from two visible edges. I happen to think it looks cleaner and I’ve had some less than great results from going the other way.
This bag though… the pattern was designed to bend the gusset inward. How big of a deal is that? Well, about two hours into a meter long stitch, everything in the corners looked beautiful and the assembly was going well… but I’d accumulated enough ‘off by a little’ errors in stitch hole alignment that I was shaping up to have 5 or 6 stitch holes left over on the gusset by the time I got to the end of the back panel.
That’s okay! It’s not the end of the world! Just cut away nearly 3 feet of saddle stitching and start over… no harm, no foul… just tears… and fingers that were really starting to hate me.
But… after that, everything was just perfect! Right? No, of course not. Not on this bag!
How did I wind up off by a single stitch? Philosophical differences in pattern design. I read the pattern wrong, thinking that the row of stitch holes at the top was only used for attaching the top flap and so I started the gusset one stitch hole down from the top. When I design my own bags, that’s how I do it and these stitch holes are ovals, clearly oriented differently along the top than around the sides and bottom which meant it was just for the top flap, right? No, of course not. But what’s another 2 hours of stitching between friends… right? Right? No. I left it. It’s fine. It’s not going to hurt anything like that.
And that was the last of the drama! Except it wasn’t. This bag decided I needed a boss fight at the end. After attaching the top flap, at the final moment of sliding the straps through the buckles and pulling things tight… Three rivets popped off.
No problem! My anvil is a flat piece of steel, it just needed to be supported by something inside the bag so I could re-attach rivets…
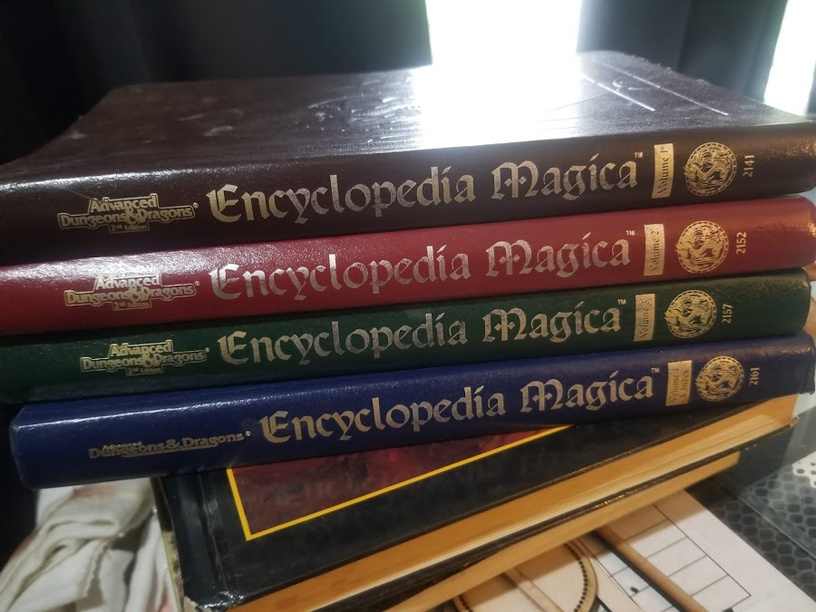
2nd ed to the rescue! I figured the cover of the Encyclopedia Magica could take a little bit of a beating (it’s lasted this long hasn’t it?) and the stack of them plus a few other books was enough to support the anvil while I hammered things back where they belonged.
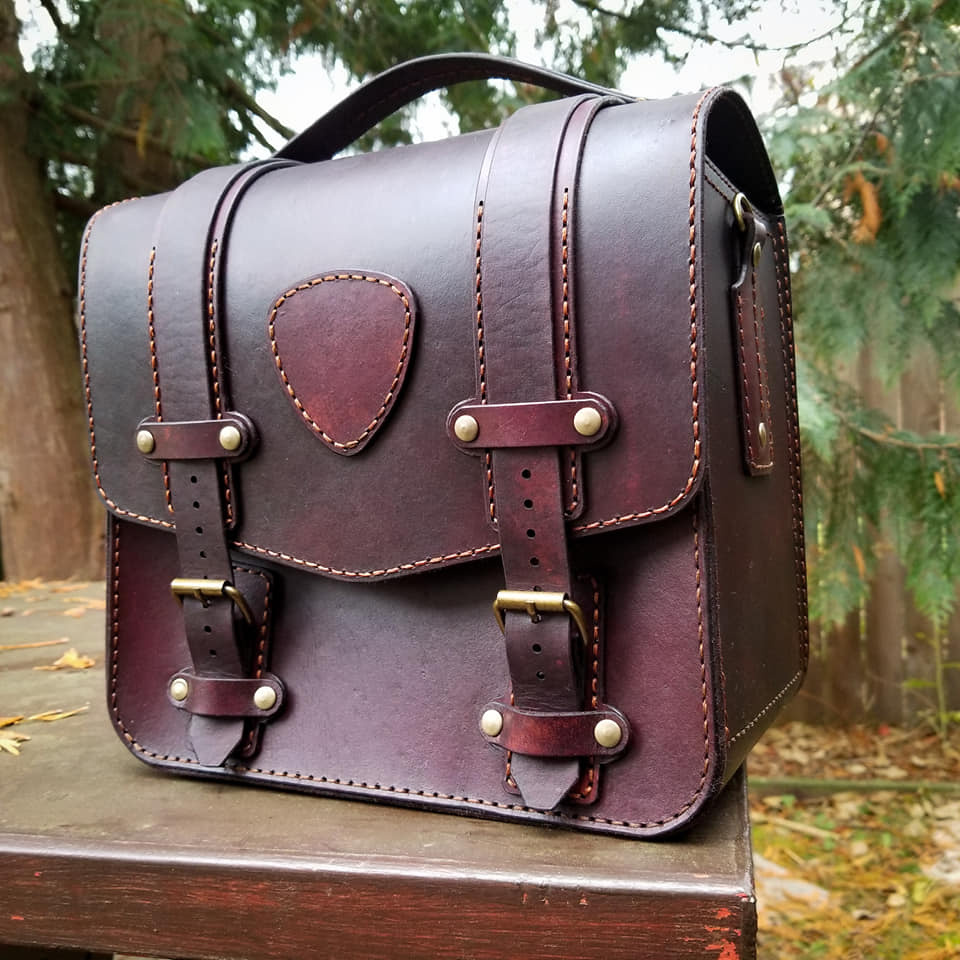
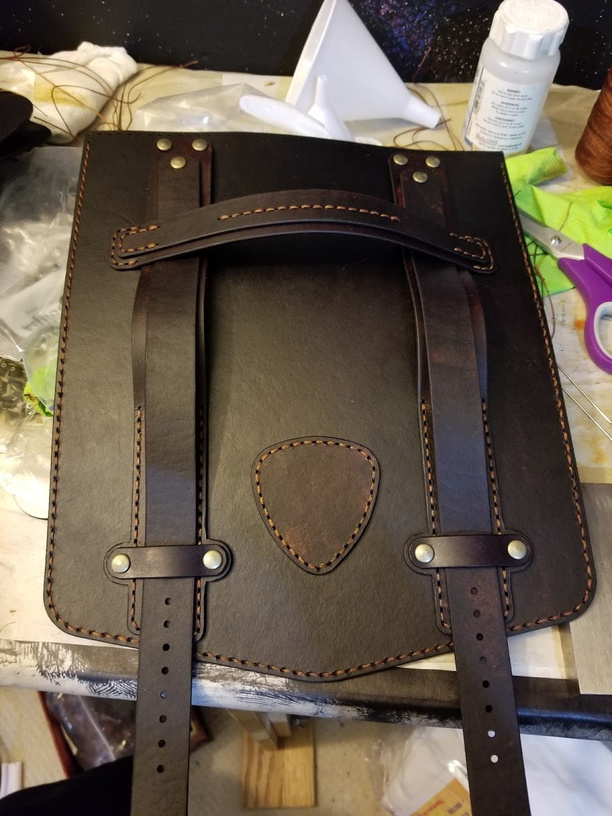
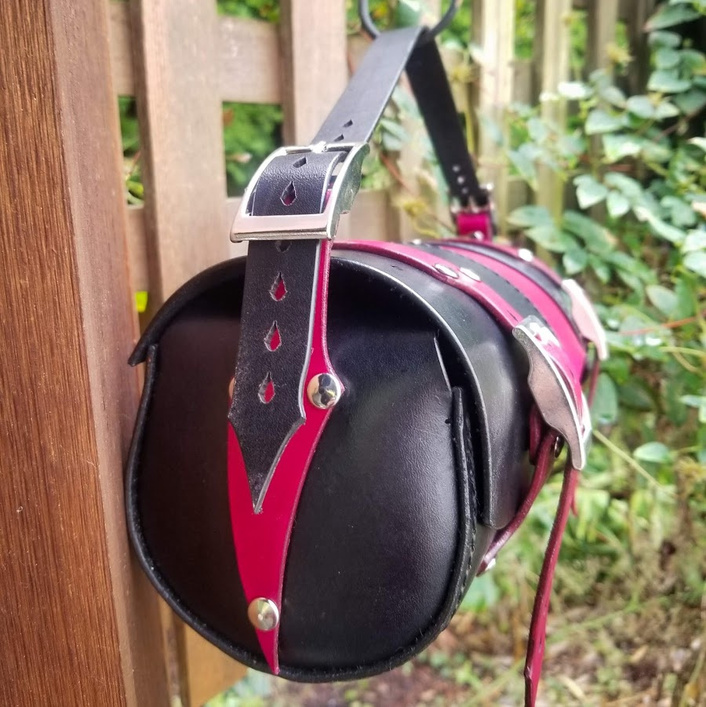
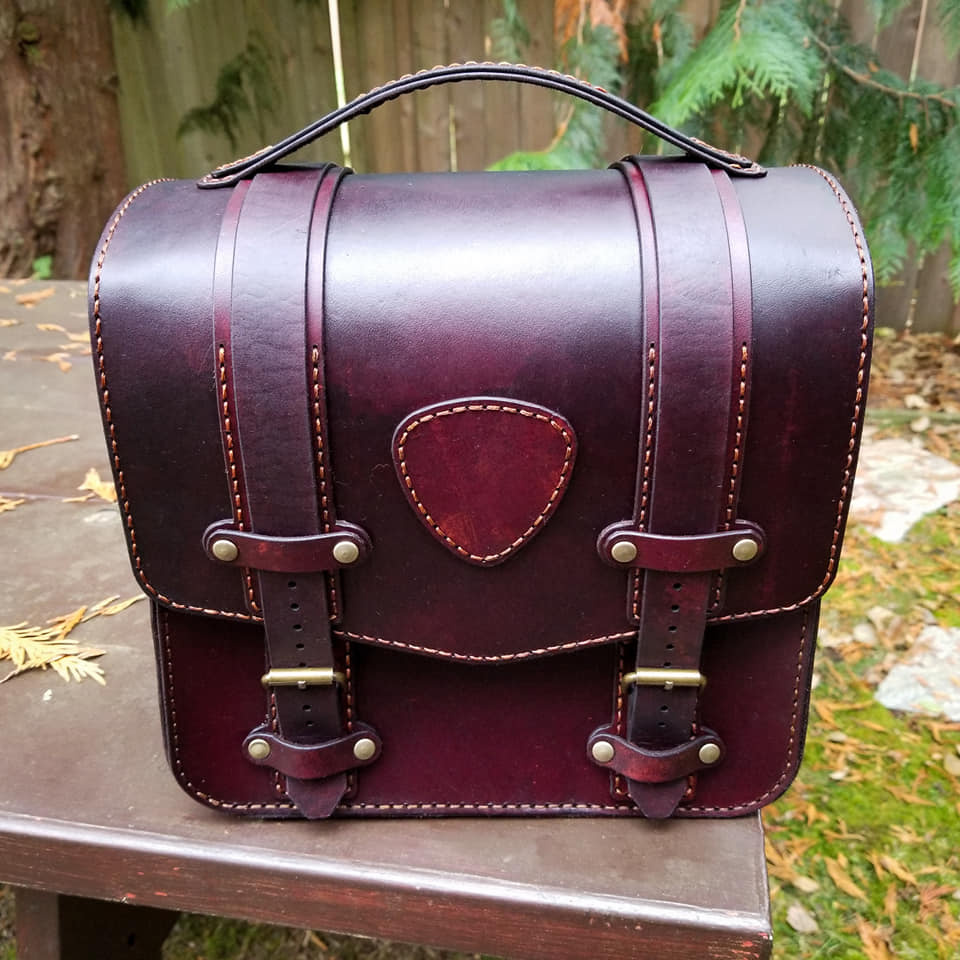
All of which left me with something pretty epic feeling…
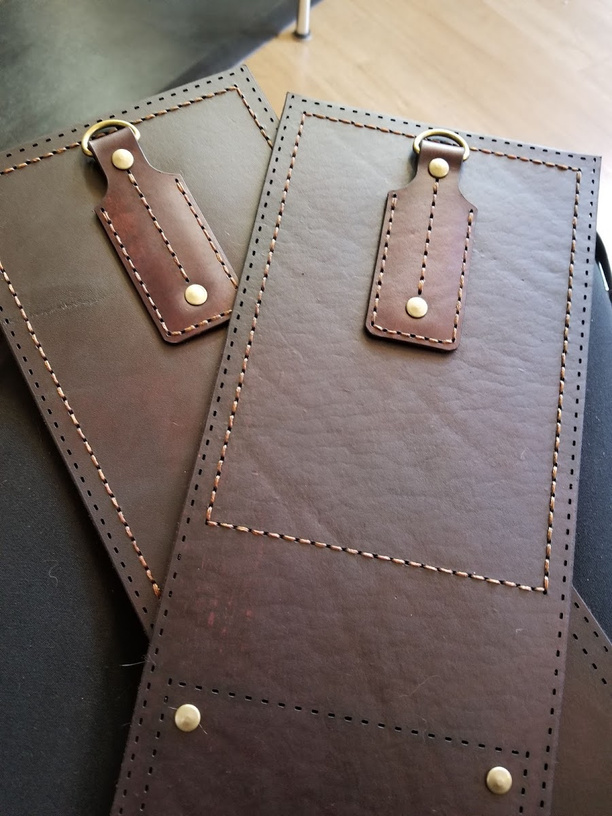
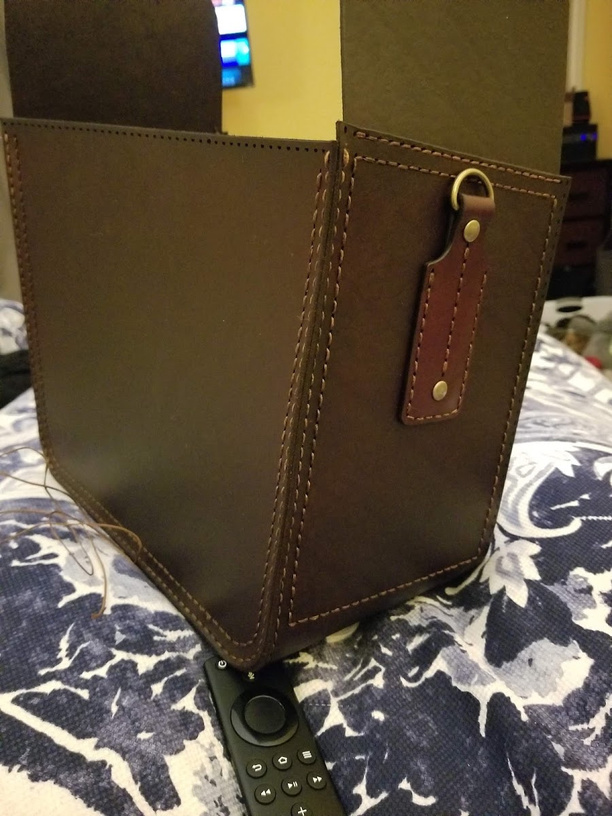
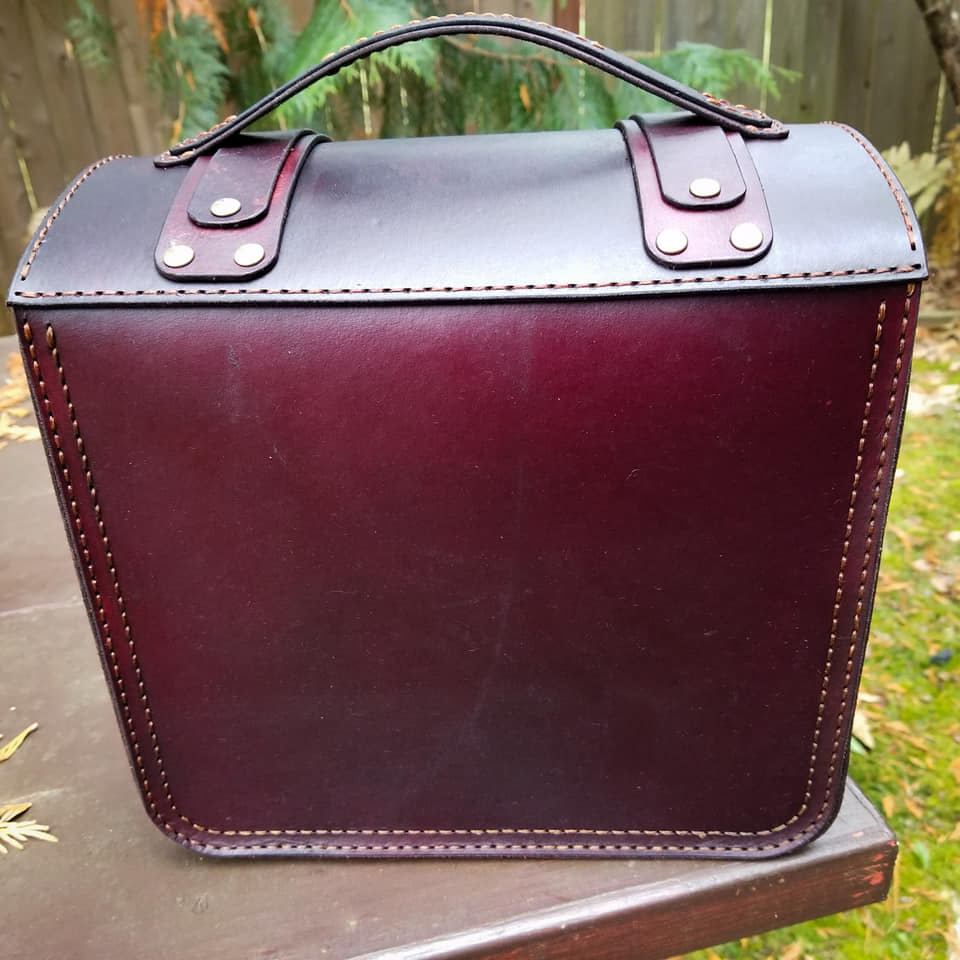
And the stitching for the inner pocket makes for a nice double row look on the back…
And I can accept that the gusset attachment is a little less than perfect because you have to get pretty close to it to even notice…
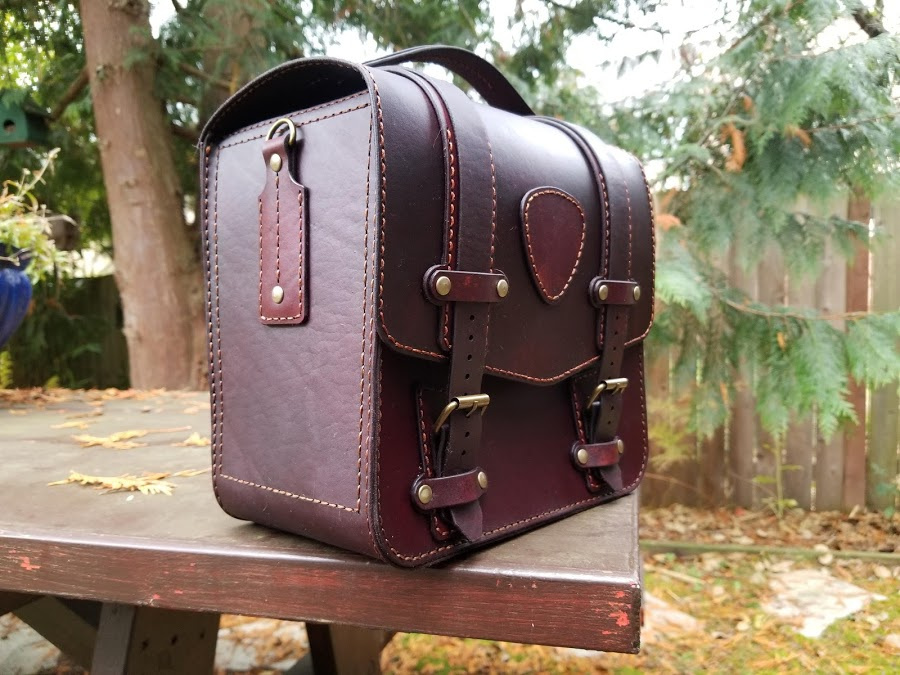
(However will I survive that level of imperfection in the post-Instagram world? Insert overly dramatic sigh / feinting swoon.)
In the end, my only real regret on this thing is that I used some pretty inexpensive buckles. After 20-ish hours of working on this thing, I feel like it deserves better hardware.
I’ll have a chance to do something about that on the next one though… after all, there’s a backpack size version of this pattern staring at me… ![]()

 Thick (so about 5/6 oz)
 (Looks professionally gorgeous, as always!)