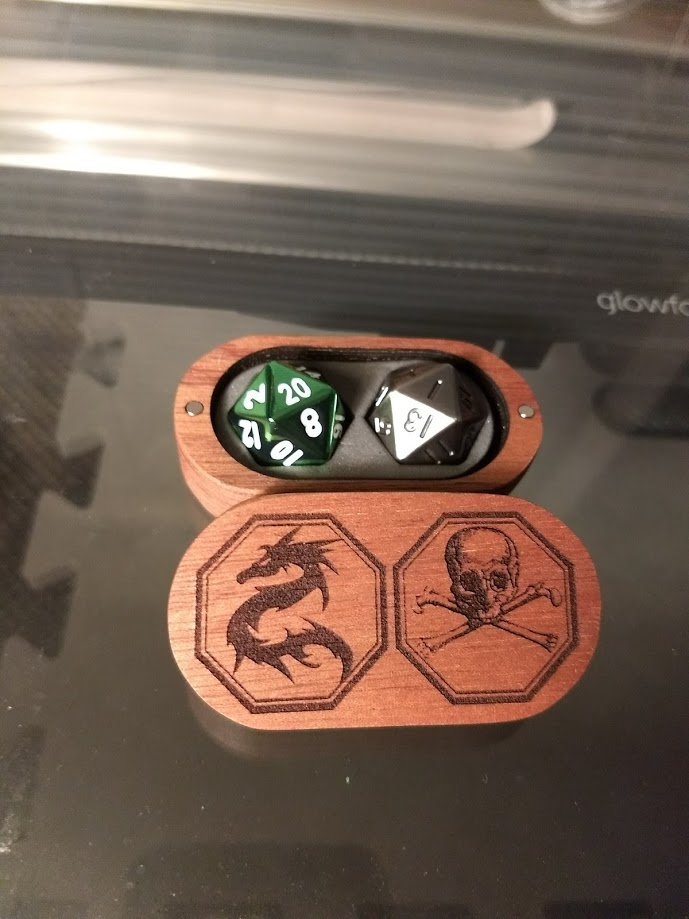
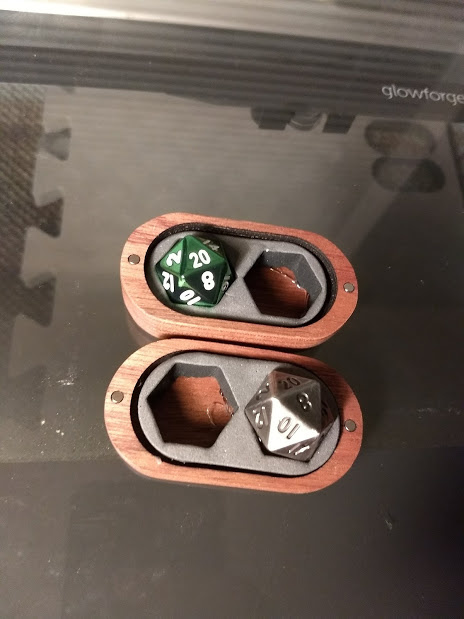
It’s my first weekend free since…Easter…dang. Anyways, I recently got some metal D20s at PAX east. I was worried about these heavy dice damaging my other dice in my bag. The obvious solution is to make them there own box.
On a related note, I recently picked up some Sapele Plywood at Boulter Plywood (http://www.boulterplywood.com/, they are located in Medford, Ma, but they also deliver. They have some nice stuff!). I also finally picked up some EVA foam floor mats.
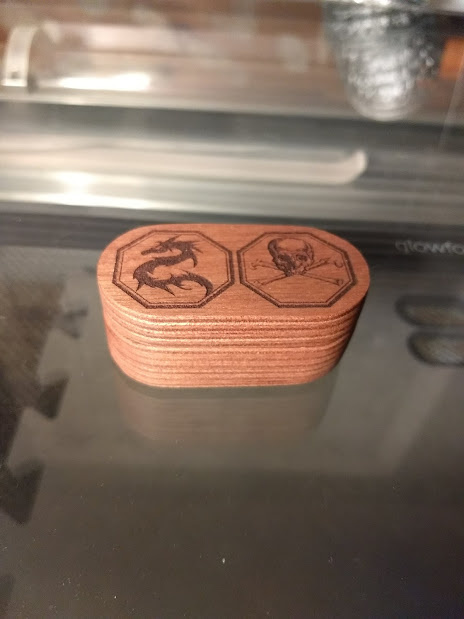
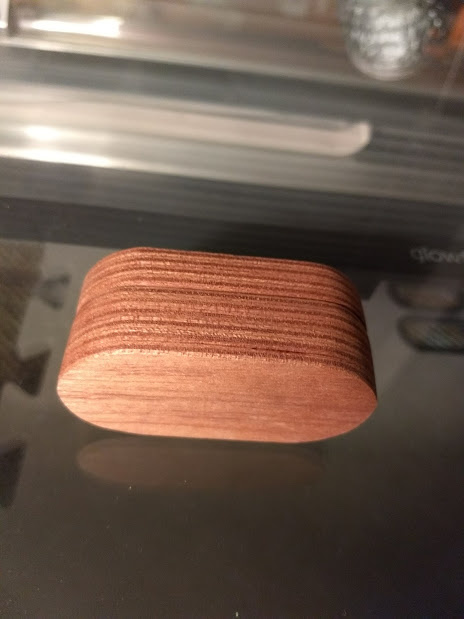
An afternoon with Inkscape and testing material settings later, and I have this beauty!
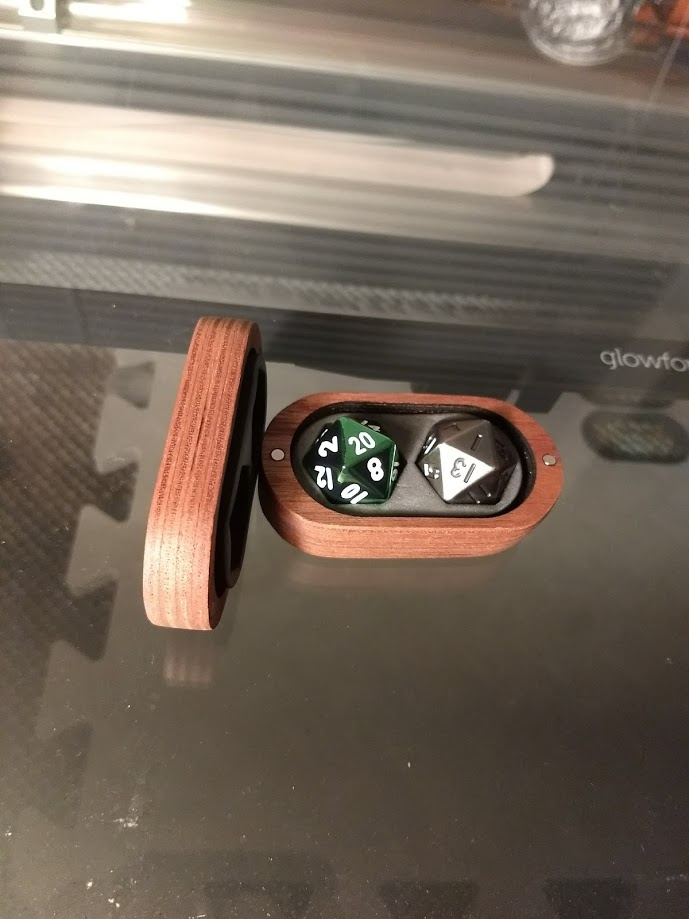
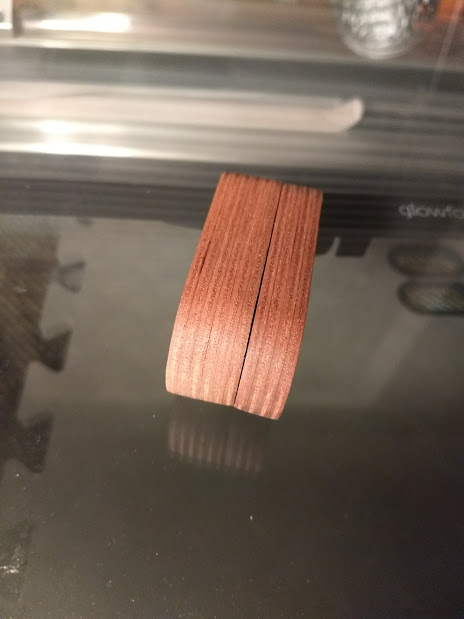
I stacked the cut up pieces and glued them together. I placed some magnets to hole the box shut. I sanded the edge of the box, because I wanted the Sapele to show through. Then, I hot glued the foam into the box.
I used some Tung Oil to finish it off. The pictures don’t do it justice, it is a really awesome red color. I’m really happy with the way it turned out! Now, lets hope this will make them roll better tomorrow night!
That is awesome. I’ve got some projects on my (way too long) list, that would require stacking cuts like this, but I haven’t tried any yet because I’m concerned I won’t line them up very well. You’ve made this look seamless. I am both impressed, and jealous.
To be honest, I didn’t get them lined up perfectly. I also used super glue instead of wood glue, mostly because it was my first one and I was impatient. If I used wood glue, I would have had more time to get the parts lined up.
Sanding the part after assembly was key to making it look seamless! I did a 220 grit pass, and finished it with a 320 grit, so it has a nice smooth finish! One lesson I learned is I should have assembled the box, clamped it together, then sanded it as 1 piece.
Yup. I got EVA (anti fatigue) floor mats, the kind that looks like puzzle pieces. A little bit of experimentation (and one small fire I put out with the spray bottle) and I had some laser cut foam! One thing I still need to do, if I make more of these, is to figure out the kerf so I get a nice tight fit.