You may not be understanding my jig idea then, or I may not understand the physical dimensions of the cutting board. Unless it’s very wide, (a fair bit more than 19.5"), this is how I’d do it.
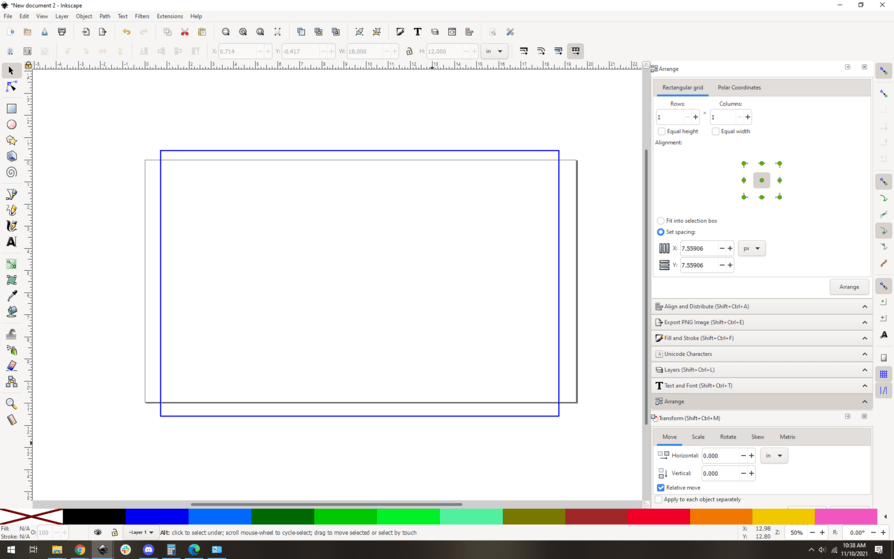
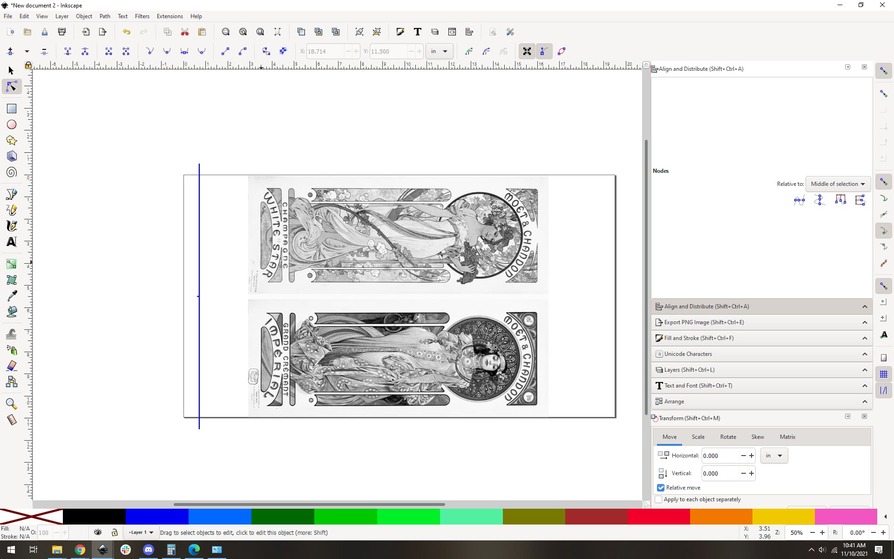
Measure your board carefully. The more accurate the better. I am guessing 12x18 here, so that’s what I’ll use for a illustration of the concept.
Draw a rectangle to scale in your vector program of choice.
Now you need a registration mark, make a tiny pip of a line:
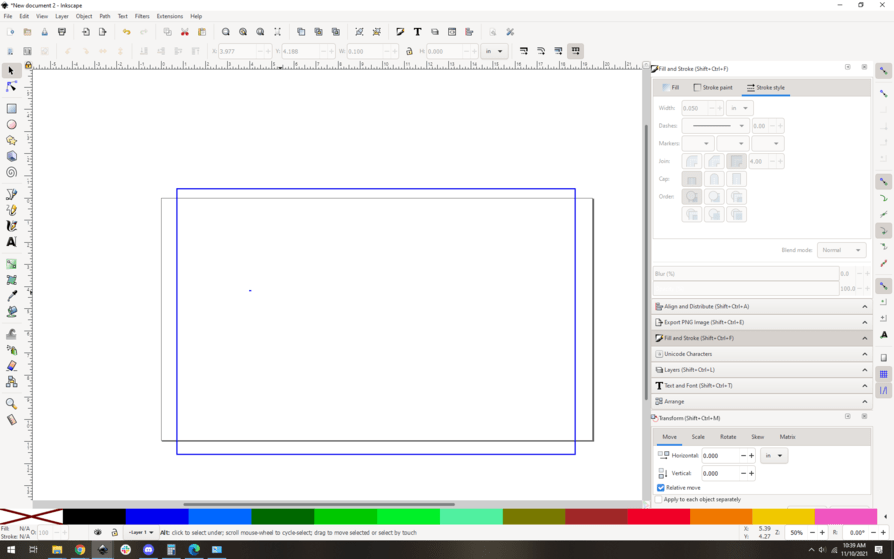
Snap that line to your rectangle and center them vertically. You have a tiny mark on the left side of the rectangle.
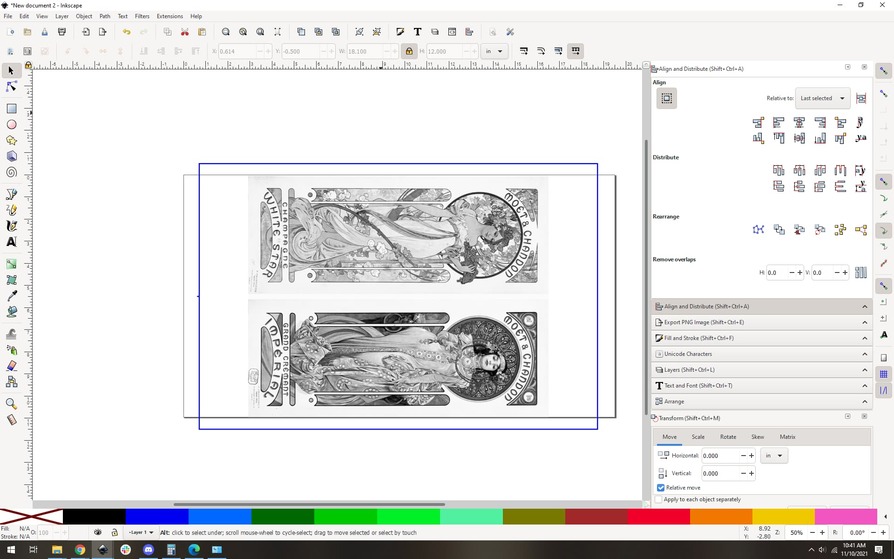
Now center your art on your rectangle…
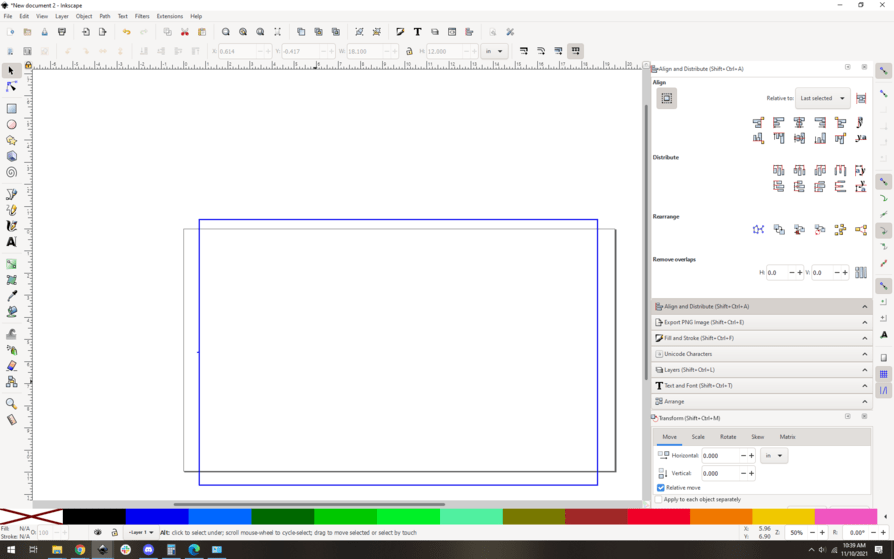
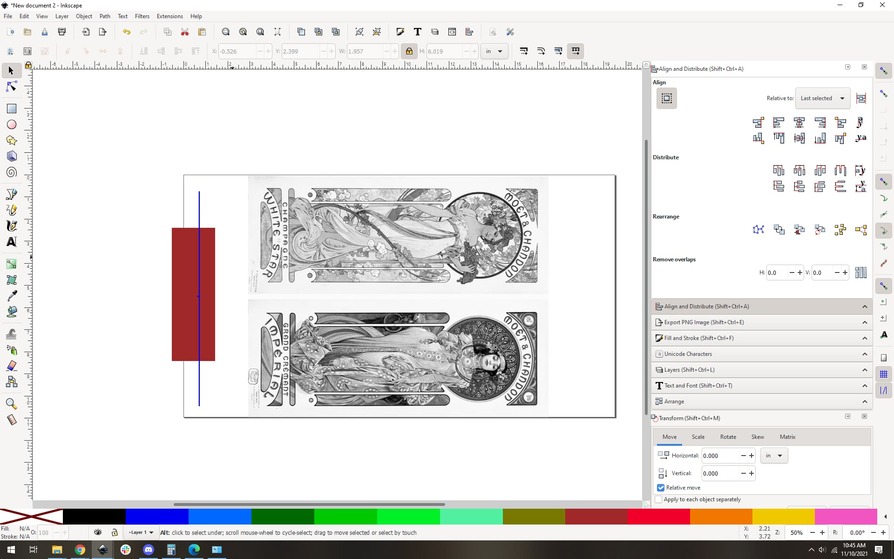
And then delete all but the left side of your rectangle:
Now shorten the edge line so that it fits in the cut area…

And you’re ready to go. Insert jig material into the glowforge, it should be smaller than the cut line. Represented here by a brown rectangle.
Cut the jig, ignore the engrave. You’ll end up with a straight edge with a tiny pip indicating the center registration point.
Now, put a piece of masking tape or something on the edge of your cutting board, and carefully measure and mark the center point. (You use the tape so that you don’t have to mark the board, but be careful that it won’t tape over where you’re trying to engrave…) Align that center mark with the pip on your jig and carefully seat your cutting board right up against the jig. Turn off the cut. Turn on the engrave.
Voila, perfect alignment. (as perfect as your measurements were anyway. Should be able to easily get sub-mm accuracy, just don’t let the jig move or it’s completely blown. If you do, it’s a simple thing to recut some cardboard to re-jig it, of course. Pro tip, place the cardboard in at an angle so the corrugation doesn’t run parallel to your jig cut line. You want the corrugation to support the edge, if that makes sense. )