A semi-easy alternative…
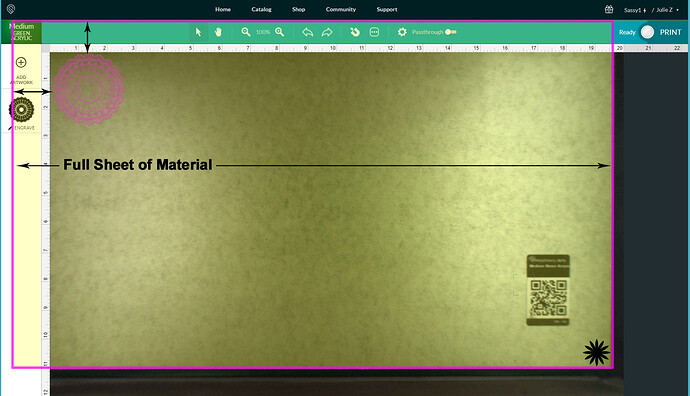
The problem that we get is that once the Focusing happens, the top 3/4 inch or so of the board can no longer be seen in the camera view …there is an overlay that prevents us from seeing it. (Size goes down to the 11.47" that the head can reach, measured from the front of the board, at the exact correct start of the cuttable area.)
So when you try to center visually on the whole board showing, if you don’t realize that the top approximate 3/4" is hidden from view, you are treating the bottom 11.47 inches like a full 12 inches…with the result that there is always going to be the hidden unengraved portion at the top of the engrave, added to whatever space you left.
What you can do, is limit the total height of the engraving to 9.5 inches, and then place it exactly 1.25 inches above the bottom edge of the board, as measured from the lower left corner. That will leave 1.25" unengraved at the top and bottom as a border.
Where the bottom edge of the board is going to fall will change based on how you place it, so you need to shift the design each time, after the Focusing happens. Then just shift the engraving using the numerical Precision Placement. (Just place the lower left corner of the engraving at the left lower edge of the board, then subtract 1.25 inches from the Y-axis number showing…it pops right up.)
If you want to try for 10 inches (or more) engrave height and just 1" (or less) border on each side, you’ll need to be very precise with the placement of the board in the machine to allow it…you need to hit the exact edge of printable bed, and that’s hard to hit on the nose.
Anyway…that’s what I do with oversized prints and cuts.
Pic…