I like to score the lettering on my signs so it’s easier when it comes to gluing…problem is I hate that sometimes you can see the score line. Does anyone have a method using inkscape that somehow allows for kerf when scoring?
In Inkscape you could select inside line cutting rather than center line for the score.
4 Likes
Just use the “Inset” function to reduce the size of the paths.
3 Likes
OK so it’s a little fiddly but not too bad:
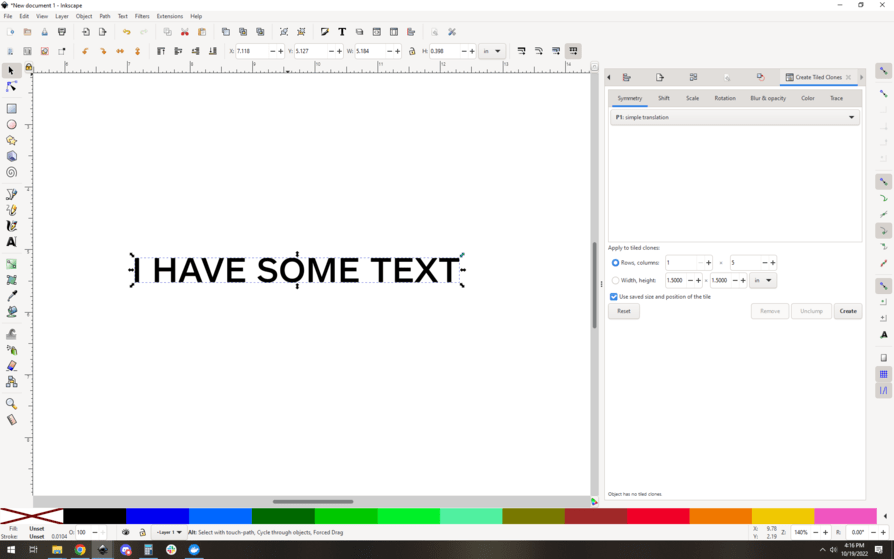
Make a text:

Path->object to path:
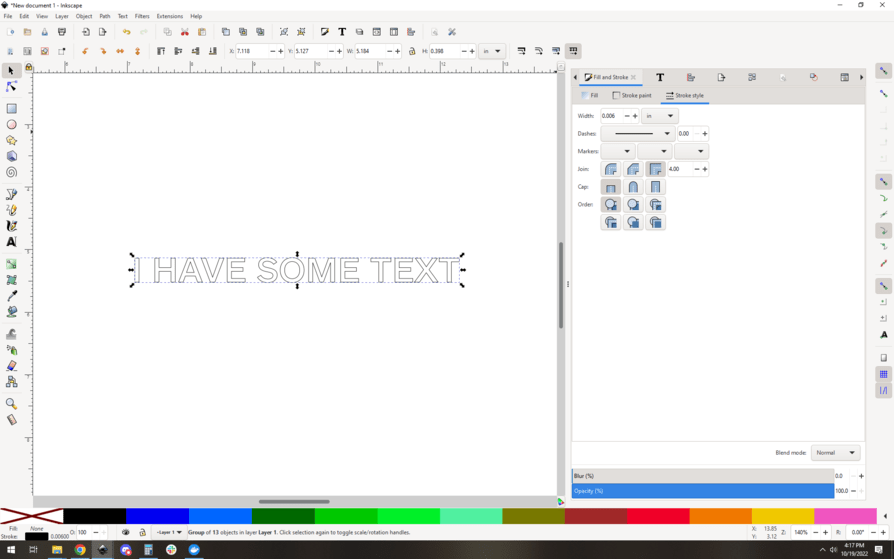
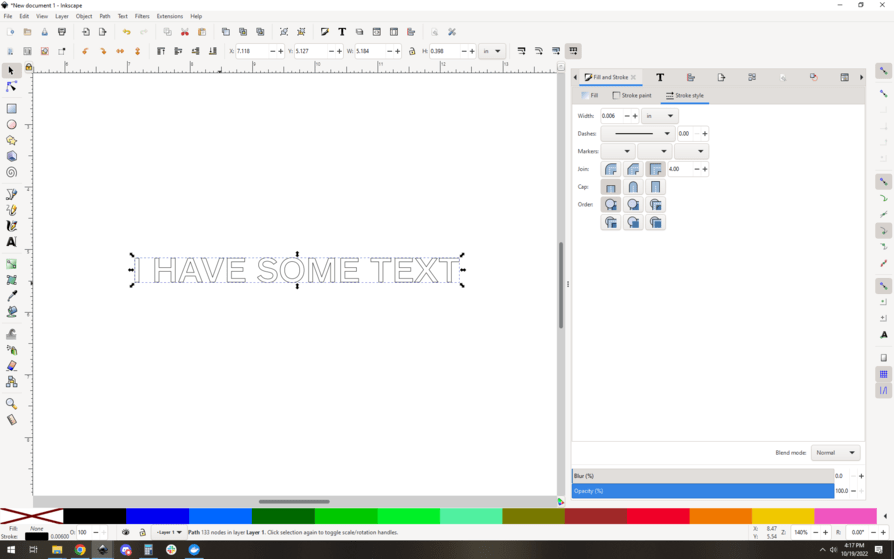
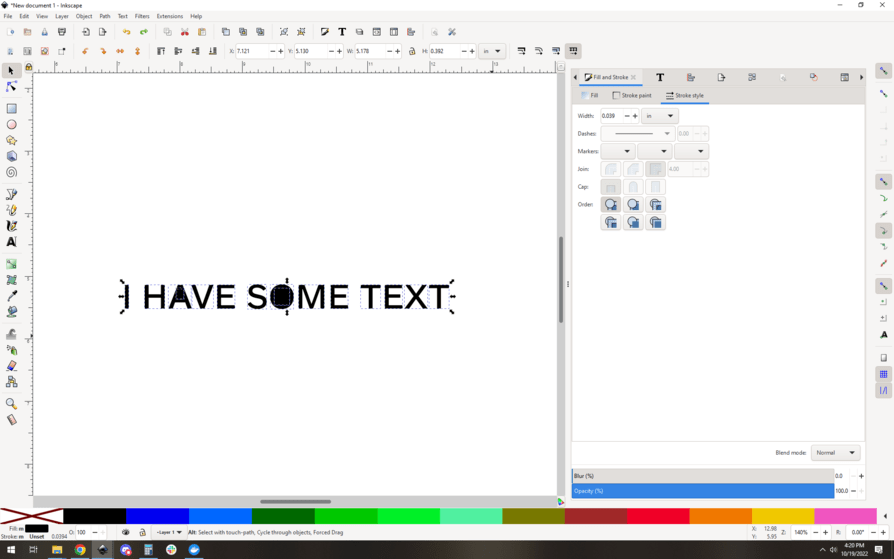
This is a group of letter paths. Convert it to have a stroke and no fill so you can see what’s going on.:
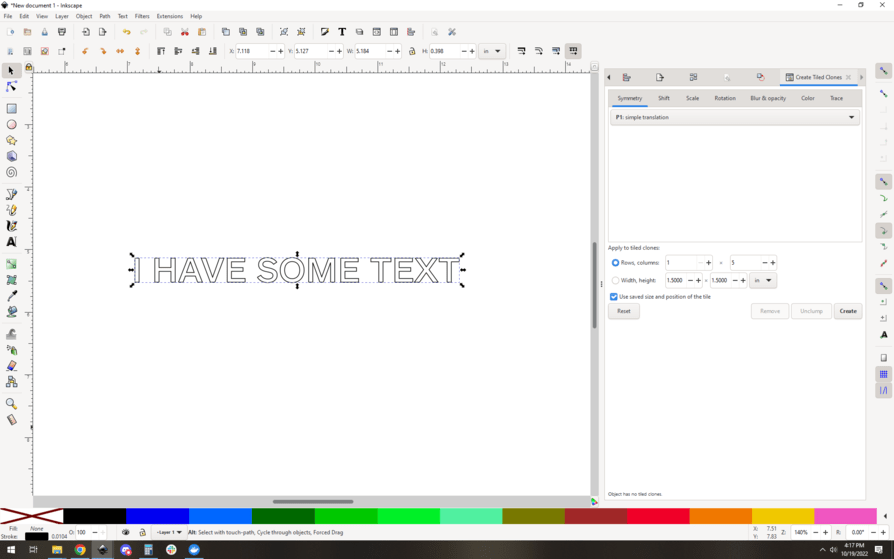
Now you need to decide how large your kerf adjustment is. I will chose 0.006" here. Set the stroke thickness to be 0.006":
Now we need to ungroup the letters, they’re all separate paths now:
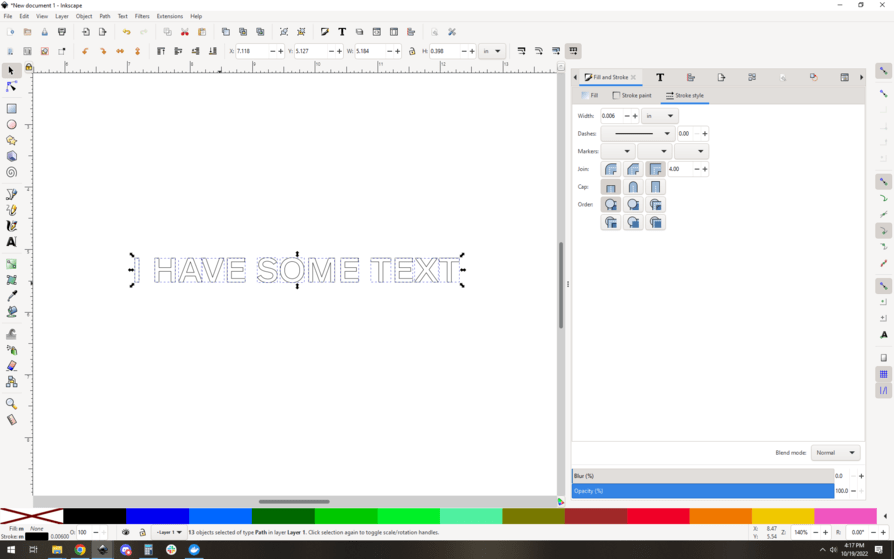
Path->combine to make them one large path:
Now convert the paths to outlines by using Path->stroke to path. Putting it in node mode and zooming way in and you’ll see the outlines:
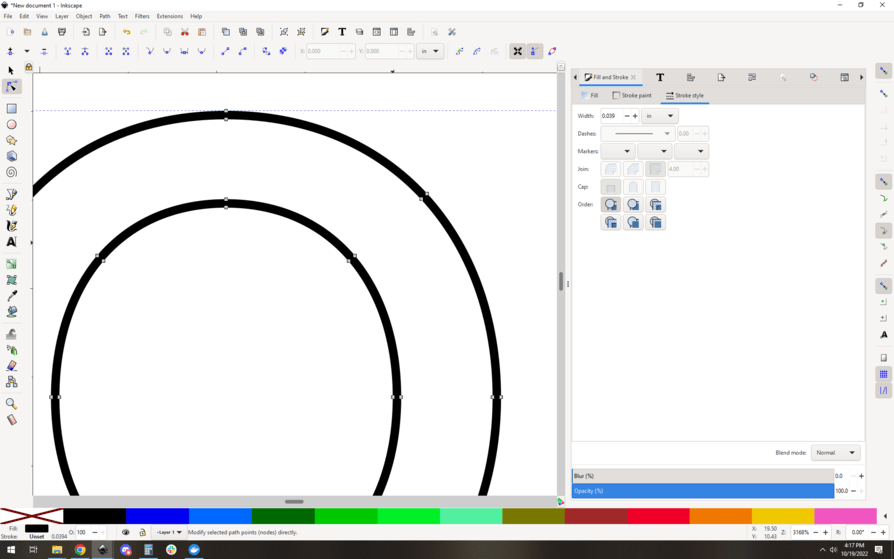
Now do Path->break apart. This will look bad. Basically all of the resulting shapes will be filled black on top of each other. Don’t panic:
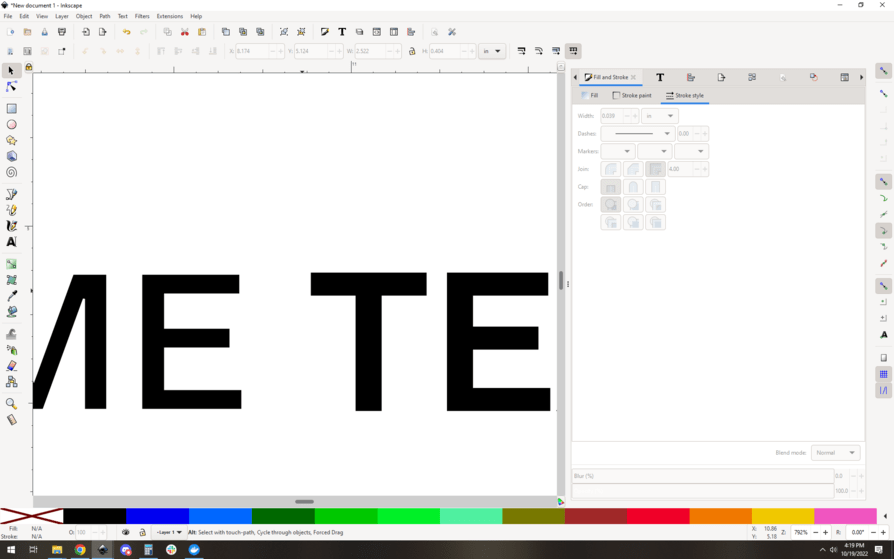
Now click on each letter shape. The outermost shape is actually on top, so click on them one at a time (don’t drag-select. You just want to get the top layer). Hit the delete key to ditch the outermost outline. I did half of them here, you can see how the left side ME are “thinner” than the TE, because the outermost largest outline has been deleted.
Almost there. Do the rest of the letters the same way. Then select all of your shapes. You can see if you did it correctly because the inner shapes of the A and the O will show up as separate outlined selected objects. Pictured here:
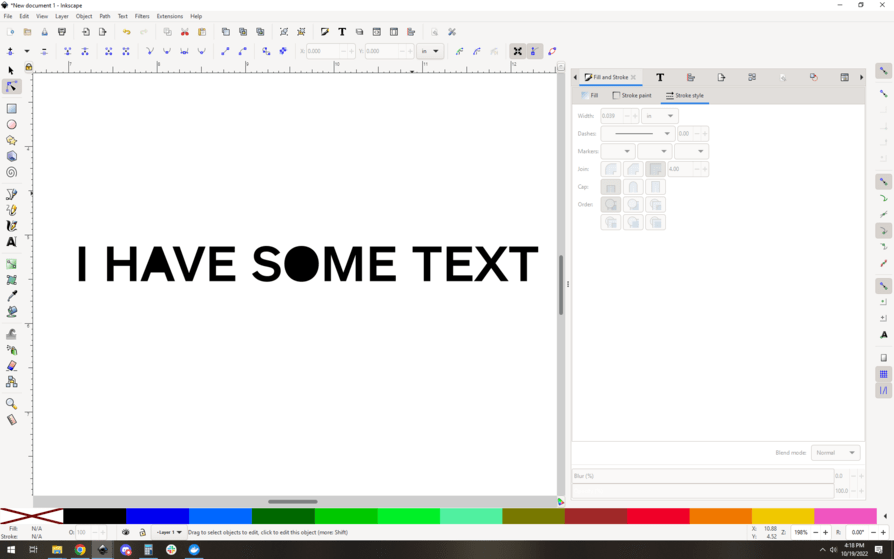
Now the last thing, do a Path->union. This will join all of your shapes (effectively absorbing the interior shapes of the A and O). Set the stroke and fill to give yourself a nice scorable path:
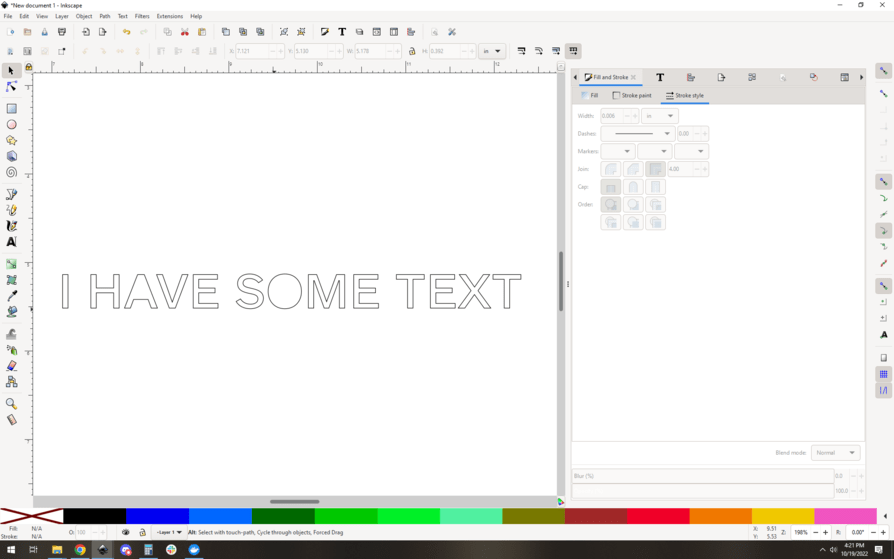
And that’s it! This seems a bit tricky, but it’s really quick with a little practice. This entire thing takes me about a minute. I should undo it all and time myself, now I’m curious. ![]()
EDIT: Hah! 1 minute 2 seconds. Of course that’s a little faster than usual because I knew exactly what I was going to do here… but you get the idea. It’s not that time-consuming.
12 Likes
A thing I have discovered is that a cut out shape and an engraved shape from the same vectors will be almost exactly fitting. If you use a leather mallet to force them together they will be very hard to get apart. the engraving will take a bit of time but the result will be very consistent.
I never use engraving for that though. Score is tons faster.
3 Likes
No doubt there is a balance point, and if I had so much demand that having the machine take even an extra half hour was more a problem than “Sometimes you can see the score line” and the weaker bond compared to holding tight even without glue, I might go that way as well. But I am less concerned with the machine time if I like the result better.
That is perhaps why I engrave relief stuff at 1355 lpi as well.
4 Likes
Time in general is the biggest thing for me. Lol I never have enough time for everything I need to do. ![]()
5 Likes
They are only scoring for placement when gluing letters on top. There’s no “hold” without the glue.
1 Like
I understand that but A. accuracy is not as good and B. the strength is not as good (though neither point may be needed).
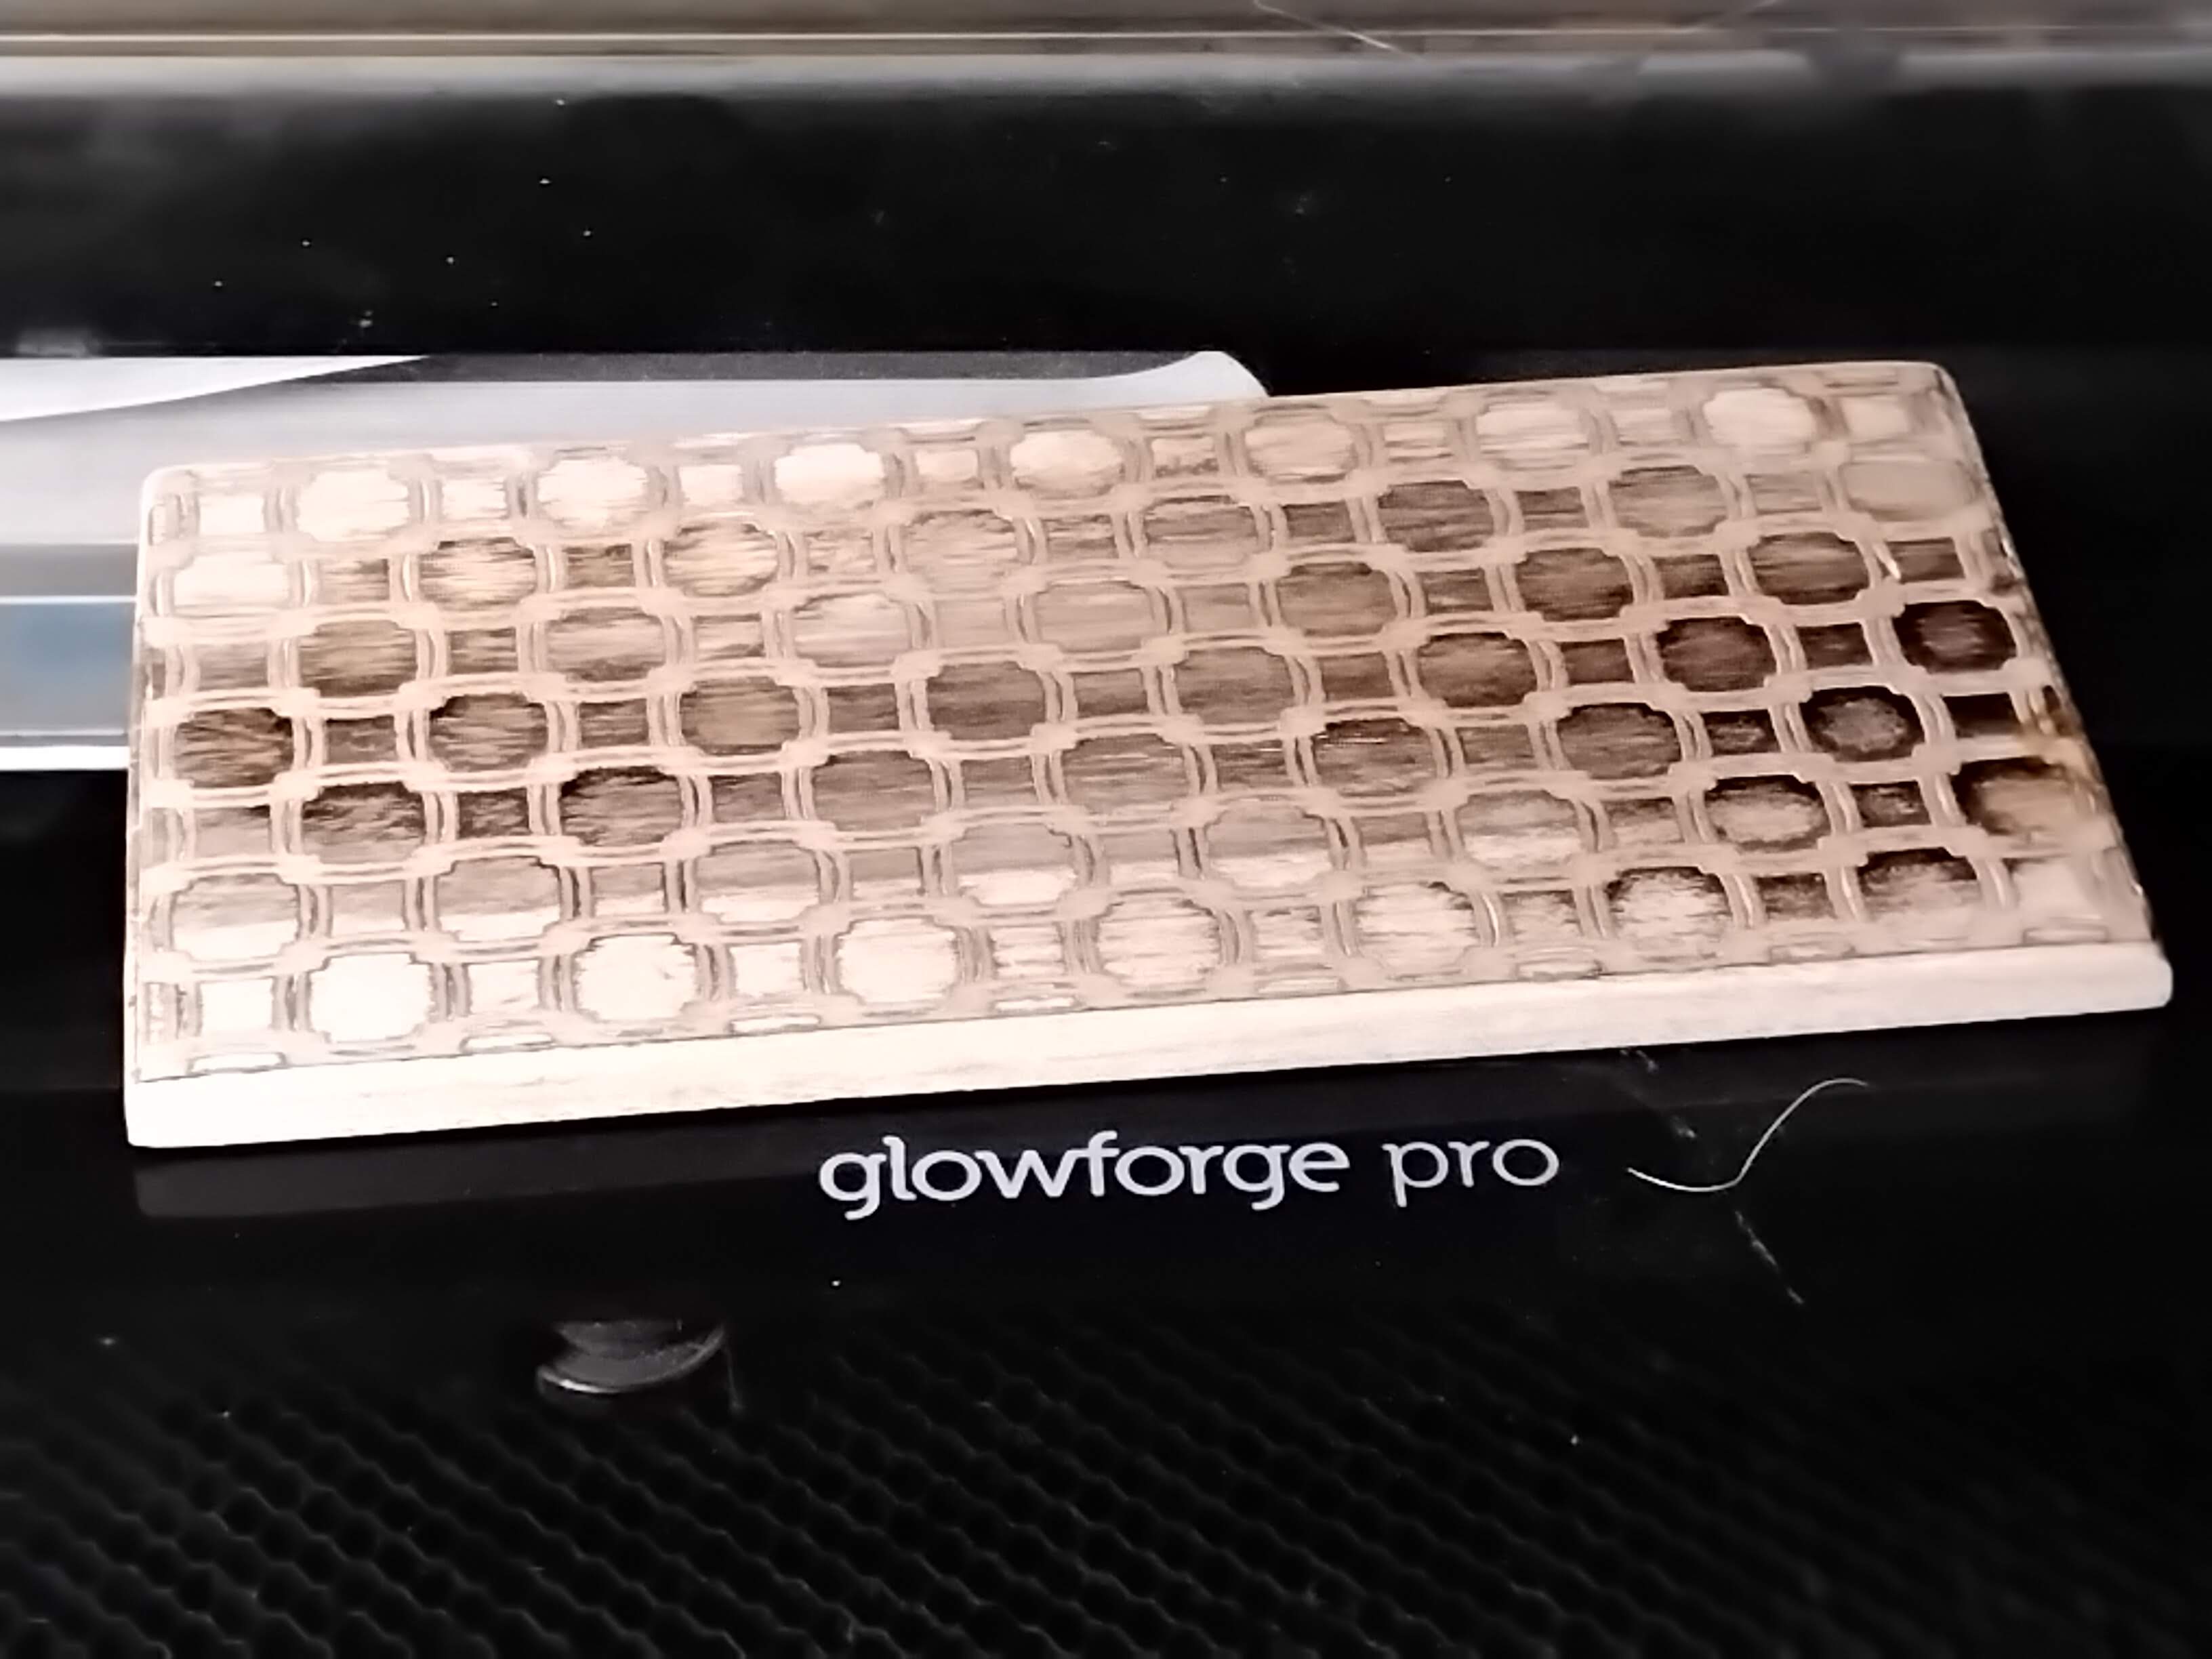
This was an experiment that brought that home to me, (though it failed by not being deep enough)…
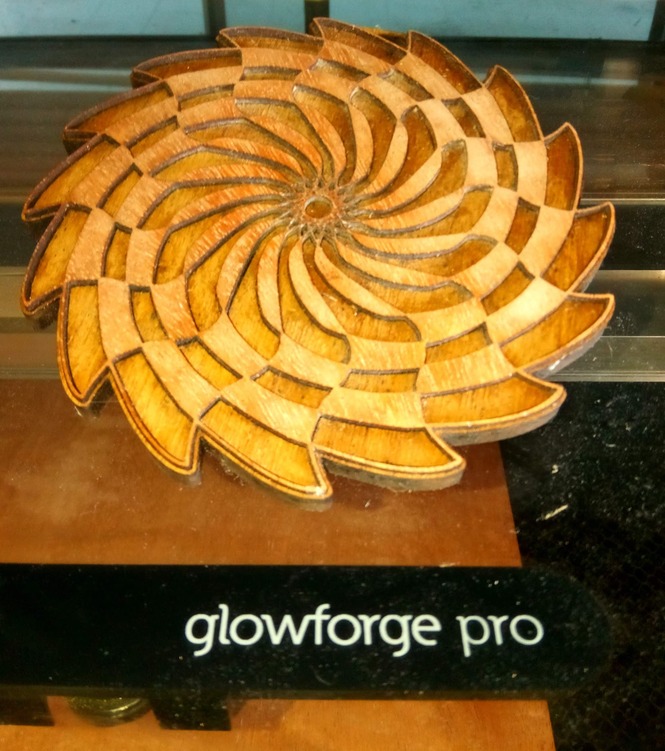
That outer edge wall could be very weak if it was just placed on but because it is about a third or more embedded in the under piece it is very strong.
1 Like
I guess if the letters are incredibly thin, it could help, assuming you can insert them into the engrave without breaking them. But otherwise I don’t think you’d gain anything over just a quality glue. And you’d waste time (yours and your laser’s).
3 Likes
Using engrave and cut out as a catalog design is one thing I am contemplating. The trick will be if I can match the depth of the engrave to the depth of the material.
The square lamps already in the catalog use that trick.
1 Like
As an alternative to engraving, why not just cut out and do an inlay? (then if you really want a layer below it, just add a base layer?)
In general, you get one piece that connects everywhere, and dozens (or hundreds) of little tiny pieces that have critical placement, like text and background or the piece above that I left part of it sticking up. If simple enough, or standard enough like a chessboard or puzzle pieces one might well build it like that as an inlay. I have even done that in silver and hand cut all the turquoise, red coral, lapis, pearl shell and serpentine in as many as 140 pieces but it did take weeks to do (putting perspective on an extra hour of laser time).
This is a bad photo but what I have from then…
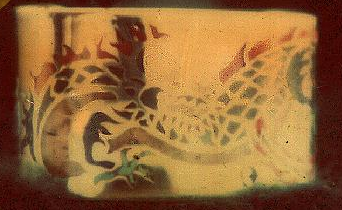
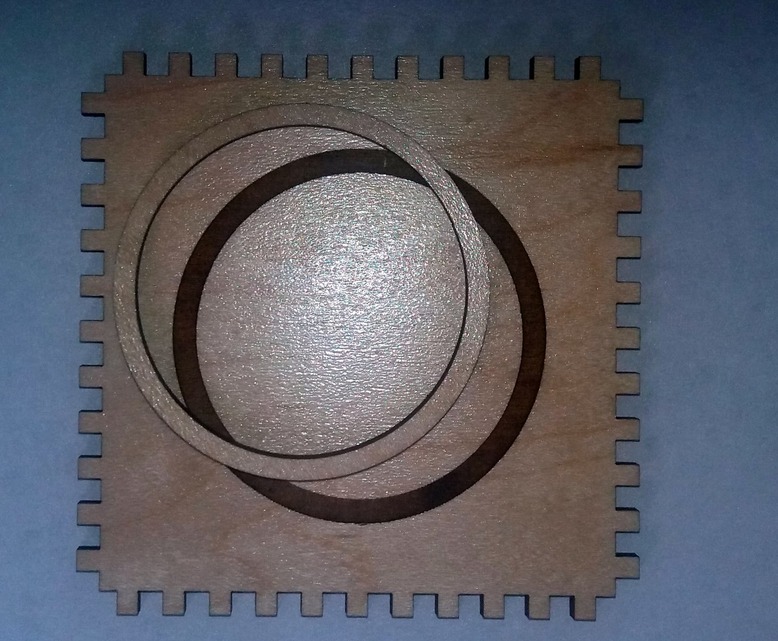
However, for an intricate two color pattern, having all the parts properly placed works out better if the underside has them better in place as this experiment that was sanded flay afterwords…
1 Like
This topic was automatically closed 32 days after the last reply. New replies are no longer allowed.