My teen son wants a Super Smash Bros tournament for his birthday party this year.
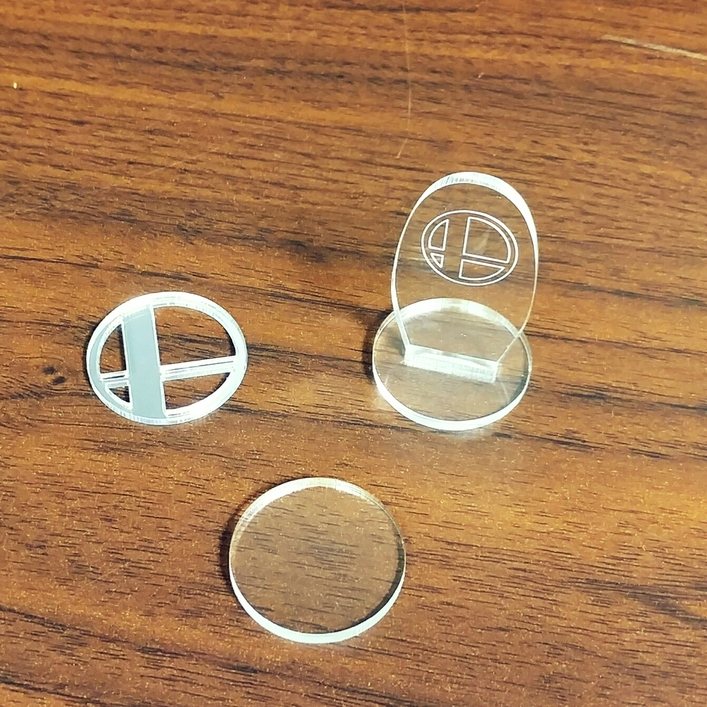
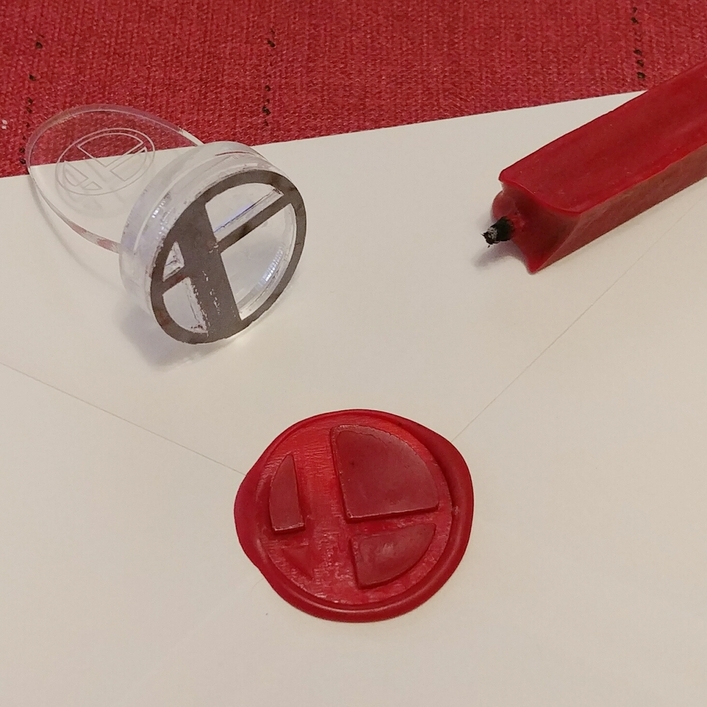
Was in a bit of a rush so I opted for cutting the design on 1/16" acrylic instead if etching it.
-note to self…order more acrylic cement.
Had to use Krazy glue so the look is not pretty…lol
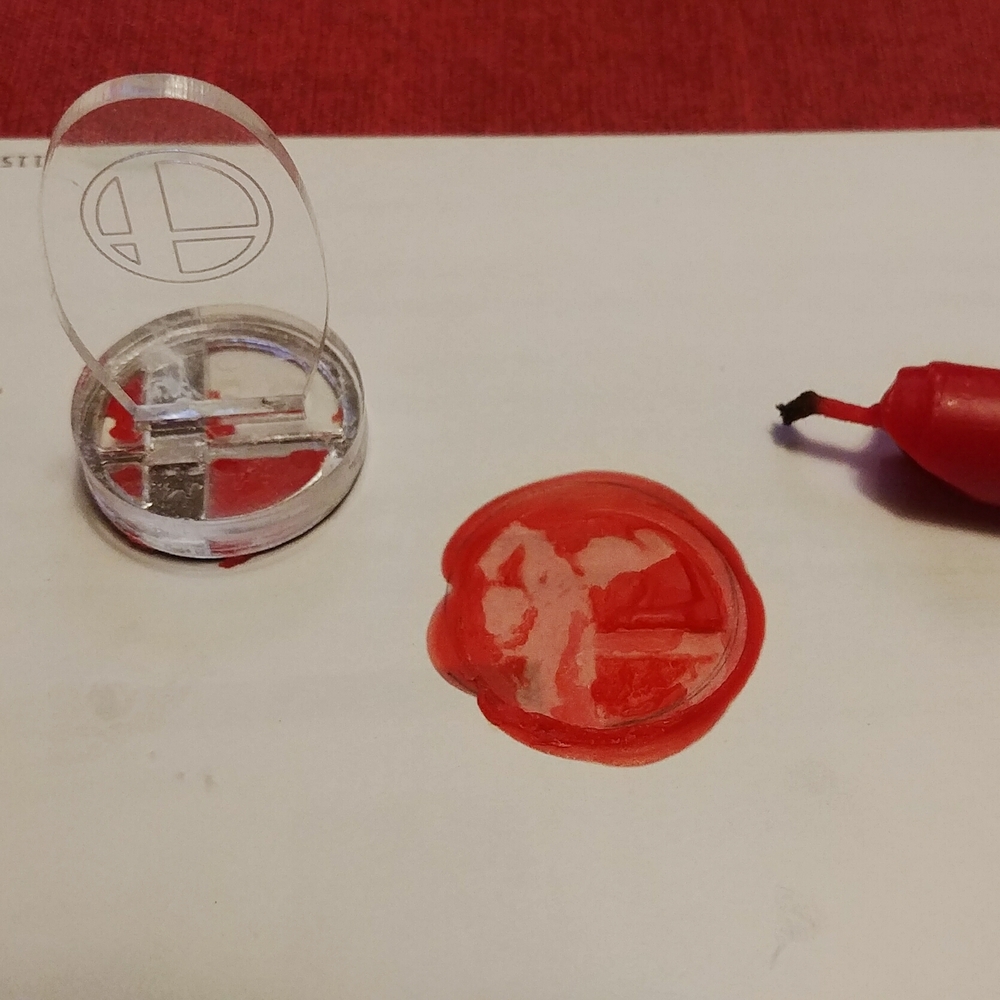
Also, don’t try to sub out dollar store candles because you can’t find any sealing wax close by…they are made of cheap wax…lol
Drove across town and found some red proper sealing wax at Michael’s…they even had a 50% off coupon I could use today.
Anyway…its not perfect, but it works.
(In hindsight, the etch would have looked better since the 1/16 makes it a deep stamp but its good enough for this application. Only doing 10 invites)
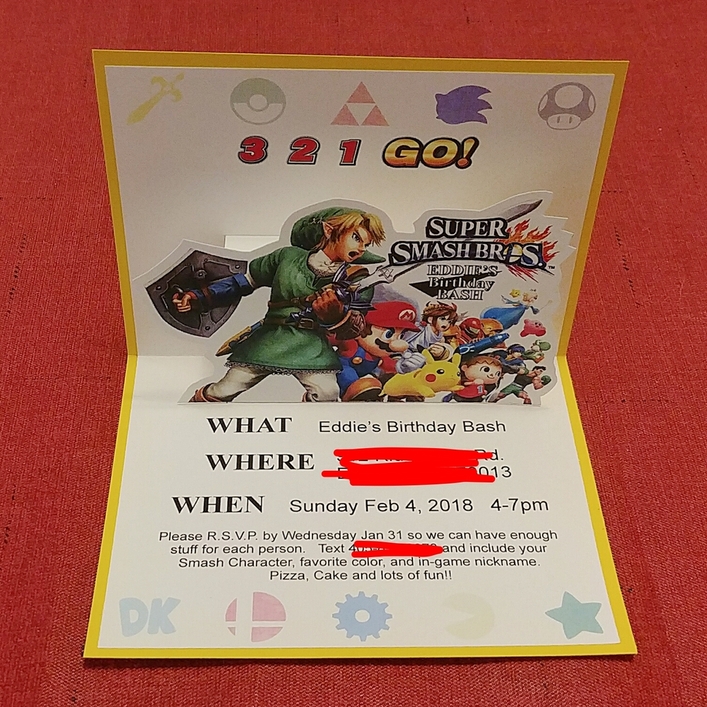
Here is the popup invite. Which I would have cut on the laser if I had time. We moved up the date and had to have these done by Sunday to hand out. Plus I enjoy doing papercraft by hand whilst binge watching The Great British Baking Show on Netflix.
-EDIT- content added much later
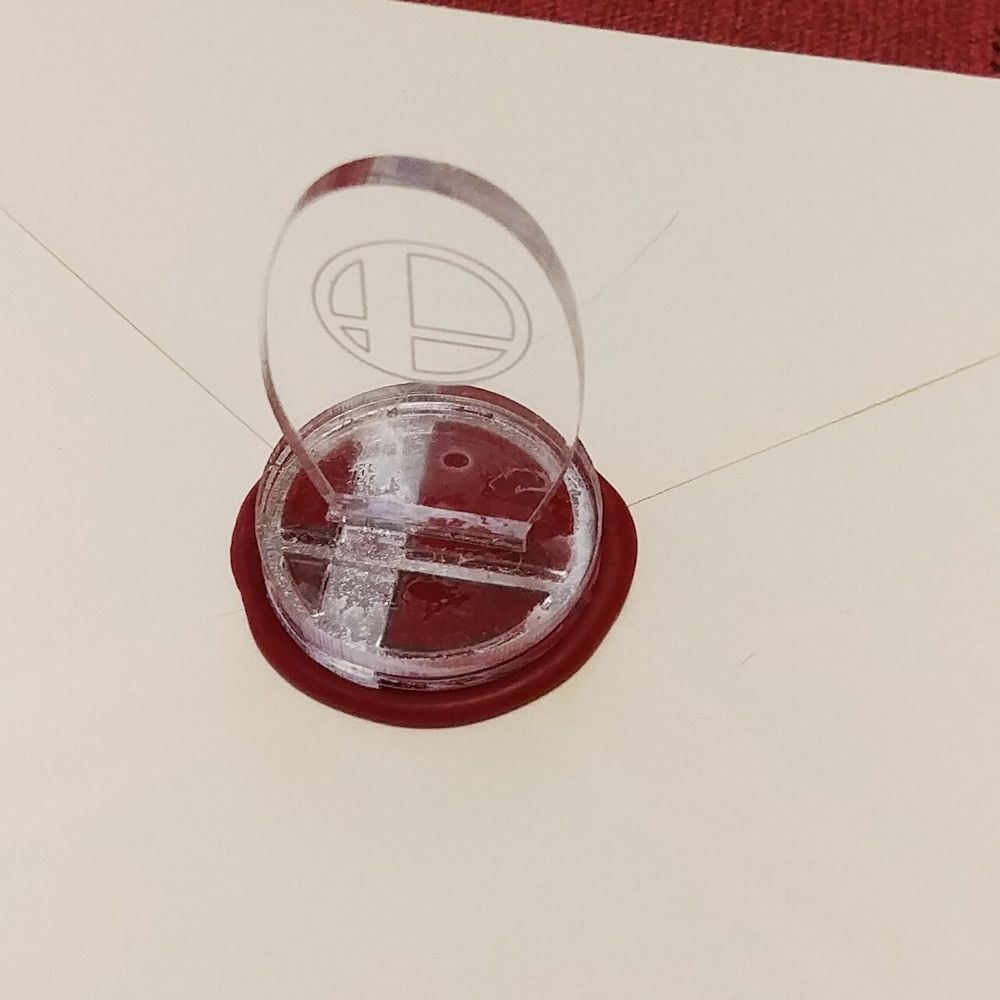
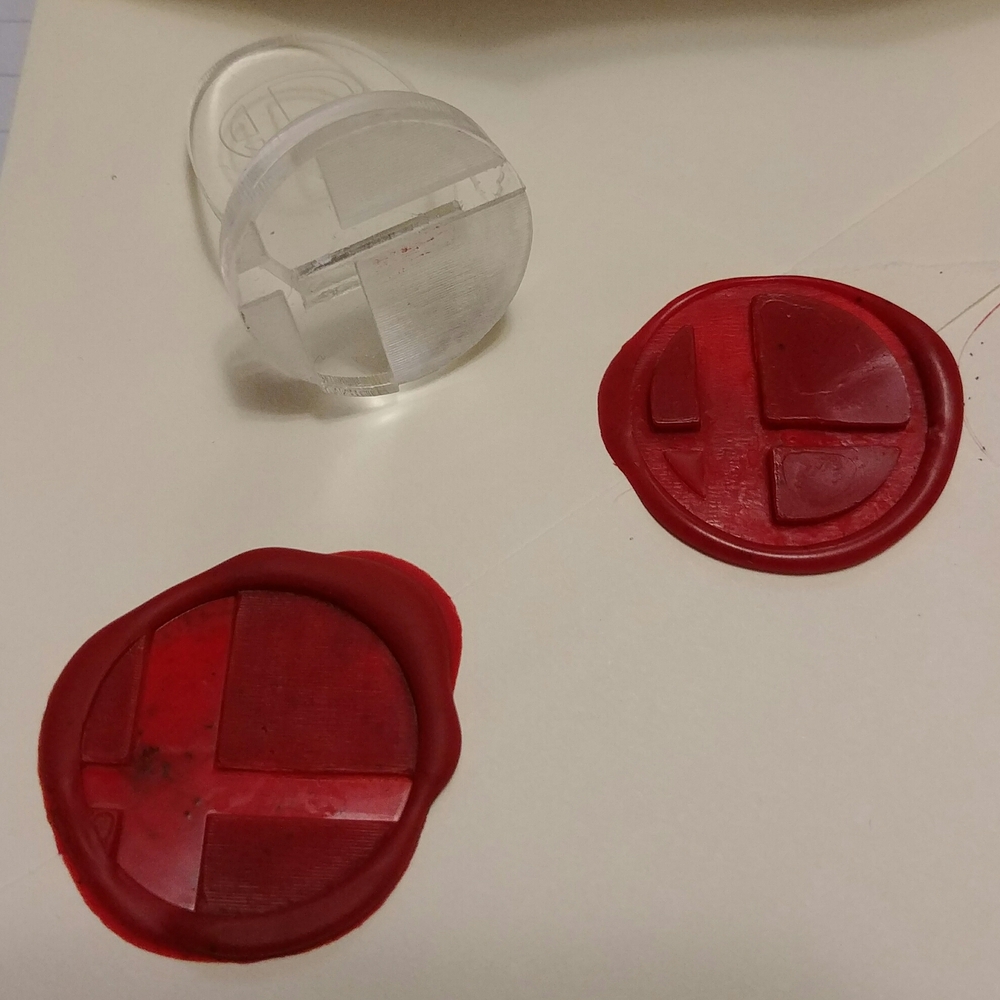
Can’t help it…my OCD got the better of me and I snuck away this evening and took the 20 minute trip down to the shop and redid the stamp.
I’m much happier with this version. Looks more authentic…
43 Likes
Great job on a cool invite!
3 Likes
You have a fancy thing with the invite, and the sealing wax. Just put a string with it and you’ll get a dragon!
Wonderful work. So creative.
2 Likes
Jules
January 20, 2018, 8:55pm
4
Yeah, he’s so lucky to have you as a mom. (Great parties, invitations, creative night lights, sealing wax …
4 Likes
ptodd
January 20, 2018, 10:23pm
5
Wow! Very nice invitation! Love the seal.
1 Like
Good tip for others making stamps or seals
2 Likes
Yes…I often try to idiot proof my projects…lmao. Learn from the past.
1 Like
It’s one of those things that’s a “duh” moment when someone else does it and you go “of course”…but when you’re doing it, it’s easy to forget
Like a recent post on how to get paper pasted onto the back of a lantern…paste it on before gluing the side panels
1 Like
cynd11
January 21, 2018, 2:01am
9
I love this project! Be sure to update us on how the invites went over.
1 Like
carol
January 21, 2018, 2:10am
10
Very lucky boy! I love your attention to the “little things” here. Wax seal and and pop-up card, my kids would be jealous!
1 Like
erin
January 21, 2018, 2:34am
11
I am an adult, but I’m 100% stealing your son’s idea, and having a Mario Kart birthday this year. Your son is a genius.
The invite and wax seal are pretty awesome, too.
1 Like
My 23 year old other son, who is currently deployed, is mad he can’t come to the party! Not just for kids. Lol
2 Likes
So now we have three of his birthdays documented on the forum in some way. I suspect we will be seeing lots of children grow up in this fun community!
2 Likes
Can’t help it…my OCD got the better of me and I snuck away this evening and took the 20 minute trip down to the shop and redid the stamp.
I’m much happier with this version. Looks more authentic…
10 Likes
cynd11
January 21, 2018, 1:58pm
15
Yep. Iteration is key. I might have learned that from you!
1 Like
I was thinking the same thing! The original looked like it may have been difficult to work with. Did it have any suction issues?
1 Like
Not suction but they both stuck a bit…maybe from the heat of the wax? Just had to work it a bit to get it to release but not too bad.
Nicely done! I didn’t even think about using acrylic for this.
1 Like
 )
) bottom left.