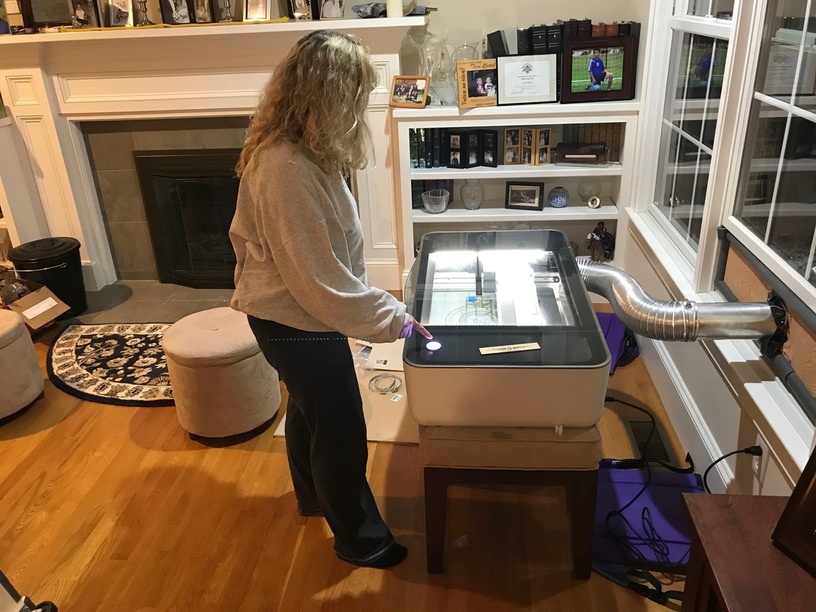
So my wife returned tonight and I figured let’s repeat the tag at max 1300+lpi res. OK, first off engraving time went to like 3.5 minutes from 17 seconds… but more importantly got the wife to do it (before her asthma made her leave from the other lasing going on this evening.
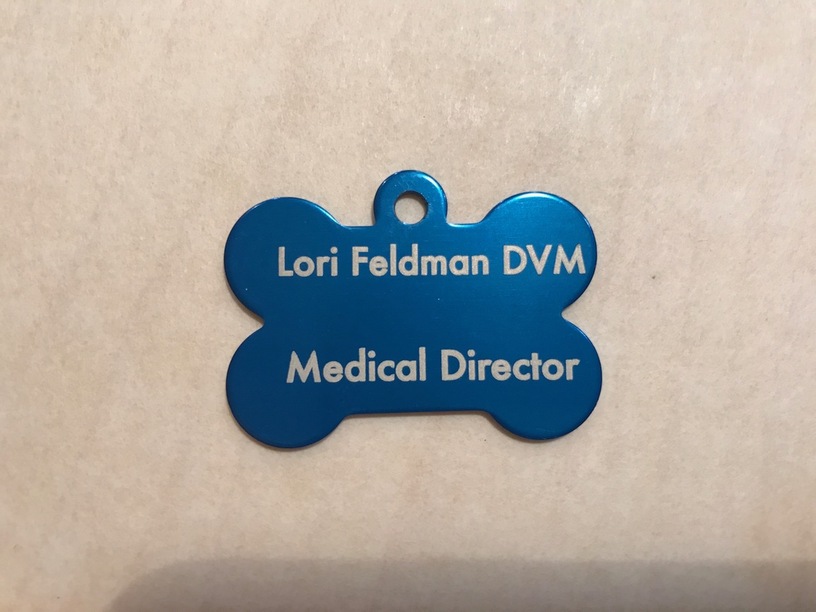
flawless. Just amazing. There is no detectable alias on any line.
I might use a slightly lighter font in the future, but she loves it as is. Now she’s wondering if they want to offer customized ones at her hospital with their logo/number on them…
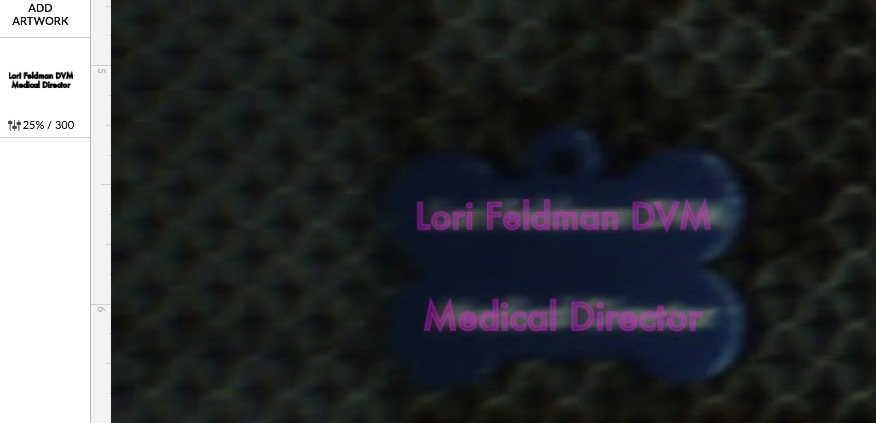
Purple is the projected location from the GFUI, while white is the actual engrave showing through… (sorry about the blur, that’s my fuzzy camera, still waiting on @rita for a solution), but that is a huge offset. Now, unlike the last one, it is much farther off center, but it is a problem if we can only center things currently when they are bed-centered.
Ditto on putting in the exact material height on non Proofgrade. It makes a big difference in placement of a design over a piece. And put the piece right under the lid camera, as it looks like you did.
And your lid camera image is fuzzy? That’s not good.
fixed, with @Rita. Just needed a manual focus. Just didn’t want to do anything until they were ready in case they needed me to try and hunt down a cause.
Checked the photo again and it looks like the tag is off to the left of the bed. For small pieces if you center the piece right under the lid camera, you will have a better chance of centering an image accurately without a jig. Off to the sides, it tends to less accuracy.
Unfortunately, the thickness you enter can’t be very precise, because the bed height varies (small variations) and such. The only way to get a perfectly accurate measurement is using autofocus.
The offset problem is worse on some machines, not others - again, relates to factory calibration, among other things. We’re replacing both calibration and code, which creates a dramatic improvement.
This might be part of it. Camera calibrations can change a fair bit with focus, so the factory calibration is likely shot now.
Along those lines… @dan it would be cool to be able to drop a small optical target on the back of the laser head and re-calibrate the bed camera. I do this with a CMM at work, I can’t think why the same techniques wouldn’t apply. Probably sitting pretty close to the bottom of the hopper from a user perspective, but could pay off the engineering time pretty quickly if it saves you mailing units back to GFHQ.
This was WAAAAY out of tune, like over a half-turn of the focus ring, so I am suspecting either some missing glue or some very vigorous handling by FedEx…