Okay, as everyone who has a Pro knows, as of this writing there is no pass-through software.
There have been some good things written here about how to use it anyway but until now they all involved manually breaking up your work, something I am not a bit good at.
I have developed/stumbled across a way to automate the dividing up of your drawing for better pass-through work.
First thing! Make an artboard that is 20X12, this is critical and nothing else works without this.
If you are using Inkscape you will do this by opening properties for your document and typing this in.
Save this document as a template, you will use it repeatedly by opening it and then doing a “save as”.
Also, in this template, you will need to lay down a few guidelines to make sure your placement of our work is both consistent and not outside of the cut areas.
Now the magic. Whatever your file, whether from your own work in a CAD program or from working in an art program, or something you lifted from the interwebs, save it as a PDF.
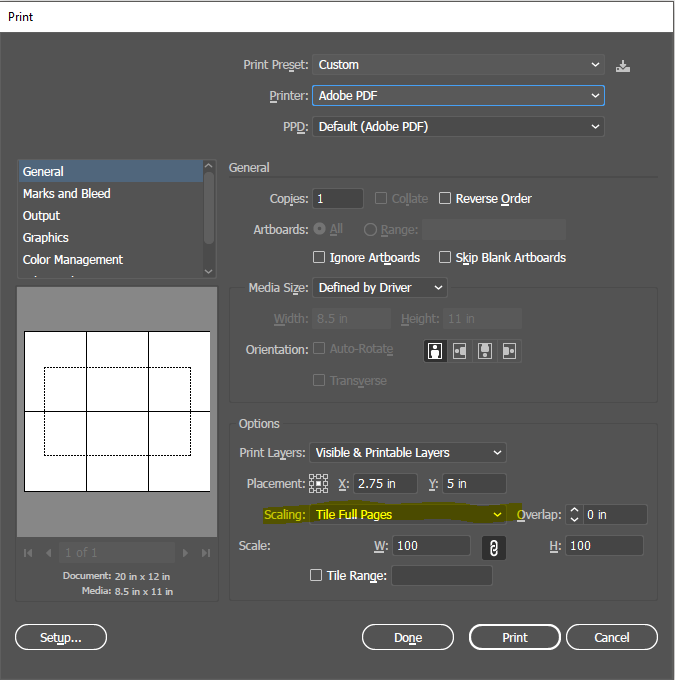
Now, open this PDF in Adobe Reader, click print and you will get a print dialogue box that you have seen many times before. There is a lot there that you never noticed!
Okay, I don’t know what is going on right now but discourse is not letting me add the screen capture of the dialog, let me walk you through though.
- From the print dialog, under printer, pick a PDF driver, that is right, we are going from PDF right back to PDF!
- Under pages to print, pick the page if there is more than one.
- In the lower left click Page setup and pick a size, I like letter because it is easy and predictable.
- Now, back up to “Page size and Handling”
- Click “Poster”
- Make sure scale is set to 100% and that “cut marks” is checked
- Now click “Print”
- A new dialog will ask you for a name and location, name and then click print.
- You now have the original PDF cut up in nice neat little blocks that you can work with!
Okay, Back to our art program, import these pages one at a time, depending on the orientation of the original you may need to rotate this 90d. This can be a bit like doing a puzzle so you will want the original open to help you find the right tiles.
Fit these together using your snap tools and the crosshairs provided. Letter size rotated is two per row. Make sure you line the tops with the guideline you put in the template, consistency is key here.
Now measure how tall these new drawings are, this will be another key to getting good results, I get 7.55" for letter rotated 90d but this will be different for different use-cases so measure!
- Delete all the extra stuff and color code things so you can control between cuts and scores.
- Save as “your file name sheet A”
- Repeat this and save as 'your file name sheet B"
- And so on
Now mark your material the distance you measured, for me that is 7.55", mark it as many times as you will need to index.
Now in the GFUI open your sheet A and cut, open sheet B, push your material through to the next index and cut again. Make sure it stays flush to your lip on the tray.
You may need to experiment with this some but once you have it, it works fantastic.
Note: snap marks are not needed for this but they would add another level of accuracy. If someone comes up with a snap mark template for this before I do please post it.
Looking at this write up looks complex but I assure you that doing it is much easier than reading through this. Once you have a few under your belt this really makes your life easier.
Edits: several for spelling and formating.