“Focus” refers to multiple different things in the Glowforge UI, which can be confusing.
There’s the material thickness number, which is used to scale the image taken the by lid camera on your screen so that it’s true to real-world dimensions. Either entering it in “use uncertified material” or using the “set focus” button will both set the material thickness. The camera image will then be re-scaled using this number to more accurately reflect how large things are on your screen vs the real world.
Then there’s the “focus height” for each engrave/cut/score step, which is used to set how high the lens will be raised or lowered in the print head to move the focal point of the laser beam to the desired height. If you enter a number here, that number will be used. If you leave it blank, the placeholder will say “(auto)” and it’ll use whatever material thickness is measured by “set focus” or by autofocus when you hit the print button.
When you put in a material thickness of 0.35", the camera image was scaled on your screen using that information. When you “set focus” and it measured and got a different thickness, it was rescaled with this new information and “shifted” on your screen as a result. Because you put in a focus height of 0.5" somewhere, that would end up being the height the laser beam gets focused at.
Don’t enter any height numbers manually. Just zoom into your work piece and use “set focus”. Watch the work piece and make sure the red dot lands on it. If it does you’re good to go. If it misses, adjust the “set focus” point until it does. After that set the artwork where you want it and proceed with engraving or cutting or whatever.
Your confusing the machine:
Either put in your exact height 0.35 and Print or use the Foucs and print with that but not both your always going to get two different levels that way.
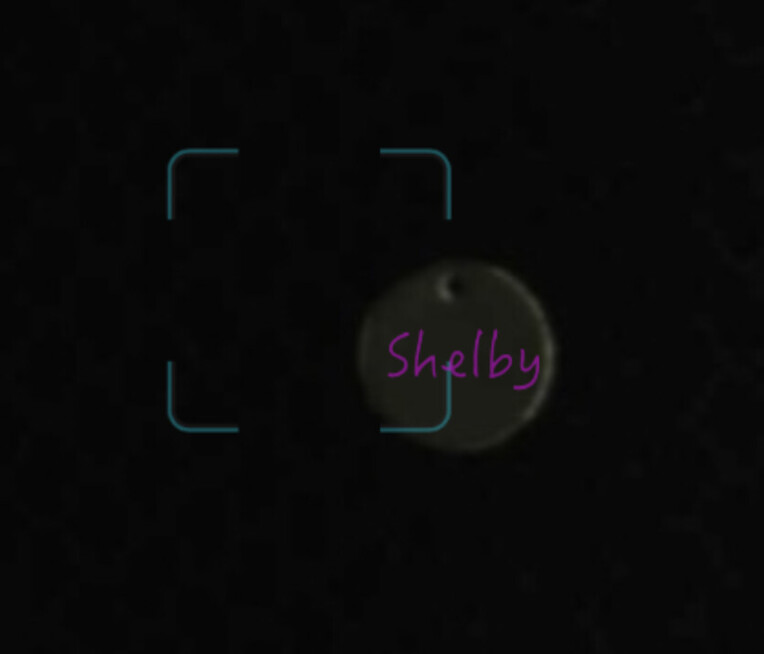
Thank you! I tried this and it worked out; the text printed in the center. This is the Set Focus that worked for me. Do you know why Glowforge’s UI blue square is off by this much? I recently recalibrated the camera already.
Make sure the set focus is on your work, (I often have to use set focus several times to make sure it is on the work.
If critical score a line around your work to be sure it is centered. Check the precision location and it will cut there no matter what the image shows.
Good to hear it worked. Mine is typically off to the left by maybe 1/2 inch or so. I just know this in advance so I place it slightly left of where I want the red laser beam to strike my piece and then I watch to make sure. Of course this is no problem if the work piece is large. It really only matters for small stuff or if you have previous cutouts on the piece. Of course it also works better when you zoom in as close as possible on those small pieces.
I see you are doing dog tags. I engrave dog tags daily and came up with an easy way for focusing. Take a 5x5 piece of scrap wood or draftboard and engrave a circle slightly larger that you tag to a depth that matches the tag. When you engrave just place the jig you just made directly under the camera with the tag in the void you created with the engrave. This will give you an area of 25 square inches to focus on plus it is easier to see the tag. I painted my white to make it even easier.
Hi @emly since this problem is being seen on uncertified materials we can’t offer support for prints that don’t come out as expected. Materials may vary widely from piece to piece, even if they’re created by the same manufacturer. I’m going to move it to Beyond the Manual so other folks here can help. Should this happen with a print on Proofgrade materials, please open a new ticket in Problems and Support and we’ll help you right away!
"engrave a circle slightly larger that you tag to a depth that matches the tag"
If the depth of my tag is 0.3 inches, do you mean to engrave a circle that has a radius of 0.3 inches?
"When you engrave just place the jig you just made directly under the camera with the tag in the void you created with the engrave".
Do you mean place the engraved wood on the tray, then place the dog tag in the center of the circle of the engraved wood?