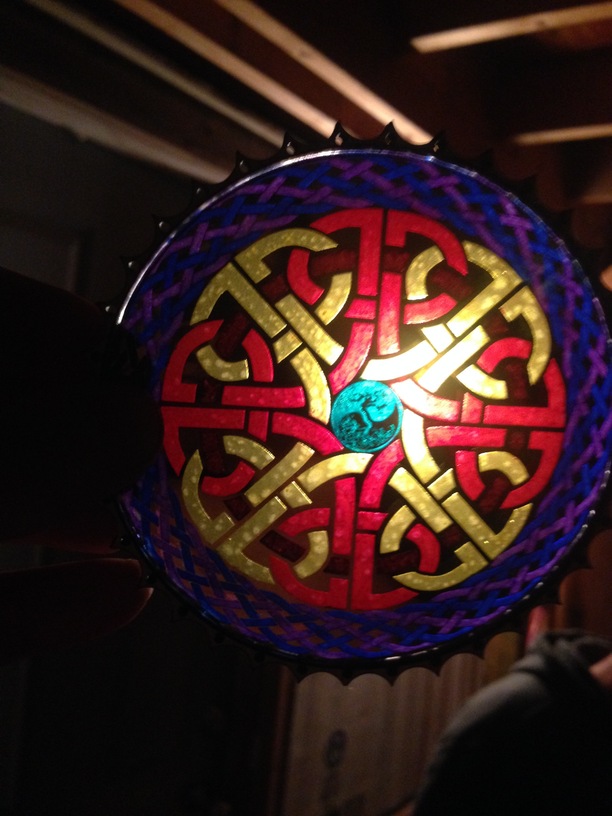
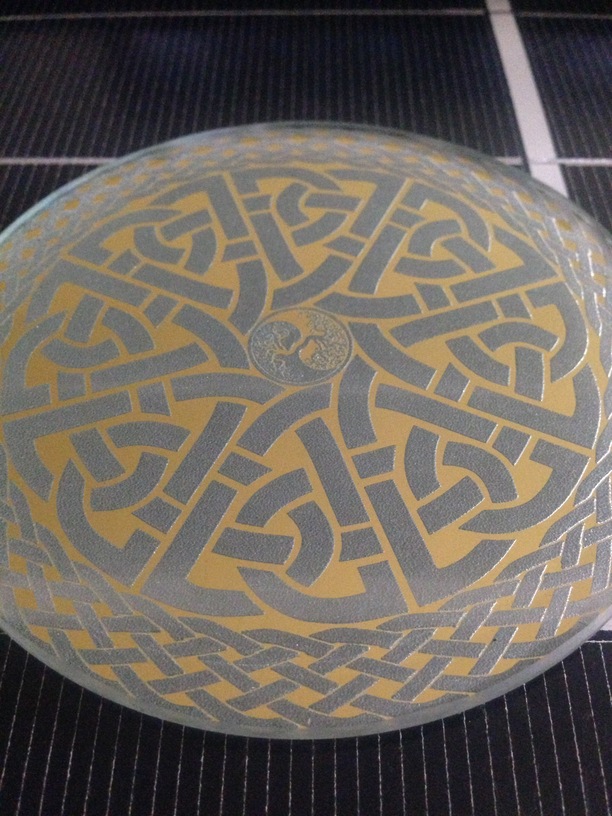
There was a small amount of bleed through on the outside edge because the divisions were so small between the segments that some of the fractures in the glass compromised them.
Took going over them twice to get a nice color. Once they were all filled in I gave it 2 light coasts of clear coat and then one heavy coat once they were dry to give it more of a rippled feel.
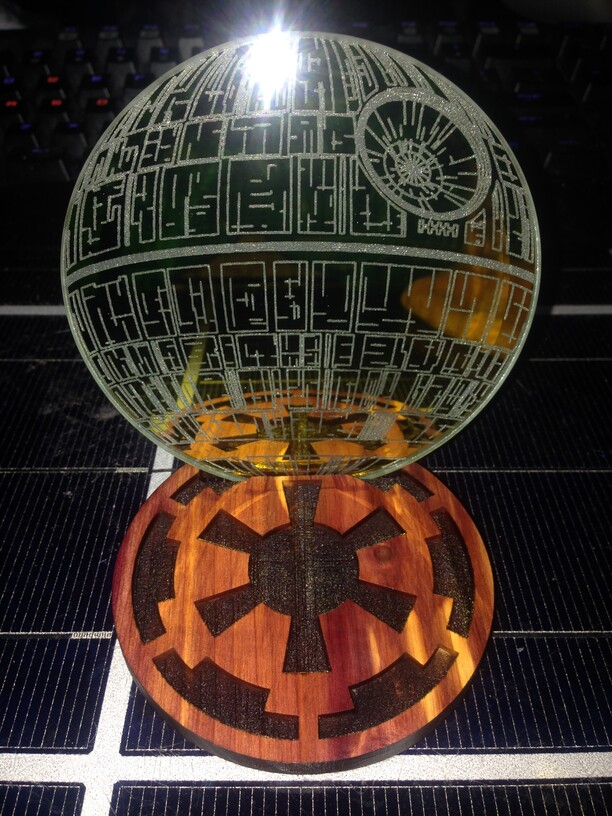
This was my first test at etching the back side of the same kind of coaster. Wanted to make something for my older bother and he is into star wars. Made a simple pattern from a photo i found online and engraved a base out of some aromatic cedar i had in my scrap bin.
And because i dont feel it needs its own topic (not like this did either lol)
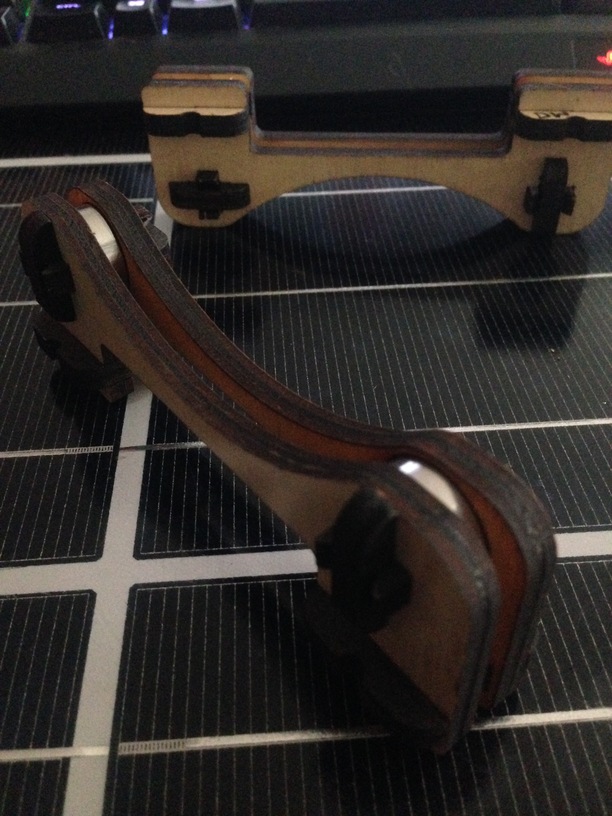
But my friend recently purchased a fillimant style 3d printer and was having trouble with prints failing due to his reels getting tangled.
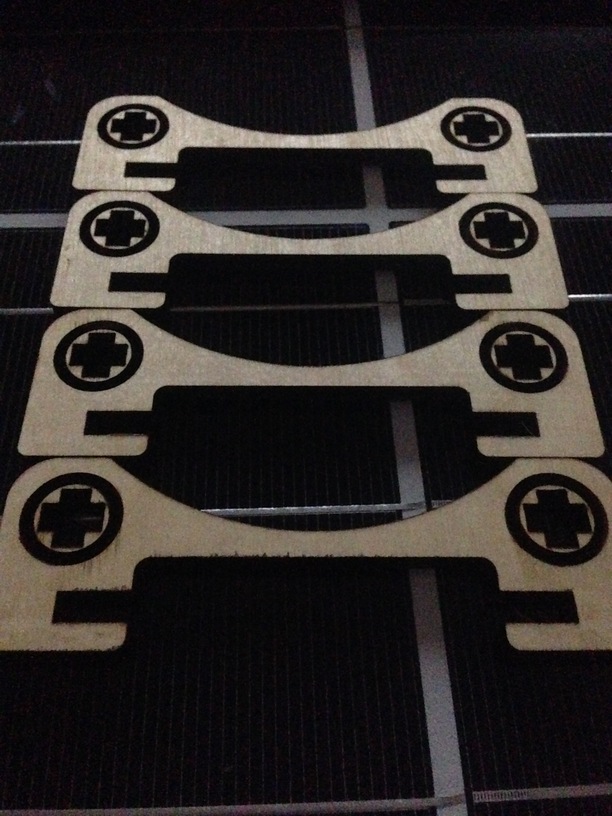
Just some 0.200" plywood and some spare bearings i had laying around for my rc cars. took the dust shields off the bearings and washed the grease out with some alcohol, then lubed them with some oil so they would spin easier. they are designed so that the outer edges of the spool rest on the bearings and allows them to roll. I engraved out the inside of the stands so they press on the inner race of the bearing but not the dust guard or outer race.
These were my first attempt before moving the bearings up to 0.050" from the outside edge because his reels were pretty full and wound up rubbing on the stands.
They assemble with a press fit so when he learns more about building his own objects he can use the bearings for his creations.
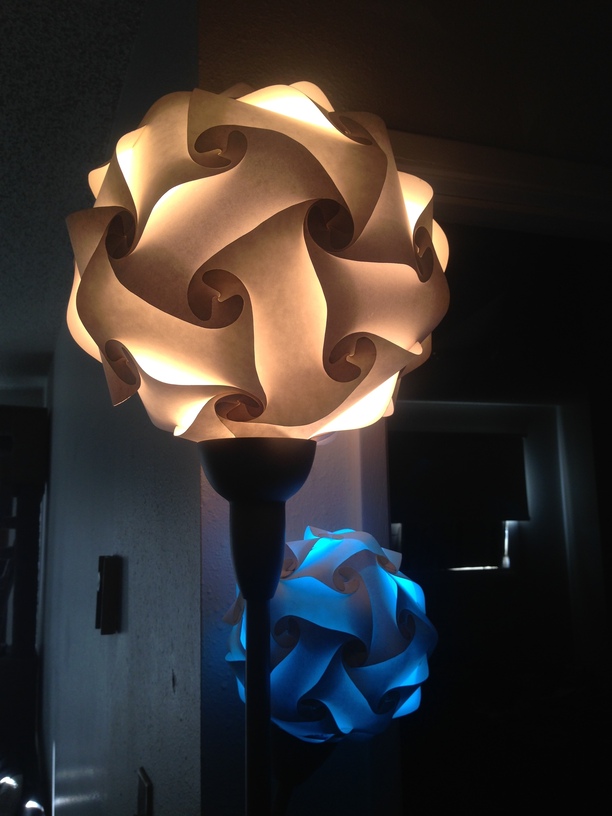
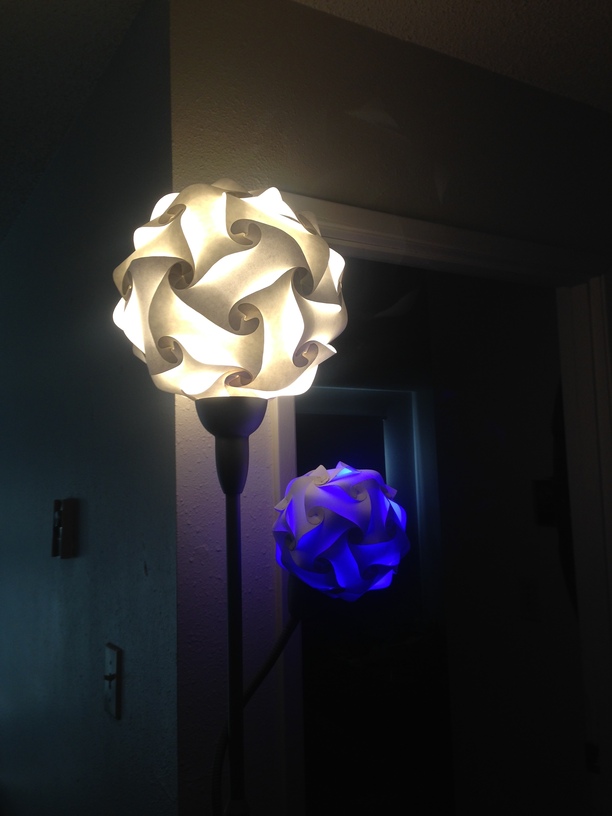
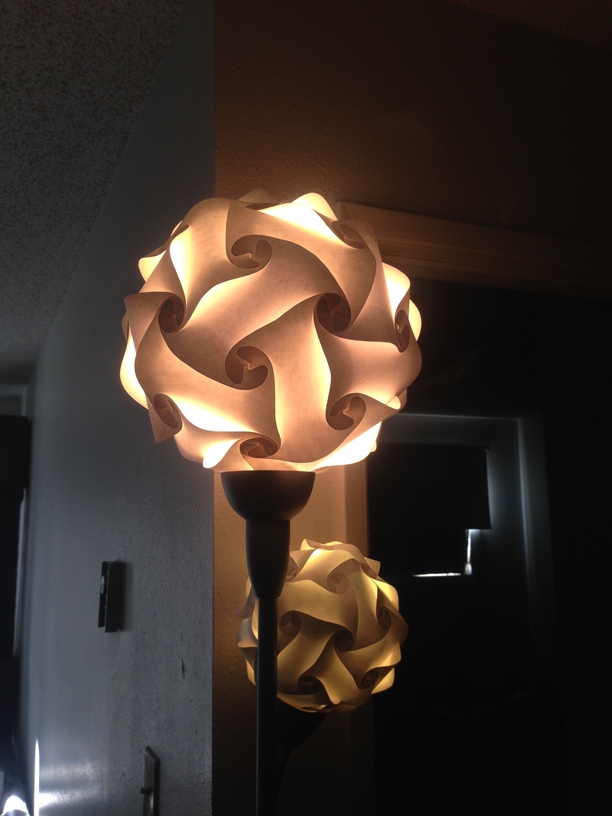
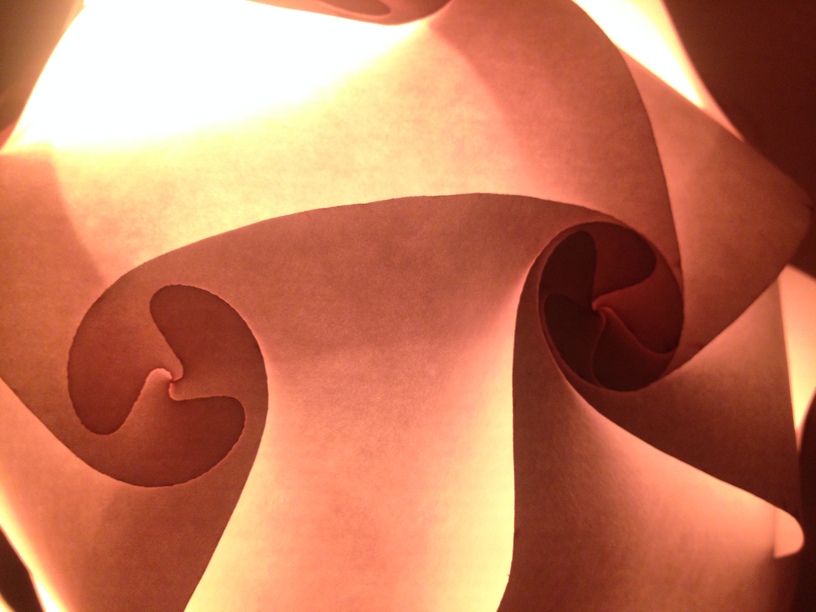
And lastly some lamp shades i made after seeing the “iq puzzle lamp” design. Cut them from some card stock. i think they turned out well, better looking than the frosted glass ones it came with imo.
Well those are my latest projects that I thought were worth mentioning. If you made it this far Thx for your time and have a great day/night where you are at.
Thx i’m really happy with it, im experimenting modifying the base shape to make different shadow patterns on the shade as well. Kinda nice playing with something that only requires a sheet of paper, makes it easy to prototype
Great, diverse projects. I am partial to the practicality of the reels. My life is one that has never had any spare bearings laying around and I am a bit jealous of those that do.
I’m in love with your lamp shades. I have to look up the IQ lamp to see what your starting point was. The mirror coaster are great, too. I’ve done a little with mirrors and used opaque acrylic paint on the back to fill in the clear glass.
One of the joys of being a pack rat and changing hobbies often hehe. you can find sets of small bearings like that sold as kits for rc cars at pretty fair prices
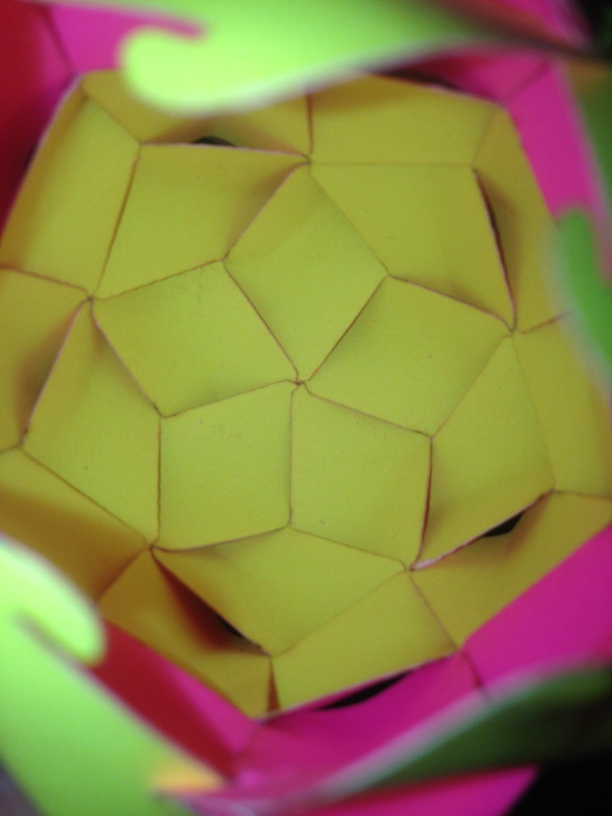
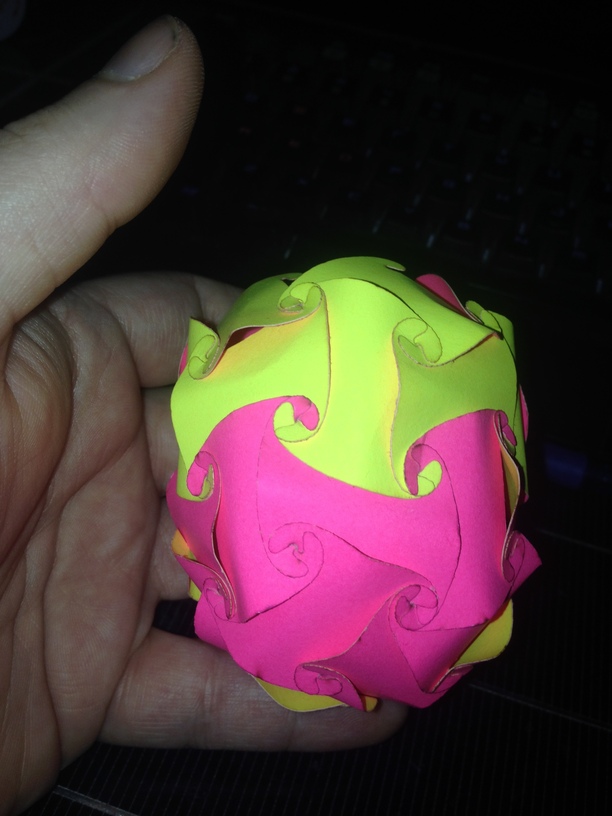
They are pretty neat when you find the design one thing to pay attention to is that the slot where they hook together needs to be at least 4x the thickness of the material or you will be having a headache for sure. I made some mini versions of them but forgot to keep the slots scaled correctly and it created many frustrations.
Curious how it was done-new to glowforge. I have some round mirror blanks someone gave me as they were going to use in wedding decided not to…blah blah blah (LOL)
So the process would be to mask before etching on the GF? After i take it you can see on the mirrored parts and the design print is clear glass that has been now stained with the sharpies??
Sorry if i sound ignorant-i LOVE your results and wanted to get something similar
Not a problem. Yeah i masked the back of the mirror and etched. After the etch i removed the masking and filled in the cells with sharpie and went over them a couple times. Just kept going around and around till i was happy with the saturation of the color. After they were all done i gave the back side a few light clear coats just to seal it all in and then a thicker coat to give it some ripples.
One trick to help line the engrave up is to measure the diameter of the coaster and make a circle in inkscape the same size and have that be your working area. I designed everything inside that circle. I made the circles stroke a different color than the rest of the design so when i brought it into the gf they would be seperated. I put a peice of paper in the gf held with some magnets on the corners, ran the circle cut ignores the ingrave then placed the coaster directly in the hole it made then ignored that circle and engraved the pattern. I hope that makes sense if not please feel free to ask. Ill post the file here shortly so you can try it out if you wish or at least it might clear up my gibberish lol.