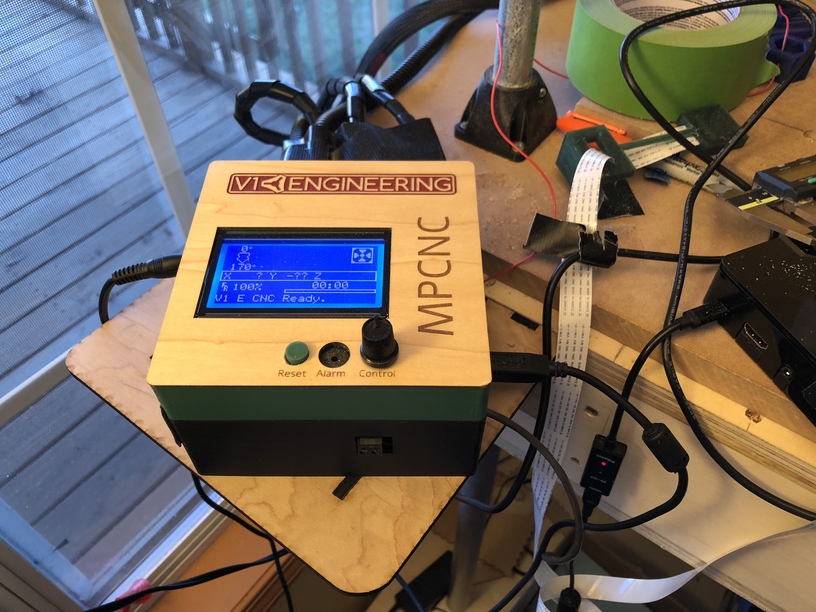
I needed a shelf to hold the control box for my CNC. I had done a parametric shelf design in Onshape that is quite handy, but that requires another level of design literacy. For many folks starting out with designing for the Glowforge and starting with Inkscape, it can be quite a challenge. One way to get over the hurdle is to use the tabbed box extension in Inkscape to give you the basic dimensions and then a little customization goes a long way.
With this technique you will be able to make a shelf of the dimension you need fairly quickly.
Yes, a parametric 3D design program would be more efficient in the long run. Yes, the festi box creator has an option for this, but it didn’t quite give me the shelf I wanted. So using the tools I am efficient in and familiar with works well.
You will need to install the tabbed box extension for Inkscape. that is beyond this topic, but there are plenty threads both in this forum and others on how to do that.
Steps are: Extensions > Laser Tools > Tabbed Box Maker
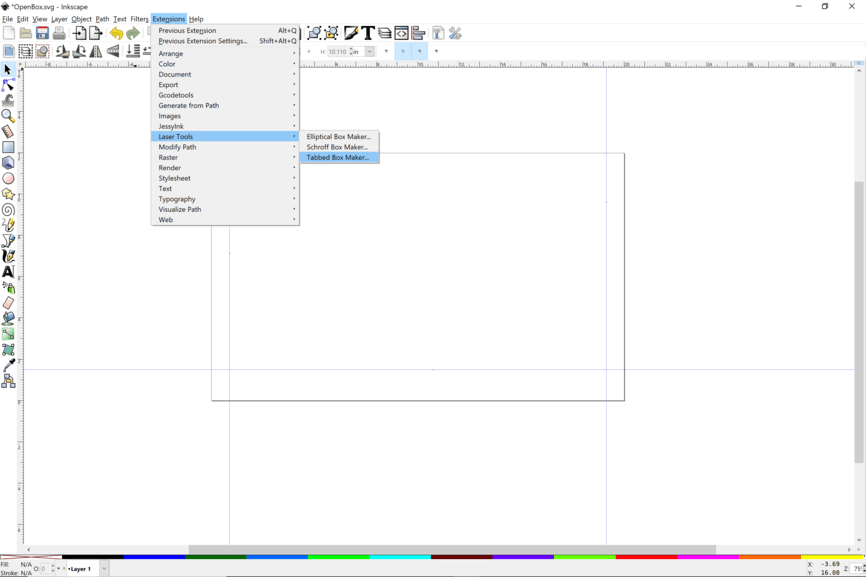
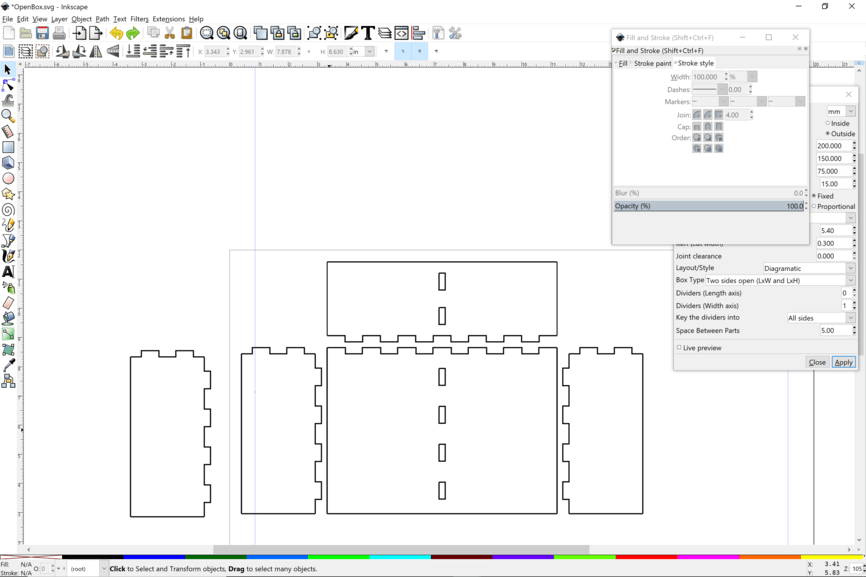
Set up the parameters as follows. I use metric because it is a bit easier to manage material sizes and tab/slot sizes for me. Also, using Imperial requires extra care with dimensions for me.
You need to be exact with the material dimension. Use a calipers. You can’t just use the nominal dimensions as listed on the tag, especially for acrylic, because there is variation in material. If you don’t want too loose or too tight slots. You can use 0.3 kerf for a good compromise. I’m doing wood and using wood glue so it doesn’t need to be super tight. With acrylic, you definitely don’t want too tight a joint.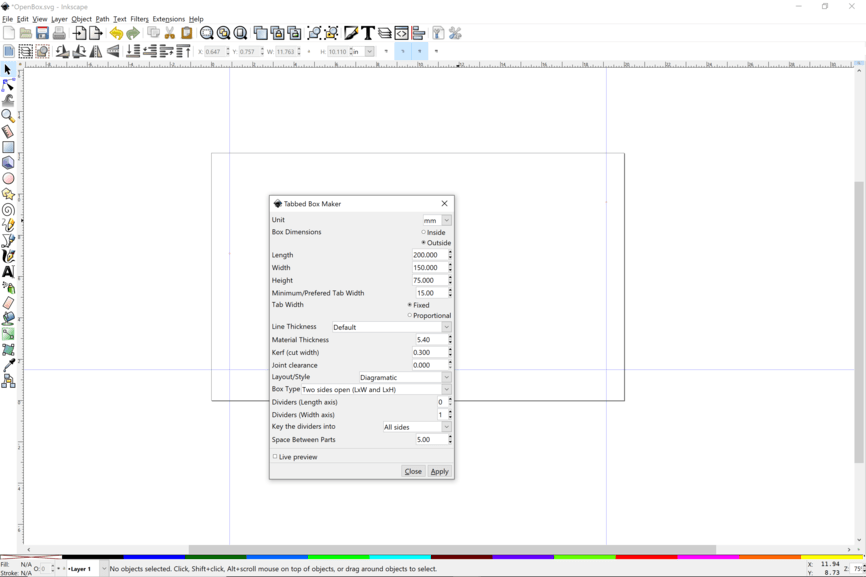
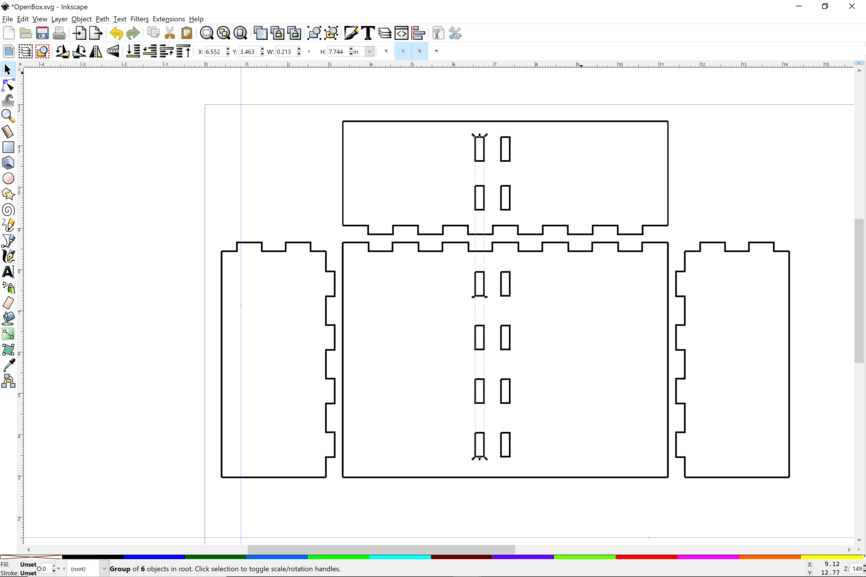
We are going to do a box that has two sides open and has one divider. then we will adapt from there. You will get a design like this:
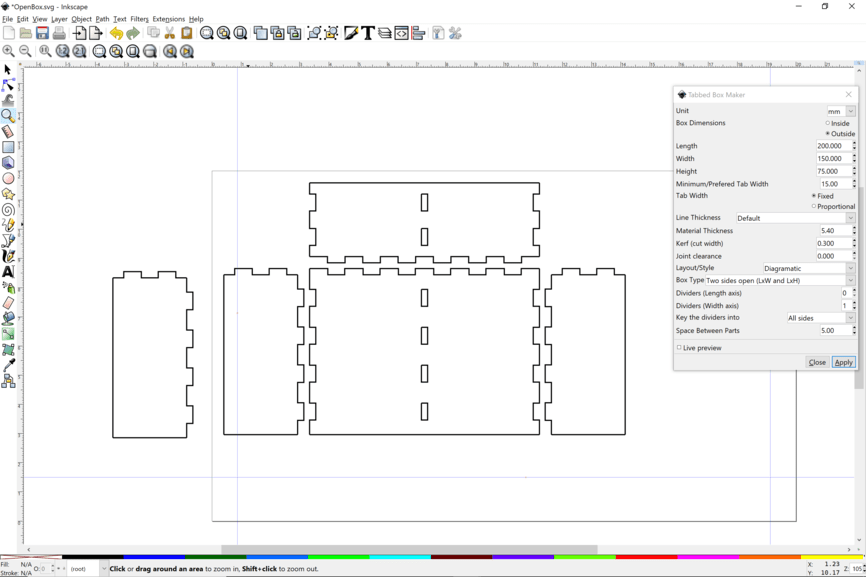
One thing to not is that all the lines are not connected at corners. That can work in our advantage since we won’t have to break nodes much.
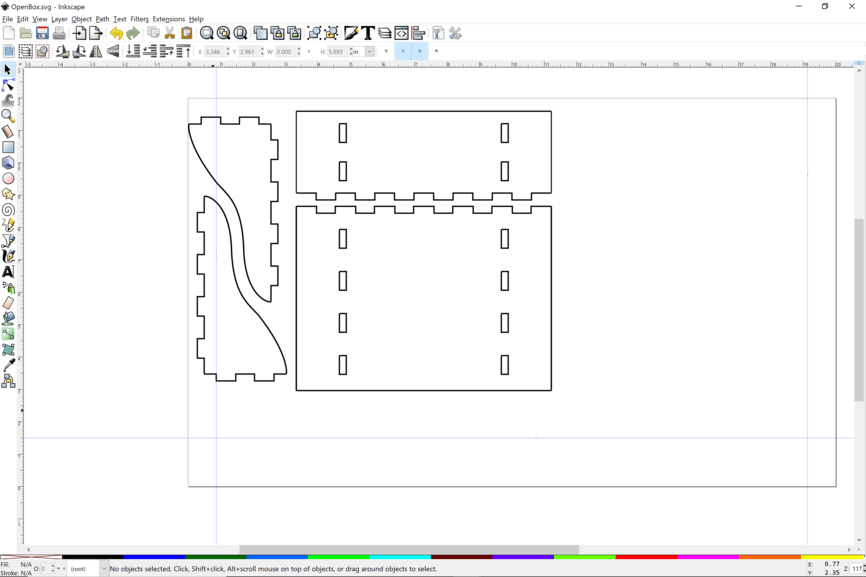
Delete the divider. We only need the one of two ends since they are the same.
Delete the sides of the shelf plate and the back plate.
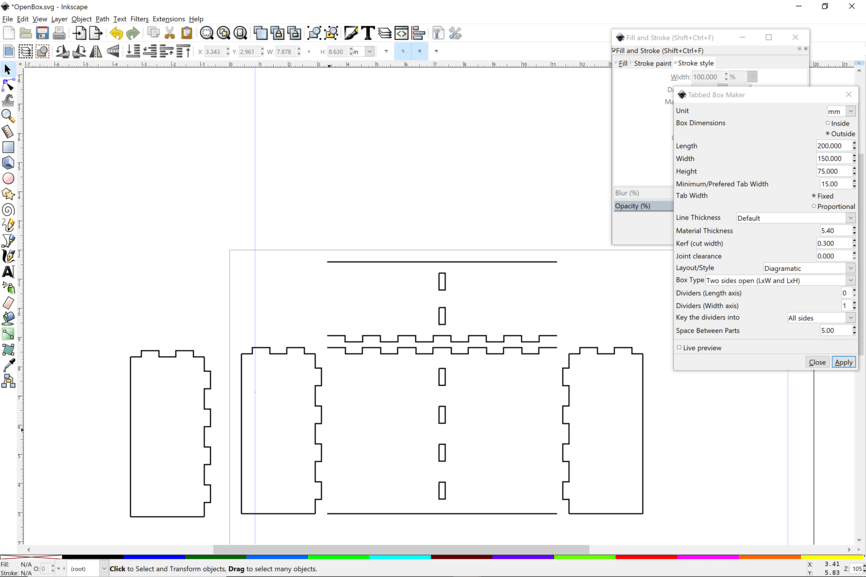
Draw a line constrained to straight by Ctrl key to make the sides without tabs/slots.
And draw the other edge line for the back plate and the shelf plate.
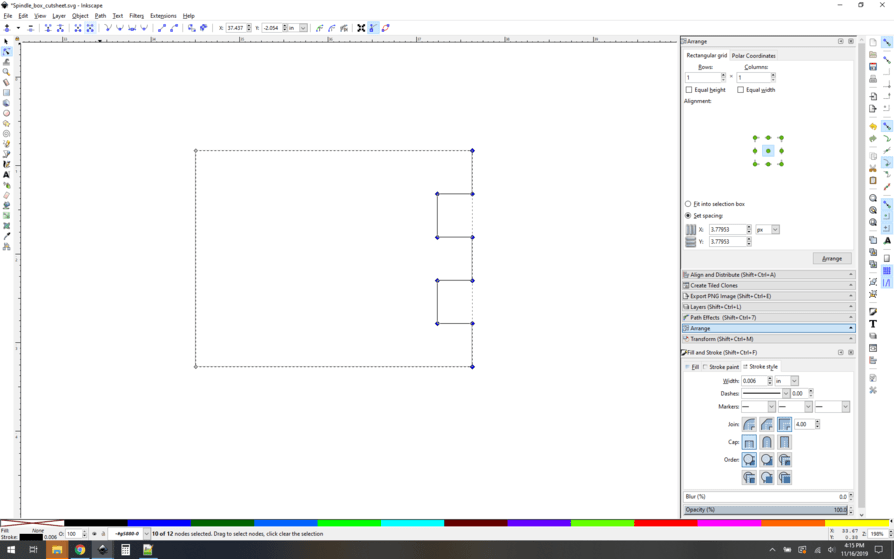
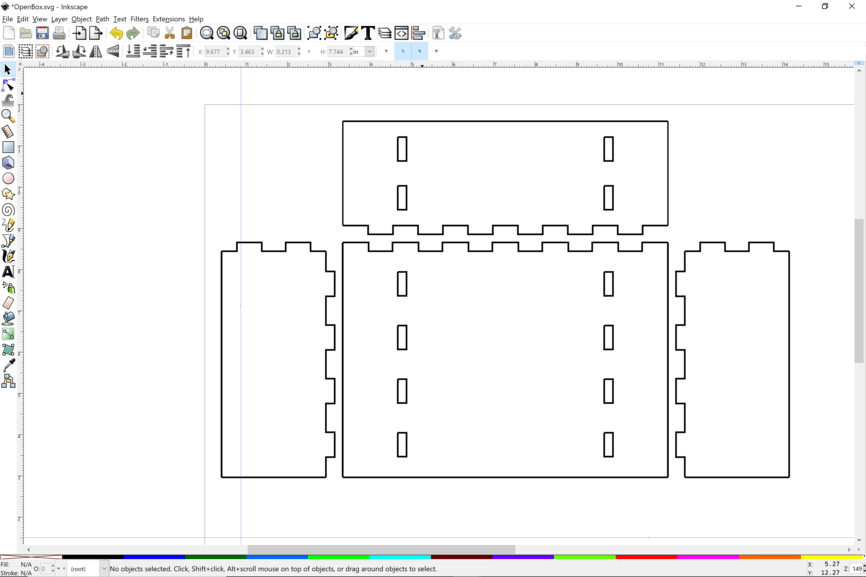
Select the center divider slots and group together to ensure alignment.
Keeping the slots selected do Ctrl d which is duplicate in place. You will now have another copy of the slots. With shift arrow over, move to the left or right how many spaces over to get good a good position for your brackets.
Then go back and select the other one and move to the opposite side by the same distance.
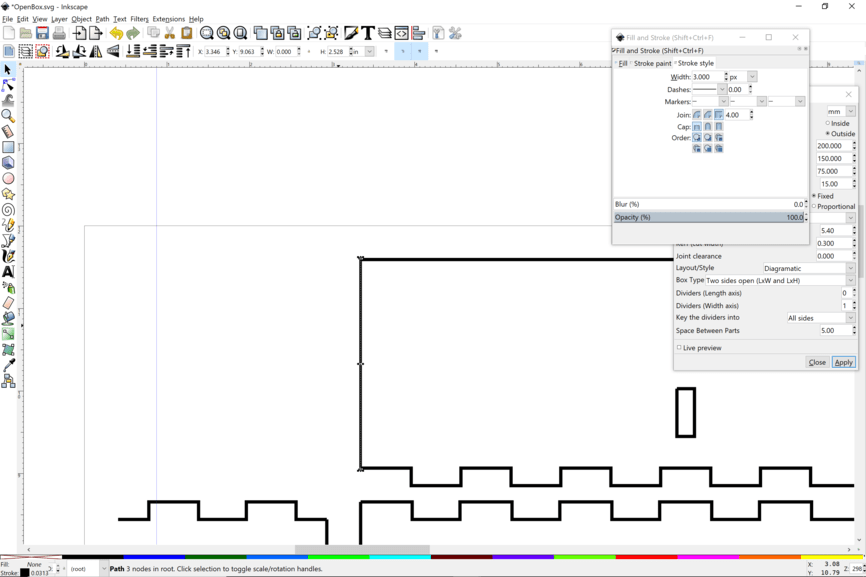
Now we will shape the brackets and put mounting holes in. You only have to shape one. Here’s where we get into node editing. It’s a good skill to have. there are some work arounds, but even though this is a manual process, it is helpful to do.
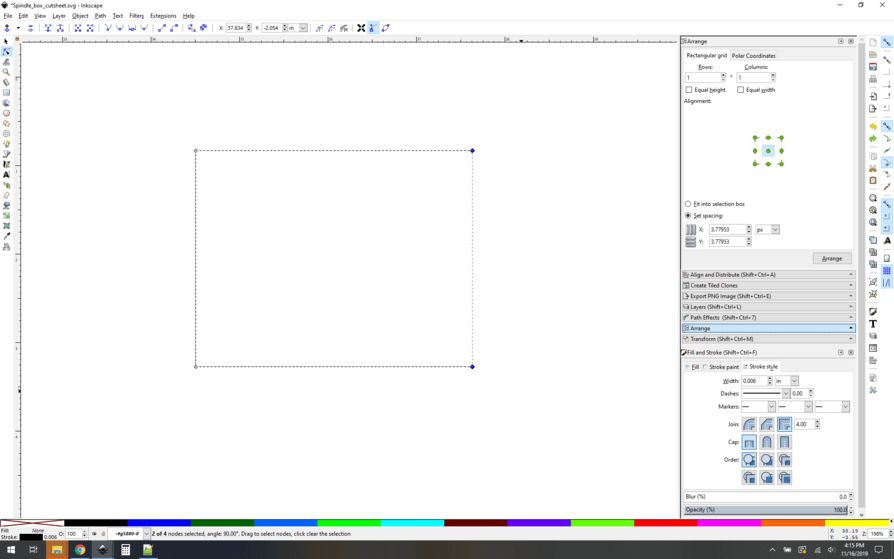
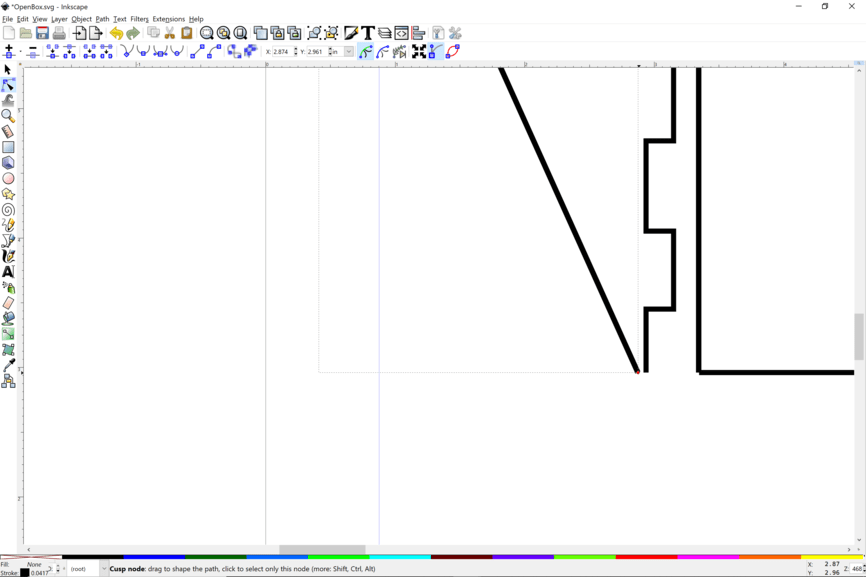
Zoom in and select the 90 degree corner of the bracket. These two lines aren’t joined as one path. We are going to delete the short line and then use the long line to make a curve.
Select the side line and then press F2 to get into node edit mode or just triple click fast or select and click on the node edit tool in the tool ribbon. You will get that node and drag it to the oppostive corner. No need to join the nodes just bring it to the end. It will snap to the end of the other line.
zoom back out and with the line selected and in node edit mode, double click about a third of the way on the diagonal to add a node. This will allow us to make a curve. Click on the “make symmetric” for the node type.
If you have never played with these node types and the handles that control the curves, this is a great opportunity. It is an essential skill.
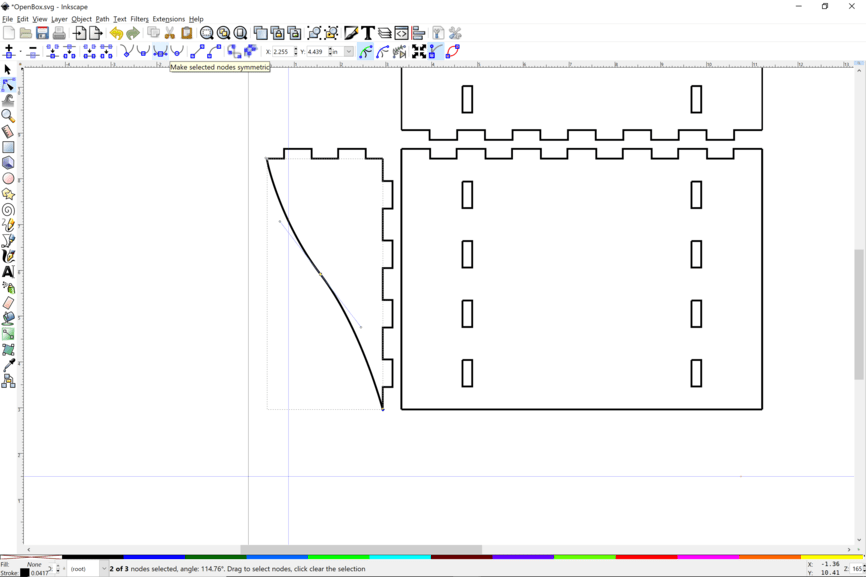
Add another node further down the line. Play with those two nodes until you have the desired curve.

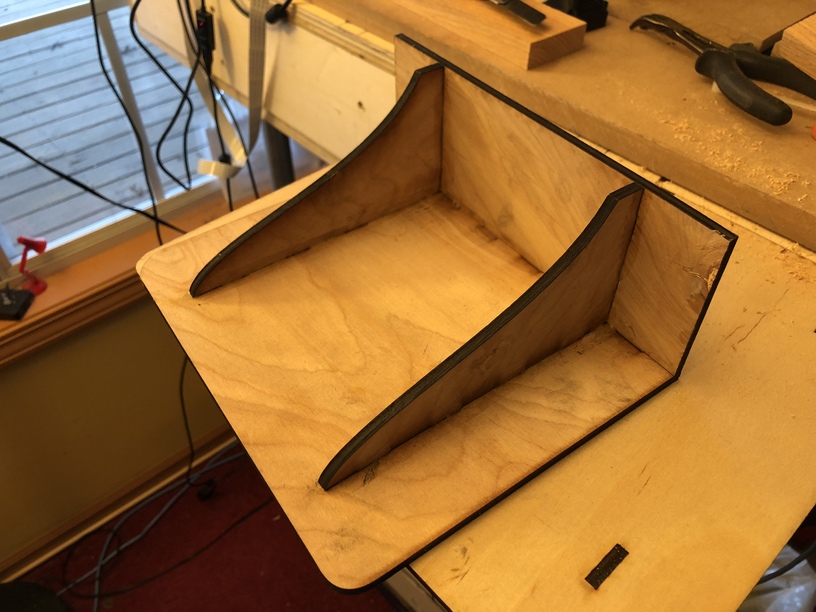
Select that bracket and group together the lines. You could spend time with combine or even joining end nodes, but it works easy just to group and leaves a little more flexibility for tweaks. Duplicate, flip and flip again and move for good nesting.
Put some 1/8" holes for mounting screws or make a keyhole slot for being able to easily remove.
Assemble and glue. Here is the Free Design. Right click and save. It’s an SVG. I used luan from Menards. 5.4 mm

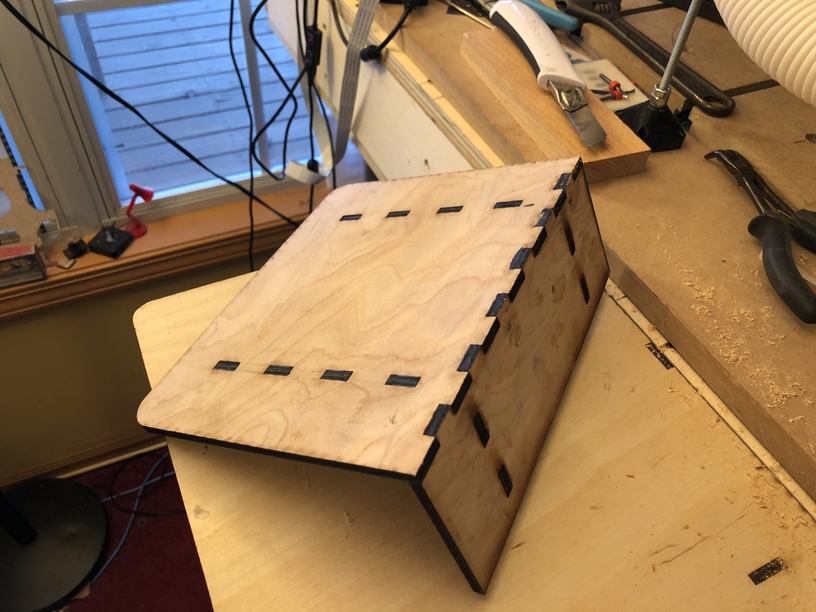
You can also tweak the design by shortening the tip of brackets a little and giving the shelf plate front corners a radius.