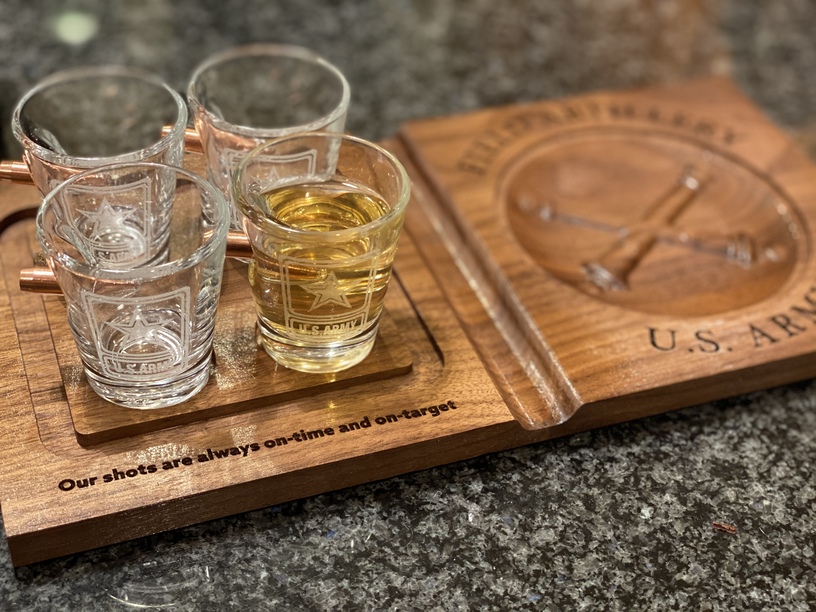
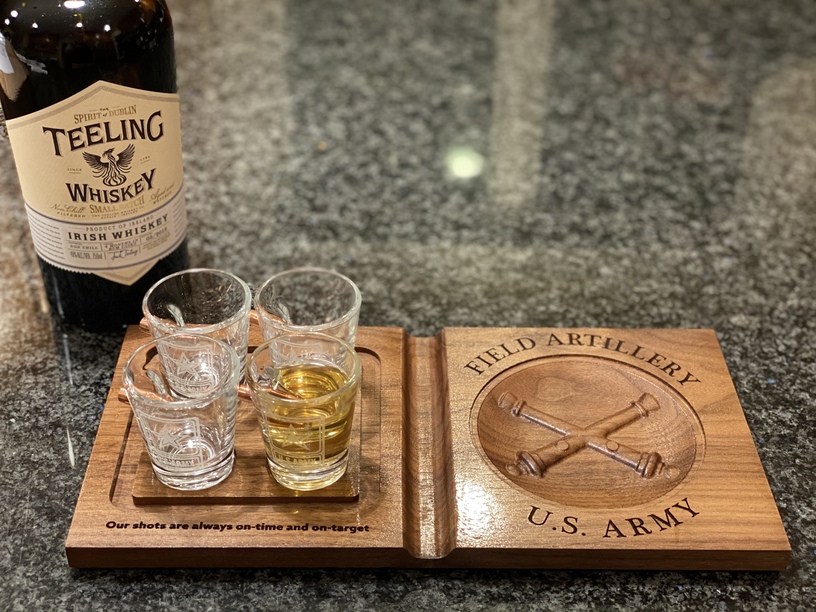
As folks may have read I did a first attempt 3D engrave in Paduk to make a shot glass holder for my niece who is an officer in the artillery. So after polling my focus group (family) we all agreed the charred Paduk just didn’t look as awesome as it could. And I discovered I had only ordered one piece of Paduk. So that left walnut as the material to proceed with. I did the 3D crossed cannons of the US Army Field artillery logo via a 3D milling job. It then got sanded with 220grit. But milled text will never even come close to laser text, so I Glowforged the text in both the seal and under the glasses. I first shellacked the walnut to keep the edges crisp. After lasering I urethaned the part. The BenShot glasses look really nice against the dark wood and the laser etched army logo pops with a dark background compared to my test maple. Really happy how this came out:
My son, after 10 minutes suddenly realized the pun with shots… thank goodness he doesn’t do anything that requires mental acuity like being a pilot! Then he was all worried about what would happen with the shot I poured for the photo (um, I’m going to drink it? - note his very first whiskey was at Teelings, where he discovered he didn’t like whiskey - heathen!)
For CAD: the geometric pockets are all in Fusion CAD and CAM, and the crossed cannons were mesh cam via V-Carve pro and the text was all in illustrator.
I think the key on this project (other than prototyping to debug it all) was not trying to use a single tool. I am luckily blessed by having virtually every kind of maker device, and so can use each one for what it’s good for, rather than forcing a design on a device it’s not rally best at. Plus, I am super glad I managed to take the Tormach introduction to machining course out in WI just before the world shut down. Plus I’ve watched a ton of videos on the titans of CNC academy on workholding, which was the key on this project - 3 separate workholding changes to keep the tool paths within the cutting envelope. Plus wood is way more forgiving. If I had to make this in aluminum, this probably would be a giant pile of snapped end-mills, the the one mistake I made and the 1/4” end Mill slotted straight across 1/4” deep in the wood at 50ipm. It chattered a bit, but actually did a perfectly reasonable job of cutting.
I also note the photos above make the edge of the “cigar holder” look a little ragged. They are super smooth to the touch, I think that is just glare from the lights playing off the shiny grain.
Some people like to use foam for testing CNC cut paths. It is even more forgiving,
but doe make a mess with clingy foam particles. Also, foam does not dull end mills
like wood can with its mineral deposits.
I did a Halloween sign as a 3D carve in rigid pink foam. Just getting the clinging pink powder off my end mill was a chore (it stayed on even with a 120psi air blast…)! My dust collection system still has some clinging to the inside of the cyclone (funny since it is anti-static and grounded), luckily the swirling wood chips scrape it off like a sandblaster.
The only thing I could imagine being a worse cleanup than pink foam, is compressed-glitter-board (I don’t know if it exists). The ultimate gag gift for your friend with a CNC-router is glitter cored plywood!