that’s nice  can you show us the inside as well +love the ‘bonus’ space to put the gf on
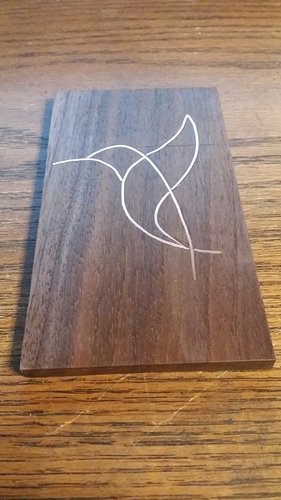
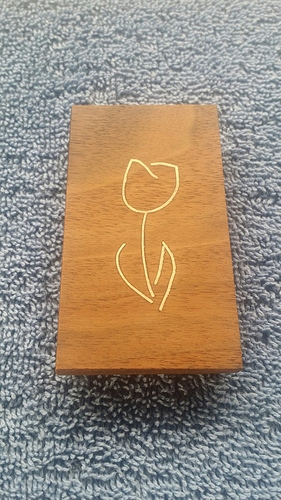
Sure like your cabinet, I don’t have the room for something like this. Anyway I like my Carvewright and your right it’s a bit noisy and I have mine on a cabinet with wheels and I roll it outside to do my carving. Since I live in California and the weather is usually nice I’m able to work with not much of a problem. I’m in the process of making room in my garage for the Carvewright and my Glowforge when I get it. I also got involved in copper wire inlay to pass the time until the Glowforge gets here. Here are a few samples
projects I have done.Sure thing @Clone I did think ahead to take 2 quick videos with my phone of the inside since I will hopefully never see the inside again ![]()
Love the inlay work. I wish I had your climate. Minnesota only offers me a few months of outside work and wanted to do this stuff year-round. Hence the box.
Love this!! Very well done. Sounds like it really cuts down on the sound!!
@dan I would be curious to see what rough decibel the GF runs at! (With and without filter ideally) Just a thought!
Excellent use of that valuable work space.
I swear, I have gotten as much satisfaction configuring my work space as I do from the projects.
Good you took a picture as you set it up, the times it will look so clean will probably be few and far between 
You’re going to have great area for layout and assembly! 
Thank you for sharing that with us!
I love that (Humming?) bird! Very fluid, just like the creature!
That dark wood really makes it snap!
I have a piece of burl black walnut that I have been saving for years. Just haven’t had something slap me with inspiration - yet, but the 'forge will figure prominently when it does strike.
Thanks for contributing!
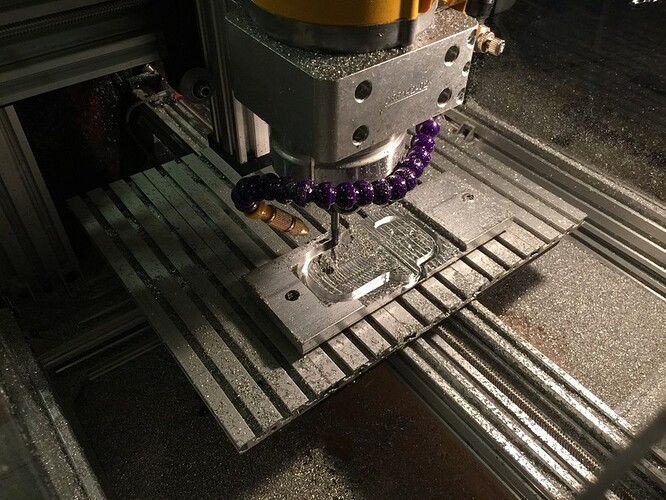
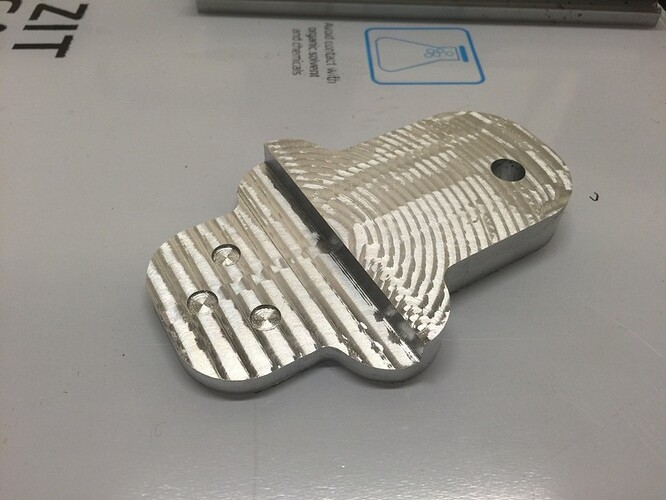
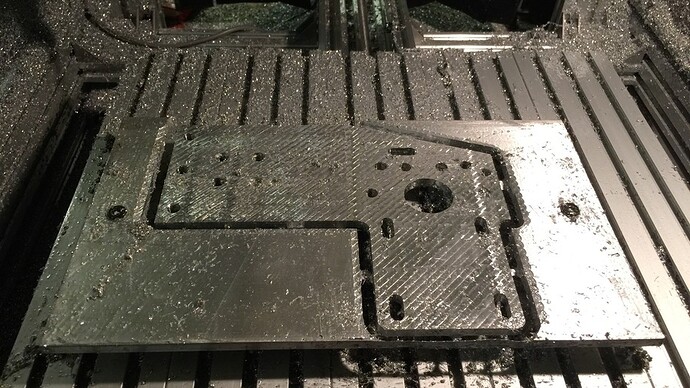
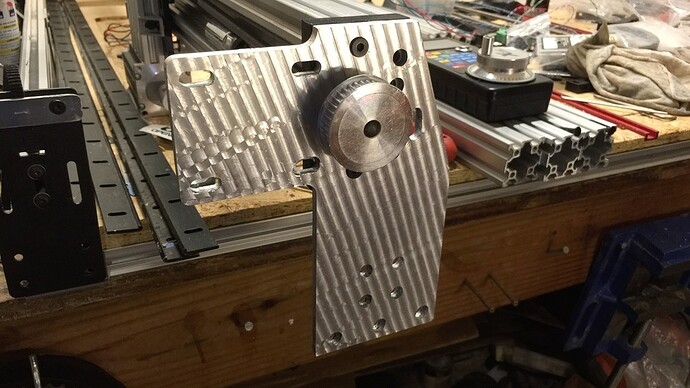
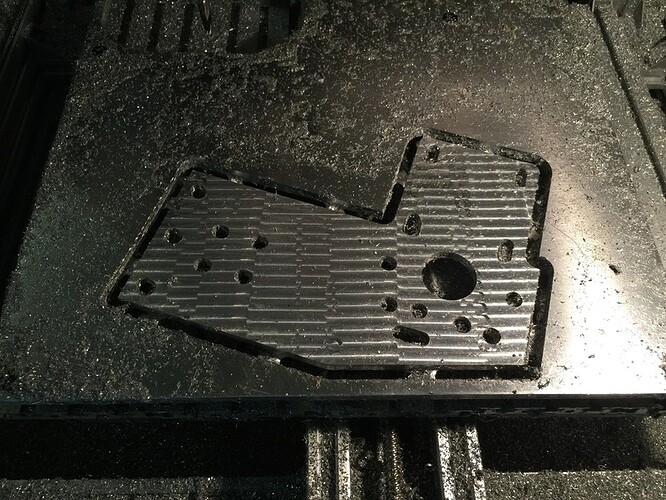
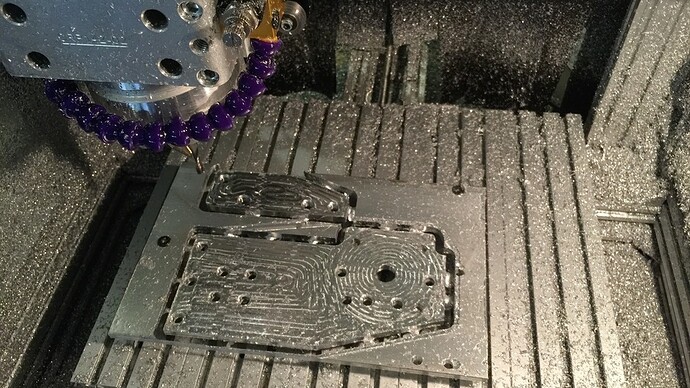
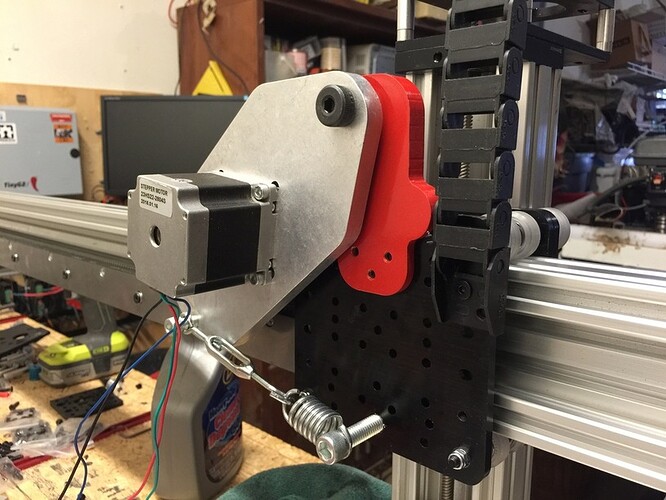
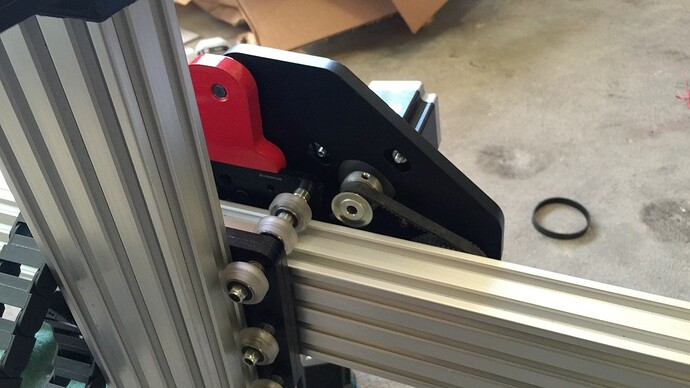
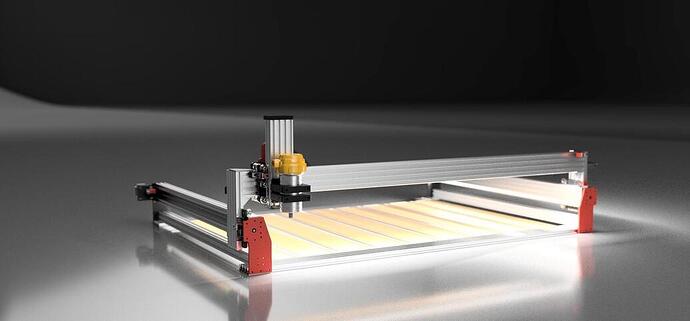
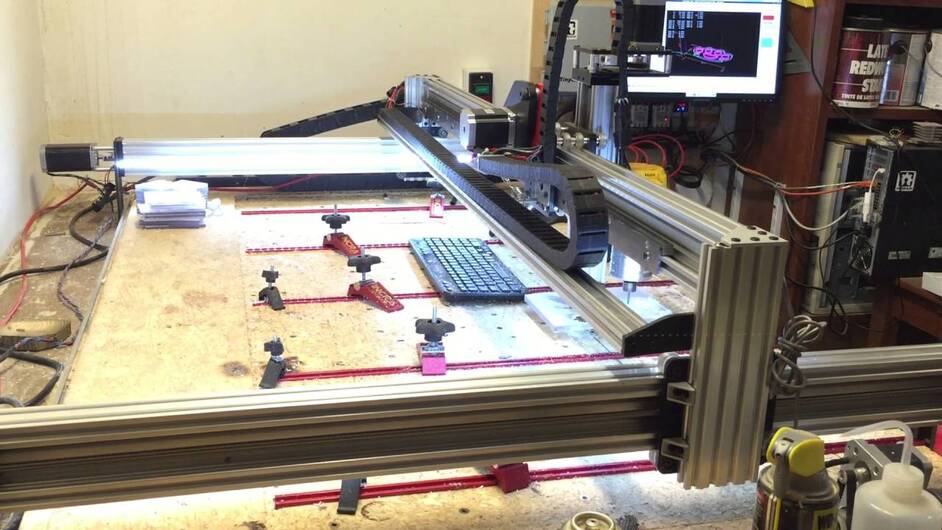
This is what I’ve been working on in the last 2 months.
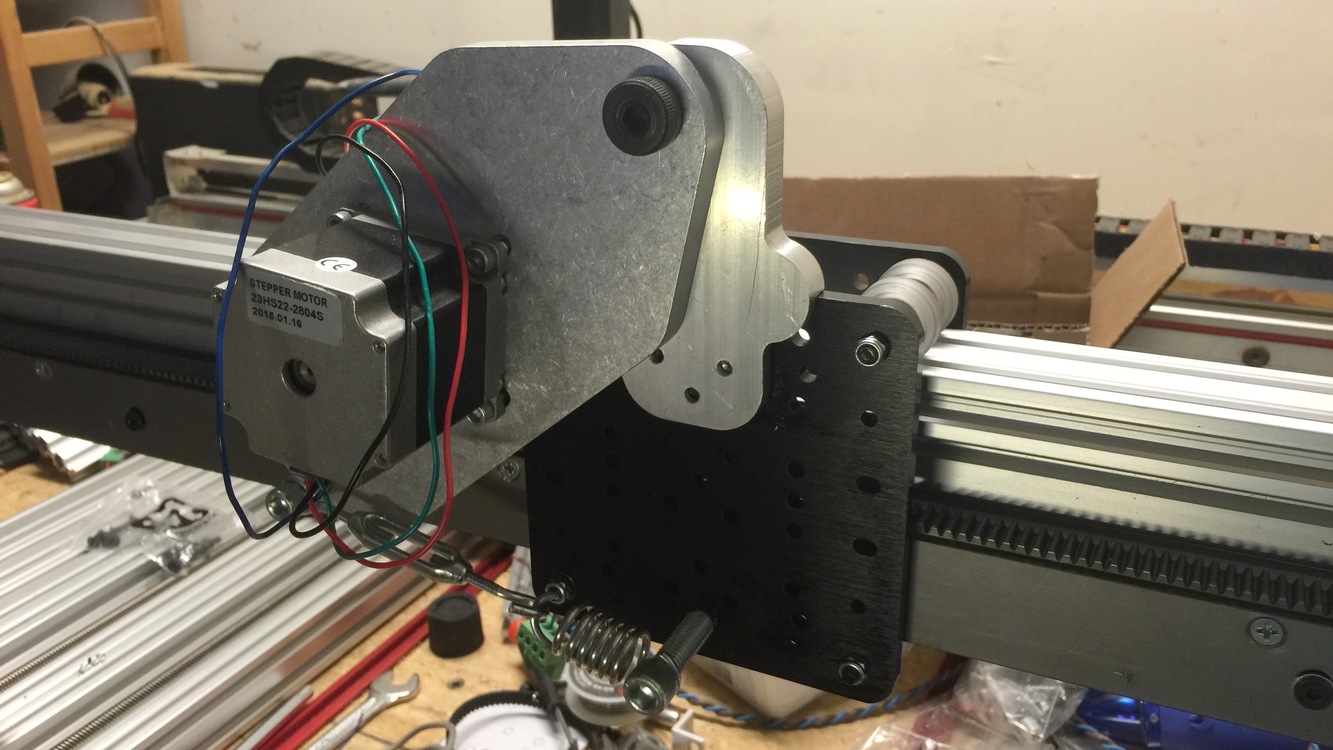
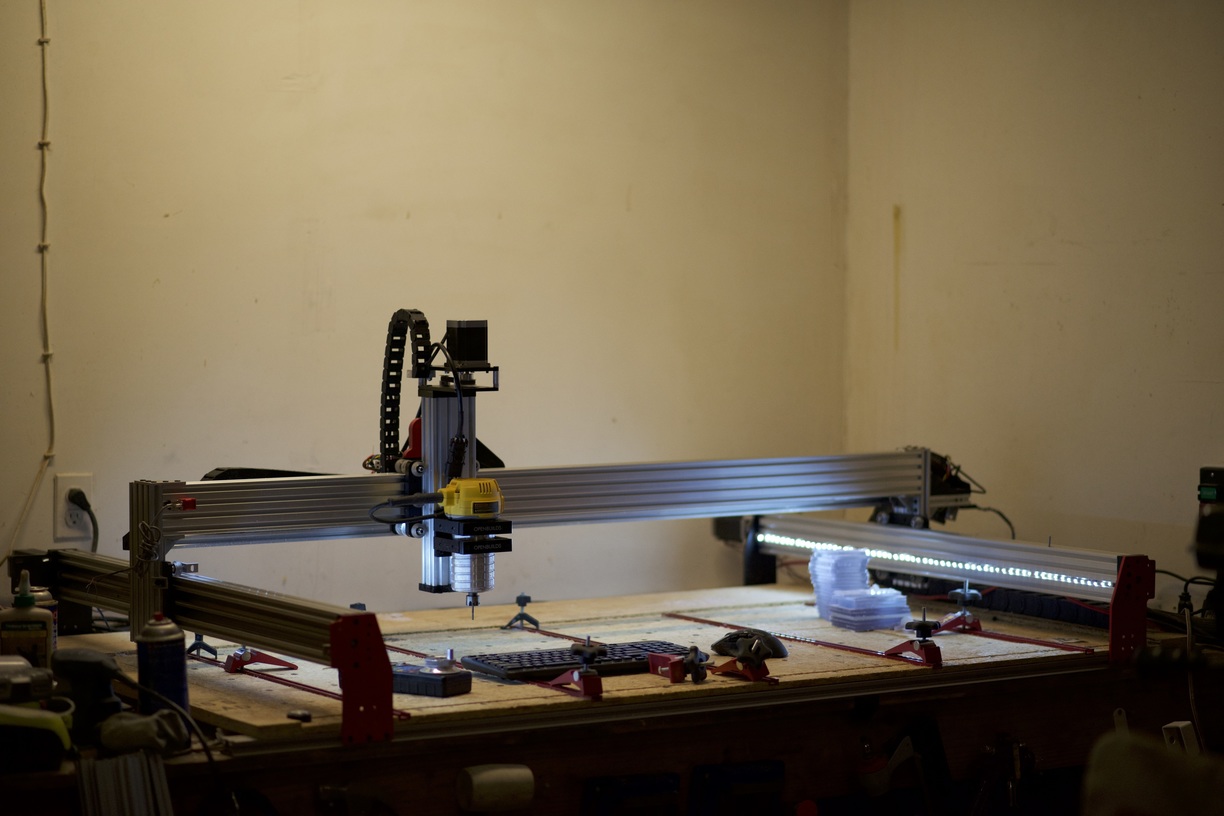
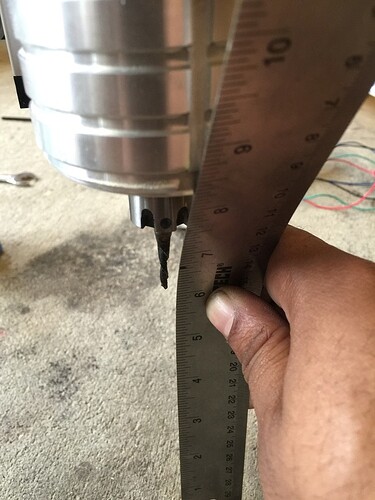
Basically I got rid of the GT2 belts. Switched to R&P on the X axis. Then lead screws Y. Raised the Z Axis. More powerful NEMA 23s all the way around. Power coated the new plates.
Impressive capability. In house end to end fabrication, sweet!
Very nice work, I know you will have fun with that. Thanks for sharing!
Very cool. Would love to have access to equipment like that.
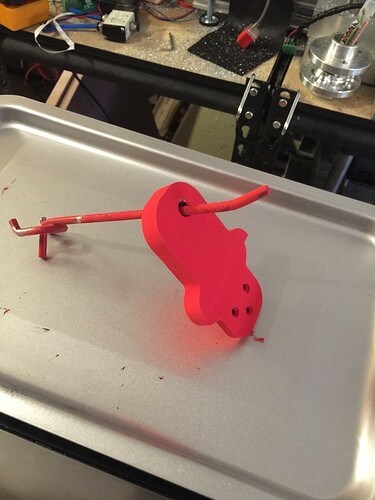
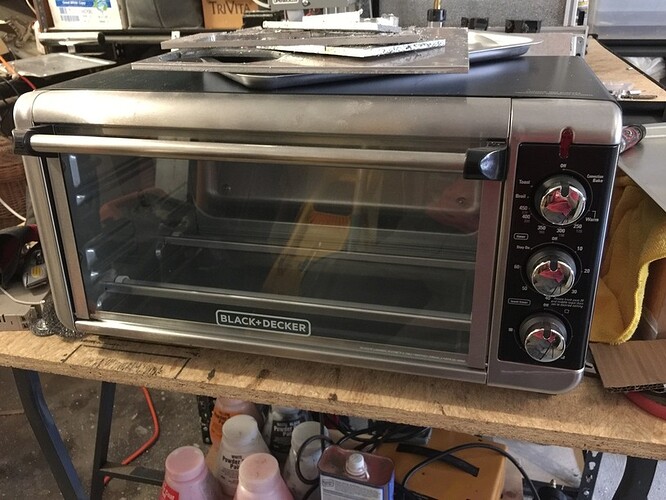
Looks like the red brackets were powder coated. What did you use for an oven?
I would love to build that iPad stand for myself , able to share plans?
Thanks!
Unfortunately, I don’t have plans for it. They were made manually, using a bunch of custom router jigs that we made to cut all the parts out in multiple operations.
Obi Wan Kenobi magnets can be ordered in bulk online. (yes, I know that’s not how to spell https://en.wikipedia.org/wiki/Neodymium_magnet).
Amazon searching works well:
https://www.apexmagnets.com/?gclid=CjwKEAjw-r27BRCzsNyzrMrM-j0SJACp2TiBCJFK2cTqrtXYenrSCHpENVUvHw1hf911x8e-N-qfuxoCKgHw_wcB
Or not:
http://www.magna-tokyo.com/eng/?utm_source=google&utm_medium=PPC&utm_campaign=Adwords&ad=adwords
Thank you for the links!
I think this would be cool to have or make.
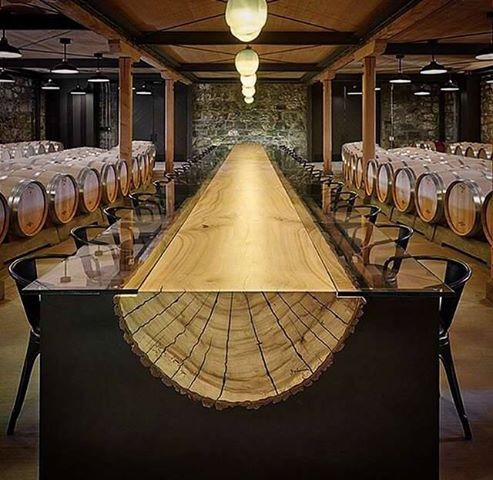
That’s why I bought the Glowforge. You too?

