I was intrigued by the metalcastingposts from earlier in the year and wanted to give it a try. It’s worked pretty well so far, and I thought others might be interested in the process.
The first step was finding a suitable metal. I opted for this bismuth based alloy because of the low melting temperature (281 F) and it is lead free. This doesn’t take any special equipment - we used an old pot to melt it on a regular camp stove. Remember to wear safety goggles!
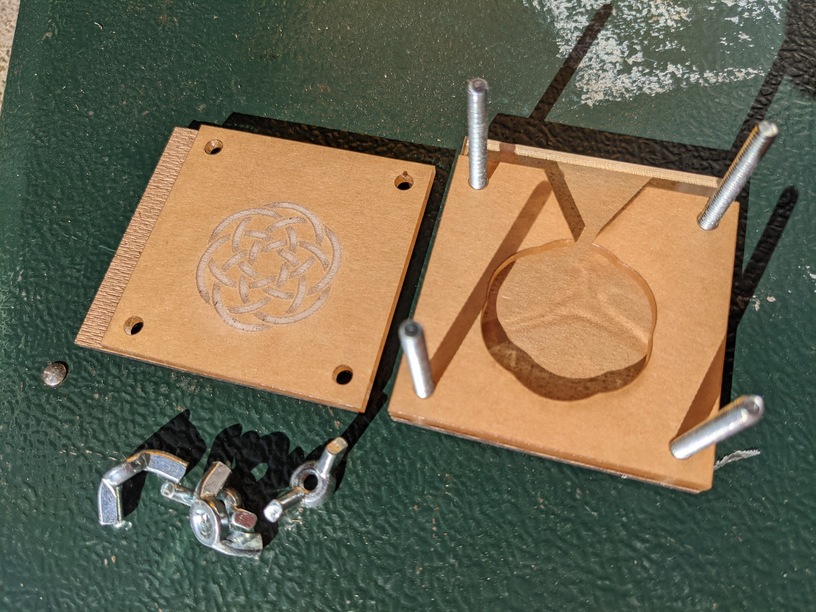
Next was making the mold. The approach we’ve been using is to sandwich layers of material together to create a void that can be filled. After trying different materials, acrylic seemed to give us the best results. In the picture below we have three layers of acrylic, one with the void and another with a 3D engrave, which are then sandwiched between two pieces of draftboard to spread out the clamping load.
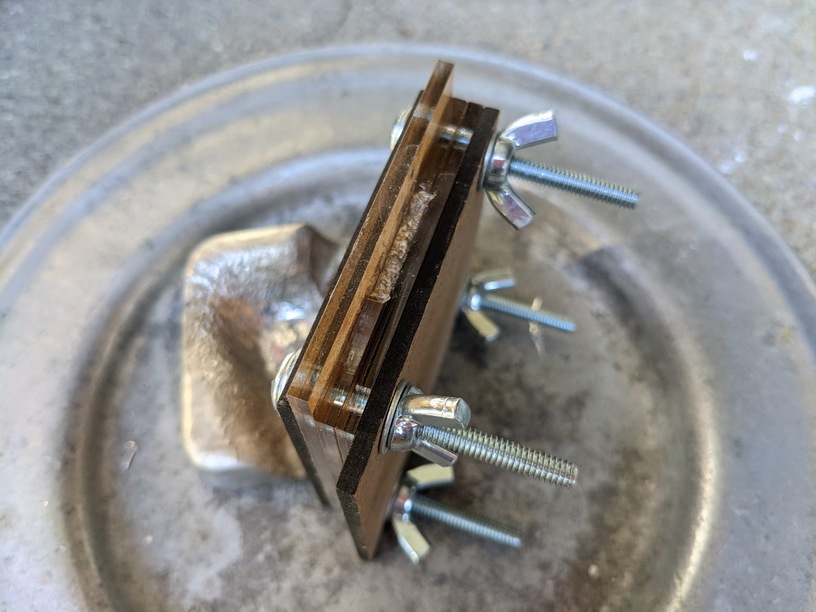
I cut holes for screws to hold it together during casting, and to make sure the engrave was aligned correctly. The V-shaped notch at the top makes it easier to pour the material in. I also found leaving one of the plys taller than the hole created a lip that helped keep the material from sloshing out during the pour.
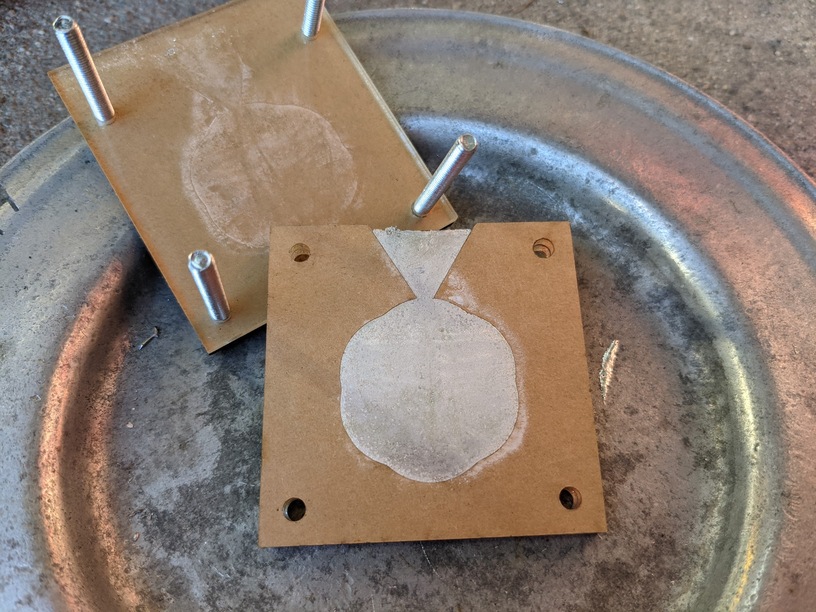
We dusted the inside of the mold with baby powder, which seems to help with bubbles. After putting the mold together, pouring the melted metal in and banging it a few times (again to help with bubbles), it looks like this:
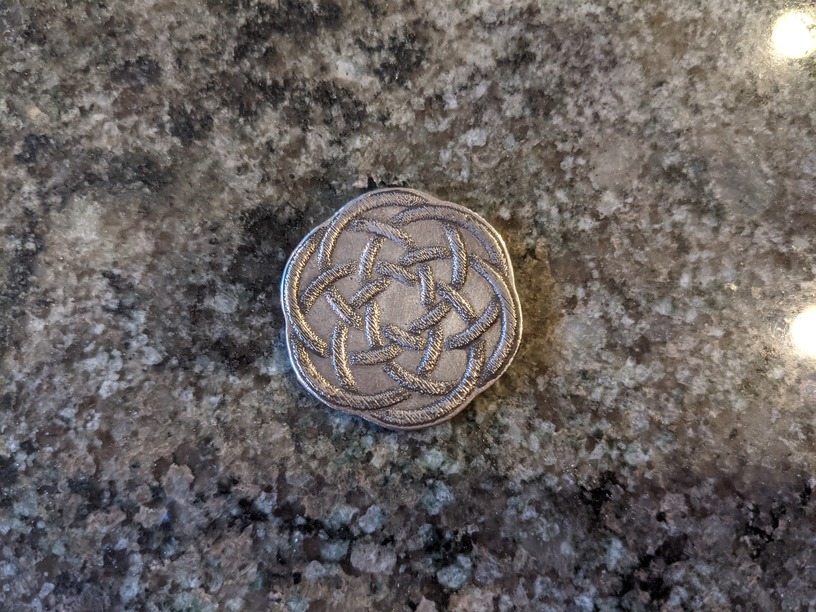
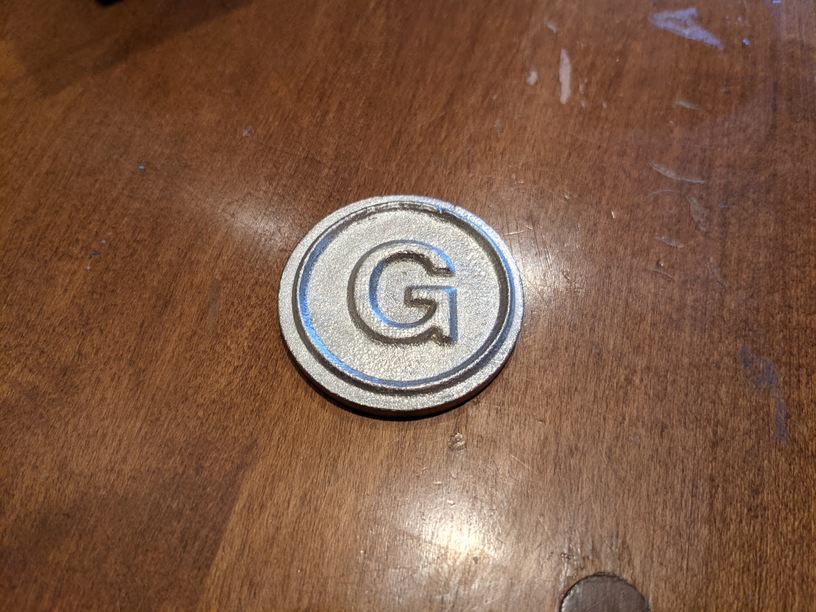
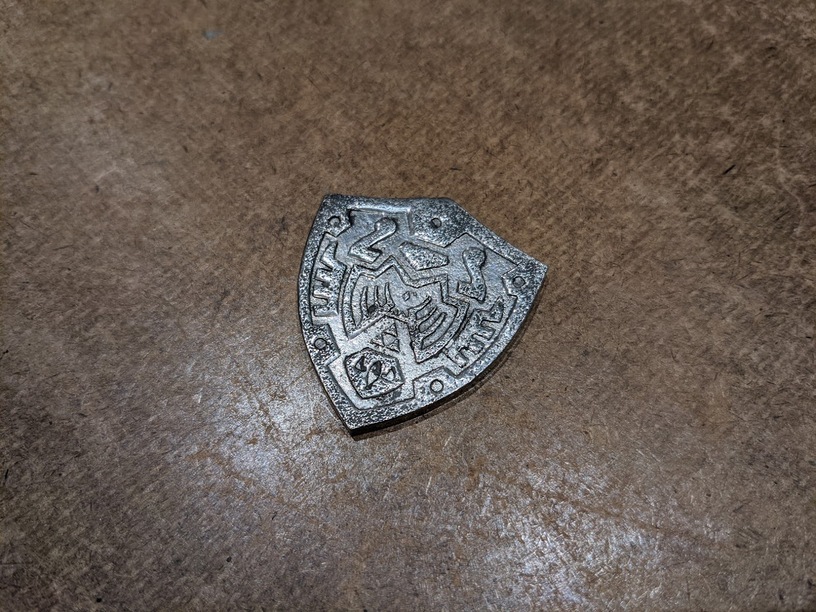
We then melted and ground down the sprue hole, buffed it a bit on the grinding wheel, and got the little tokens below. I’d like the play a bit more with defocusing to get the engrave cleaner, but we’ve been pretty happy with the experiment so far. Hope this helps!
Thanks for sharing this write up and results. This will certainly spur others to advance this technique. Who doesn’t like playing with molten metal? Your tokens are well executed.
The first mold we tried didn’t have the screw holes, and there was a bit of warping (not melting) in the void layer. After adding the screws to keep things in place, it’s been fine. We have re-used the same mold a few times with similar results.
That is really cool!! Did you have to spray anything on the acrylic or did it come off easily. I am thinking this might be a good application to pour plaster for moldings for the doll house I am creating.
That’s a very interesting technique, and your results are great! I like all the ways you can use this…thank you for sharing your photos and description of process.
Really cool, and I’m shocked it didn’t destroy the acrylic. Nice materials testing process too! You might try the acrylic-cement-flooding to smooth the engrave ridges down. If it didn’t weaken the acrylic, it would provide a much smoother mold!
I literally bought the same metal after reading the posts you linked to, but I haven’t done anything with it yet! Maybe this will push me over that edge!
I bet you could even glue a cylinder to the backing material to make a hole for a necklace cord. You’d probably want to do it opposite the pouring hole…hmmmm, something else to test!
Awesome technique and I’ll be giving the registration bolts a try. The pewter I got is a bit higher temp so I don’t know how the acrylic would hold up, but it’s worth a try if I could get a smoother result. (Maybe I’ll try to anneal the acrylic to smooth it out. ) One suggestion though; if you’re getting bubbles or you design has an irregular shape where air could get trapped, just add small vents for the air to escape.
We did leave the masking on in one of the runs. It was surprisingly tolerant of it on the flat side, but it got stuck on the pattern on the other. I wouldn’t do it again.
I do a little pewter casting but use RTV molds. I think the melting point of pewter is a bit more than the acrylic will stand. Most pewter will melt between 340 - 450F depending on the formulation (I use Britannia Pewter). Acrylic melts at about 325F.
 ) One suggestion though; if you’re getting bubbles or you design has an irregular shape where air could get trapped, just add small vents for the air to escape.