This is the test that I did where I discovered the difference.
In #1, I embedded #2’s SVG into a single image tag. The clearest example of the difference is the first pair of checkers (the 2 pixel x 2 pixel one). You’ll see that there is a distinct checkered pattern in the one that is made up of 4 different 1 pixel images, because it doesn’t interpolate the edge pixels to white (like it does in #2), but rather maintains the pixels color as it transitions over the pixel. As the resolution of the image gets bigger, you’ll see the seam artifacts diminish, but are still present until the DPI of the images exceeds the LPI of the job. Now, #1 was engraved as a single job, so it demonstrates that the seam artifacts are still largely due to the interpolation differences, but wouldn’t show any extra issues that may crop up when the tiles are separated into separate jobs on the Glowforge.
Here is a picture of a more representative real world demonstration:
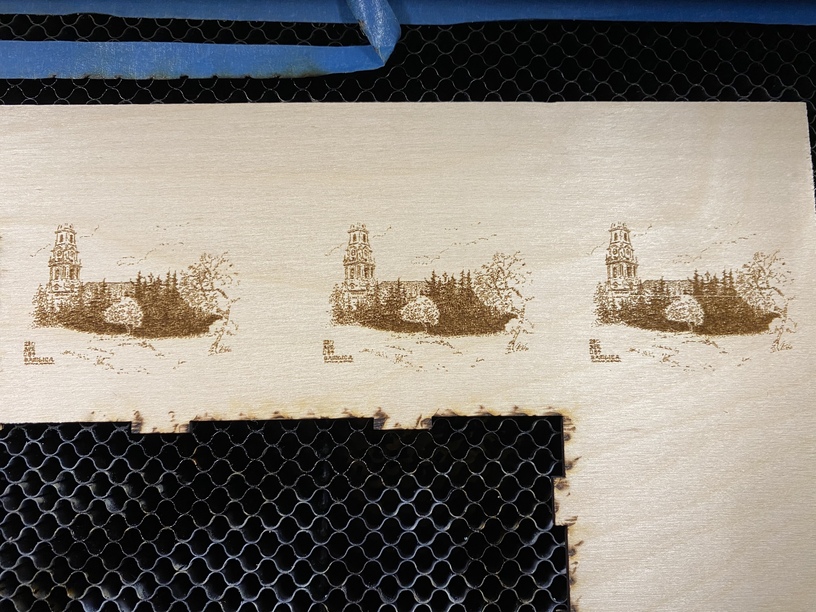
The left image leverages the new Wrap Tiles In SVG checkbox to trigger the better interpolation algorithm, while also engraving 4 different tiles as as separate jobs. You’d likely only notice the seam if you knew it was there (and even then it’s very subtle). The middle image is a non-tiled engraving (so no seam at all). The right is another tiled version (so 4 separate jobs) generated with the Wrap Tiles In SVG unchecked.