Simple tool for tiling any image to break up large engraving into smaller jobs

It’s a simple web app that does all the processing on your own computer (images aren’t uploaded anywhere). You can break up any standard web image format (.jpg, .png, .svg, etc.). It then pieces it back together so it remains a single file, but when opened in the Glowforge app, each tile will be a separate job that can be engraved individually.

I wrote a blog post about why I made the tool (which is also embedded in the post): https://www.allwinedesigns.com/blog/tiling-large-engraving-jobs-on-the-glowforge

If you just want the tool, you can head here: https://allwinedesigns.github.io/image-tiler/

Let me know what you think!

37 Likes

Nice simple tool.

For an alternative, try pine tools:

3 Likes

Unlike the pinetools split, mine pieces them back together into an SVG for easy use by the Glowforge app. It remains a single file that is easy to manage with groups that the Glowforge app recognizes as separate jobs. It can also be opened by standard vector editing tools to add in other groups for cutting or other details.

7 Likes

Looks like you get nice coverage from that too, other methods can leave a pixel gap in the engraves sometimes. (Mind if I shift it to the Tutorials section? More folks will see it there.)

2 Likes

The pieced together image should be seamless, but I have noticed a gap can occur in the engraving. I’m open to fixing it if it’s a problem with my tool, but I suspect that it’s something Glowforge related in terms of generating the tool paths. I could even add options to overlap tiles by a pixel and see if that helps at all.

Moving to the Tutorials section works for me!

1 Like

It might be something to play with, but you can always update that behind the scenes…I’ll go ahead and shift the topic there now.

1 Like

Cool!!! Mahalo!!

2 Likes

Hey, thank you!

1 Like

Welcome to the forum! What a great first post!

Looking forward to seeing your Glowforge projects.

1 Like

Thanks @ptodd! I don’t always post them to the forum, but you can check out my other laser cutting projects here: https://www.allwinedesigns.com/laser-cutting

1 Like

Awesome tool, @allwinedesigns - Thanks!

Would it be difficult to add the option to include vector layers around each tile as well, with different patterns? Like finger joints to mosaic a huge engrave, or just square/rectangle ~10mm frames for sequential wall art? Would that be a niche use?

Also, I’m guessing you do graphic design for the wine industry or something? Are you in the PNW? I do surveying and mapping and a lot of our work is for vineyards in the Walla Walla valley.

That sounds like a cool feature! I could probably add something like that. It gets a little tricky if you want a snug fit, but it’s fairly straightforward if you’re ok with the kerf of the laser between tiles. I’m not sure when I’ll have the time to add it, but I definitely like the idea.

As for being a graphic designer for the wine industry, that’s a definite no. My last name is Allwine. I’m a software developer who likes to dabble. I especially like 2D and 3D graphics programming and controlling machines that make things.

2 Likes

I wouldn’t complain about the kerf being visible, personally. Especially if that tool cut out all of the manual work of creating mosaics too large for the glowforge!

I visited your site after I made that post and realized where Allwine came from. :wink:

Speaking of machines that make things…have you ever thought about a CNC machine that also has an ink jet printer head on it? Or just an ink jet printer that can print on sheets of wood? I made a post a couple weeks ago in the Made on Glowforge category about 3d topo maps with imagery. That’s always my goal with this thing and doing the photo transfers is the most painful part of the process so far. Would love to be able to print directly on wood.

If a setup like this was feasible for home use, I’d be on it in a heartbeat.

I’ve never tinkered with an inkjet printer (besides for their normal use). I have been advertised little portable printers that claim to be able to print on anything. Have you seen those?

No I haven’t. Do you have a link? Especially if it has the same print area as the glowforge?

The ones I’m talking about definitely aren’t the size of the glowforge. I don’t know if they exist. These ones are small handheld ones that you manually move across the surface. I just googled “print on anything” and different options come up.

1 Like

I’ve attempted to nail down what causes a seam to appear when engraving. I don’t have access to how Glowforge generates its toolpath, so this is mostly just a guess. Also, this information will only interest you if you care about the nitty gritty details of how images are represented and displayed.

My guess is it comes down to how the pixels of the tiles are interpolated and, specifically, how Glowforge is performing that interpolation. SVG is a spec and many edge cases come down to how they are implemented. I suspect this is one of those edge cases.

In my initial implementation (before I posted), I embedded the images into the SVG without an image-rendering property. When no image-rendering property is specified on an image tag in SVG, it defaults to optimizeQuality. When in this mode and sampling an image, the spec says, “The user agent shall employ a resampling algorithm at least as good as bilinear resampling.”. Bilinear resampling will combine neighboring pixels based on the distance to each one. So in the center of a specific pixel it will be that pixel’s color, but as you move continuously over to the center of one of it’s neighbors it will transition smoothly to that other color.

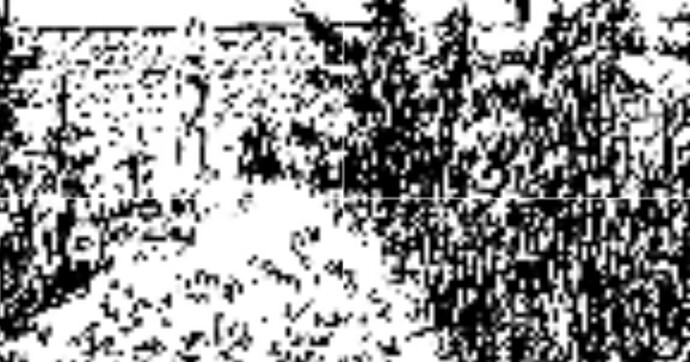
In this application, where we’re splitting up the image, we lose the ability to perform this continuous interpolation because each tile is now a separate image. Instead of interpolating between neighboring pixels, I wanted any sample within a pixel to be that pixels color, which is referred to as “nearest neighbor resampling”. This would prevent pixels at the edge of each tile from interpolating to white as seen in this image:

So, in the version of the application that I released, I specify the image-rendering property to be optimizeSpeed. Unfortunately, the SVG spec isn’t very specific about how this setting should be handled (and there isn’t a more specific option as far as I know). Under optimizeSpeed the spec reads:
“Indicates that the user agent shall emphasize rendering speed over quality. The user agent should use a resampling algorithm which achieves the goal of fast rendering, with the requirement that the resampling algorithm shall be at least as good as nearest neighbor resampling. If performance goals can be achieved with higher quality algorithms, then the user agent should use the higher quality algorithms instead of nearest neighbor resampling.” This suggests that nearest neighbor sampling could be used, but also says a “higher quality” algorithm could be used. Unfortunately, any “higher quality” algorithm in this case will give us undesired artifacts. This seems to be what is happening here. Glowforge is likely preferring a higher quality algorithm which introduces a seam into our tiles. Again, this is just a guess.

One option to avoid this specific issue in SVG is to use patterns. The original image could be embedded in a single pattern and rect tags could be used to reference different portions of that pattern. This would avoid having seams where the interpolation implementation introduces artifacts, but unfortunately, it looks like the Glowforge app doesn’t support patterns (I tried!).
3 Likes

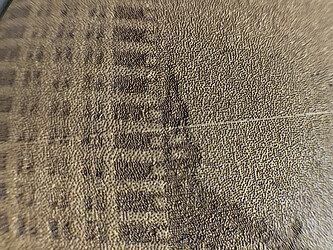
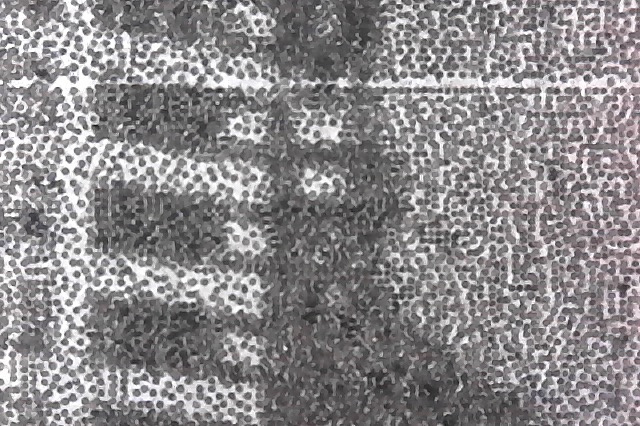
Great detail, but this might also explain exactly why my detailed engrave passthrough jobs appear to “skip” a line between steps, even though the head moves over that area. It’s resampling the job for each step, NOT continuing the previous step.


image

1 Like

I don’t have a pro machine, so I’m unfamiliar with the process, but I wouldn’t be surprised if Glowforge is doing a similar split process. What is the bottom screenshot of?

Microscopic view of an area in the other pic. I meant to attach a larger version so you can see there are dots along what appears to be a “skipped” line, so it’s not actually skipping it. I edited the post…