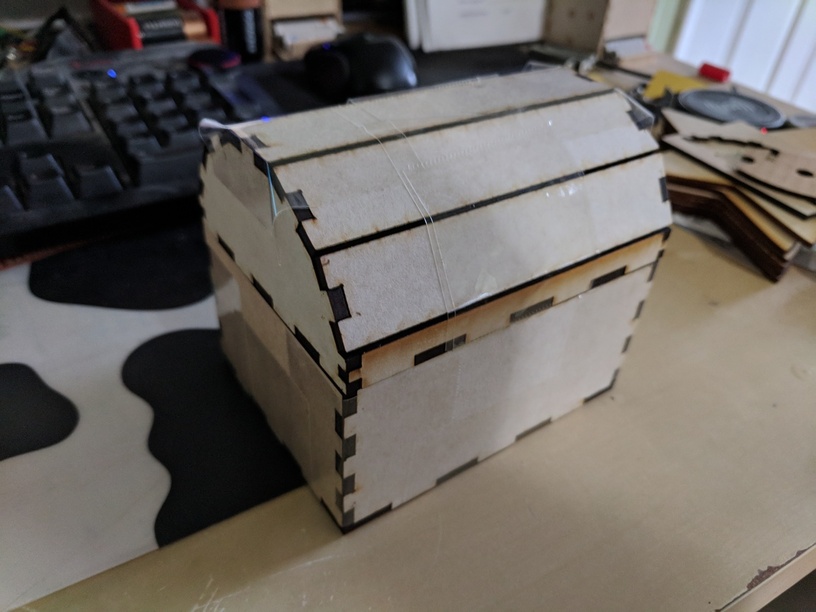
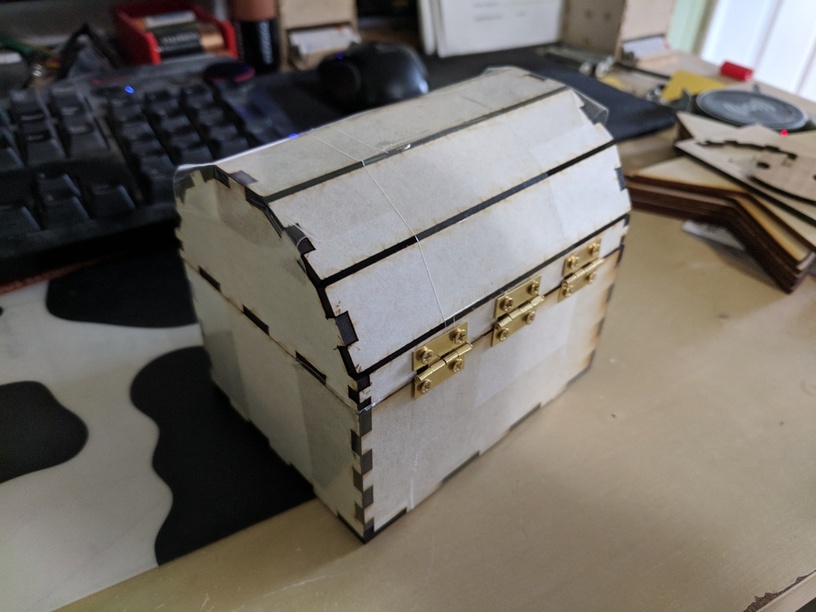
This is one that I’ll probably work on off and on for a while. I am in the process of commissioning some fancy coins to use as swag for my books. And if you have a pile of ancient treasure, you need a treasure chest, right?
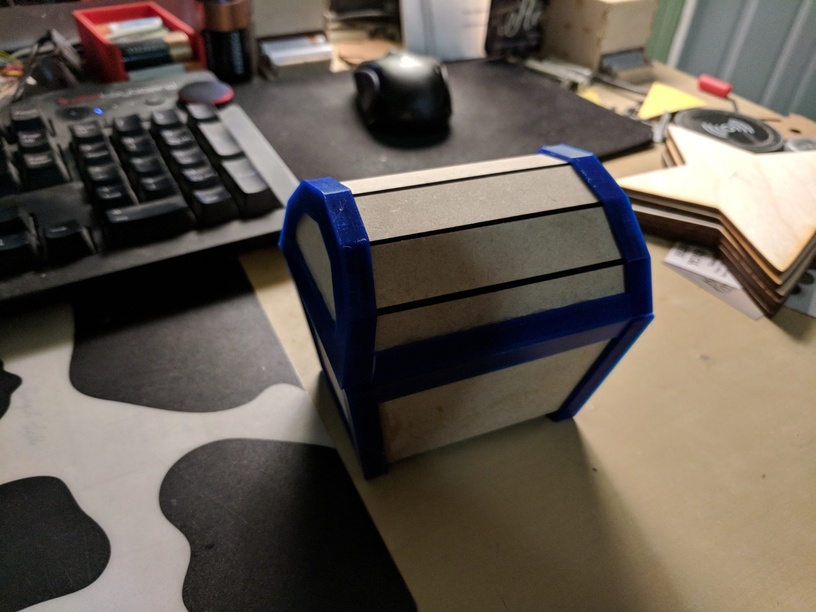
I’ve seen lots of people do the “living hinge” chest here on the forum, but I wanted to give a slatted lid a try, knowing full well it wouldn’t look QUITE right without being able to bevel the slats. (And I’ll be darned if I’m going to set up a sanding jig or some such to super precisely create a bevel on 1/8th inch wood.)
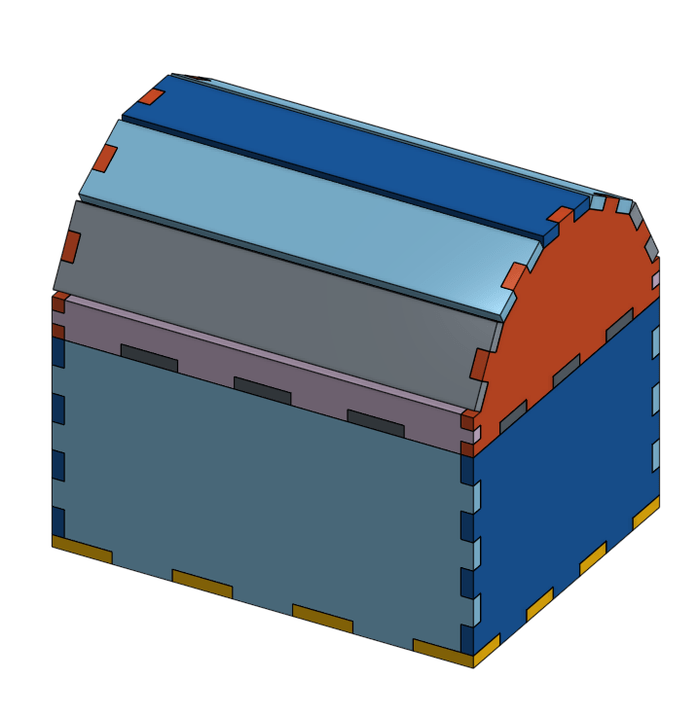
So here’s what I’ve got so far. Designed in On Shape, built out of Draftboard.
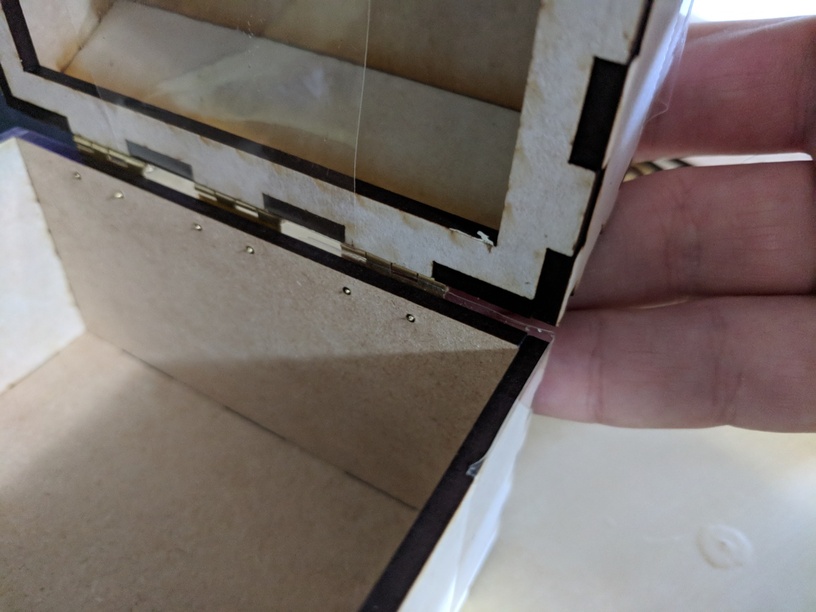
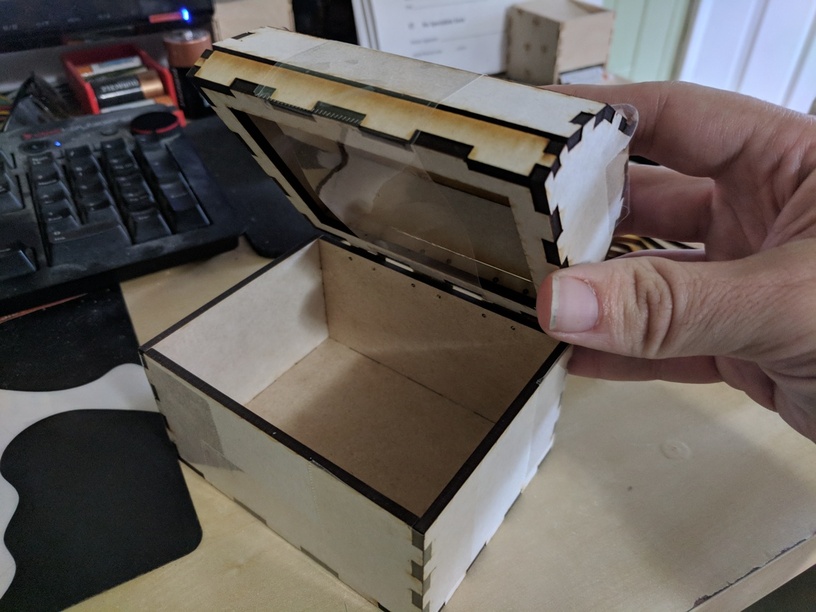
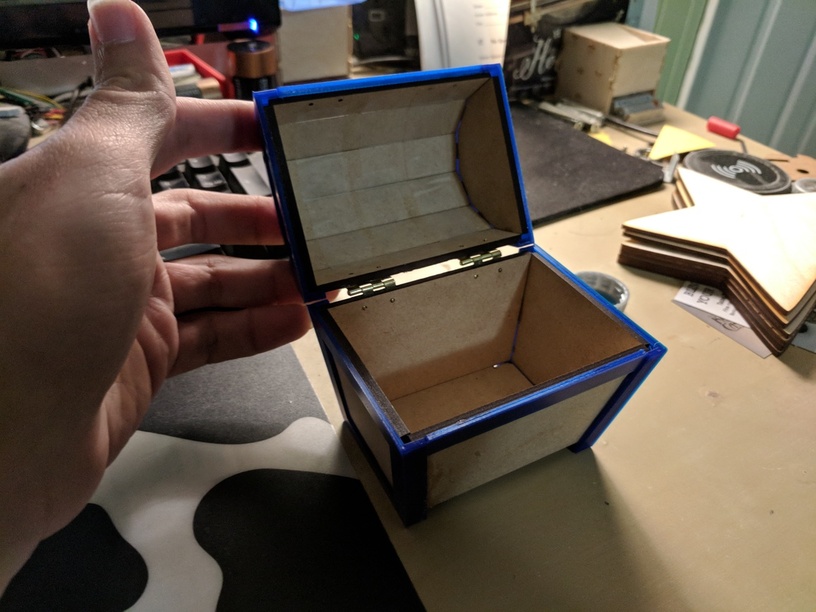
Right now the whole thing is literally taped together, because of impatience. The hinges are cheap ones from amazon, with the pilot holes lasered in. It’s not perfect. Right now, the entire weight of the lid is supported by the half-slat at the front/back of the lid. I’ll probably do a version with a finer box joint there to increase the glue area. It’s not a terrible idea to double up the material in that spot to keep the screws from poking out on the inside. So consider this a second prototype. It’s also been suggested I could band the whole thing around the edges in leather, and even use the leather as a hinge. Might try that too.
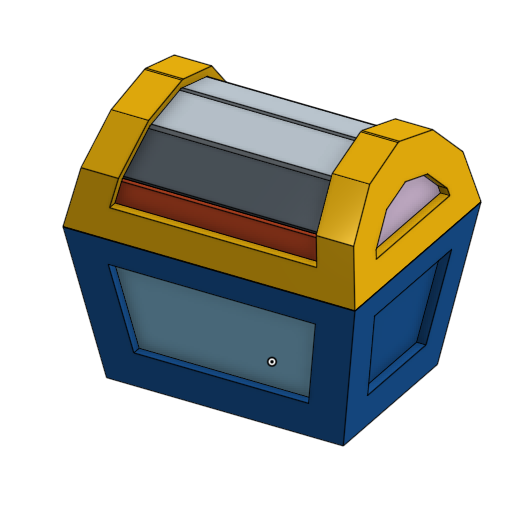
Incidentally, this isn’t the final form factor I have in mind. I’d much rather do the more cartoon-like chest like this one, but box joints don’t like non-90 degree angles, so there would at the very least be lots of sanding to trim oversize fingers and such. Perhaps in a future iteration.
(I had just started on a few experiments with some edge beveling for fitted angles that I had to abandon in favor of writing up some tutorials about a month ago…I’ll get back to those after the holidays.)
Good work.
As a side note. One of the uses for our lasers at work is to create accurate jigs and fixtures for secondary operations such as sanding. Not everything can be lasered but the laser can make the job easier and more accurate.
I personally enjoy the slated look with the edges showing. A quick and dirty option would be to mix some saw dust and wood glue to fill it in, and the messier you were with it, you could even give the chest a little bit of texture. You wouldn’t be able to stain the wood, but some light coats of various colors of spray paint would do the job nicely, I think.
First Prototype of the “cartoon” version. Mixing lasers with 3D printing (especially with the mediocre plastic I have on hand) hasn’t worked out great. The current design doesn’t have any aspect of it that keeps it from getting out of square… So it’s out of square. Also, I’ll have to be a bit more forgiving with the tolerances. But proof of concept, I guess.
There are small voids in the left and right side braces that are just the right size for the slats and walls. I just put glue around the edge of the slat/wall and hold it in place for a few seconds. The cross pieces that connect the left and right sides (the lips?) are just separate pieces that I glue on like decoration.