parts: 
4 Likes
The trick is to set everything up as loose as possible first. Even then it is tricky to get that last piece in, so I first build two halves then get them connected and everything lined up. Then slowly snug it up evenly while turning it around. That step is much easier on the spherical projections. 
4 Likes
Next (and last) iteration on the sphere, scaled it up 50% and added a cross piece to the new connector from the last round. I didn’t like it at first–too big, too busy–but I’m warming up to it. The new bit separates the triangles and pentagons and presents an icosidodecahedron structure.
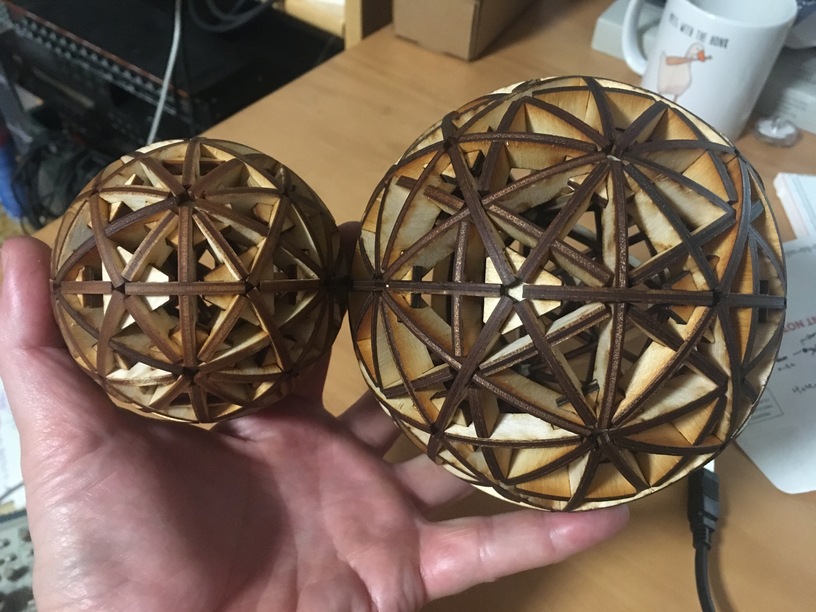
212 pieces! But it didn’t take much longer than the others, really. The 30x and 60x pairs get joined together first, then everything is put together loosely and snugged up when everything is in place.

So I’m done with 12 and 20. Next I’ll try the same steps with the cube and octahedron duals.
13 Likes
Here it is, the baby brother of the lot:
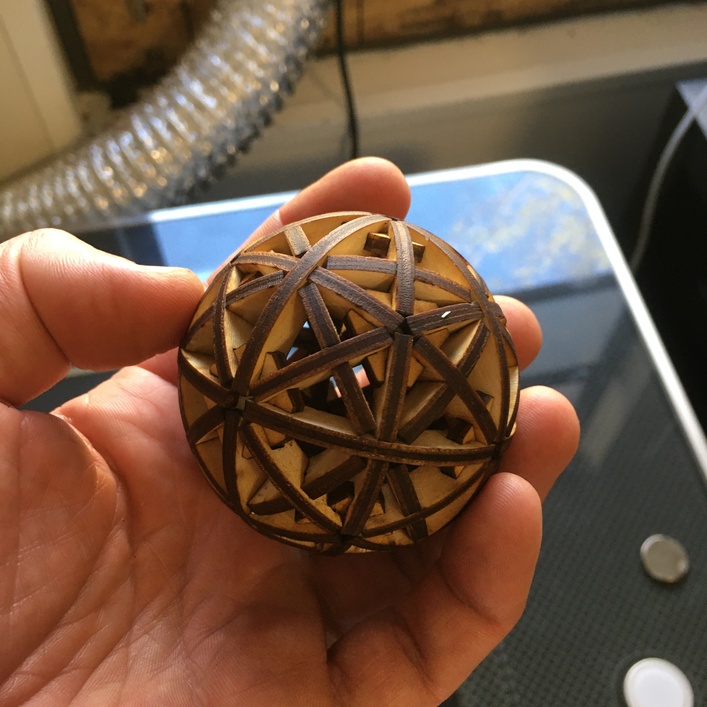

Without the extra cross pieces it’d be a deltoidal icositetrahedron. With the first connection between the two different vertex types it’s a disdyakis dodecahedron. And just like the last piece in the big ball makes an icosidodecahedron, here it defines a cuboctahedron.
The remaining combined dual figure to build would be a double tetrahedron, but I think this already contains that, since we’ve got 8 triangular vertices here. That would be a stellated octahedron, which projected to the sphere here is exactly where the triangle-to-square vertex connectors are, forming a rhombic dodecahedron.
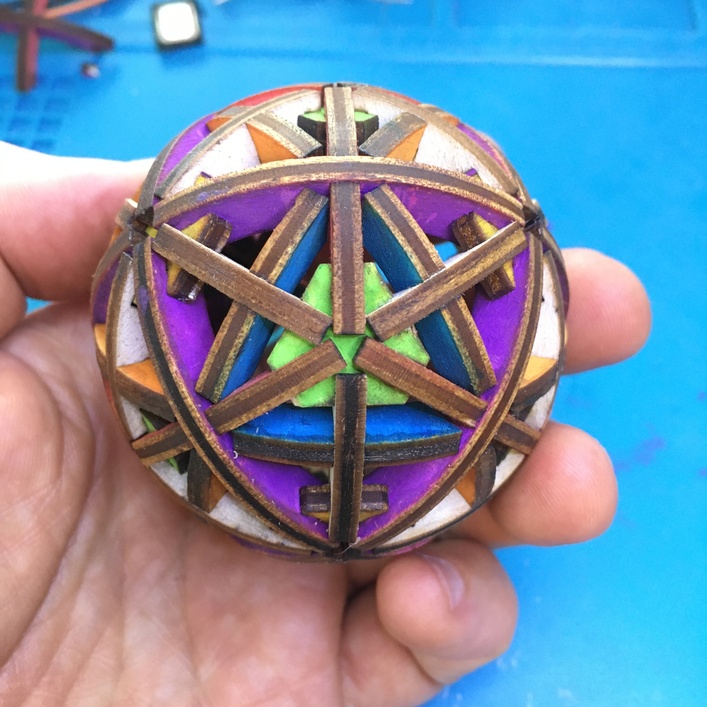
Hmm… what next? I was thinking of painting the edges to highlight the different polyhedra contained in the figure, but my wife suggested painting the surface of the wood instead. ![]() Yeah, let’s give that a try!
Yeah, let’s give that a try!
12 Likes
Tanks again.
1 Like
Thanks for this. I just printed this…all the right number of pieces and whatnot. So who do I have to hold hostage to get a hint on how to start assembling it? ![]()
1 Like
What? You’re saying
isn’t quite enough detail ![]()
You’re braver than I to try this! Looking forward to seeing what you get ![]()
3 Likes
I did take a few photos while putting the big ball together. I finished putting together the main pieces here, and moved on to the secondary “fill” pieces:
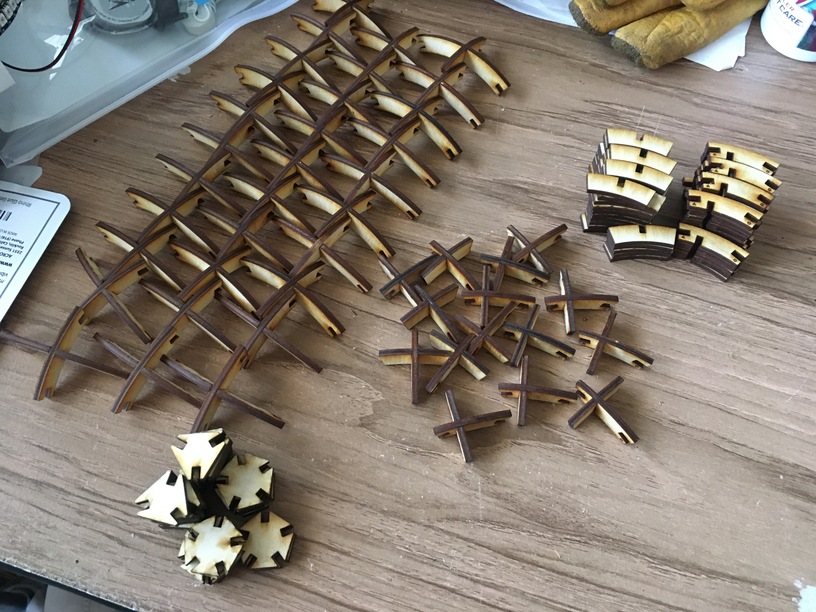
Here’s how it gets started, putting the parts in place as loose as possible, just enough to get everything in position:
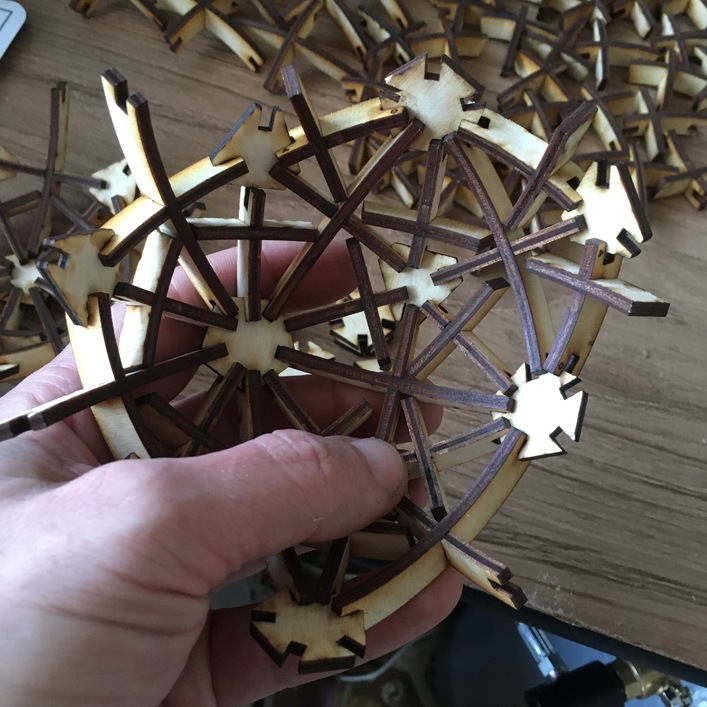
Instead of pentagons the cuboctahedron has squares, but other than that the local geometry is the same: take one of the big cross pieces, put a square on the long end and a triangle on the short end, then fit one of the smaller cross pieces between the square and triangle, close that in with a larger cross piece, continue in that way… You might be able to build the full sphere like that, but when I did the last pieces just wouldn’t go in right. Instead I first put together two halves
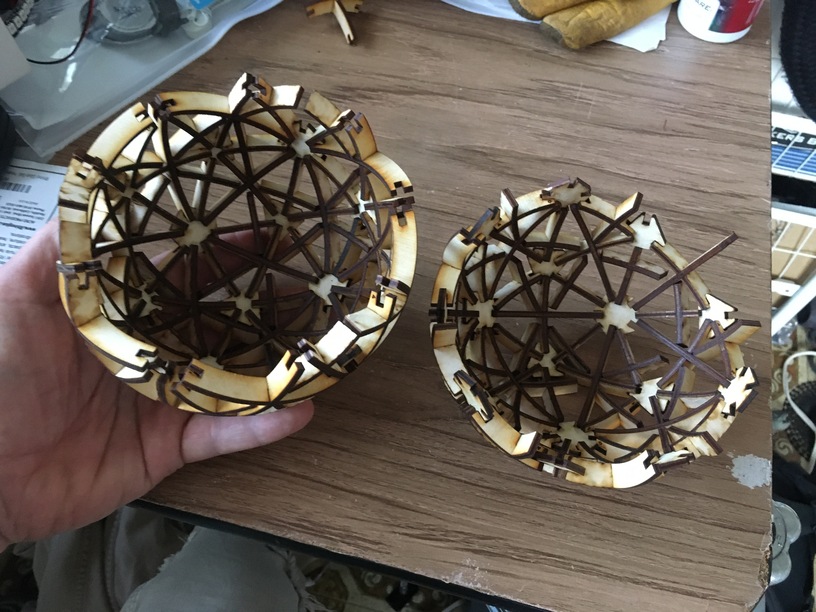
then slowly worked around the ball getting the slots matched up. When that looks good, roll it around and squeeze it together and keep an eye out for pieces that aren’t lined up right. The tighter the ball gets the harder those are to get back into place. When everything’s done you should see the ends of the main connectors meet in the middle of the triangle and square pieces.
8 Likes
Lol…that was for the big one. This one is the small one.
2 Likes
Wish me luck. Might be a while. State testing gearing up hear in Indiana.
1 Like
I used my kid’s IKEA watercolor set to paint the pieces and it was too much for the already-tight clearance. The thing just wouldn’t snug up. I’ll try ink if I do this again, and a simpler color palette, too–this is pretty garish.
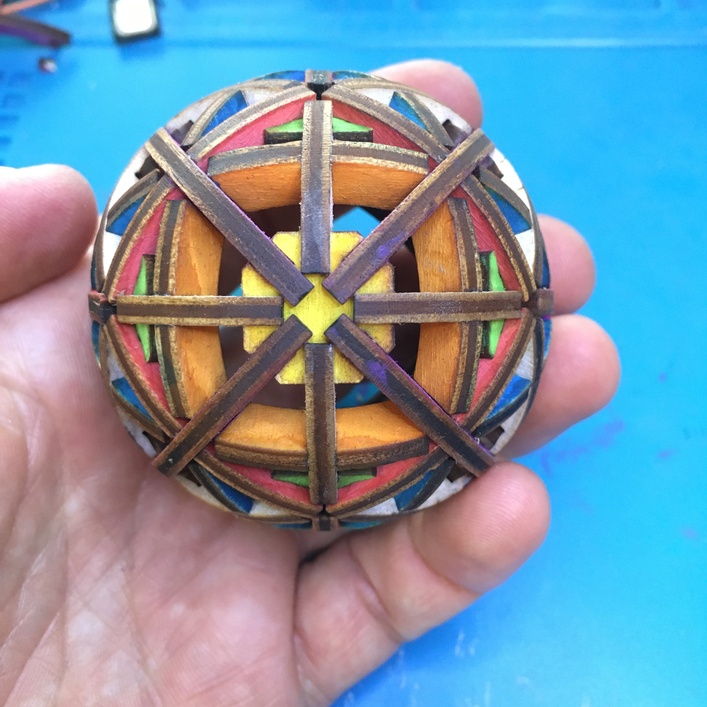
8 Likes
I actually like the colors. They show off the complexity of the sphere. Very complex looking. 
5 Likes