I decided to make some ornaments for my book club White Elephant Book Exchange
After a bit of designing I came up with something that had a few layers of plywood with a piece of acrylic with a pattern scored into it that gets edge lit by some cheap led strings
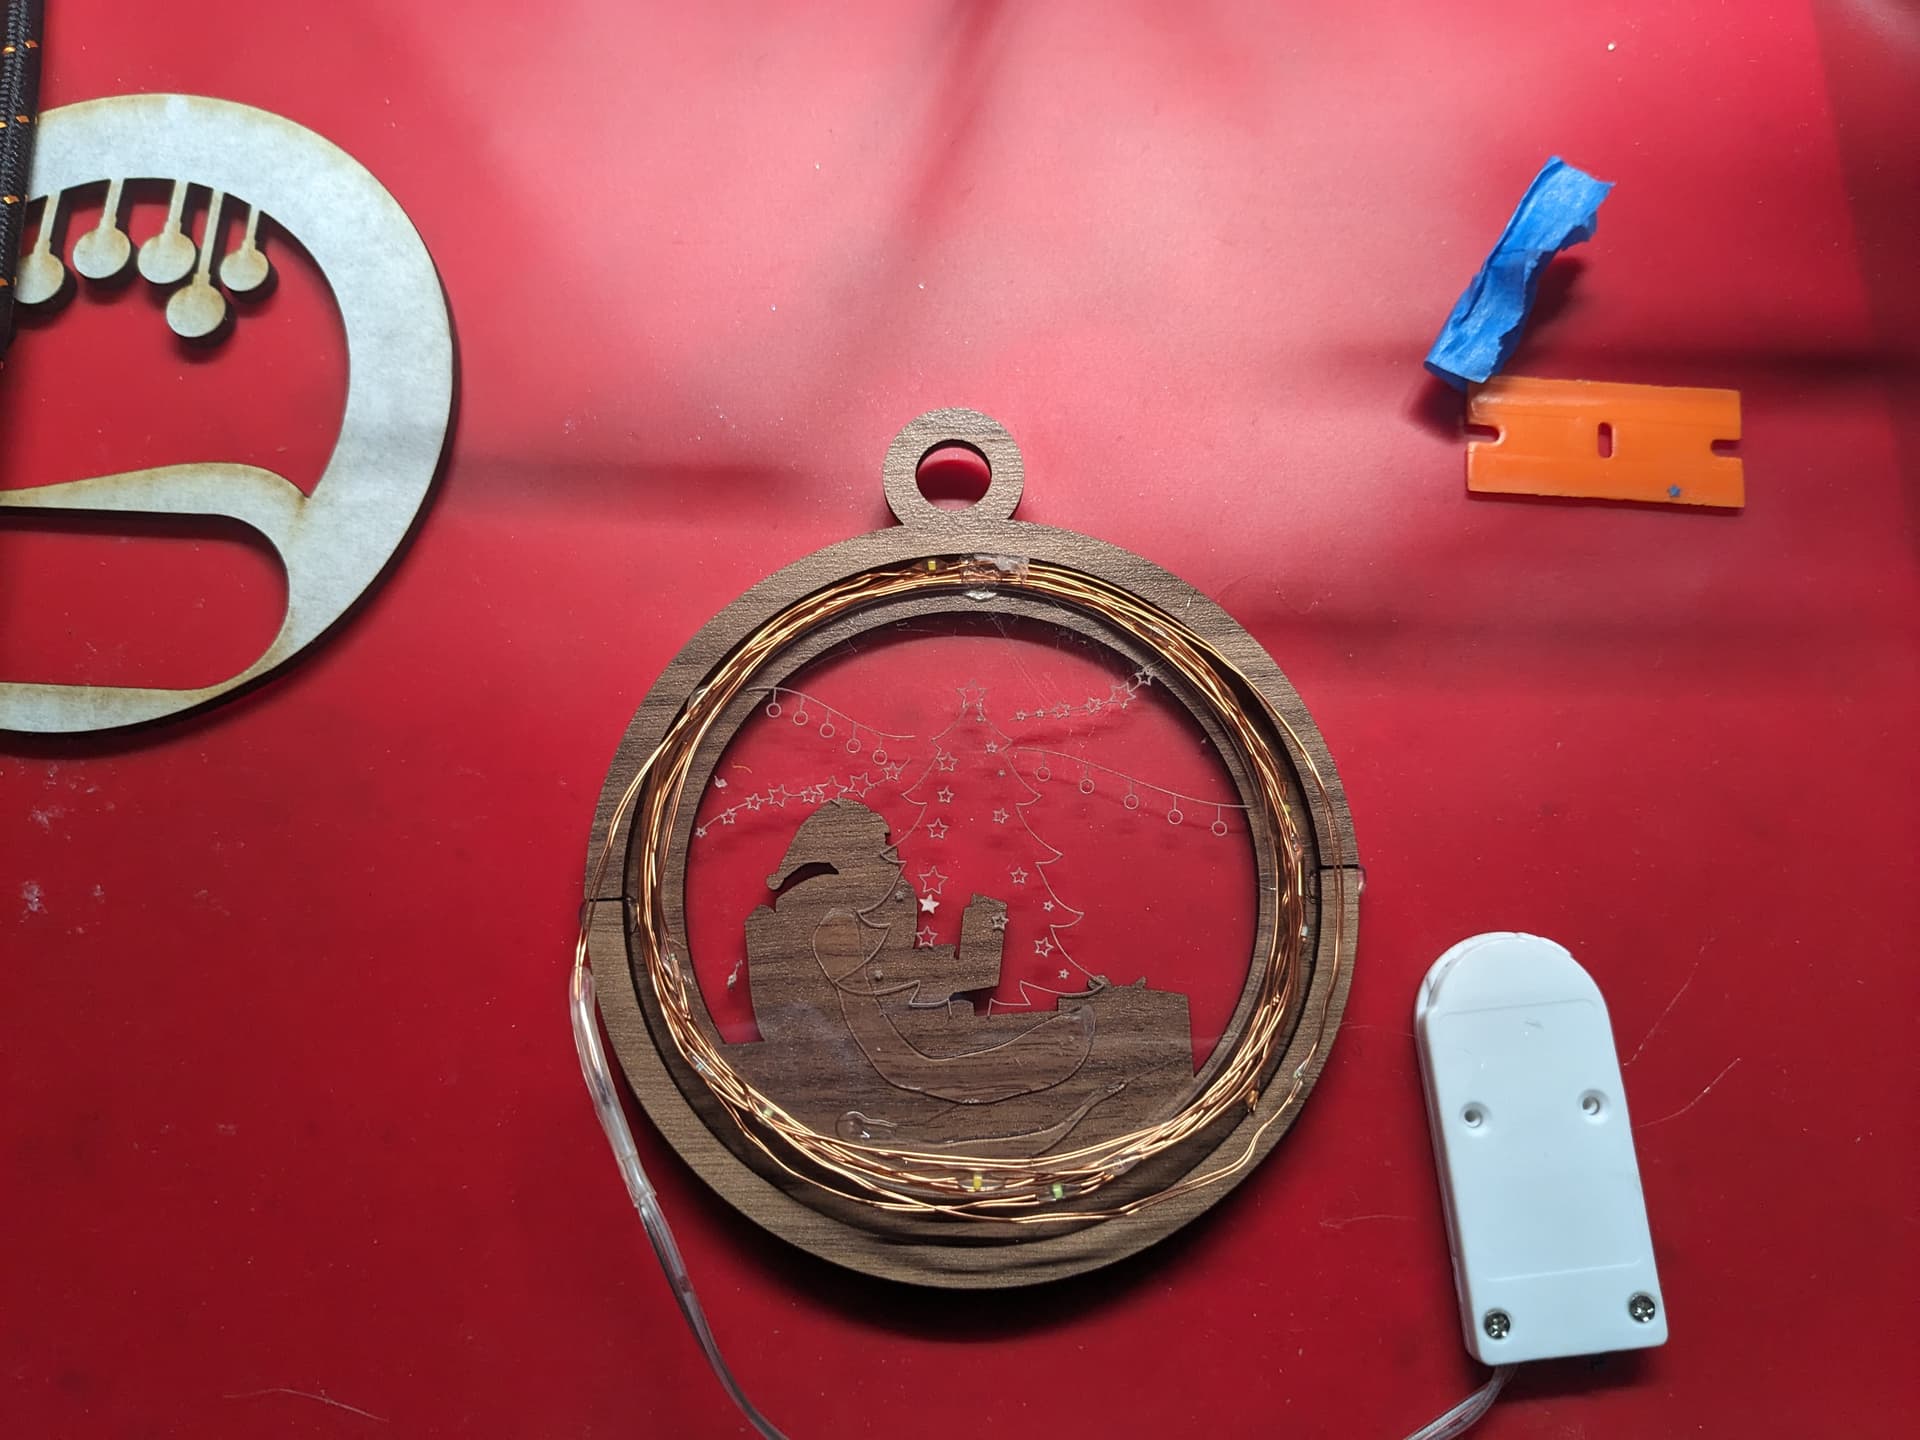
Here’s my prototype
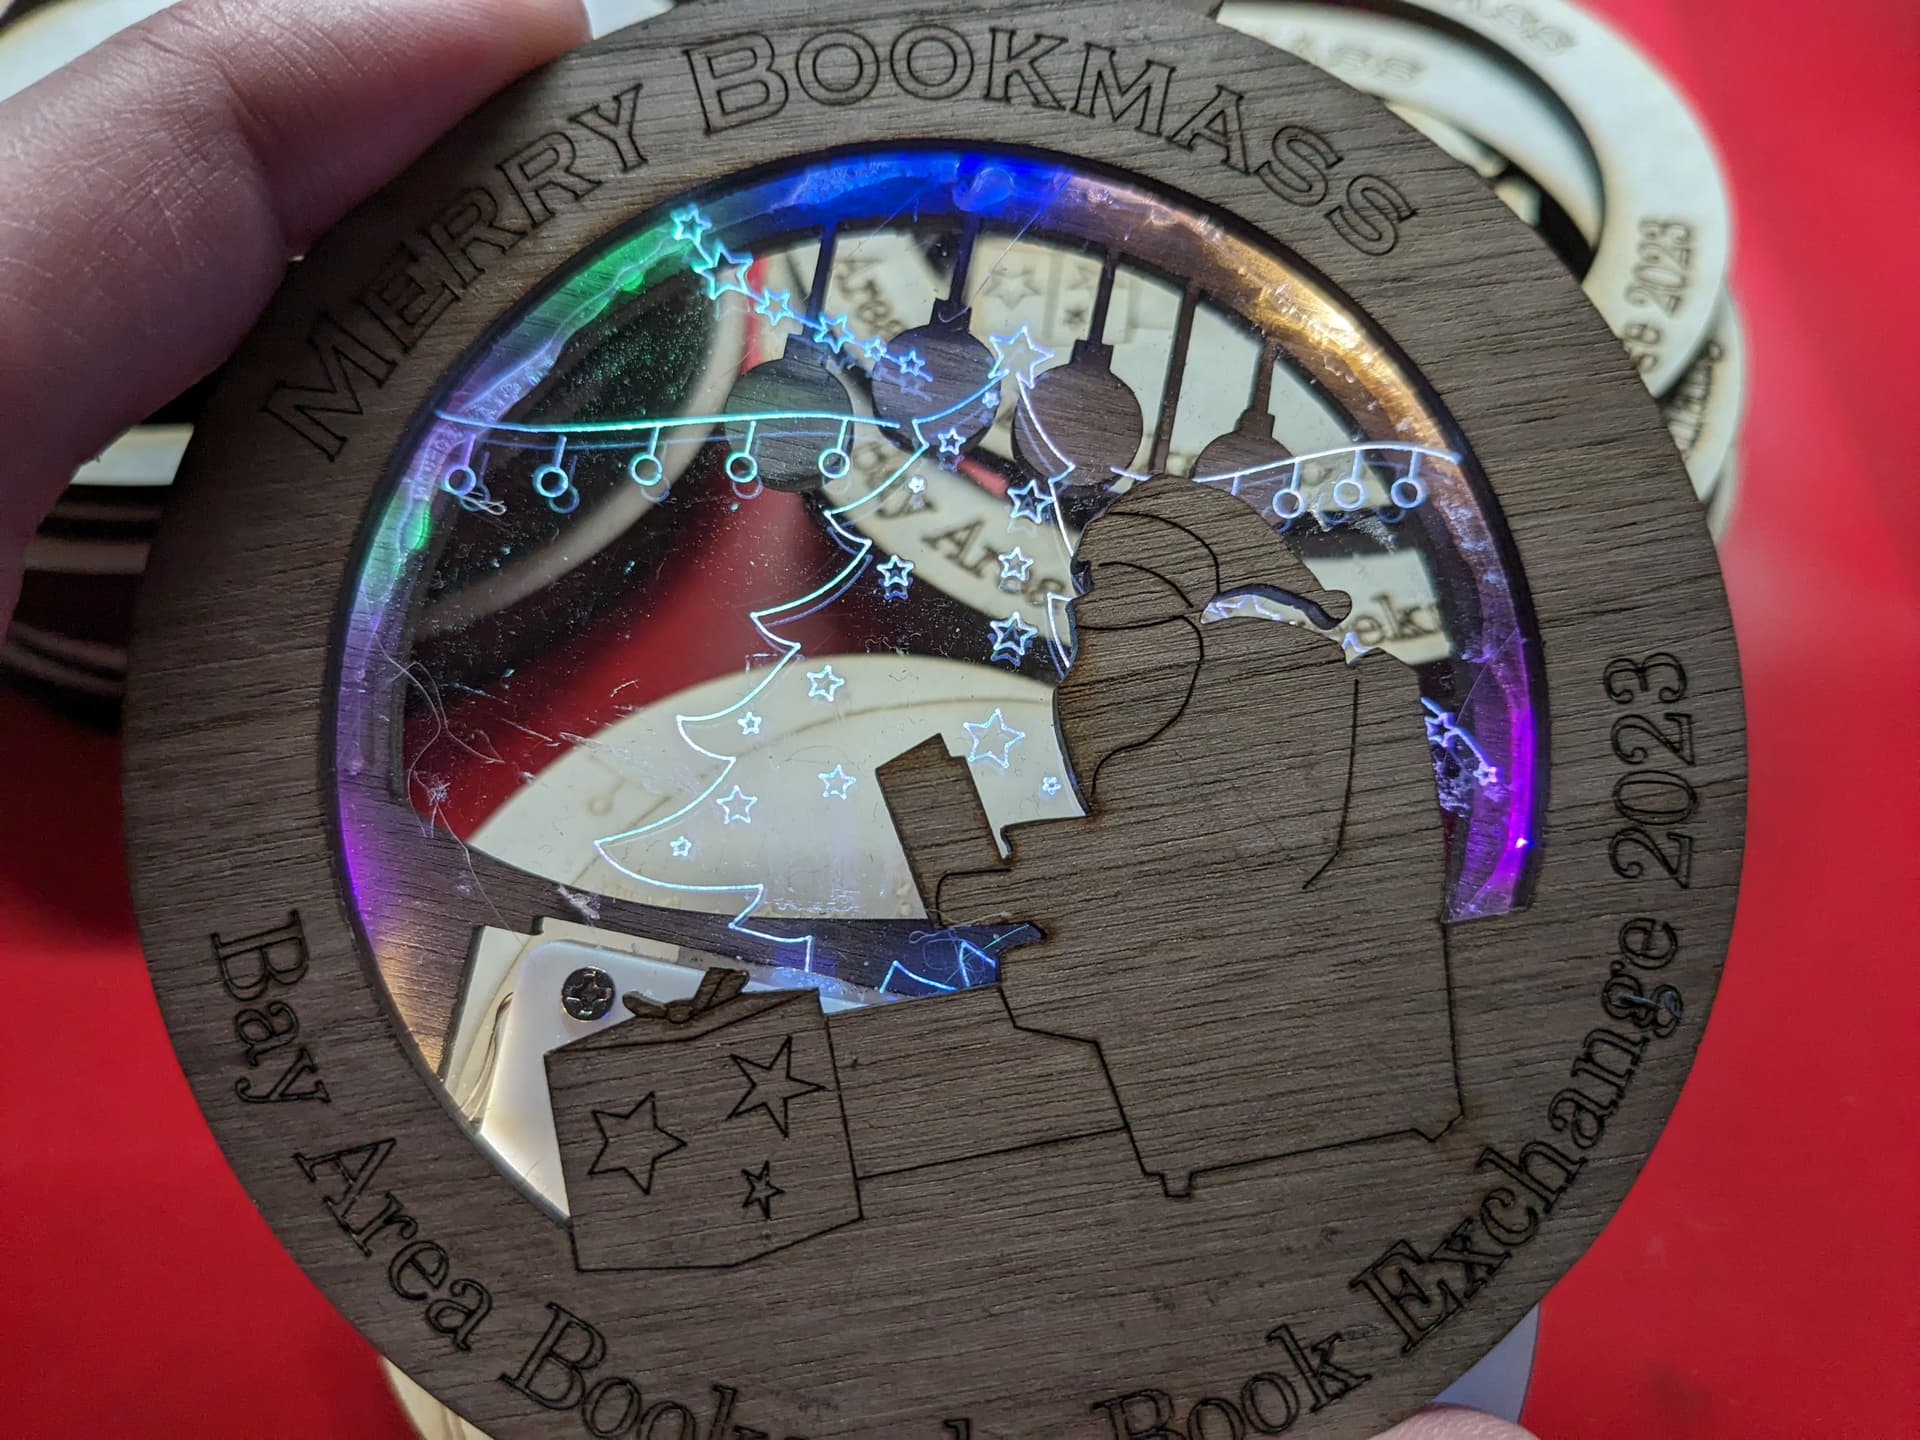
I managed to glue the front part on the wonk but it worked fairly well a sort of combination edge lit acrylic and shadowbox ish thing.
With the sizes and design worked out I started cutting out the pieces I needed on a few sheets of maple and walnut plywood I had.
On my first go I put one of the designs too close to the edge and the glowforge hit the end of its horizontal travel. This shifted the laser head and of course ruined pretty much the whole sheet which was annoying.
I’ve had this happen a few times the far right end of travel seems to be closer than the guides in the software actually think it is.
Anyway luckily I had enough sheets of wood to keep going
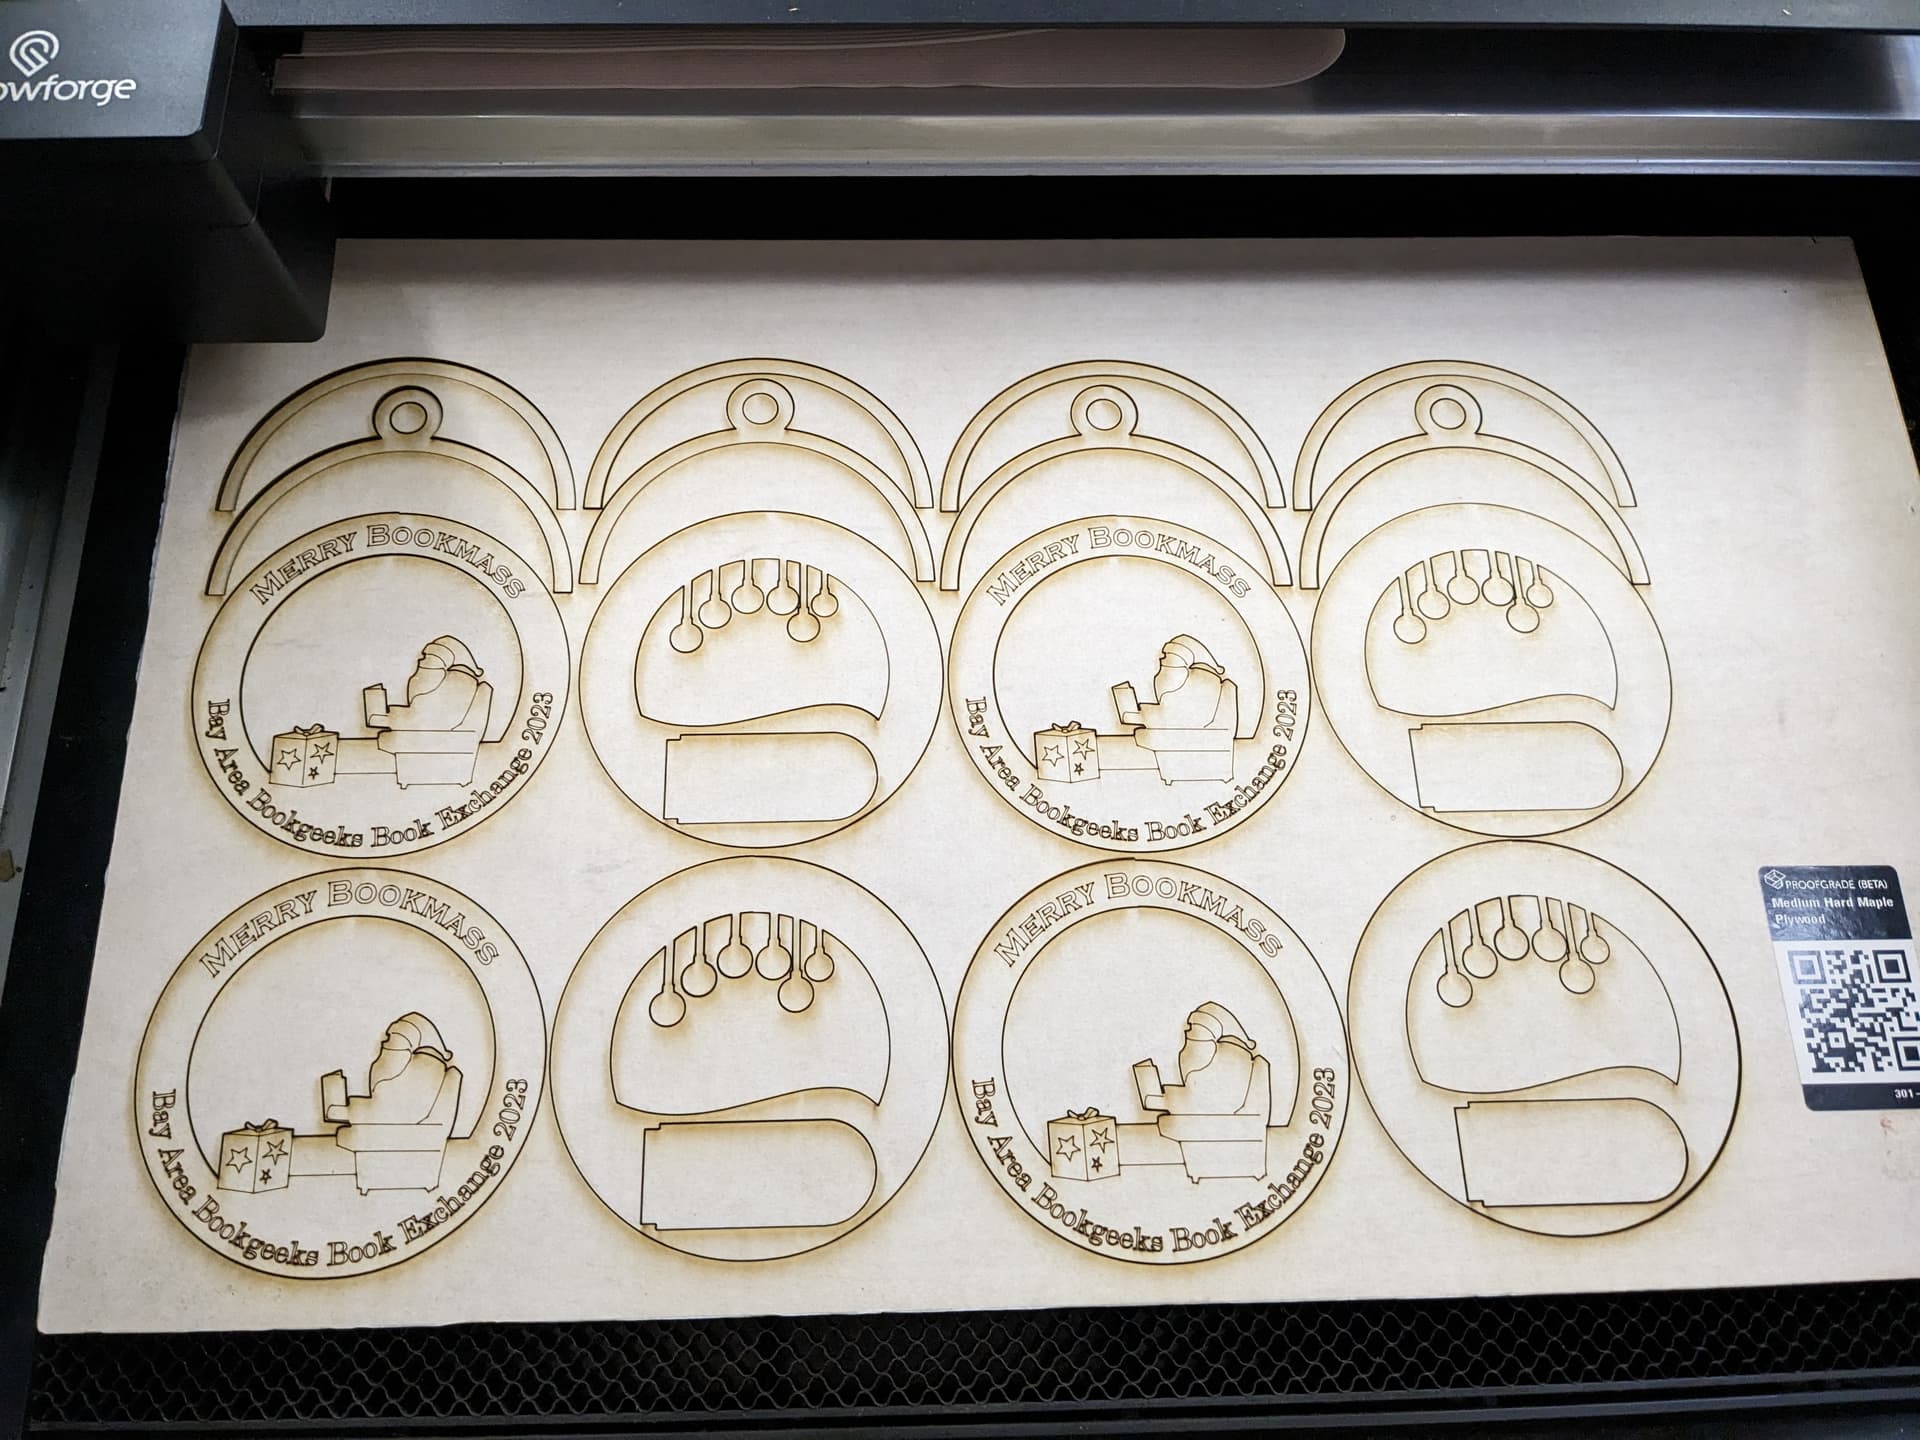
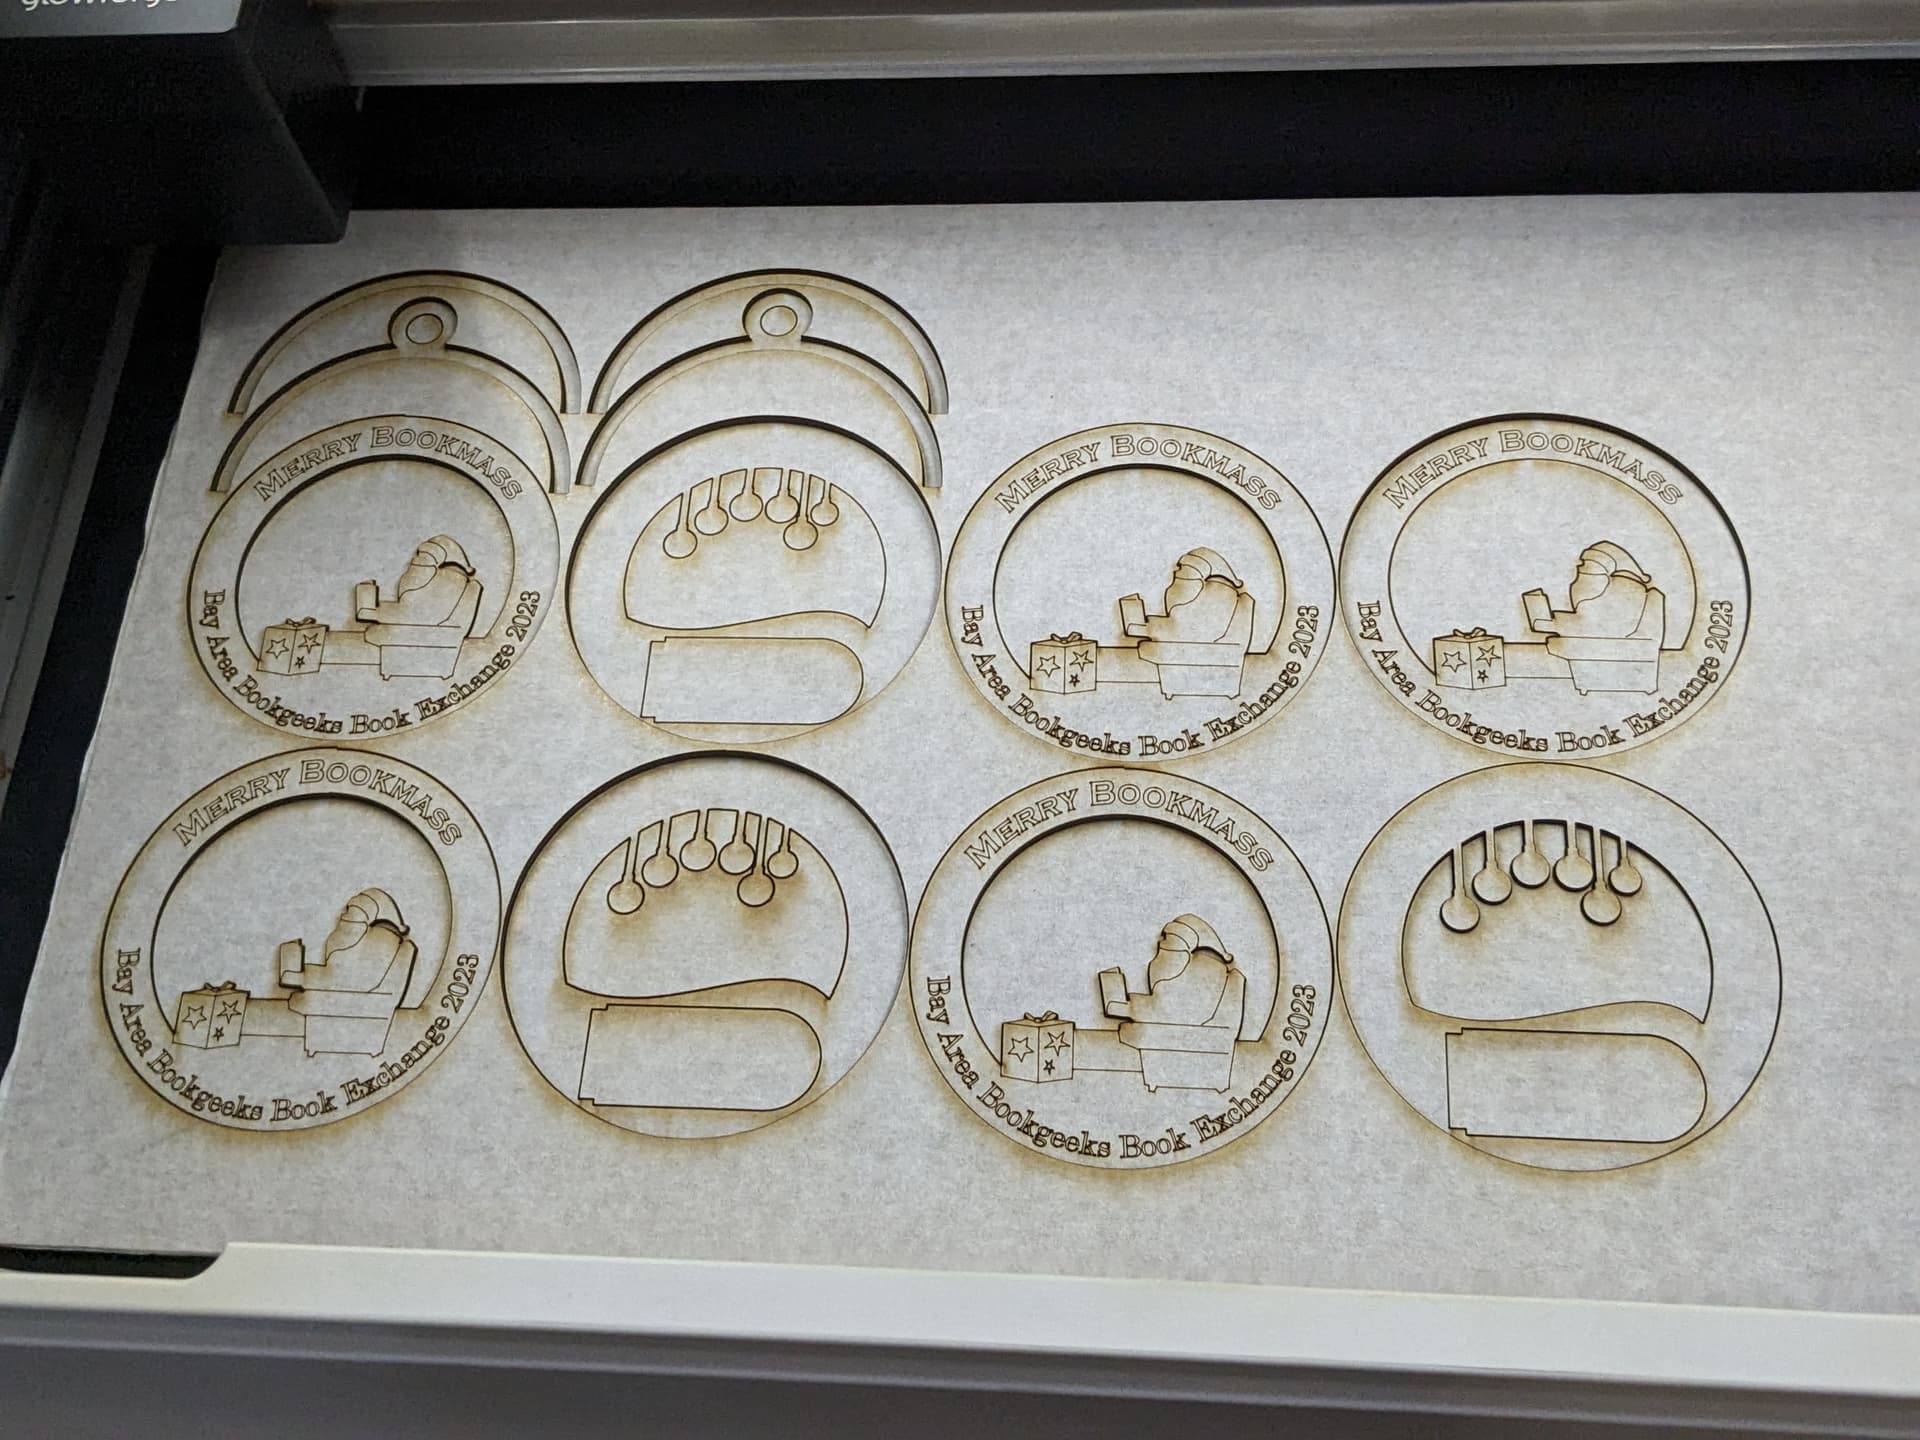
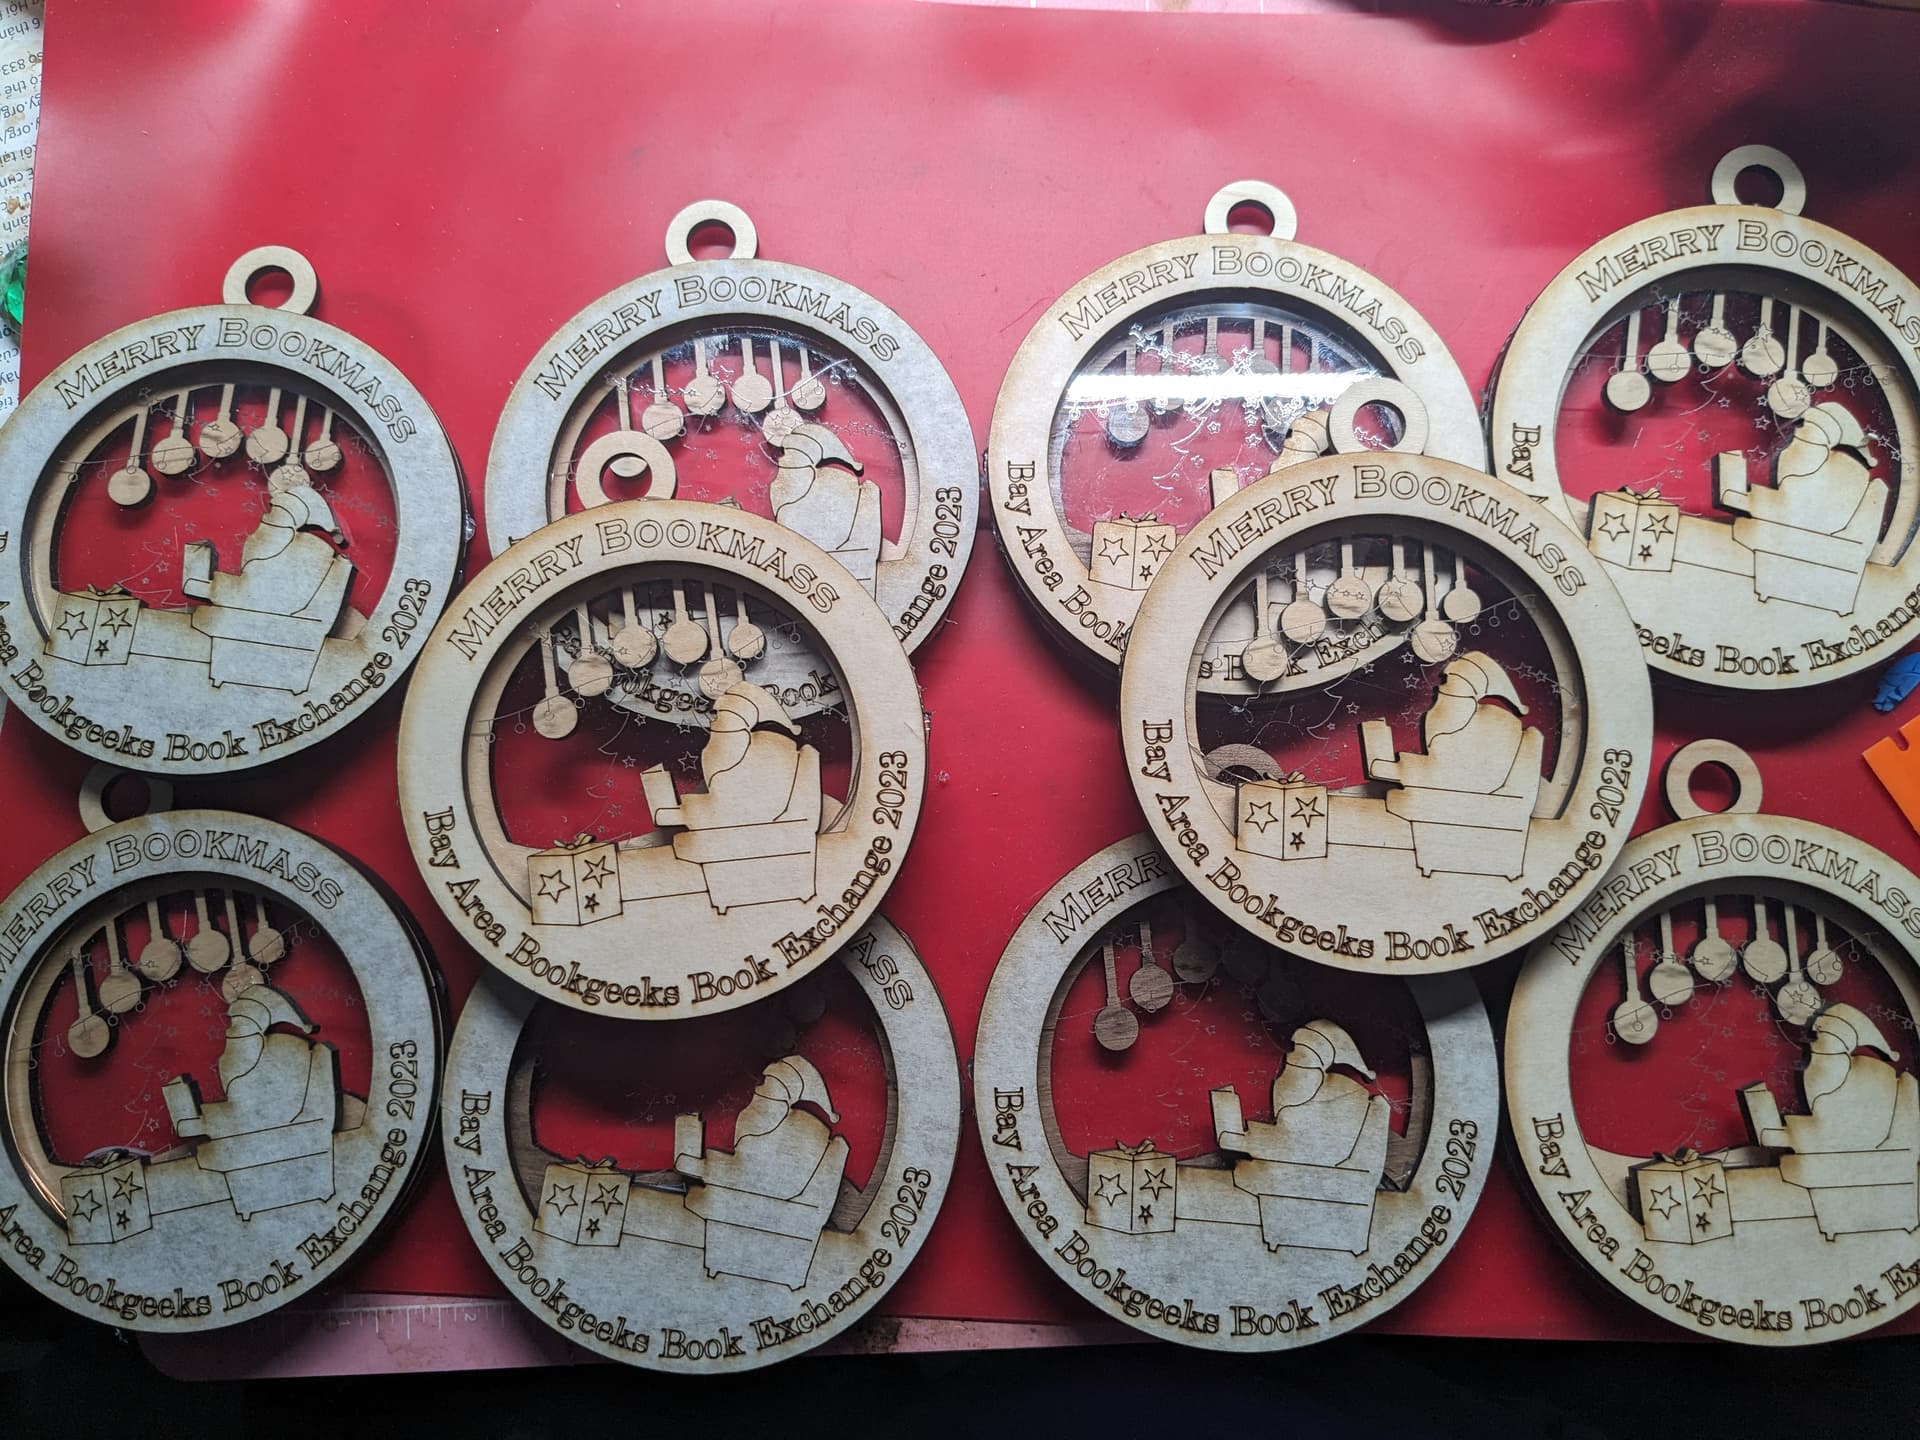
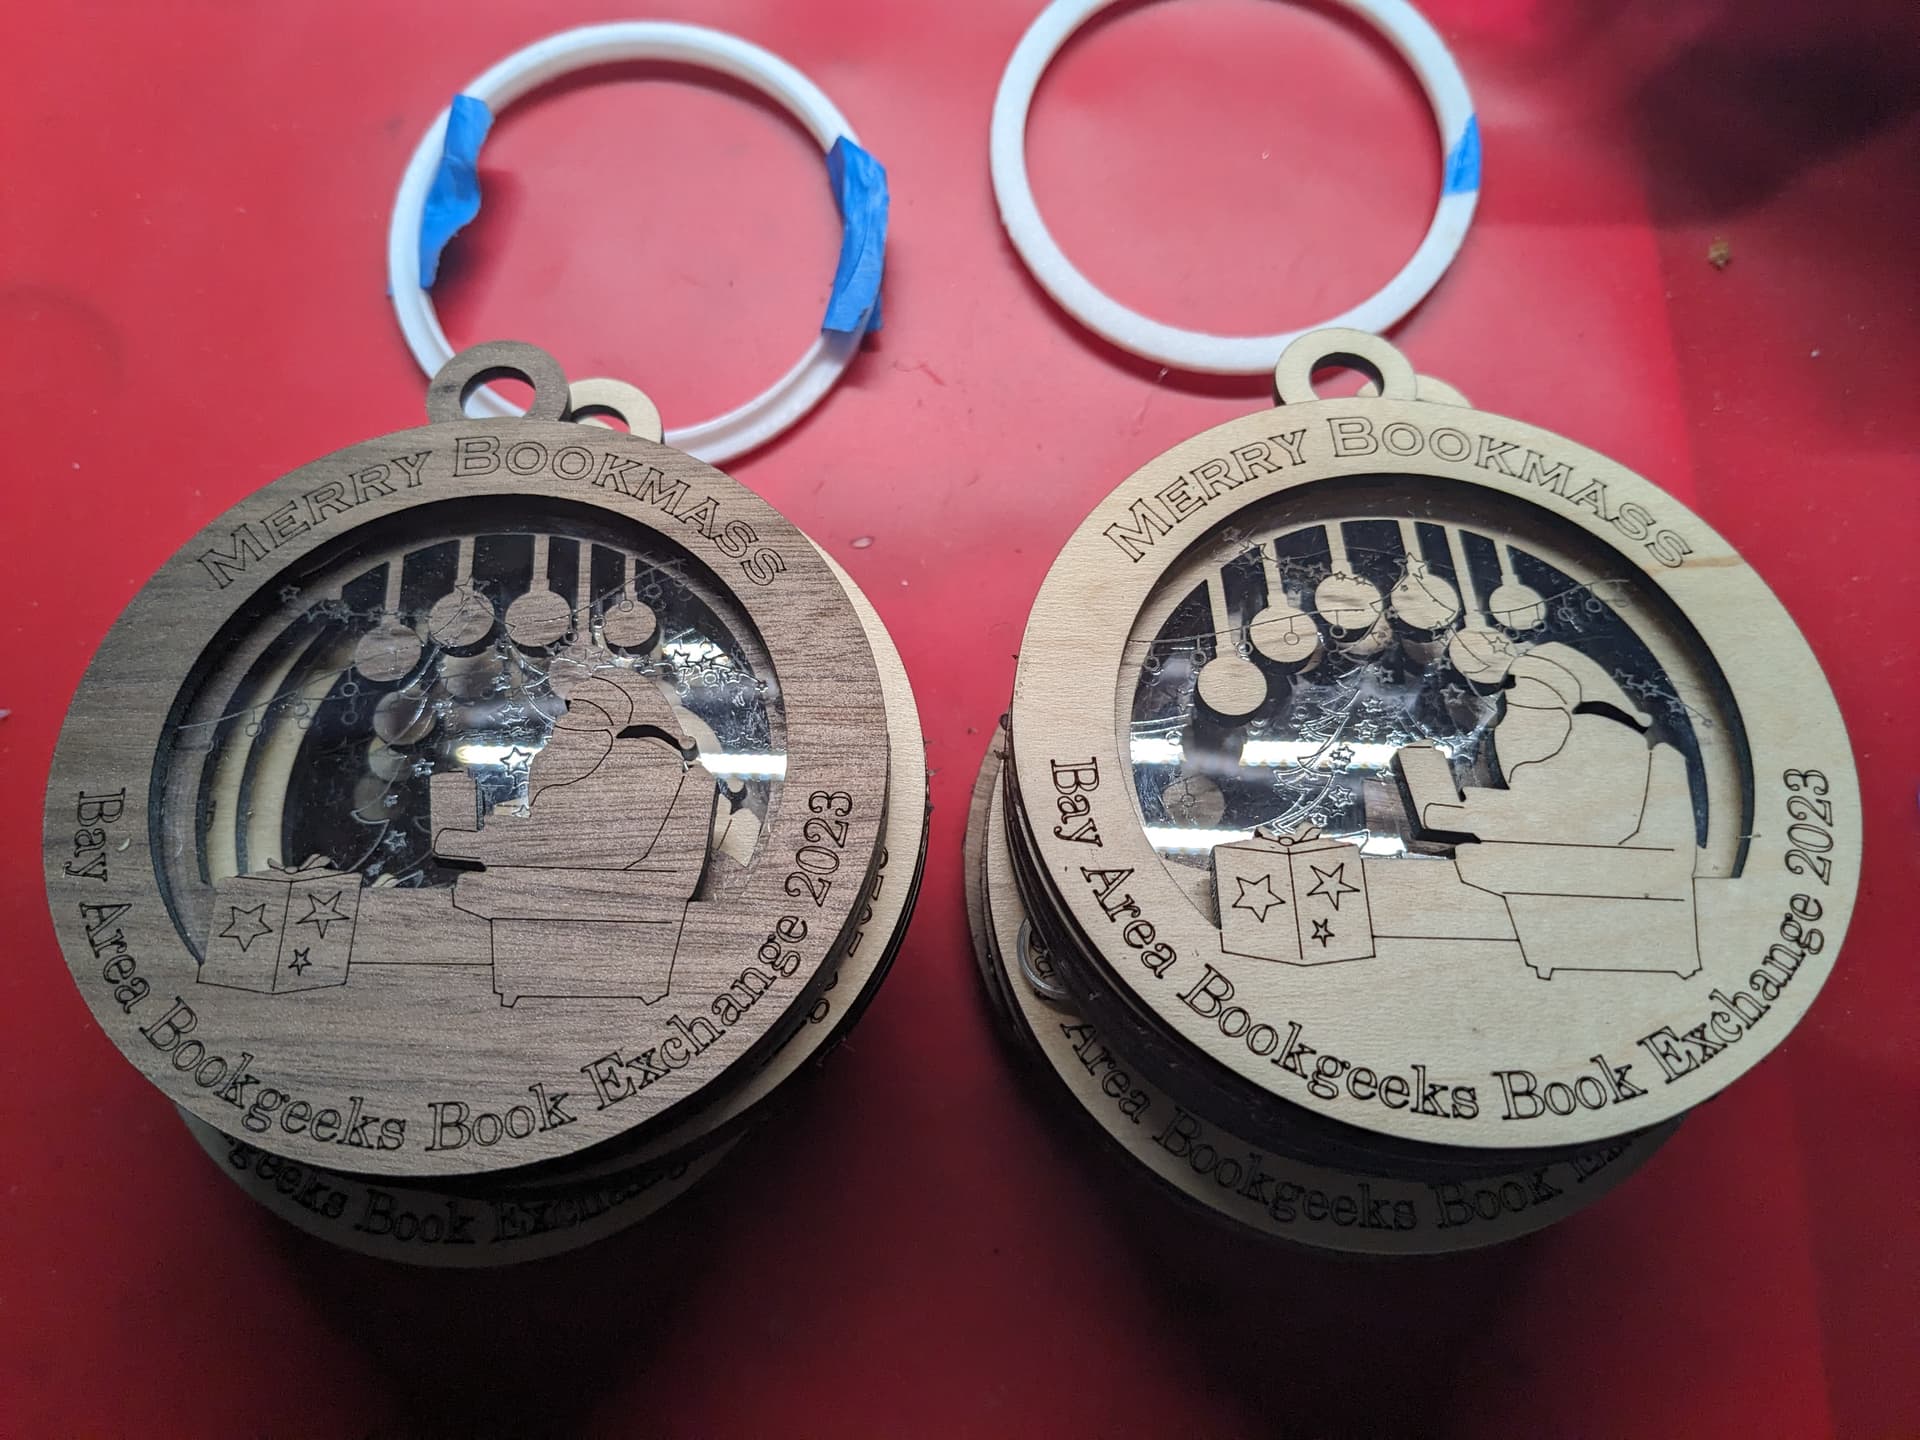
I got all the pieces cut and then it was just a matter of assembly.
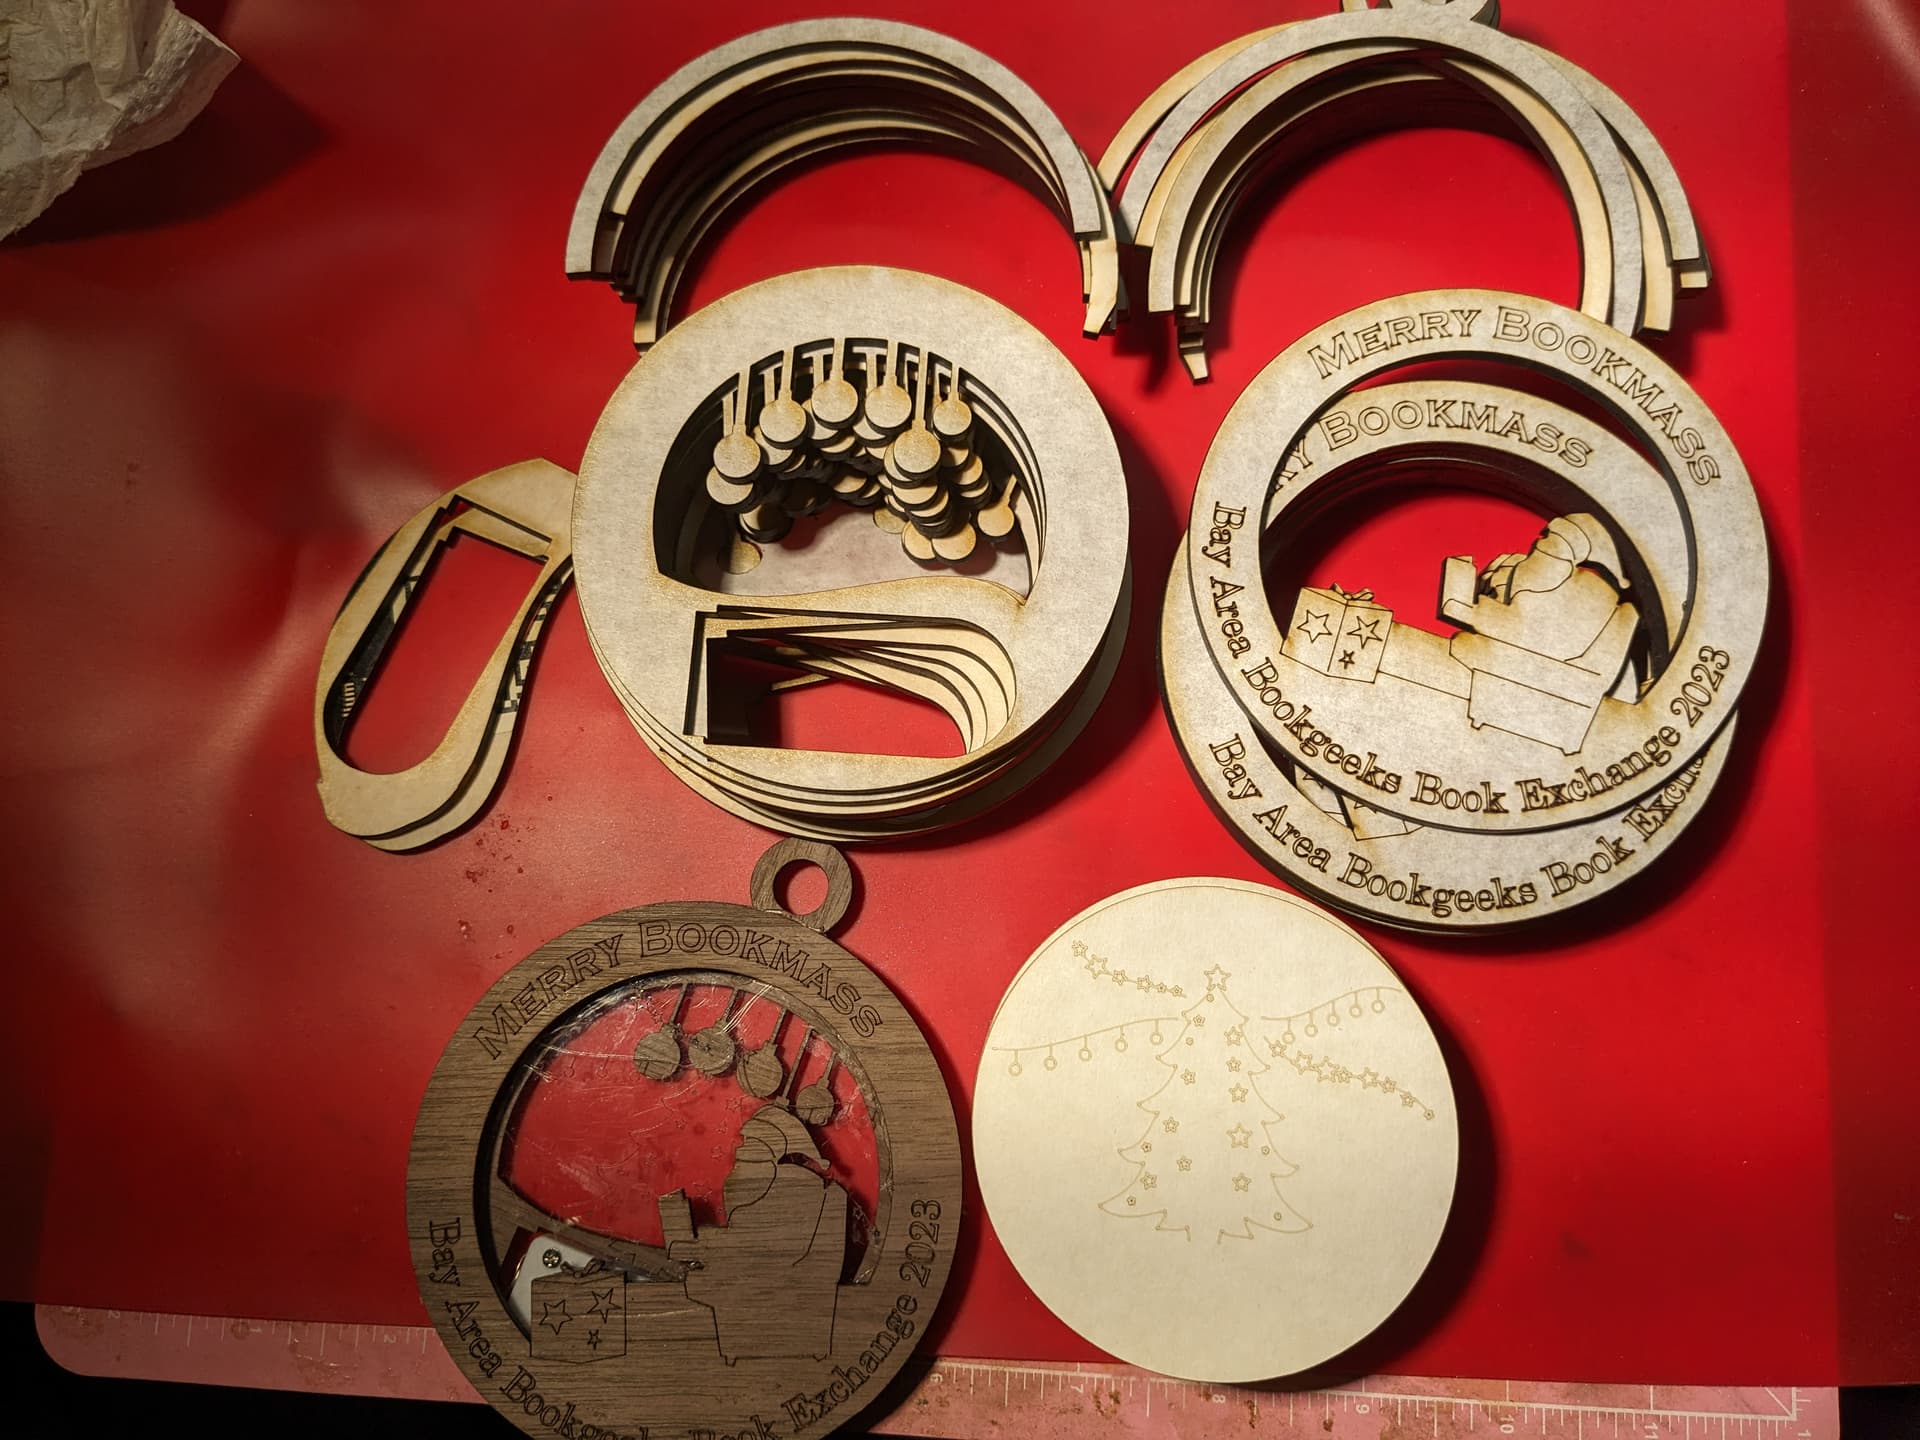
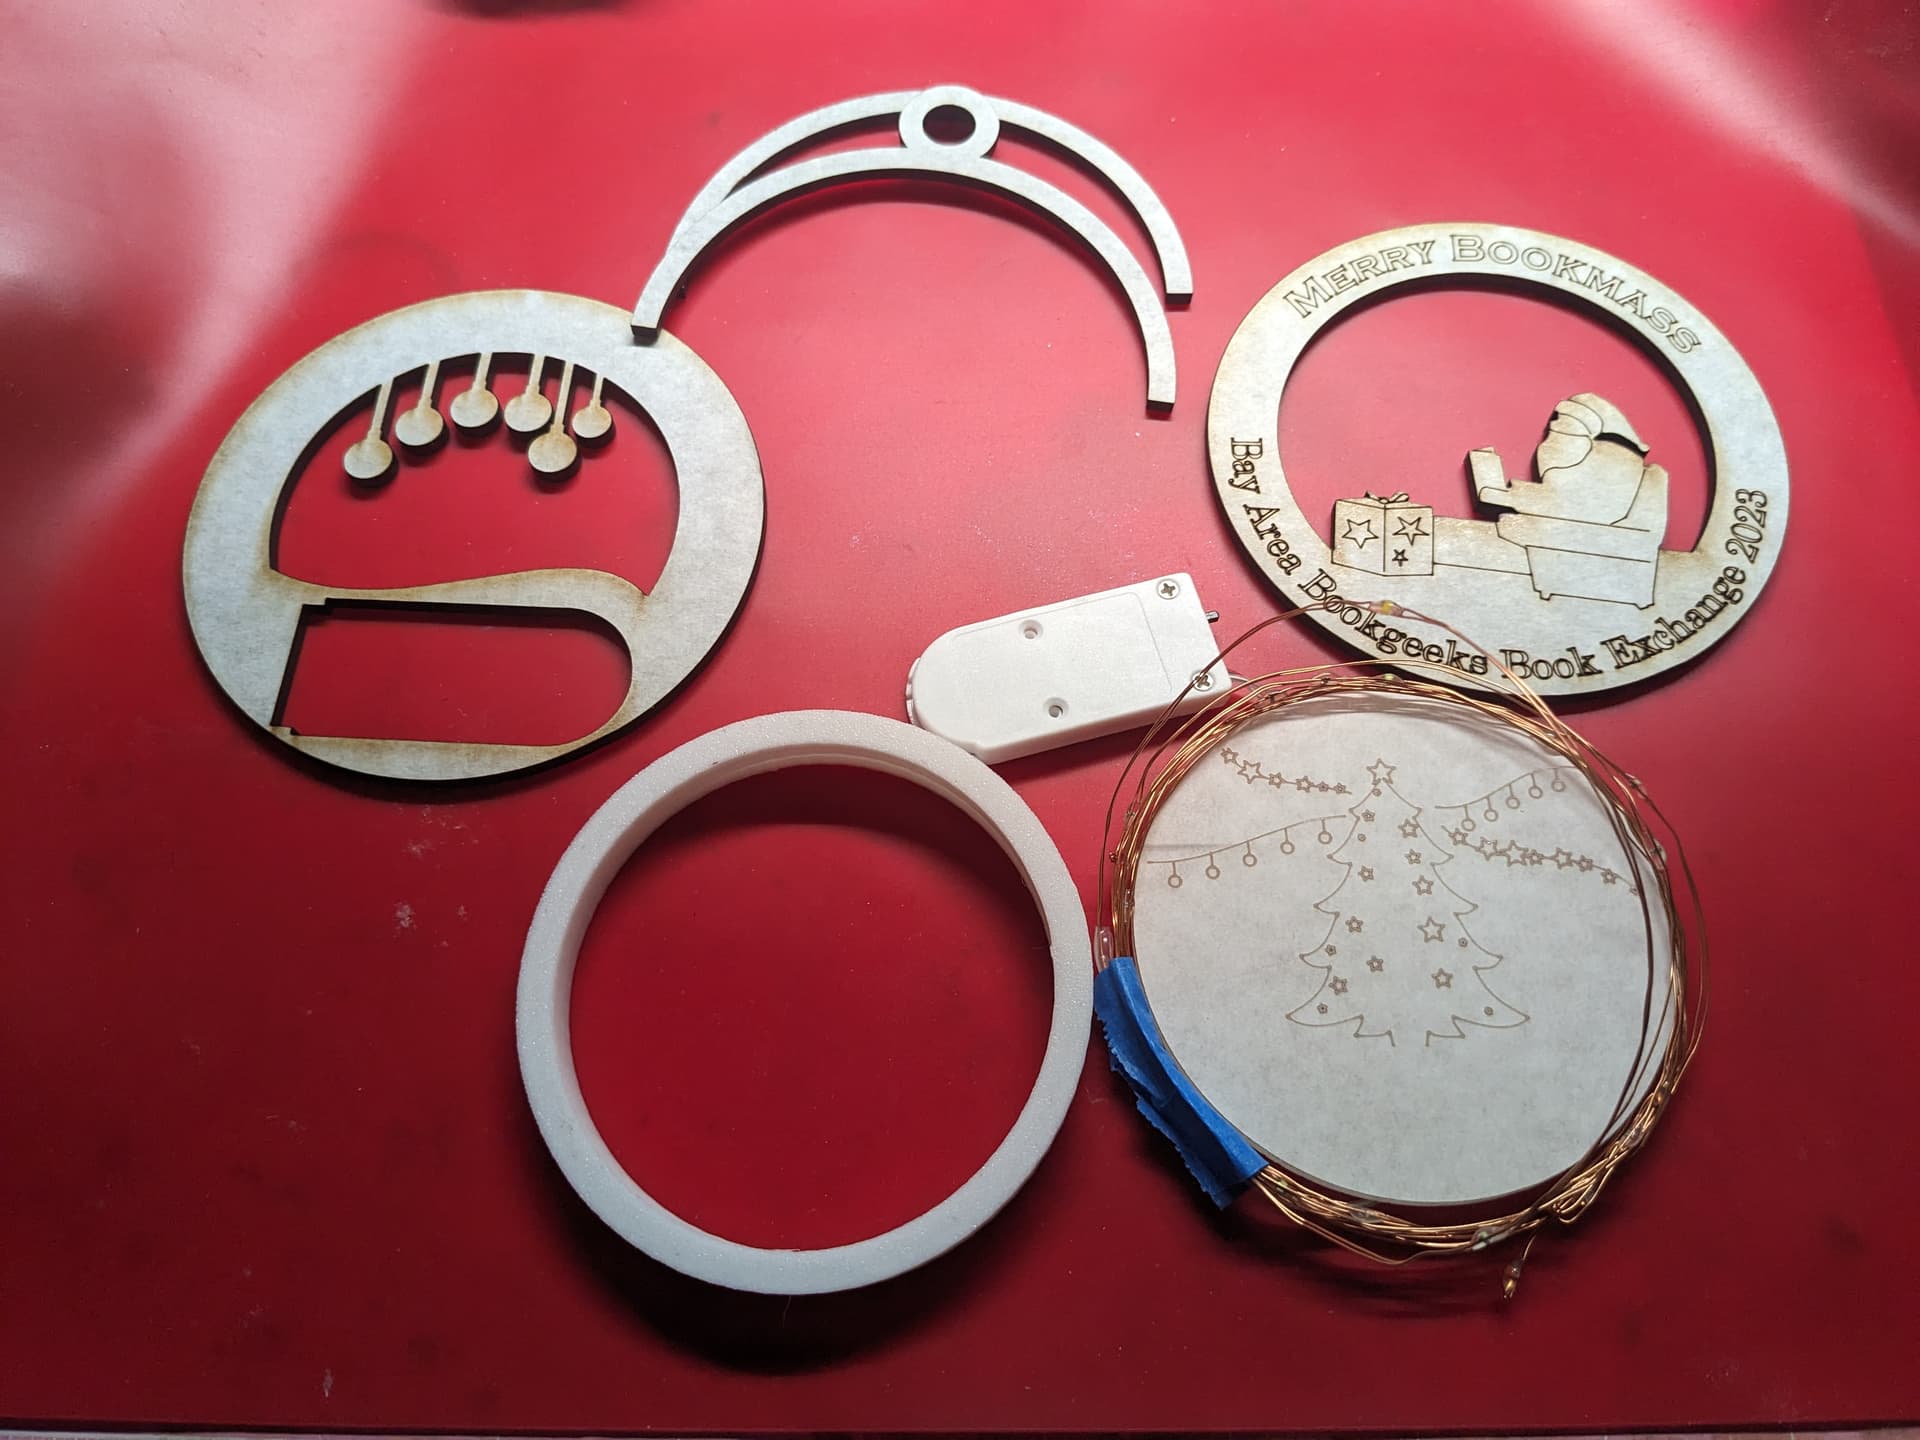
The design is three layers a front and back in plywood and then a middle sandwich with a ring of wood on the outside and then a piece of acrylic in the middle. The ring and the wood in the middle layer have a gap where the led’s can go and then there is a cut out on the back for the battery pack.
On the prototype I manually stuffed the wire in the channel and it was a bit of a mess so I 3d printed a little jig the diameter of the acrylic piece to make it easier to wrap the wire into a loop and then shove it in the gap.
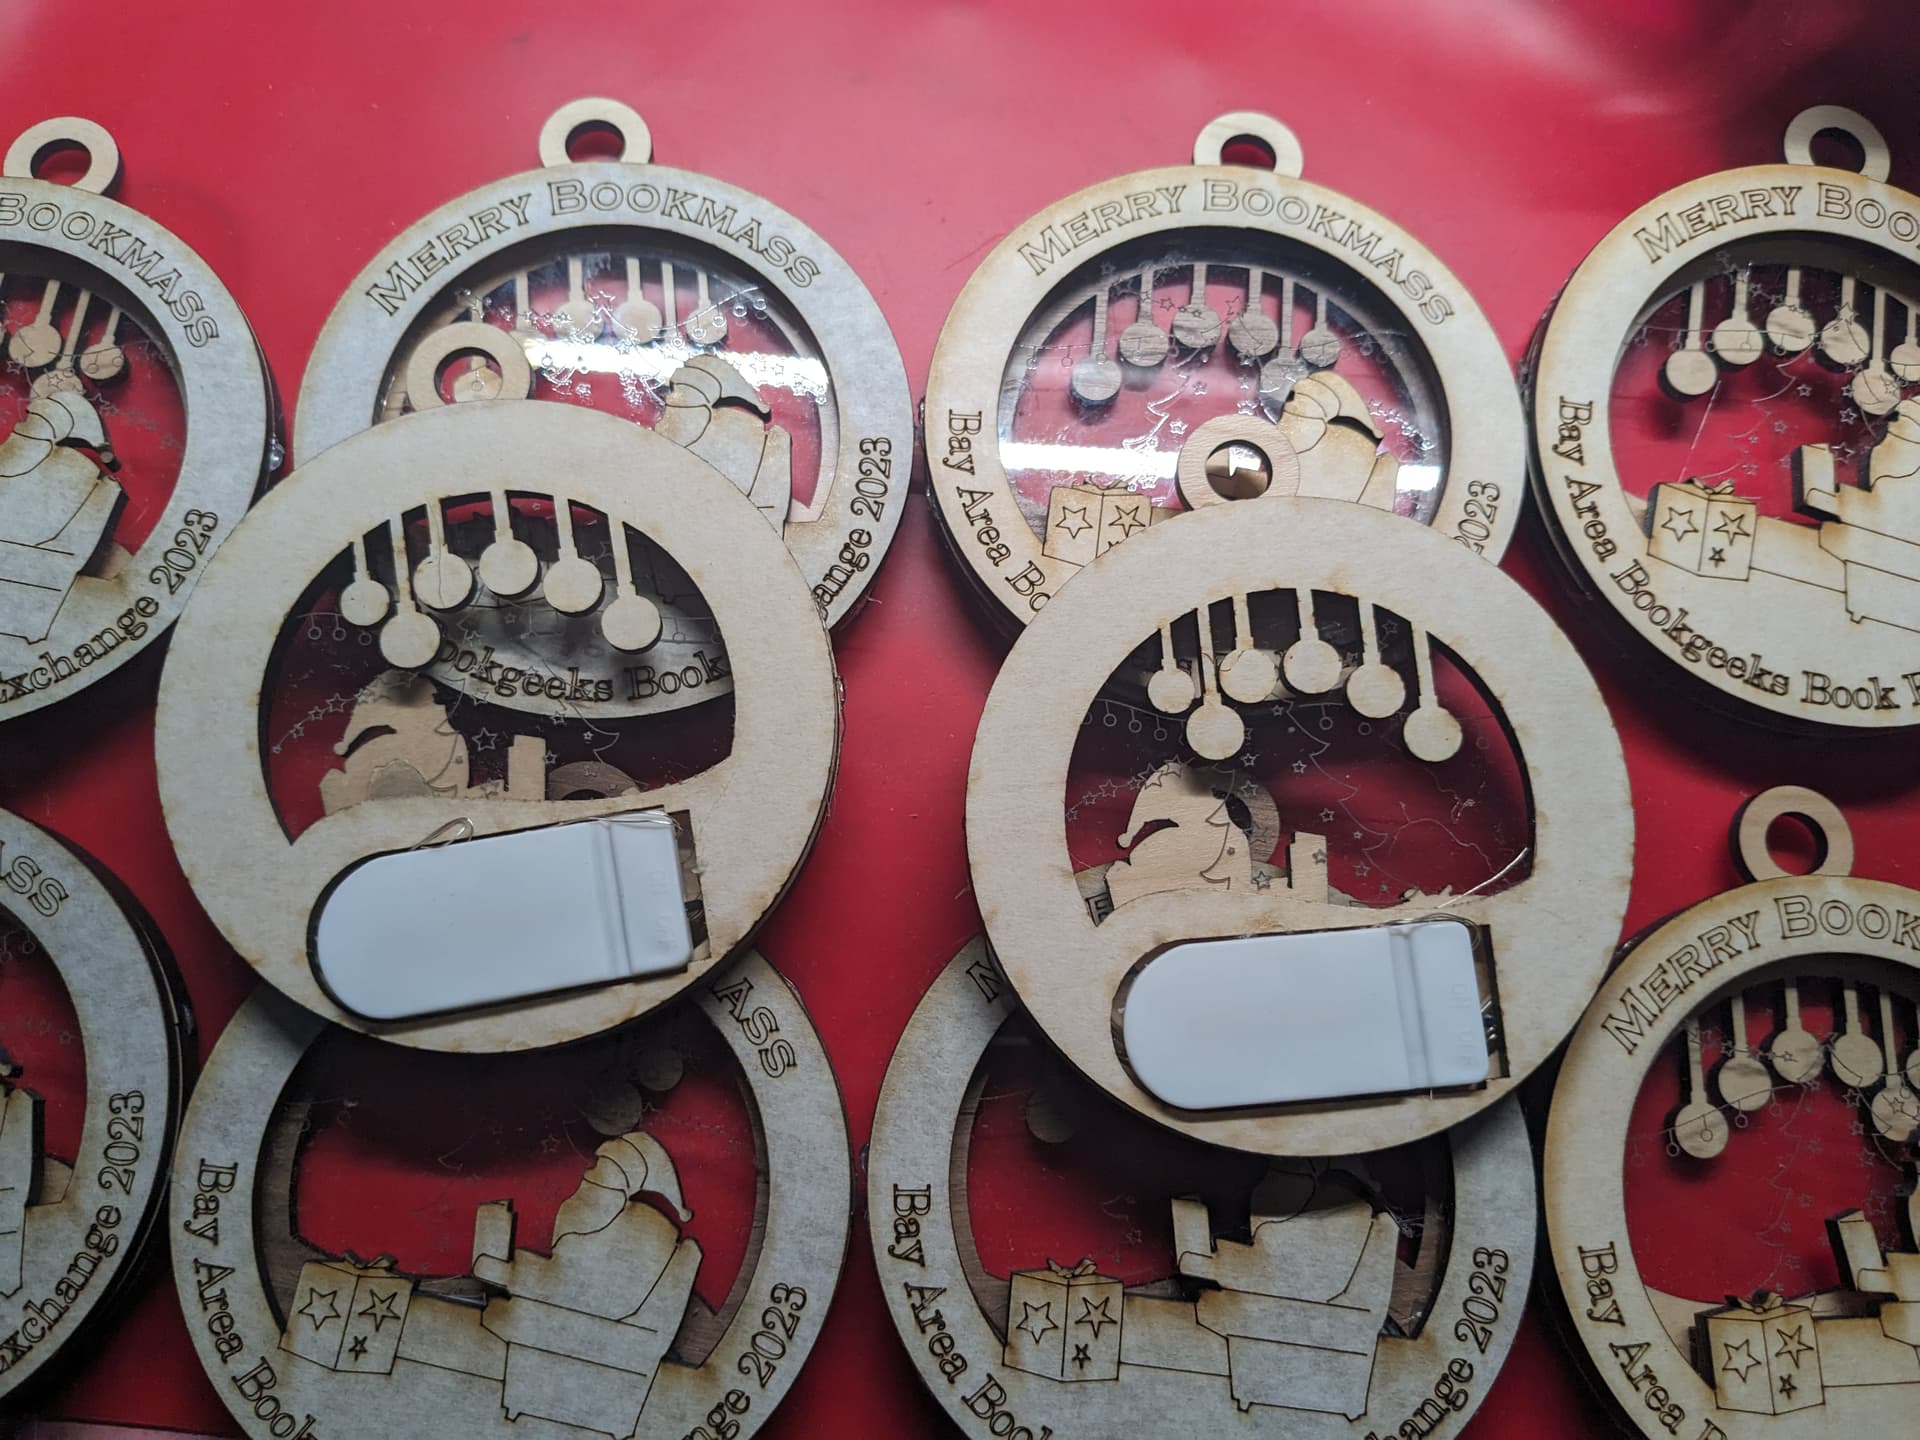
This worked pretty well although I could have done with making the jig a little larger to give me some slack to make putting it in place easier. While I was assembling the pieces I left the protective paper on the front and back of the outside pieces to keep those parts nice while I fiddled with the internals.
I was running a bit low on time as the book exchange is tomorrow so I resorted to using hot glue to put everything together. I did get some strings of glue over the acrylic and then had to try and clean it off so maybe that didn’t save me the time it could have.
With everything assembled and the little battery pack secured an tested I gave things a clean and then I removed the final paper from the front and back. I used a plastic scraper to get most of the small bits of paper off those things are pretty good for that sharp enough to scrape the paper away but soft enough to leave the surface finish unmarked.
So here they all are lights switched on. The effect works best in low light.
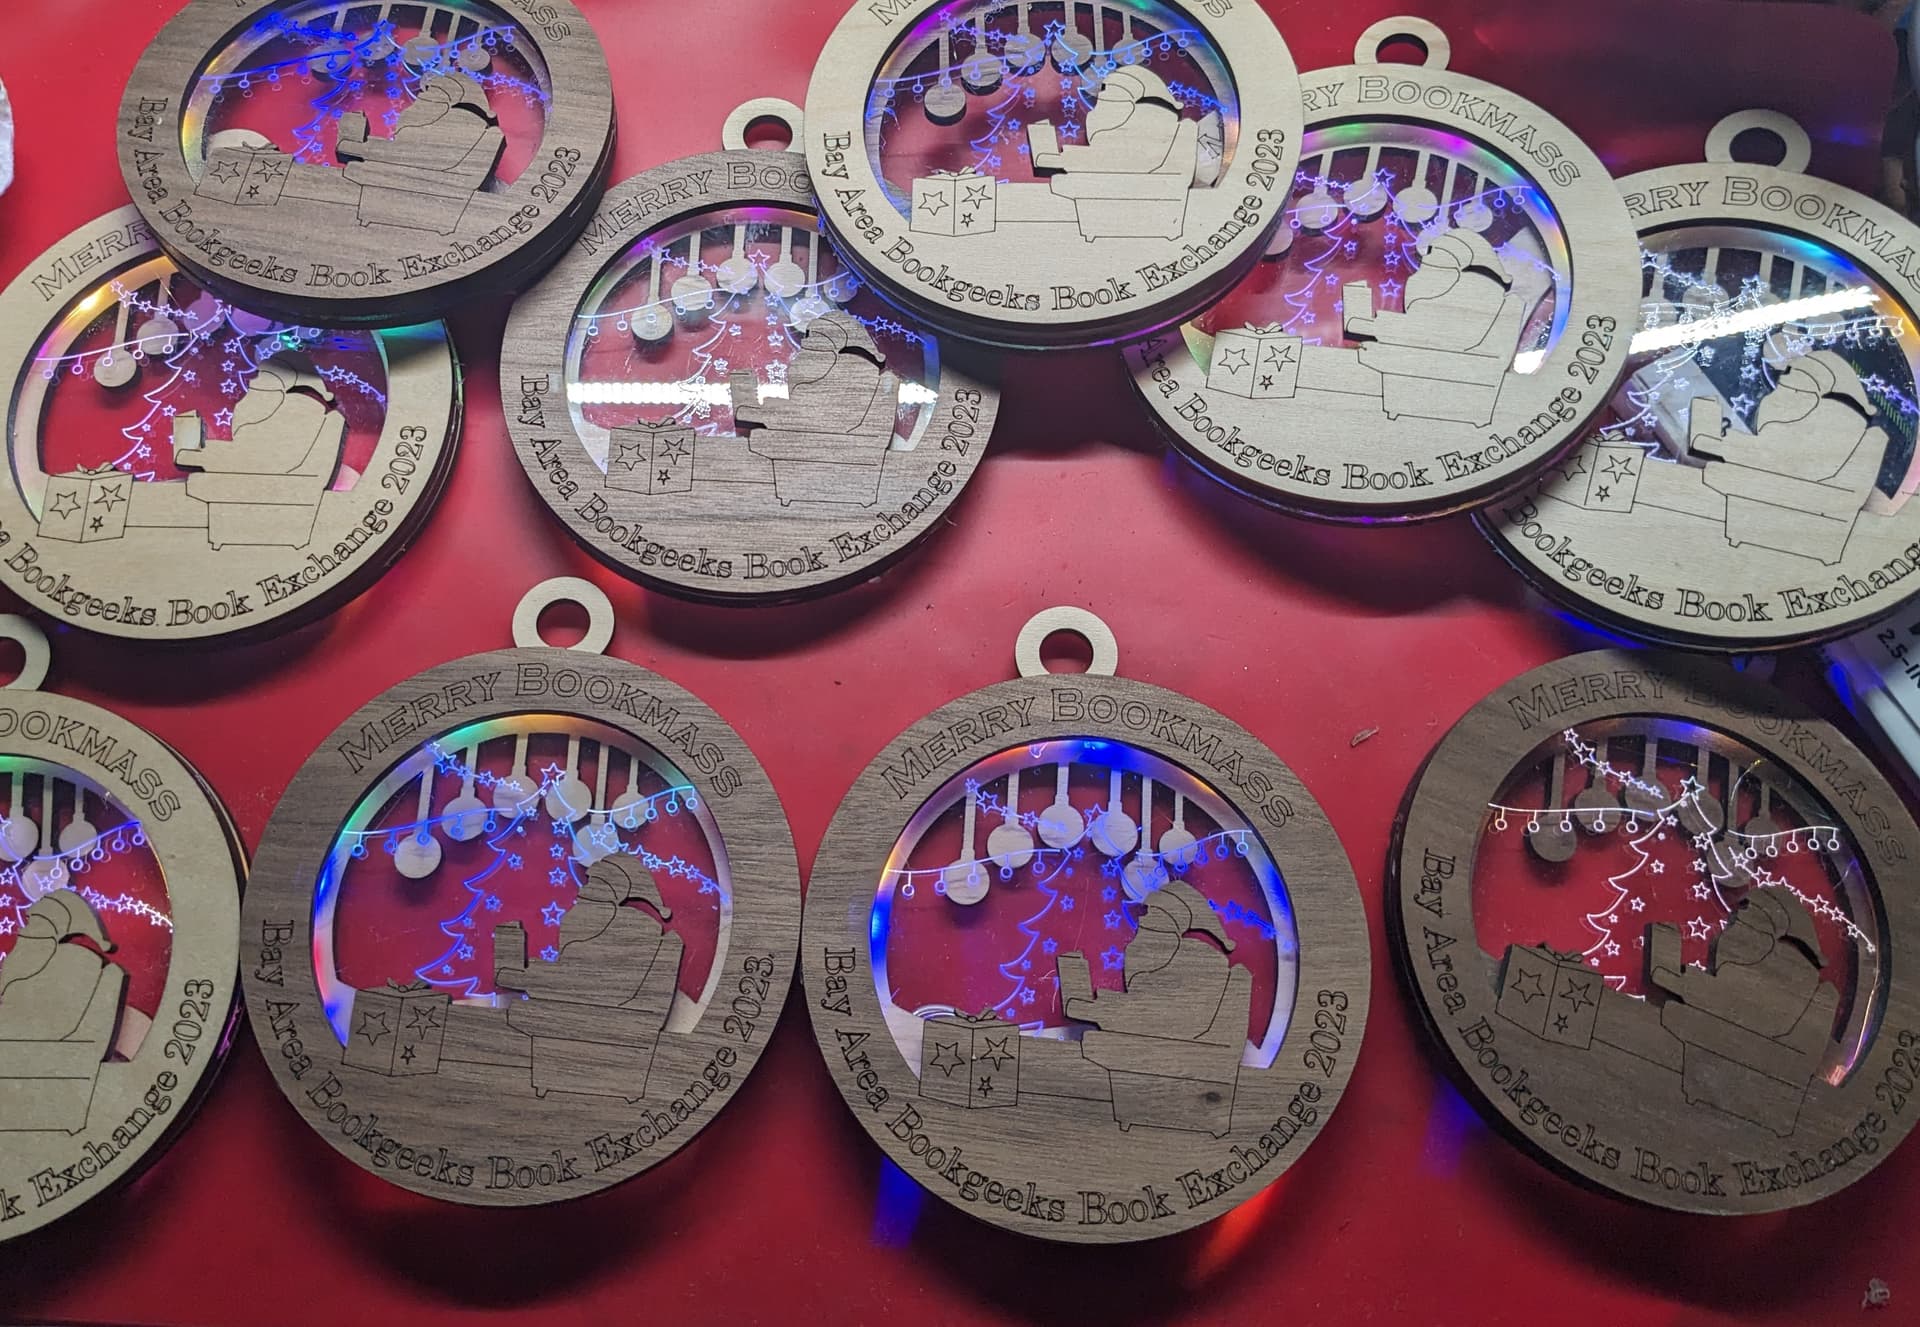
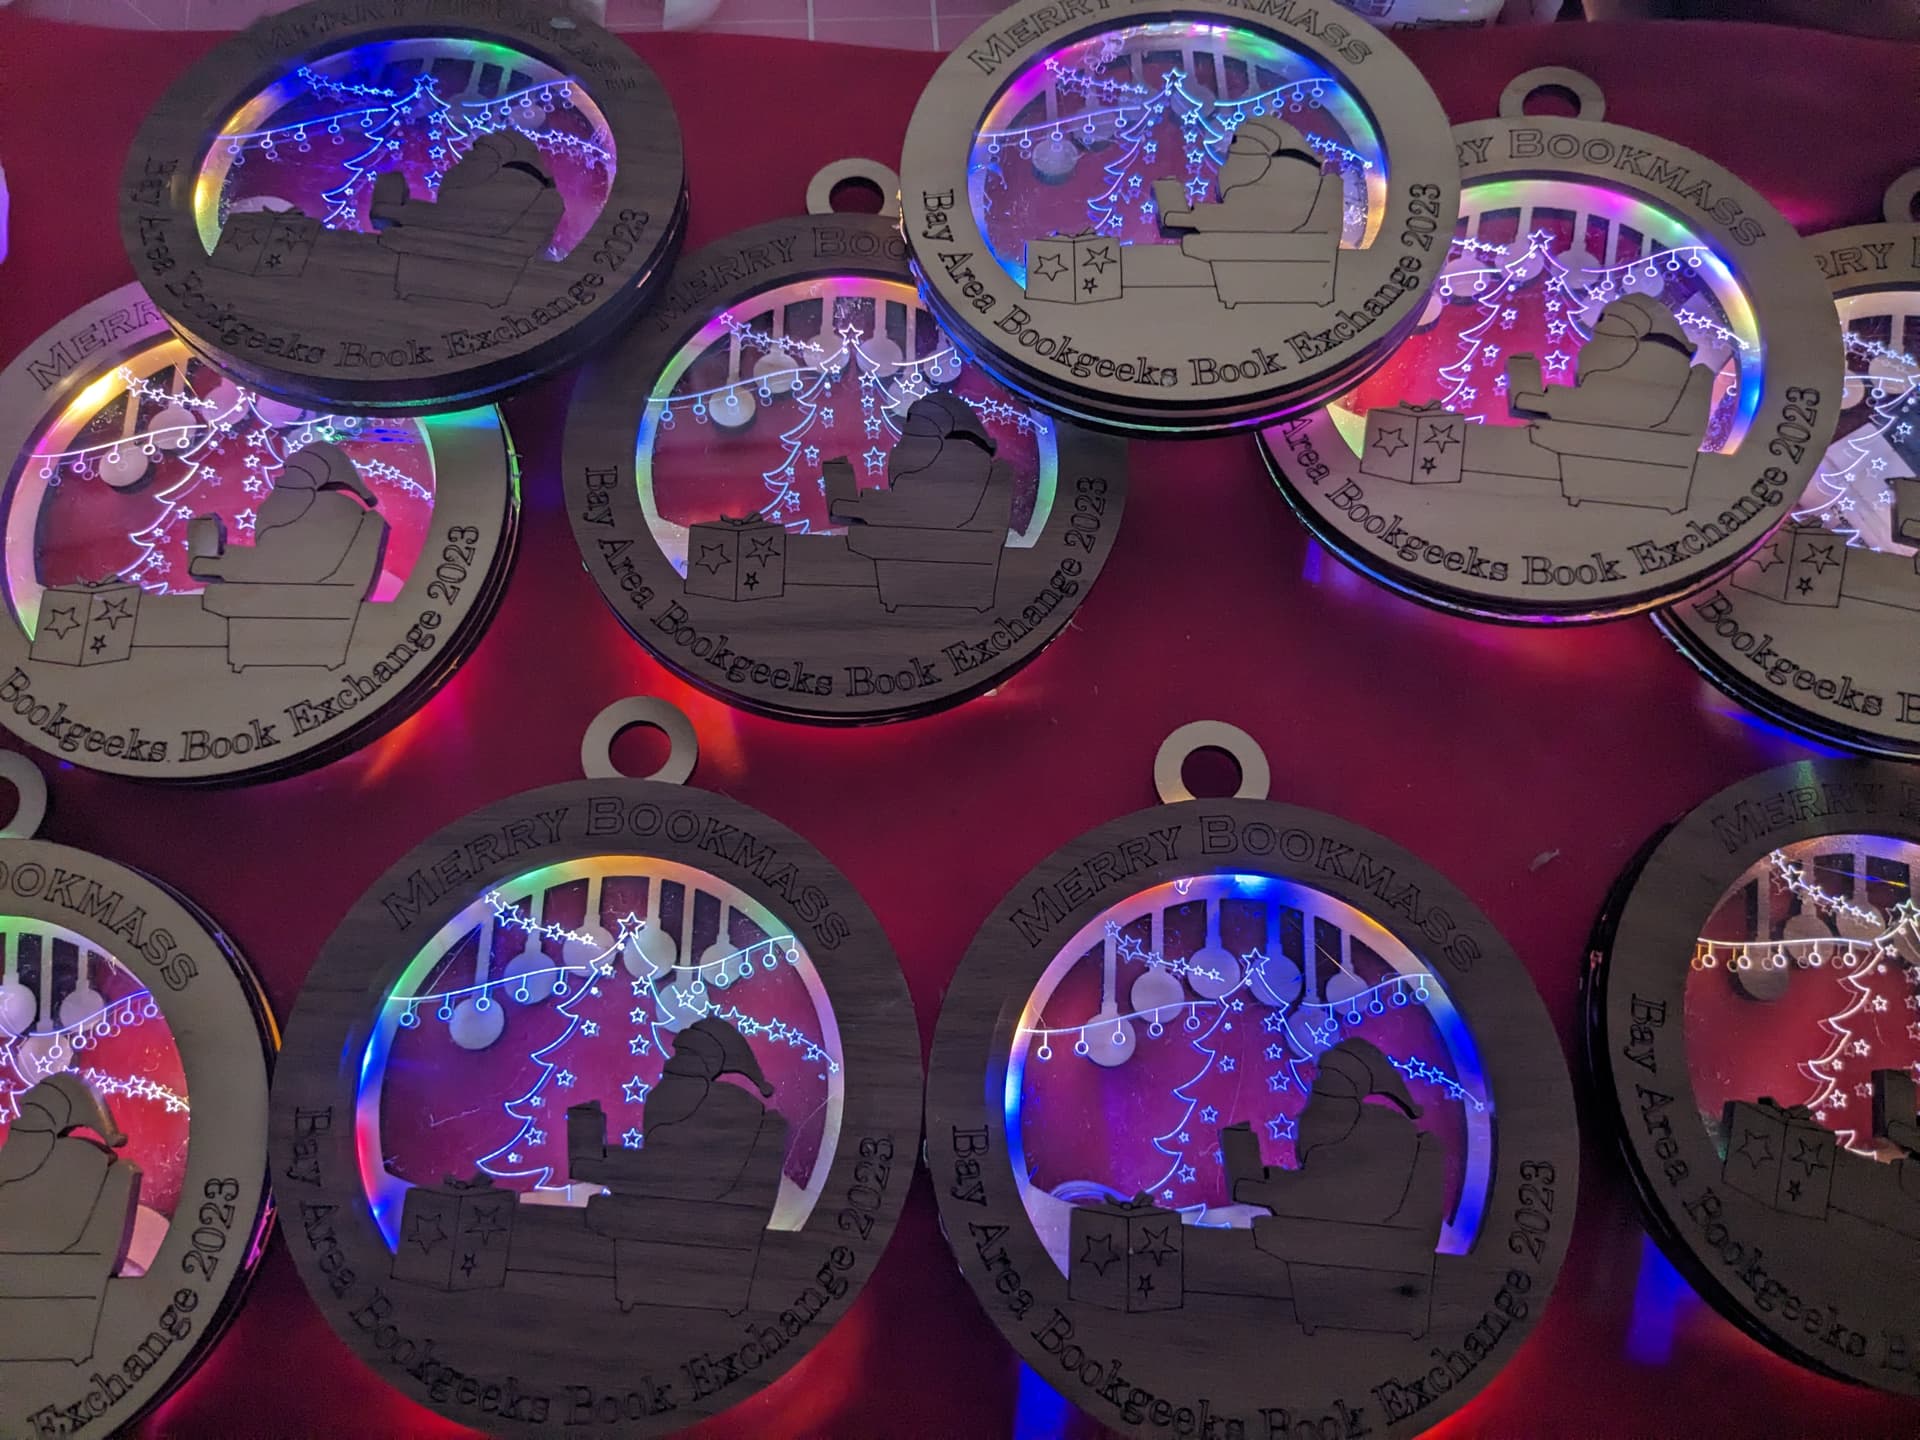
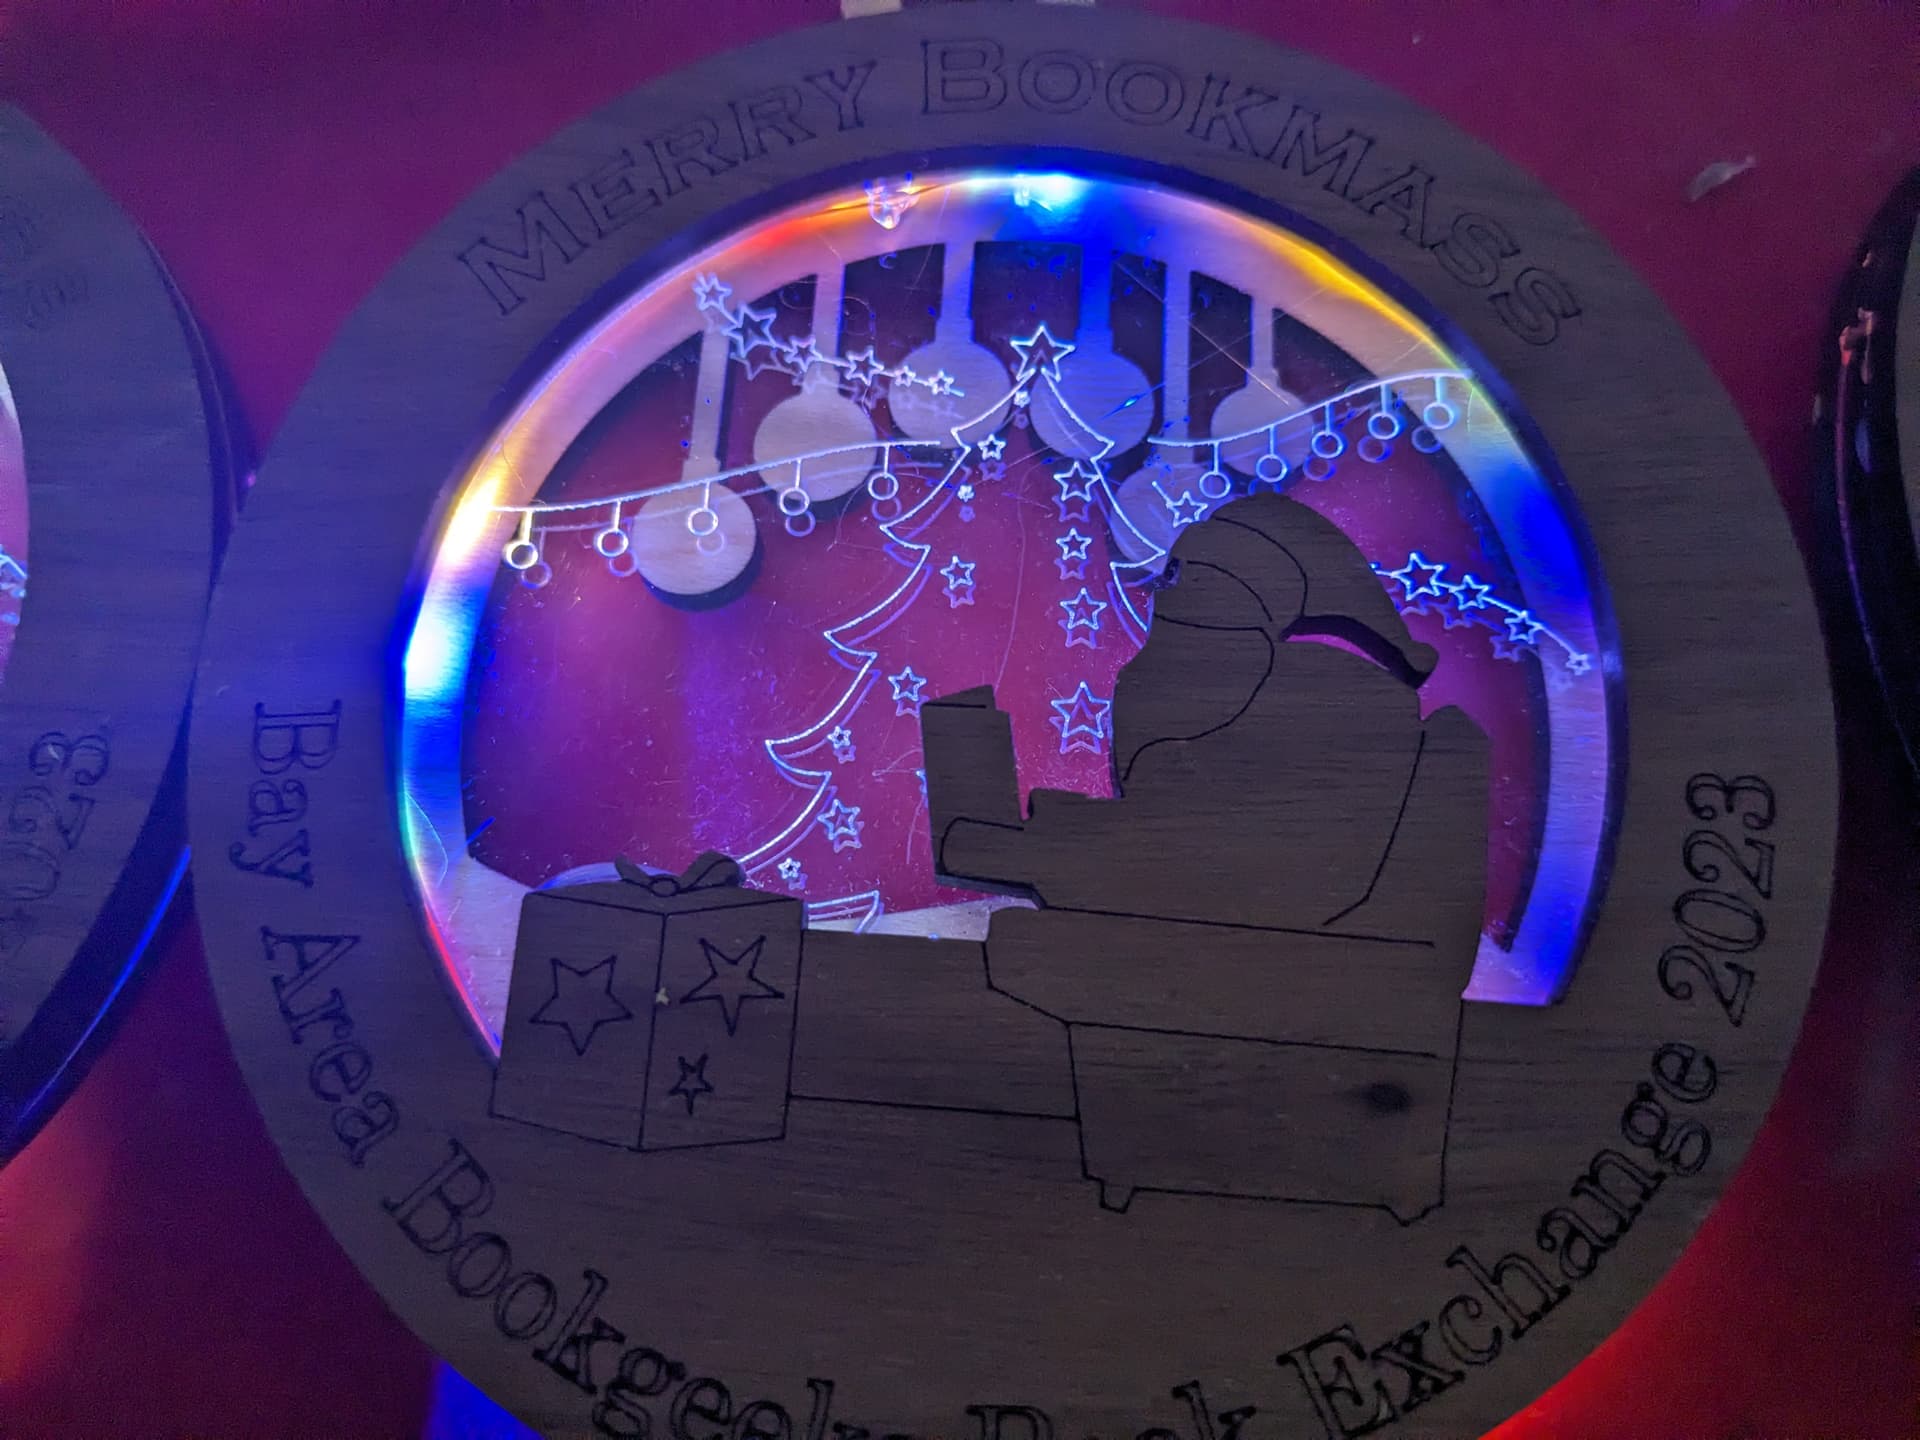
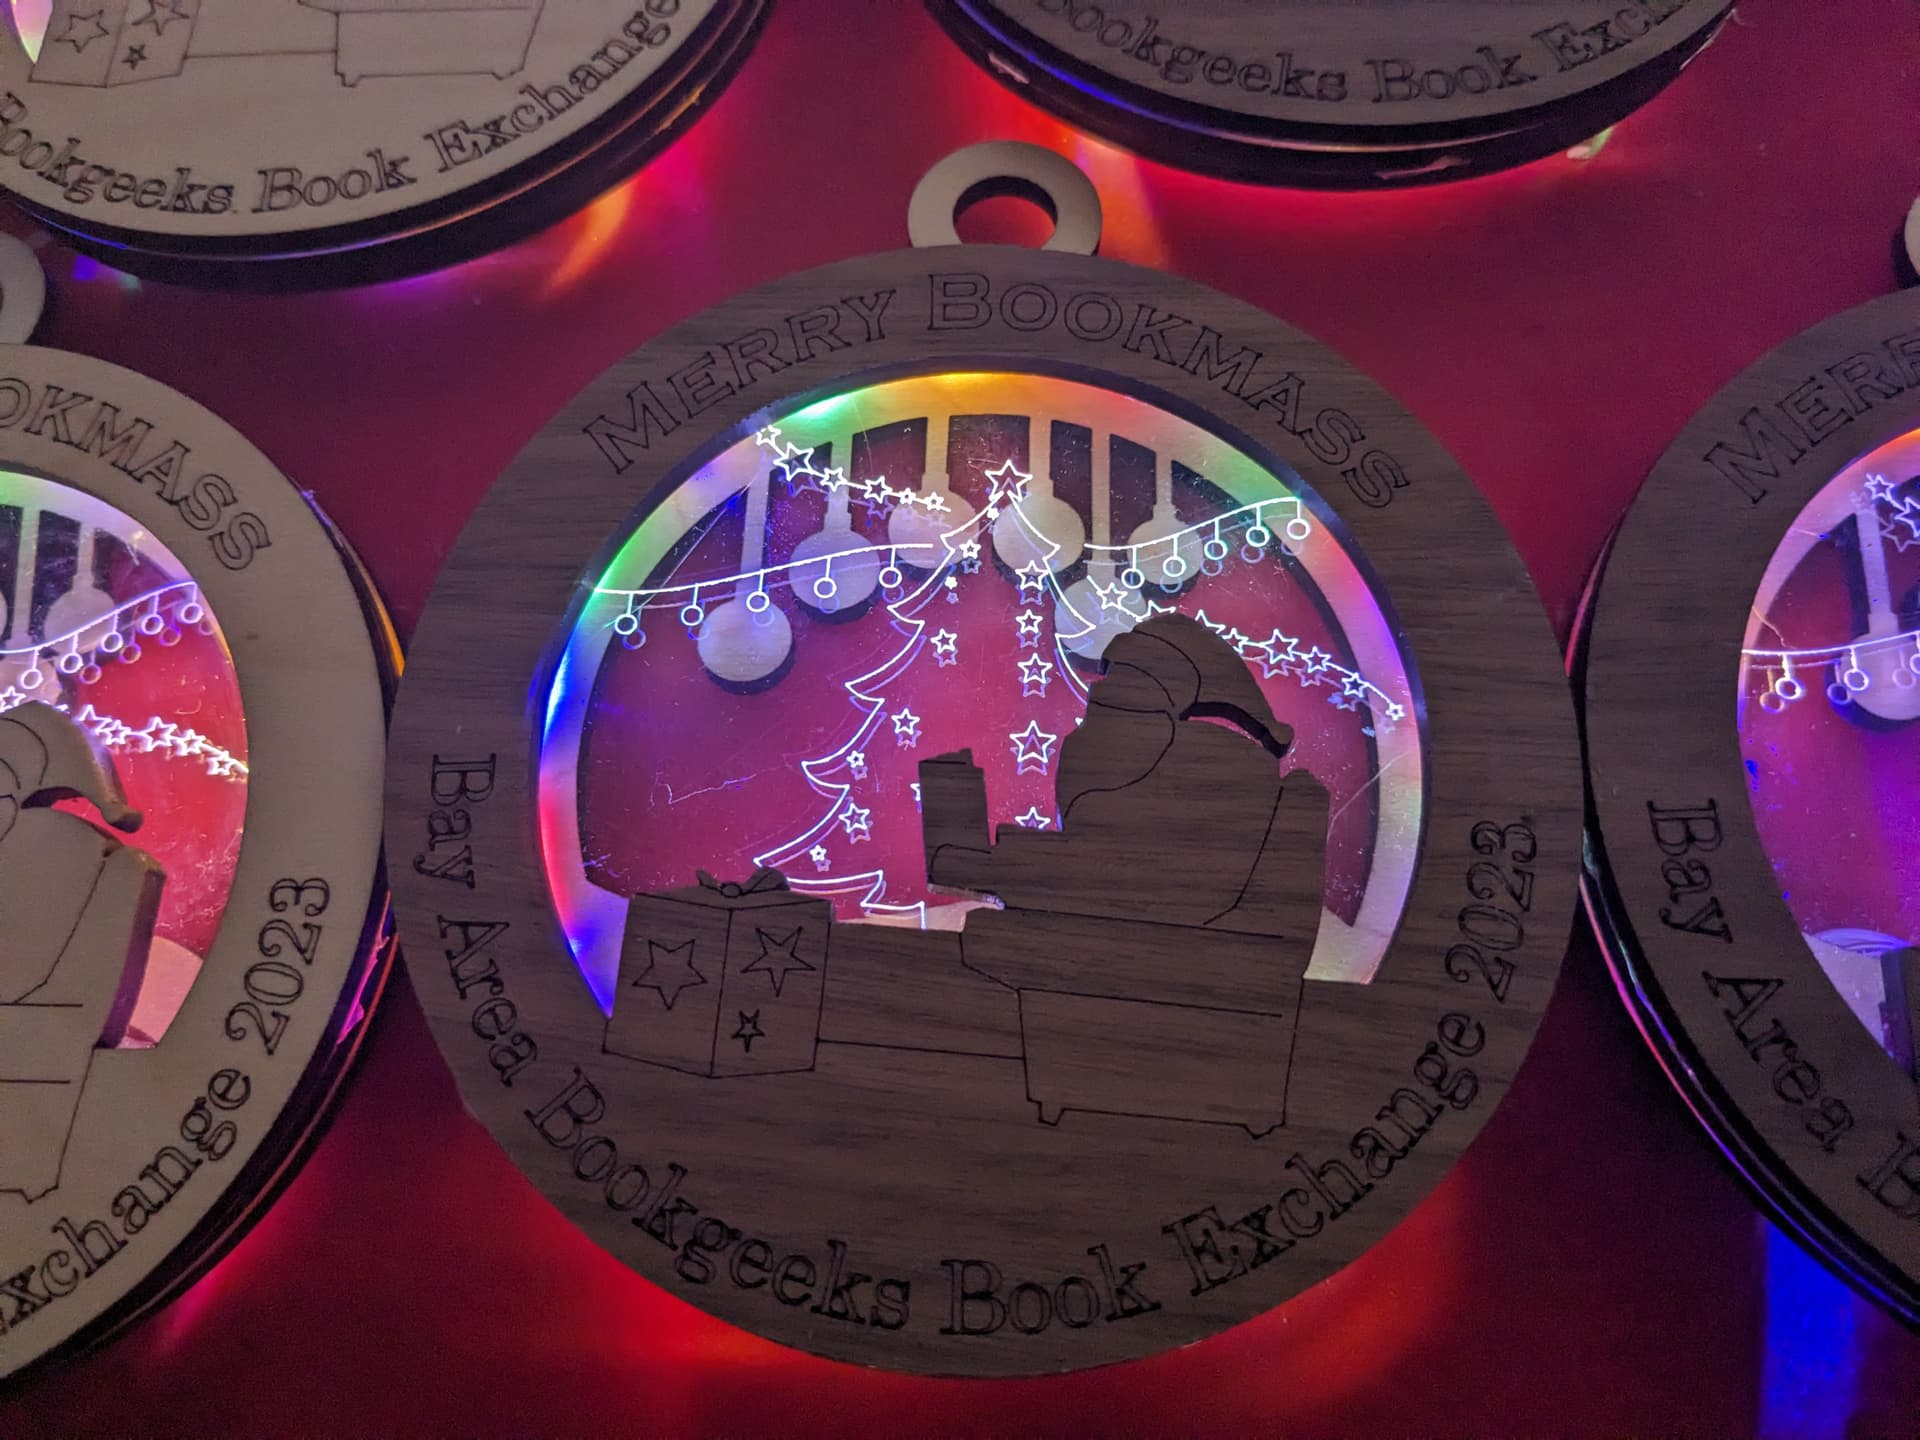
Fairly pleased with how they turned out. If I was going to do it again I’d probably try for brighter led’s these were cheap strings run off two little coin cell so not very bright. Going with just a single colour would have helped too although I quite like the rainbow of lights.
I would also have been a bit more careful with the acrylic pieces as cleaning any muck off them when they’re glued was a pain it would have been better to get then clean before assembly. I did wear gloves but there was some residue of the protective tape on there and some strings from the hotglue.
I also didn’t think too hard about the back of the thing if I’d had more time I might have tried for a symmetrical design or something. As it is the back just has the little plastic battery unit sticking out on plain wood.
But overall pretty happy and hopefully my bookclub will enjoy them ![]()