Any engraving that isn’t positioned above the LEDs—if you cut a tongue to fit in the slot that is narrower than your design—will not be well lit and won’t look anywhere near as good.
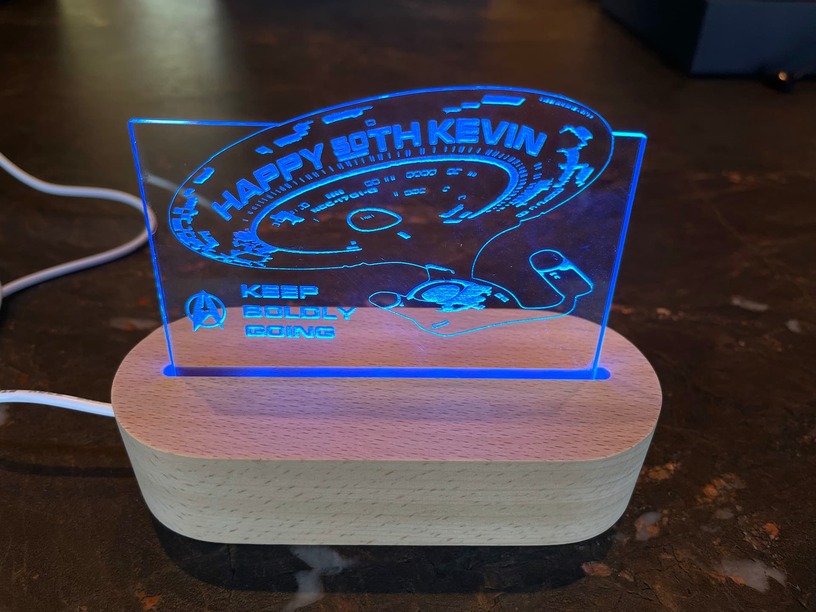
Cuts inside the design will let the LED light leak out, which again will reduce the visual effect. As you can see from the image, the top edge can be a custom shape.
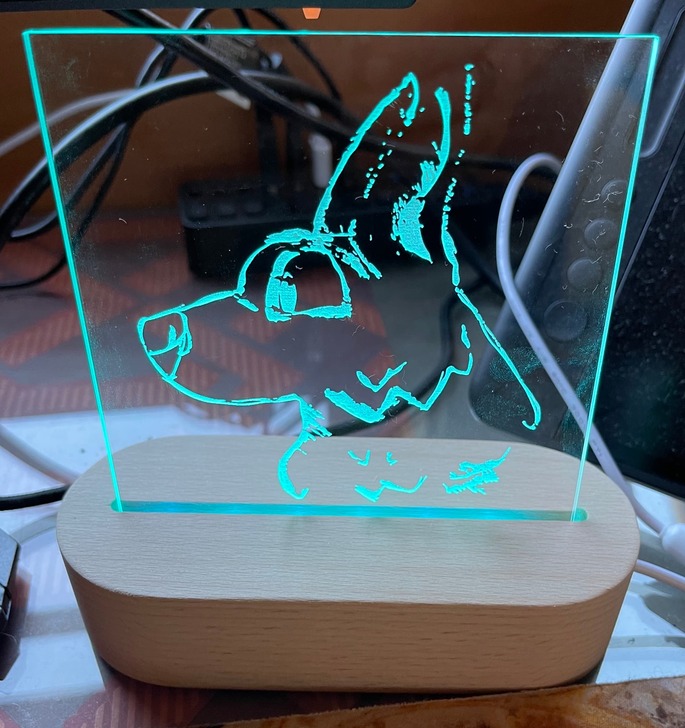
Less detail is better for the lighting effect. Compare:
Also: there is a big difference between the acrylic “almost touching the LED” and “touching the LED”. For best results the acrylic should be directly on the light source.
As you’re far from new here, I would assume you’ve read about “graduated” engraving? Have the engrave depth be less towards the bottom, closer to the light source?
It makes a worth of difference to how things look in-person, but does take some experimenting to nail down. Tough for one-offs, better for multiple copies…
Thanks for the kind assumption! No, I just saw one official post here about engraving for edge-lighting and have been delighted with the possibilities.
Your tips are great. As I was looking at your pictures I was wondering where you got those neat looking bases, and then there was the link. Thanks for the write up.