Here are a couple of things I made this week for friends etc.
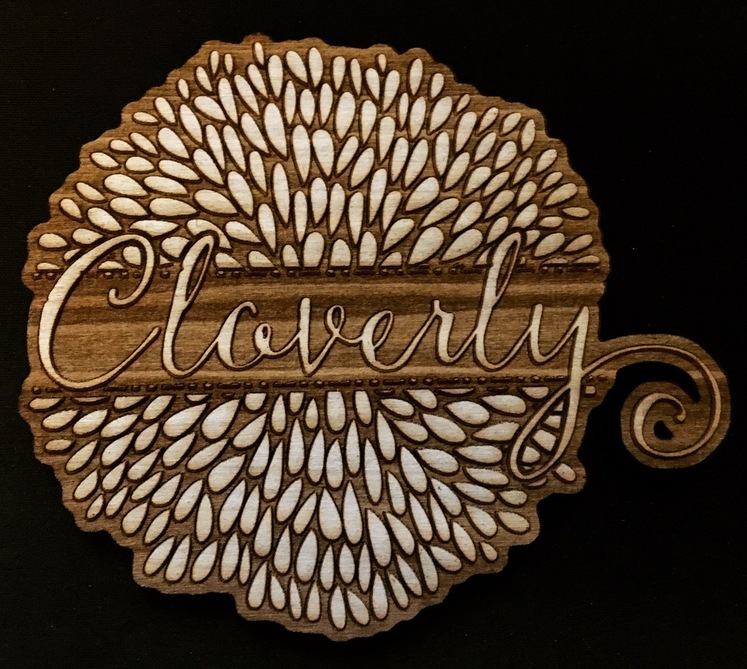
The first is a logo for my friend who makes amazing clothing and wigs, cloverly designs.
Engraved, then ran a light cut operation to darken the borders of the engraving.
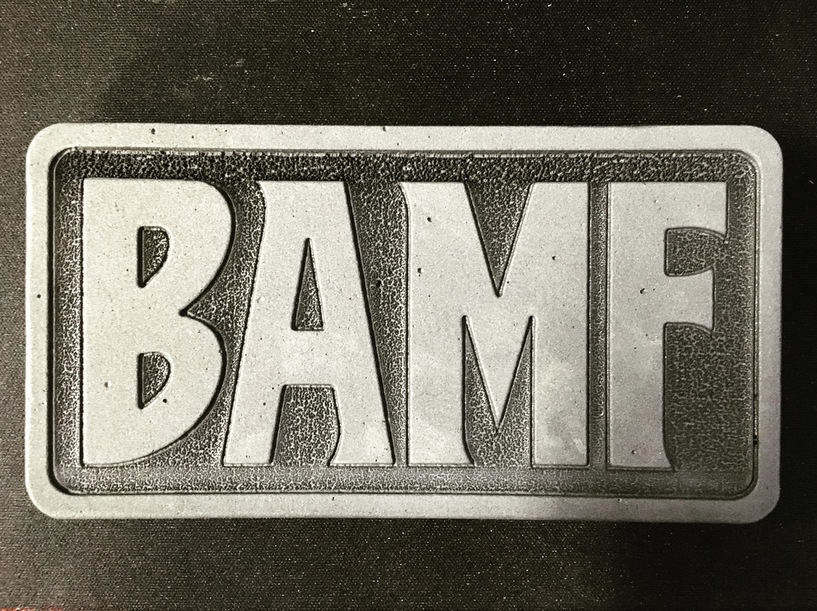
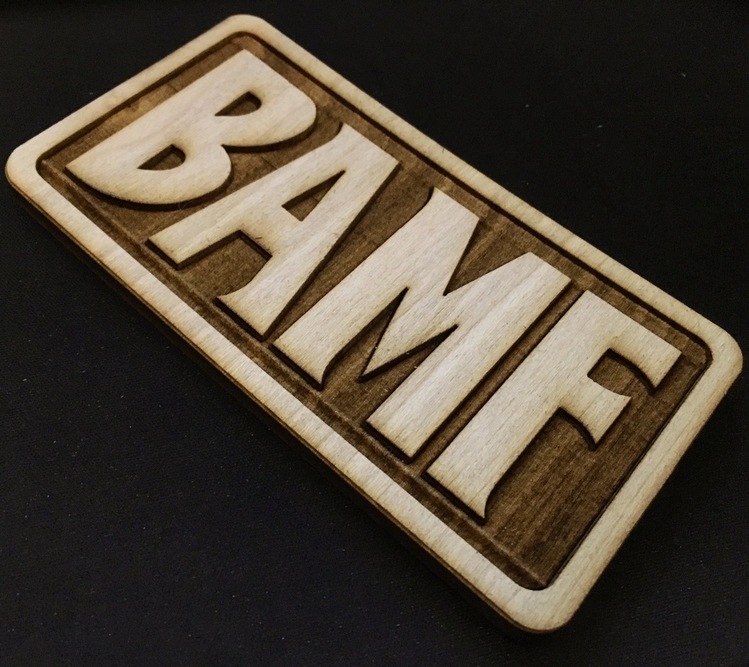
This one is a belt buckle for mccree from overwatch for another friend who is doing a mccree cosplay. It was more for fun, as he is getting a resin cast 3d piece instead of 2.5d. I engraved it first, then did a light cut to outline the engrave.
That’s something variable focus on the GF should help with - have the engrave not just a different power & speed but also focus depth. It will cut some more manual steps out of some projects. (I could really use it now - I’m doing 50 LED lit acrylic signs for a submarine crew association reunion and I have different engraves at different depths as they overlap and I want each one to show without wiping out/cutting thru the other.)
the autofocus will be nice. Cant say im not excited for that. I had to make multiple passes because this laser doesnt engrave very deeply. I wanted the letters to stand out, so I did like 3 engrave passes. If I would have upped the power it would have started to burn, and I really wanted to avoid that.
I love the Cloverly sign. It’s a great laser adaptation of the existing logo. I like the way you pushed out the background around all of the elements including the swirl of the Y.
I really like the way that everything stands out. The tip about cutting around the design after cutting the background is great. I love to hear little tidbits like that. Some of the smallest things can make such a big difference. Your work looks outstanding.
Thanks @davidgal2! It really does make a big difference. On the foam it tends to slope up to the edge of the engrave a bit, so there it will make a clean cut to separate those two a bit. On some woods there might not be enough contrast, so running a quick hot pass around the edge will just darken it up a bit. I usually have to make a separate file in order to accomplish this. I take the original cut file (which is just b&w), and select all the white, expand the selection by 2px (at 300dpi), and it ends up cutting right down the edge.
Magnificent work! I can see you’ve worked a lot with the material to really squeeze out the last bits of artistic expression from the medium. There’s a lot of subtlety there in your engraving work. Nice.
Is there any connection between Cloverly and Cleverly? I hadn’t noticed either before this post, but a friend posted a video from this Facebook page and I noticed the logos/names are similar…