Tonights Glowforge projects utilized Inventables white on black layered acrylic, thick Proofgrade clear acrylic, and medium proofgrade black acrylic.
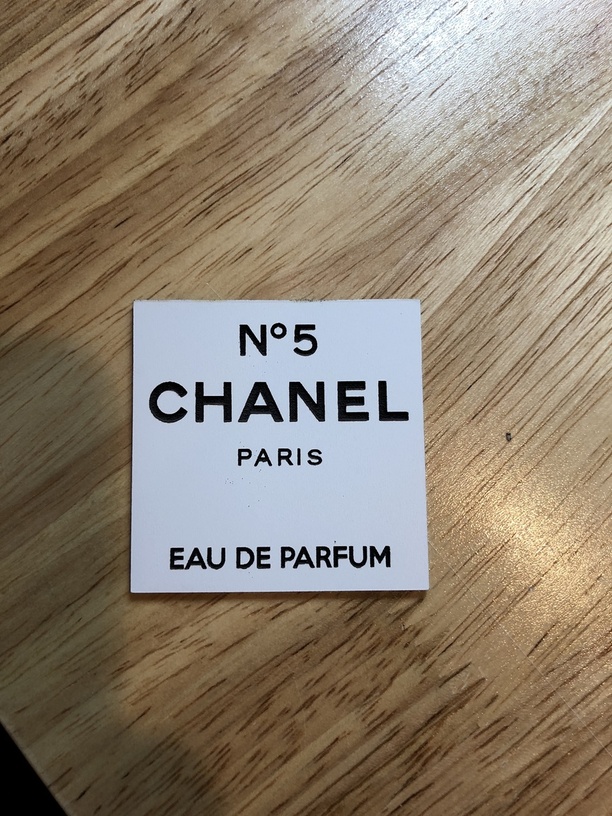
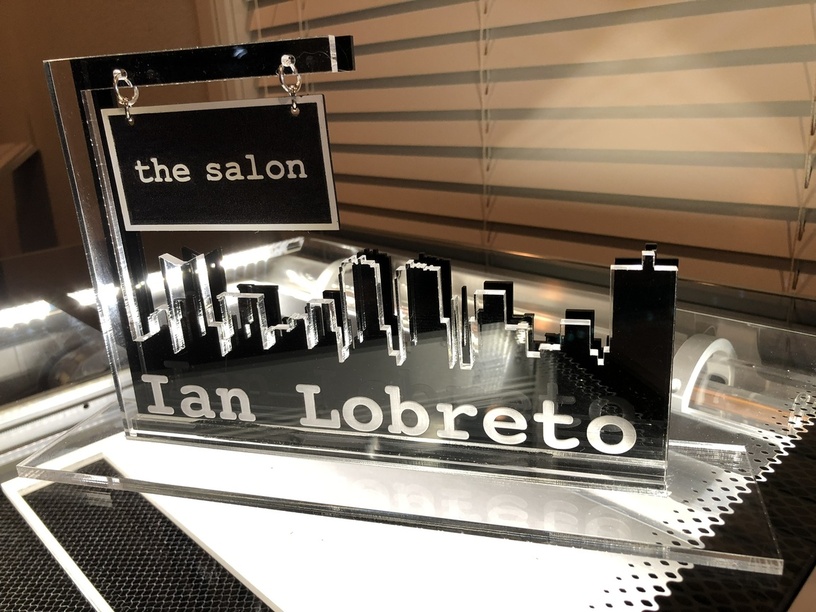
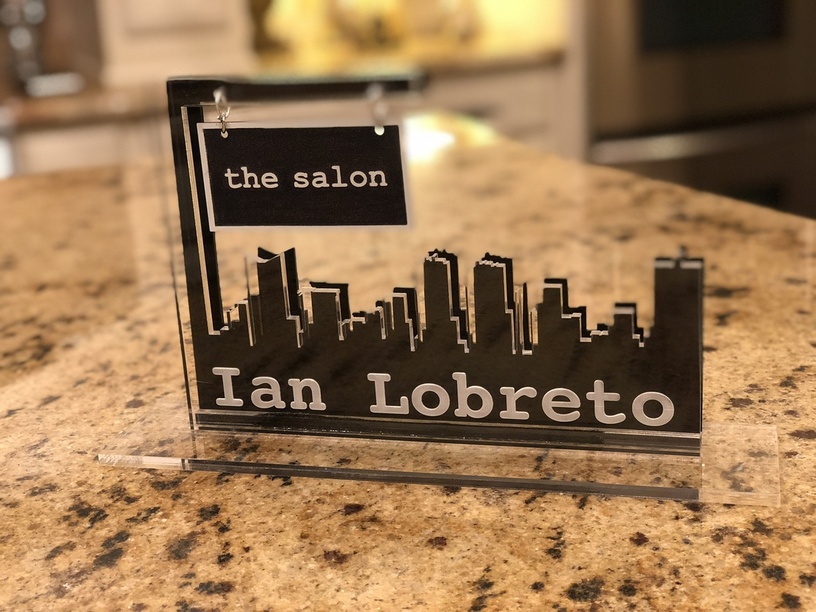
First, I duplicated the label from a Chanel No 5 bottle for a friend, then I made a desk ‘nameplate’ for my hairdresser and salon owner. The hanging sign on the nameplate is a miniature version of the sign outside of his shop. The salon is just a few minutes from downtown Fort Worth, so I decided to incorporate the city skyline into the design. It was a fun project, and with any luck, I’ll get a free haircut out of it. At the request of @morganstanfield, I’m modifying the original post to include settings for the Inventables black/white layered acrylic. Most importantly, REMOVE the plastic mask before doing anything else, as it will not vaporize, and will end up depositing itself on your finished product. For ease of cleanup, I replaced the plastic mask with a paper mask
Growforge PRO
1/16th" (.067) Inventables two colored layered acrylic (I use the same settings for both the red/white and the black/white.
Cut: Speed=285 Power=Full
Light Engrave: Speed=885 / Power=45 / LPI=minimum of 340, but 450 for small intricate detailed pieces
Heavy Engrave: Speed=885 / Power=76 / LPI=minimum of 340, but 450 for small intricate detailed pieces.
I used the “Heavy Engrave” settings on the ‘Chanel’ item, and the “Light Engrave” settings on ‘the salon’ sign. only minimal clean-up was necessary on the white layer after removing the paper mask For the small amount of clean up needed, I used a tiny cotton swab dipped in denatured alcohol.
You can likely use the same settings, but specify the correct thickness of the material you are using.
I’ve learned a great deal since this was originally posted, and would suggest that you experiment with defocusing the laser, for a smoother engrave. Simply set the focal height slightly higher than the actual material thickness.