Space Invaders box

Houston, we have a problem.

Thanks to @shogun for the excellent walnut.

55 Likes

Super fun way to make the most of the layers!

1 Like

You’ve got to be kidding me! So cool! I have an idea of how I’d do it, but I’m probably wrong. Awesome work as always!

1 Like

You should make one with a heart and place a piece of jewelry in it for your wife.

3 Likes

Yeah you could do anything with pixel art like this. I chose space invaders mostly because I’m a kid of the arcade era and I wanted something monochrome.

As for heart shaped boxes, well, it’s been done. Hmm I swore I posted that somewhere, I made a purpleheart box with a red suede liner a couple years ago.

5 Likes

I need more <3s for this one.

1 Like

I wonder how many quarters I dropped during that era… Love this box!

7 Likes

First glance that looked like it was engraved, but for it to be a rounded inlay? Super cool.

3 Likes

Space Invaders pixel art inlay makes me feel warm and fuzzy. <3

That I used to run an arcade probably has something to do with it. I just programmed a Space Invader animation on an LED panel a few days ago, too.

3 Likes

Essentially the same techniques shown here:

I got the idea to make pixel art or patterns when I made that box but never had gotten to it.

For the curious who want to try the technique:

Cut your inserts.

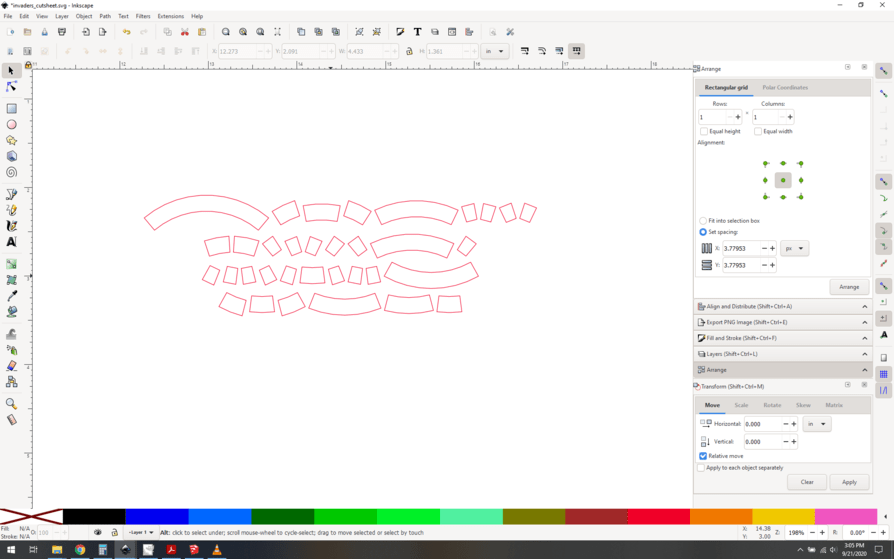
Cut the dark blue arc shapes and the red outline first. Remove the material with the inlay holes. Leave the surround as a jig for the next laser step.

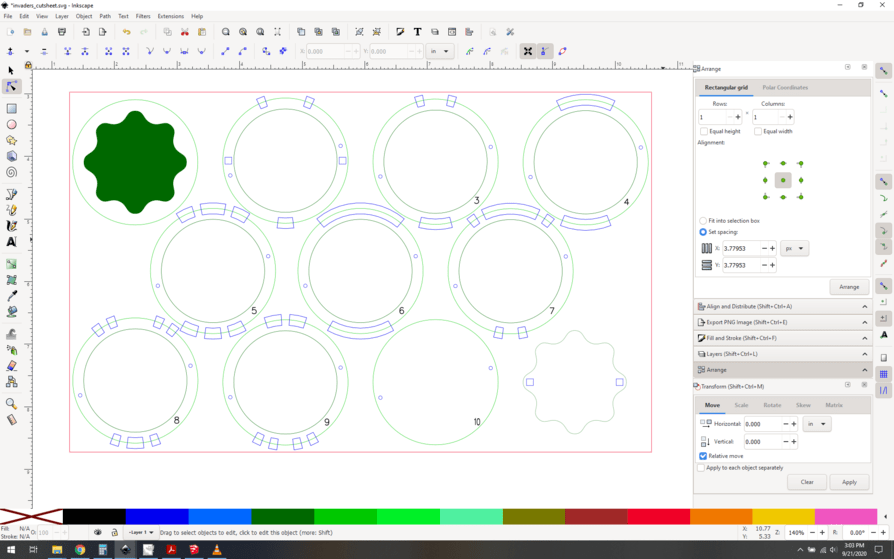
Glue all the inserts into their holes. Lay the material back in the machine using your material as a jig (use the paper towel trick to get the alignment perfect), do the ring cuts, engrave the bottom of the lid, and score your numbers.

You’ll end up with perfectly cut rings with half-depth inlays. Assemble with pins for alignment, and sand away the laser marks on the outside. Glue the inset into the bottom of the lid. Finish as you like.

14 Likes

Looks awesome!

2 Likes

Love the technique. Space invaders is nostalgic for me as well.

2 Likes

Thanks for the smile that this gave me.

1 Like

oh geez, this is so cool… one could make some super fun backlit effects with acrylic… thanks for sharing!

1 Like

Amazing! Well done! :slight_smile:

1 Like

Thanks for the explanation! It’s really clear. I’m going to have to try this myself.

1 Like

#necrogame