Greetings, my name is Davos.
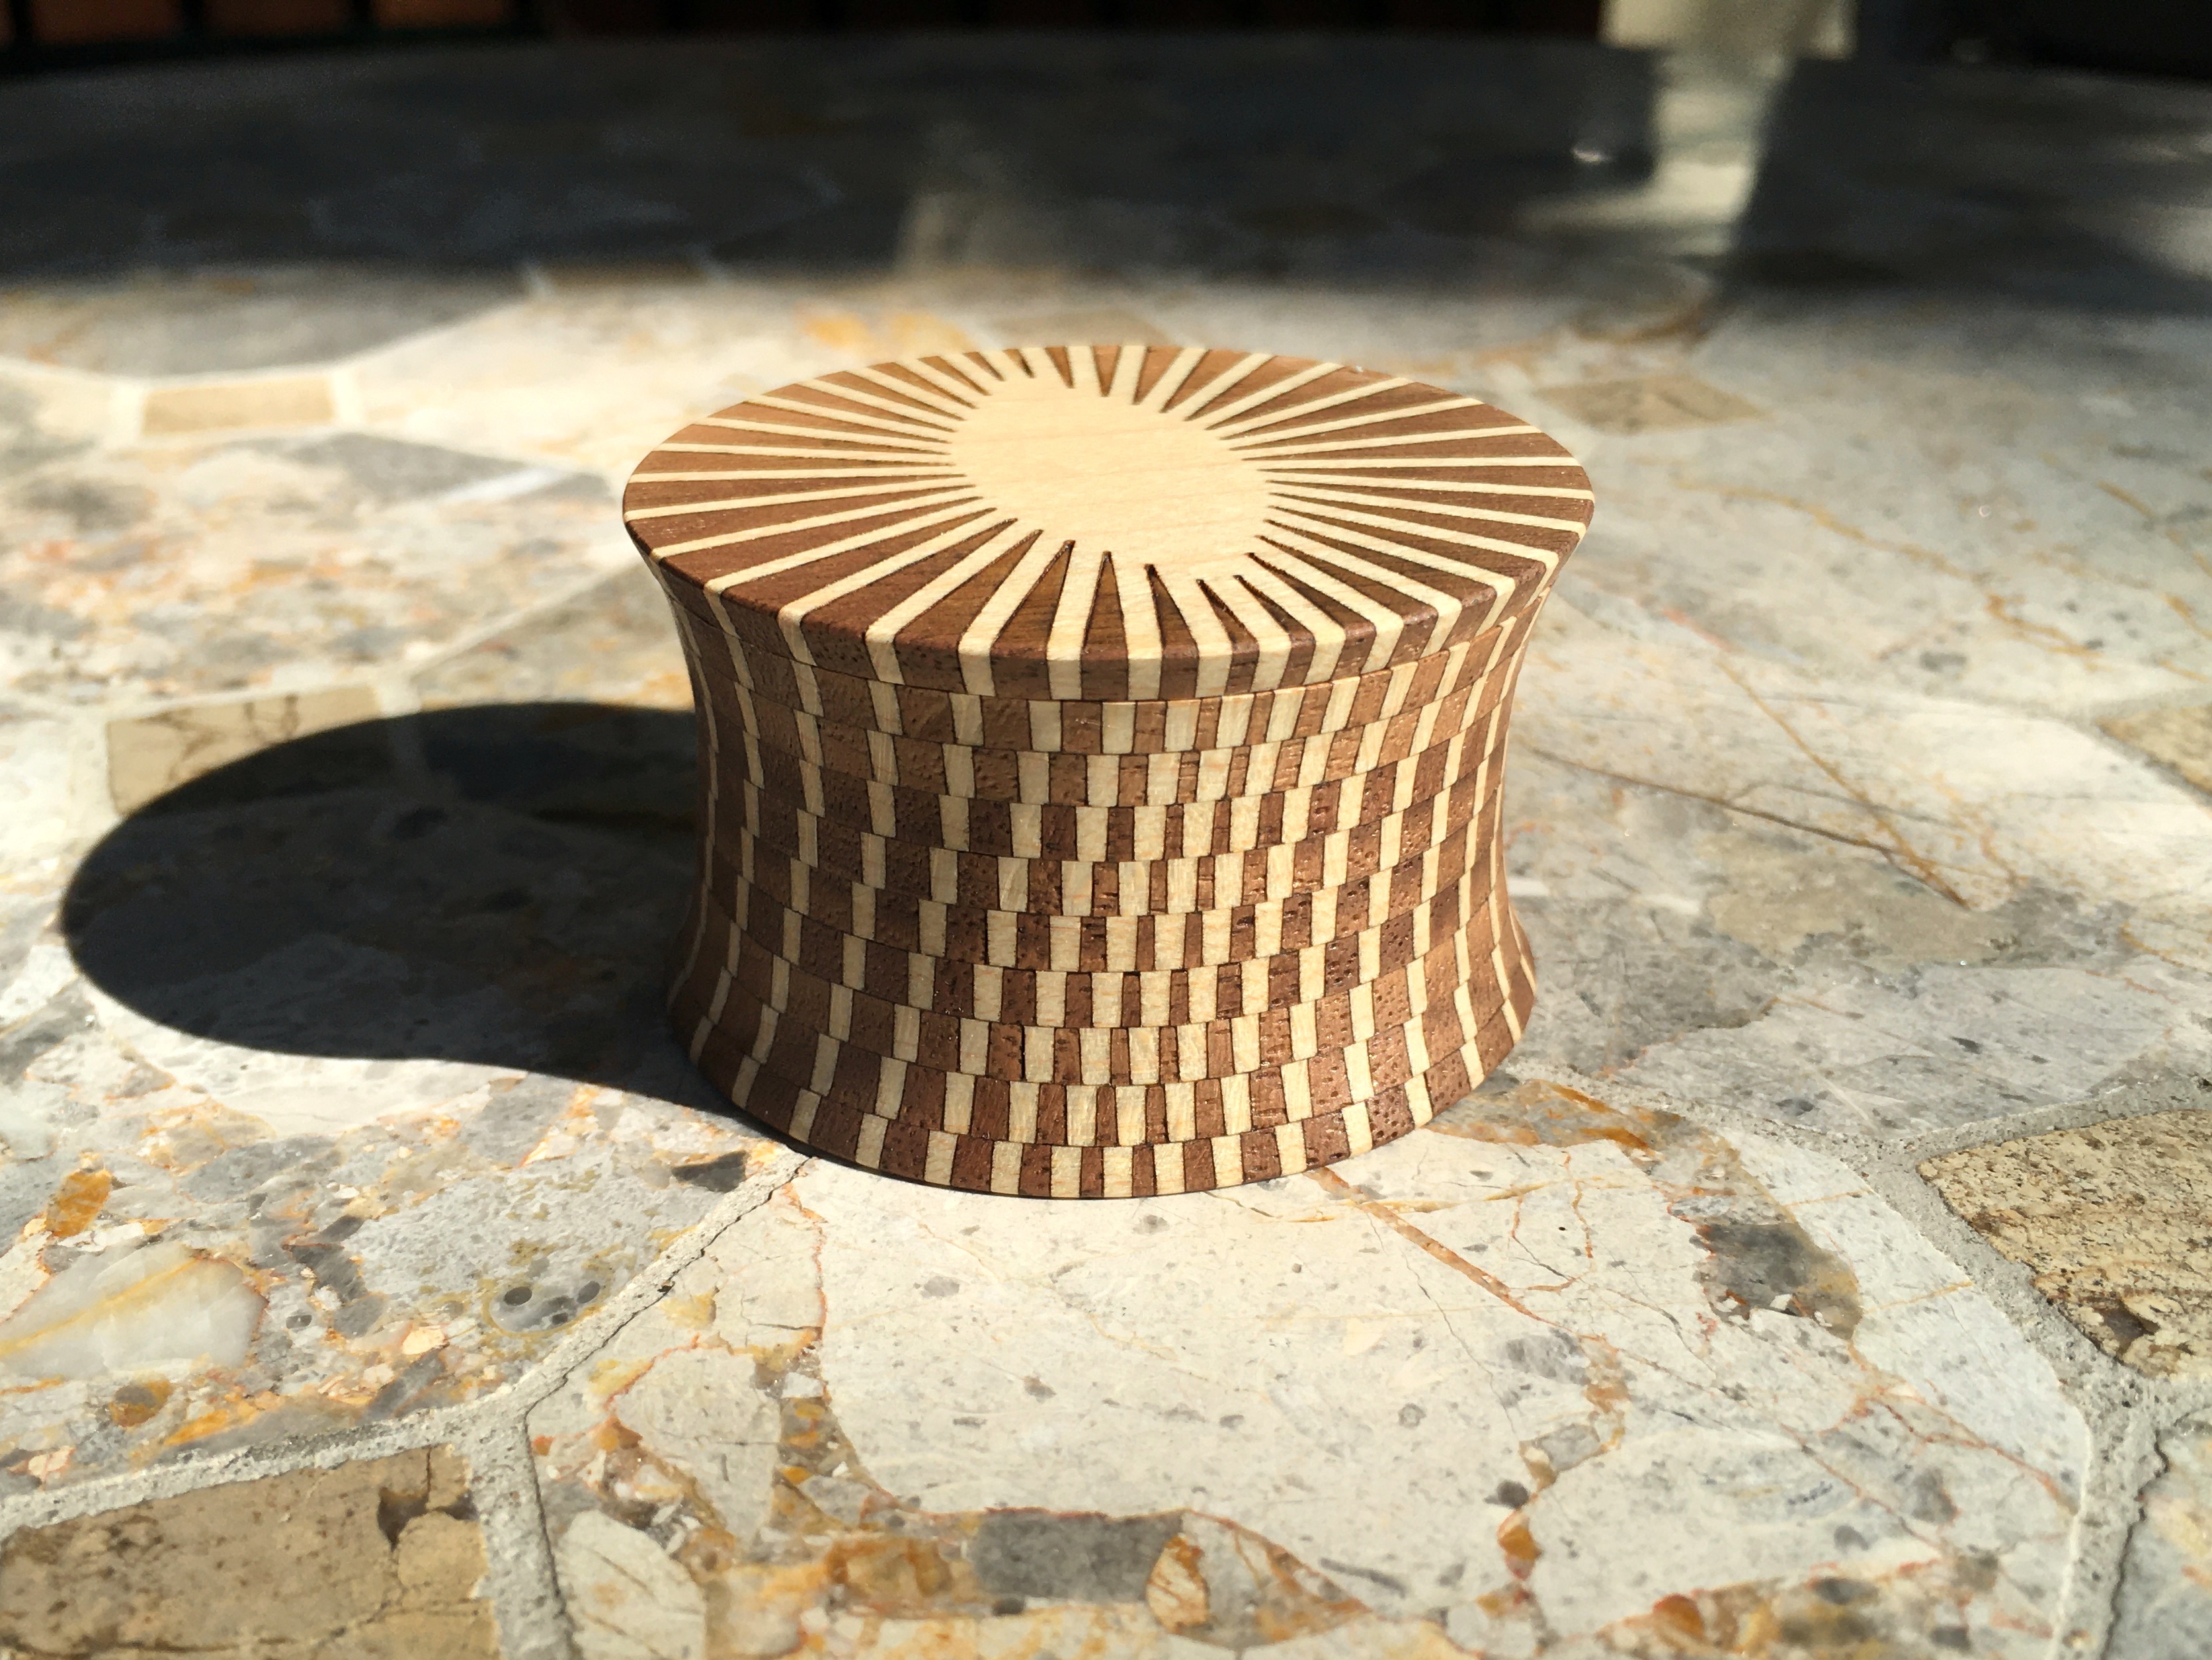
I decided to really go for it with inlaid edges. I was shooting for something that would just take the whole inlaid edge concept to its logical conclusion, and this is where I landed.
Notes:
I had to develop several techniques to deal with this. I actually failed to make this twice before I got a success, I had to refine my methods to get it right. I’ll talk about it in the main body.
All hardwoods 1/8" thick
Sanded to 600 grit
Wipe on Polyurethane finish
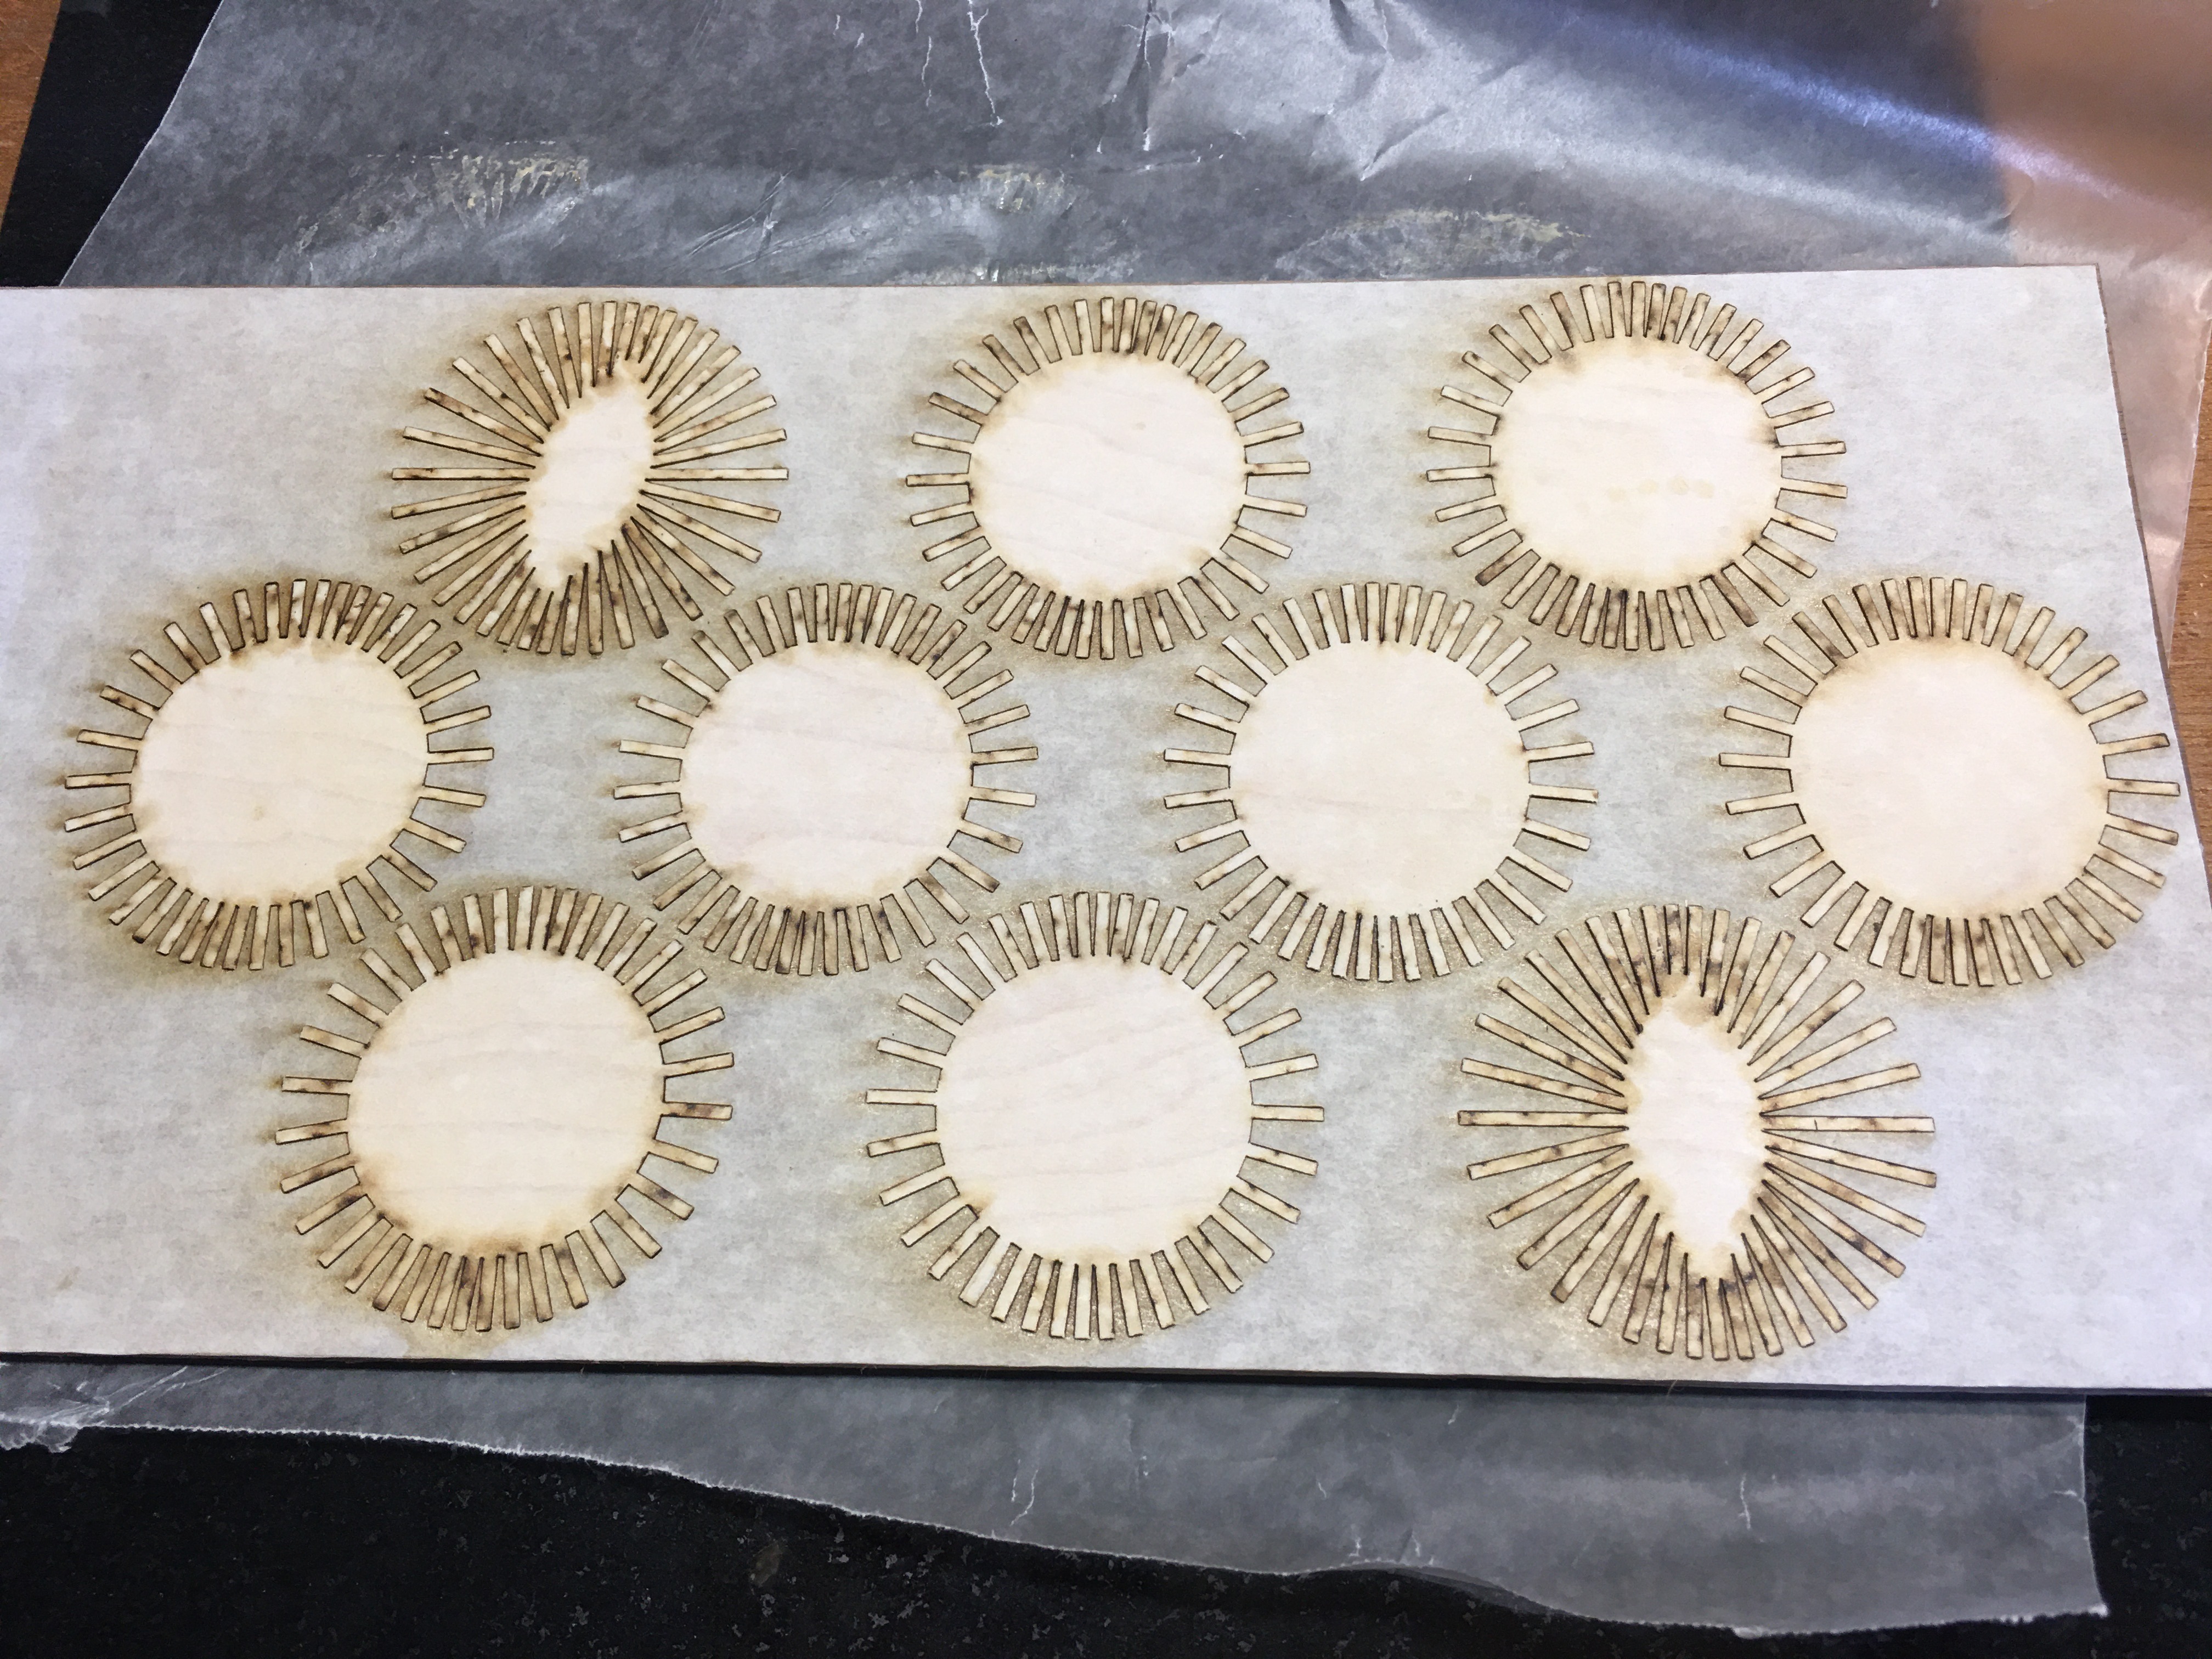
The concept was that I wanted a smoothly progressing gap so that the density of inlays would gradually descrease/increase. To do this I had to work out an equation to figure out how much to rotate each spoke in my design to make a 90 degree spread. The 90 degree spread is then flipped and rotate to make a circular radiant pattern.
(Walnut, Maple)
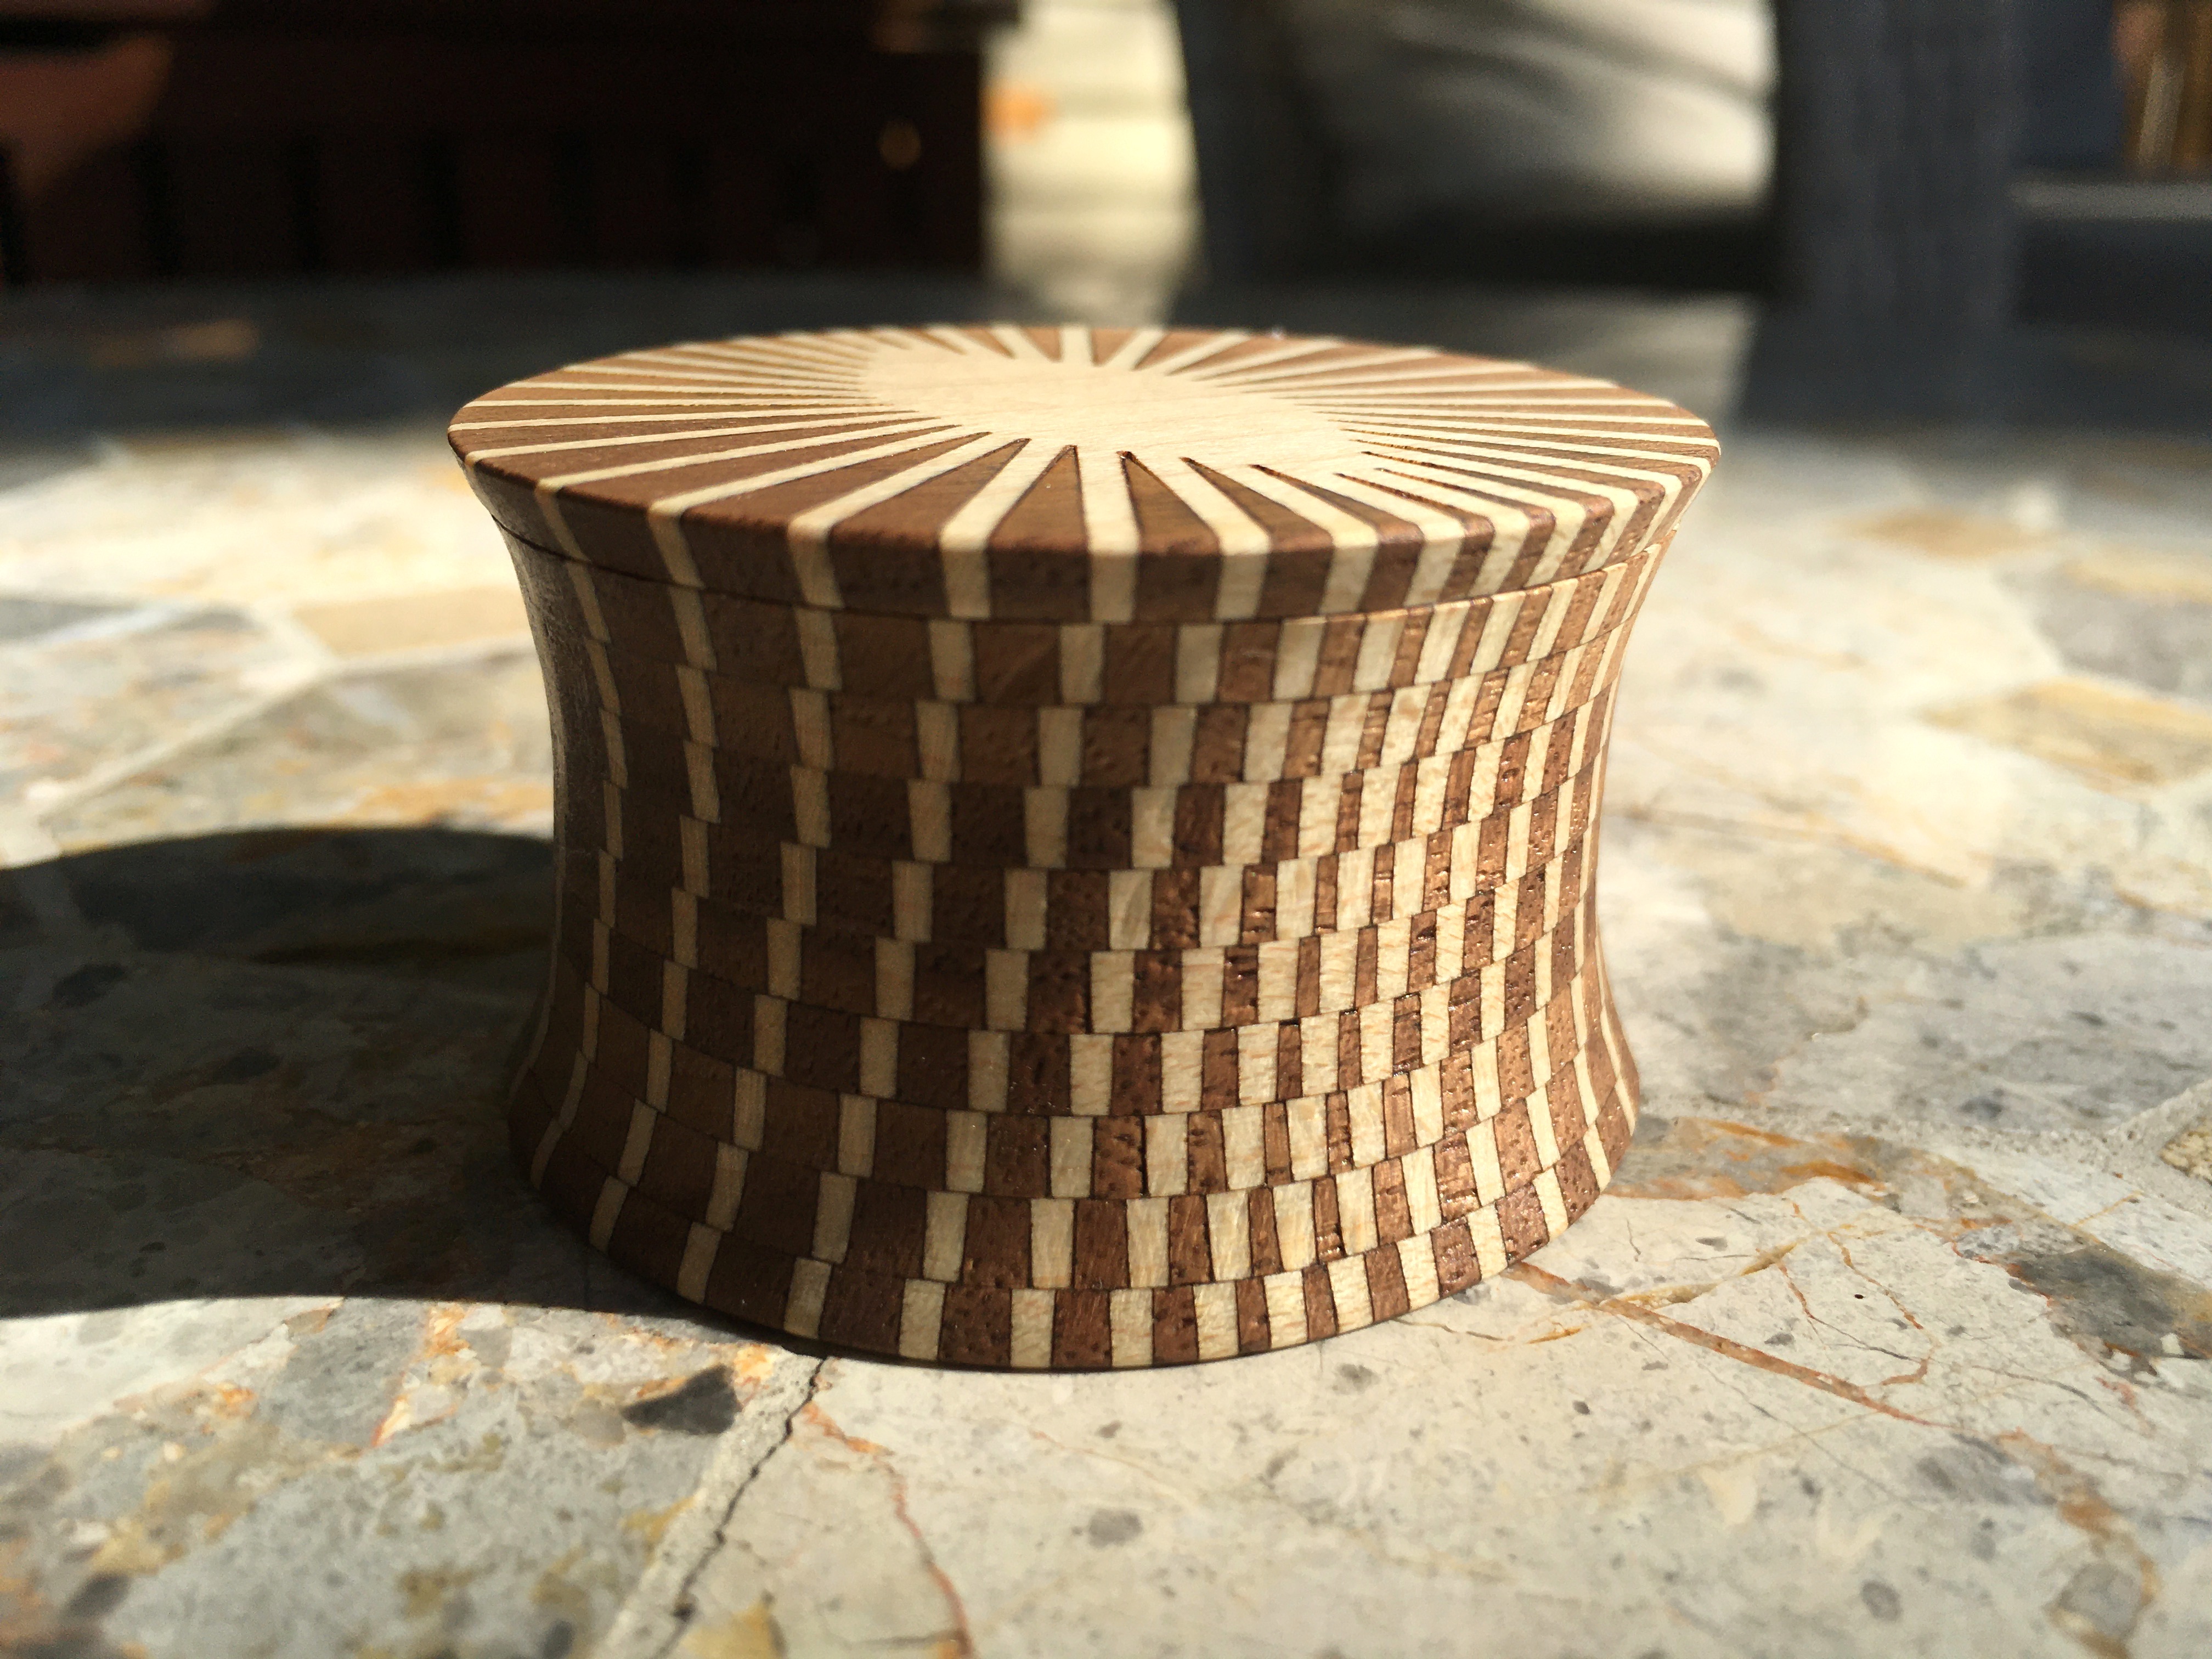
The edges are a really good illustration of why we flip-mate inlays. You can really see the keystone shape of each maple piece. So, of course, inlaying each piece of the edge is insane, nobody can do this and keep it aligned at this scale. The trick is to inlay entire layers as one large piece, essentially each layer is like the lid – you cut the parts, inlay them all, sand the inlaid board, and then insert the entire inlaid board into the GF. Cut the final layers out of the inlaid wood, and pray that your glue holds. The overall box is very strong, but be careful until you glue the layers together. The face-to-face glue between the layers is really where the bulk of the strength comes from.
(Walnut, Maple)
I decided to make the bottom inlaid as well – I usually don’t. I just liked the idea of having some symmetry on this one. The idea was to dazzle the eye, so this really completes the look.
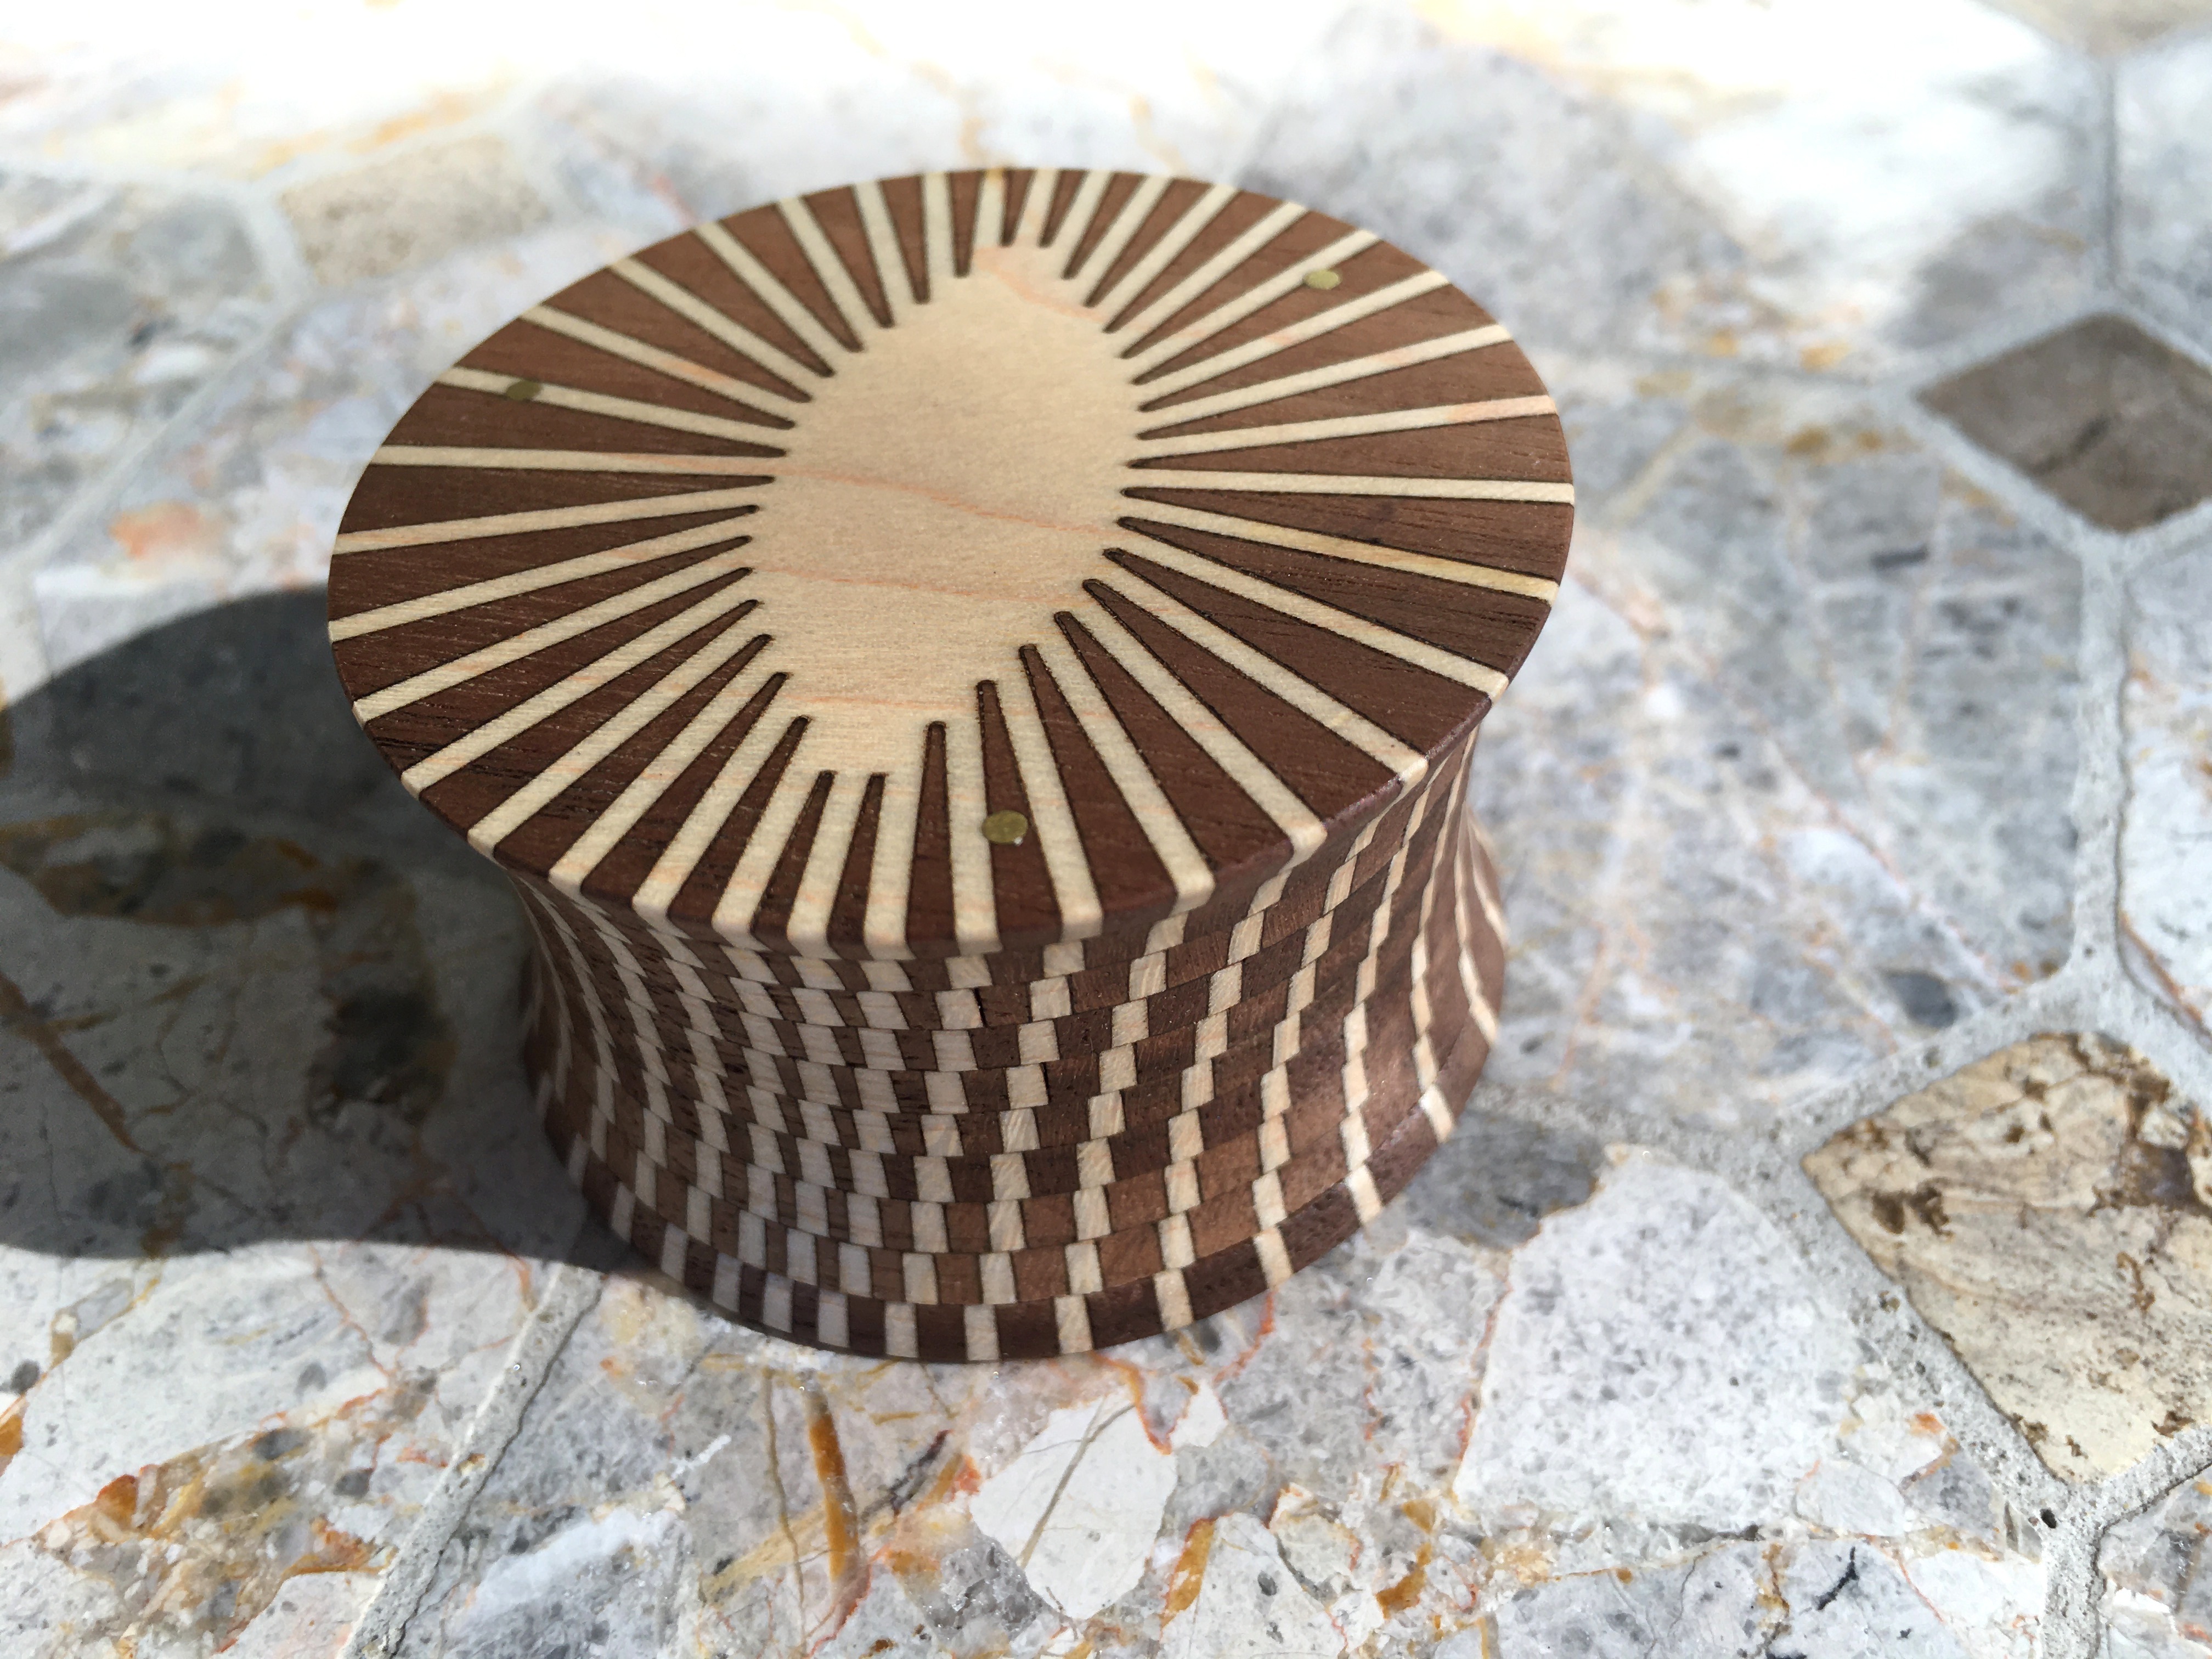
(Walnut, Maple, Brass pins)
That’s about it. I’m not out of ideas for these small boxes, but I’ll admit this one was enough of a pain that it slowed me down. I could reproduce it again without a hitch, but the two false starts were just disheartening. Still, I’m pleased with the result.
Want more? Here are a couple bonus pics.
All images in here are raw, not processed, you get what you pay for here.
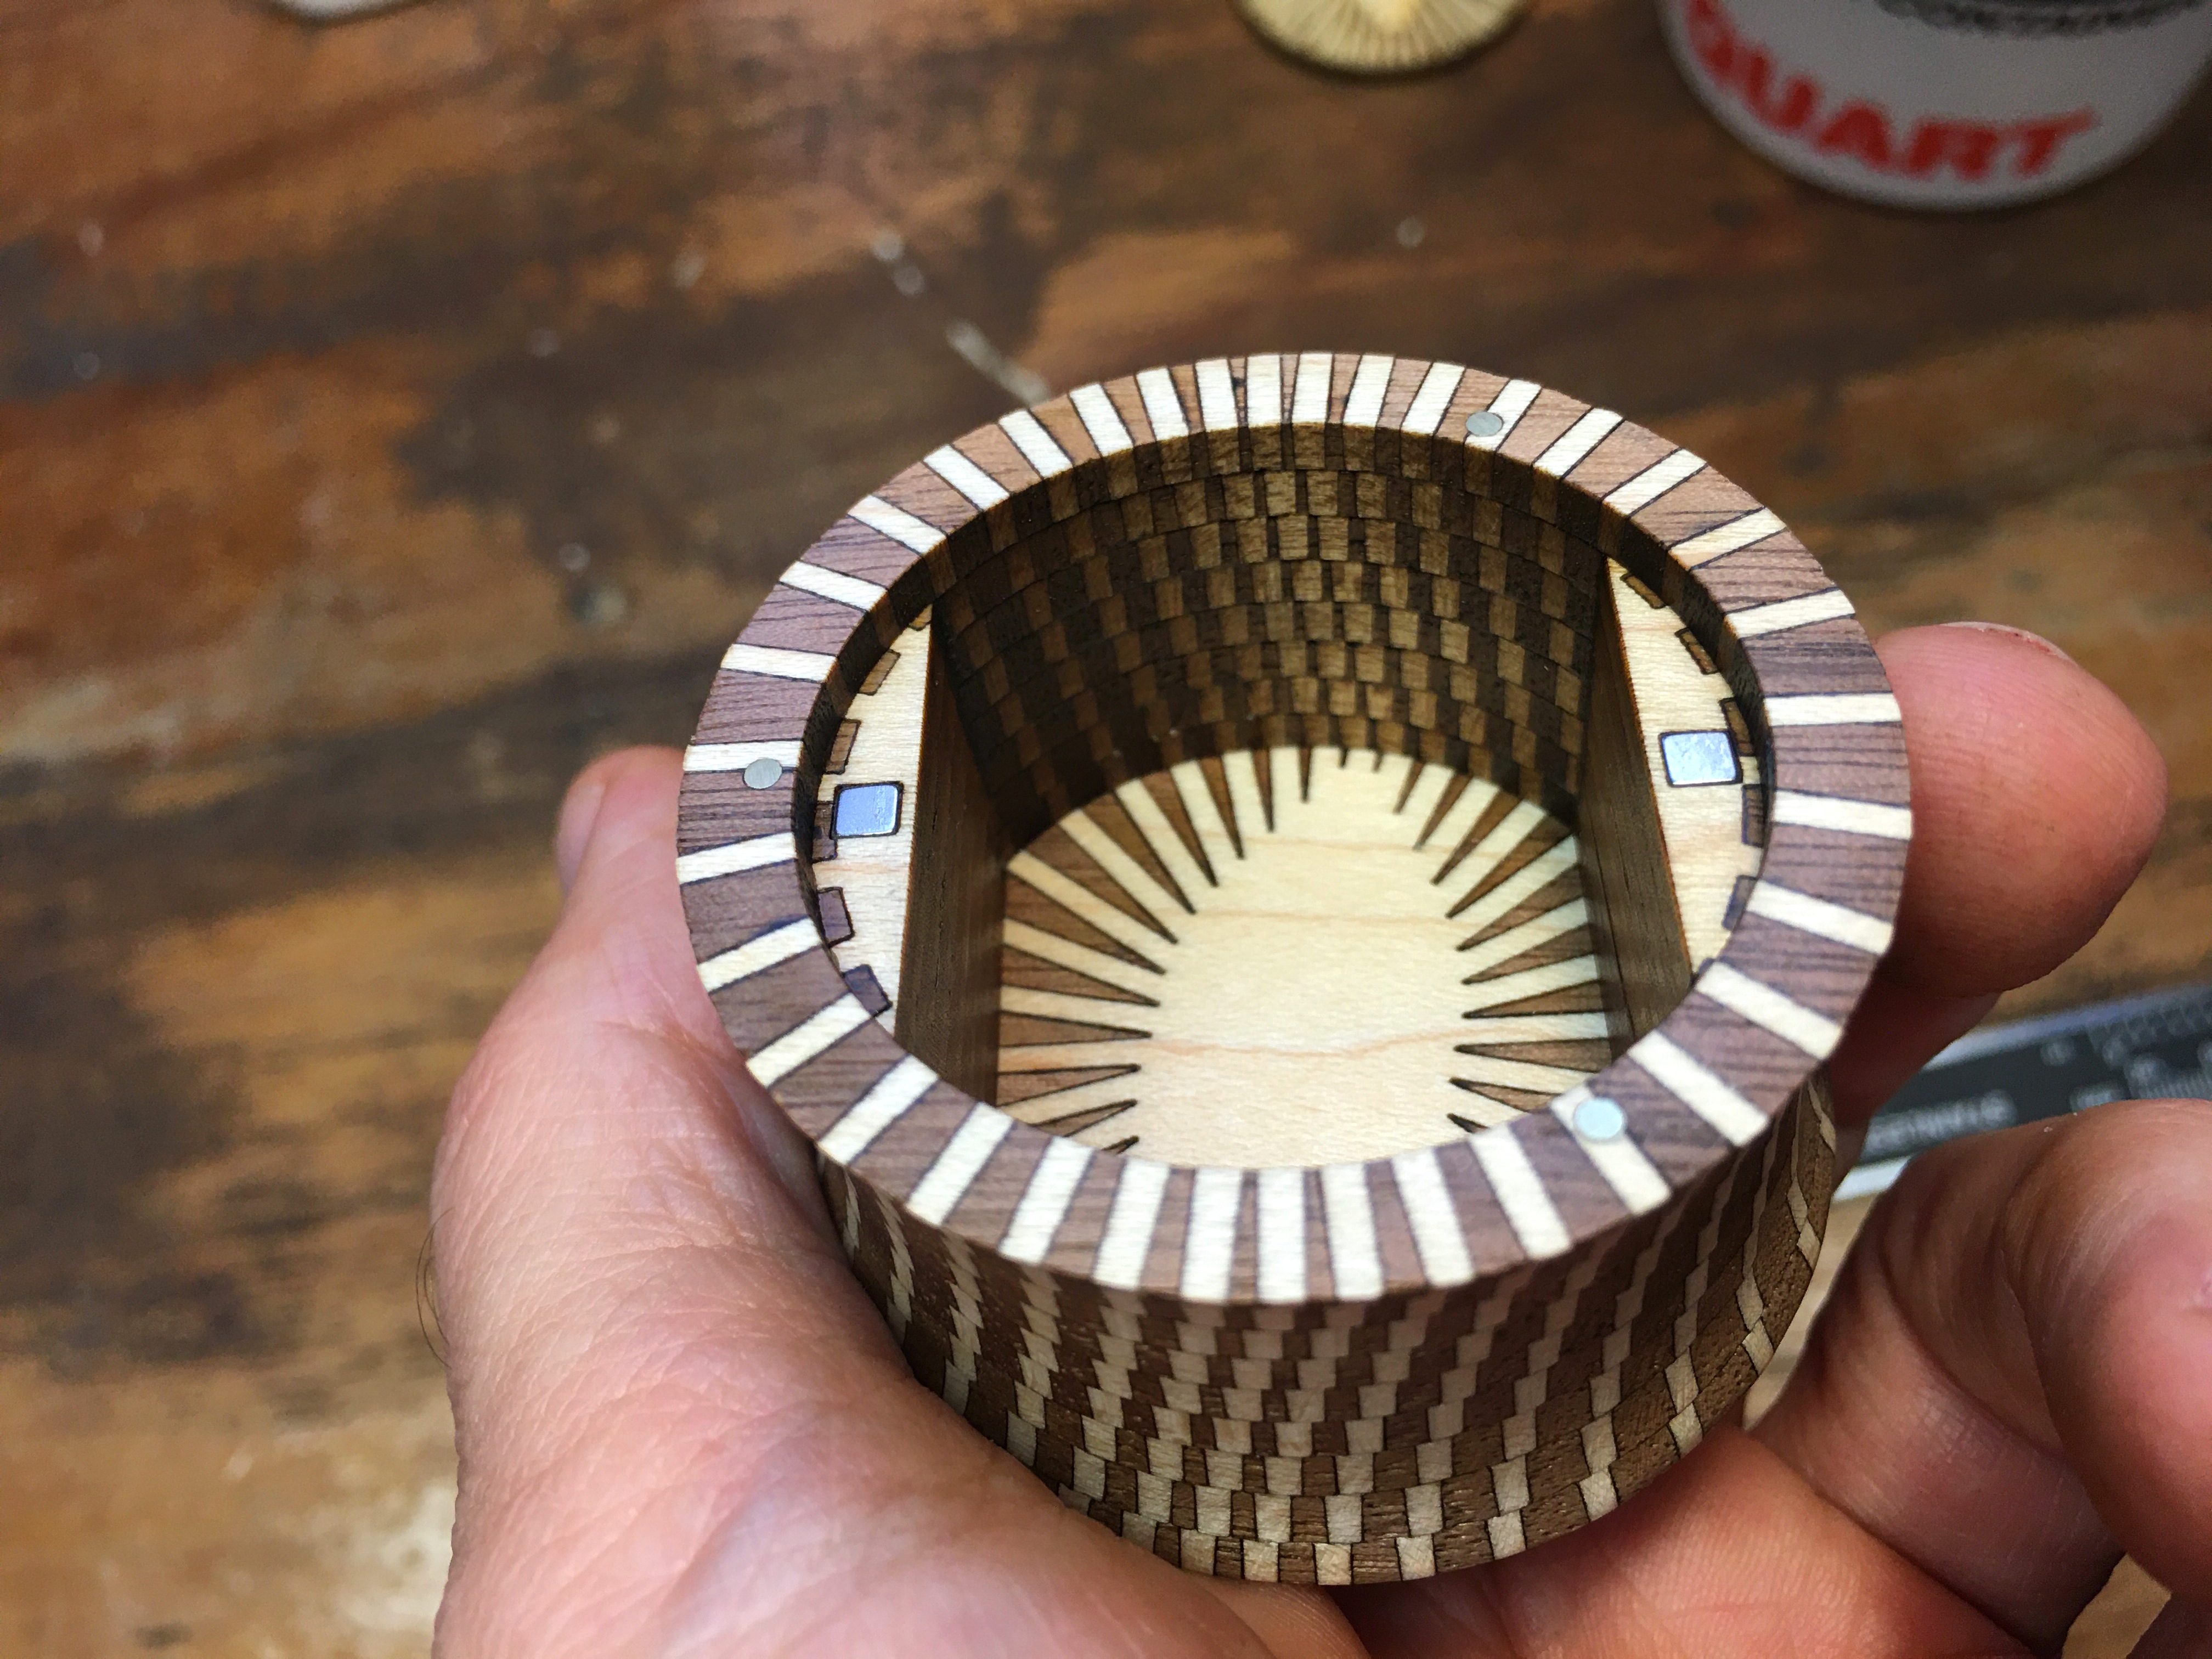
The interior is interesting.
And this is how I cut the inlaid pieces:
Jig:
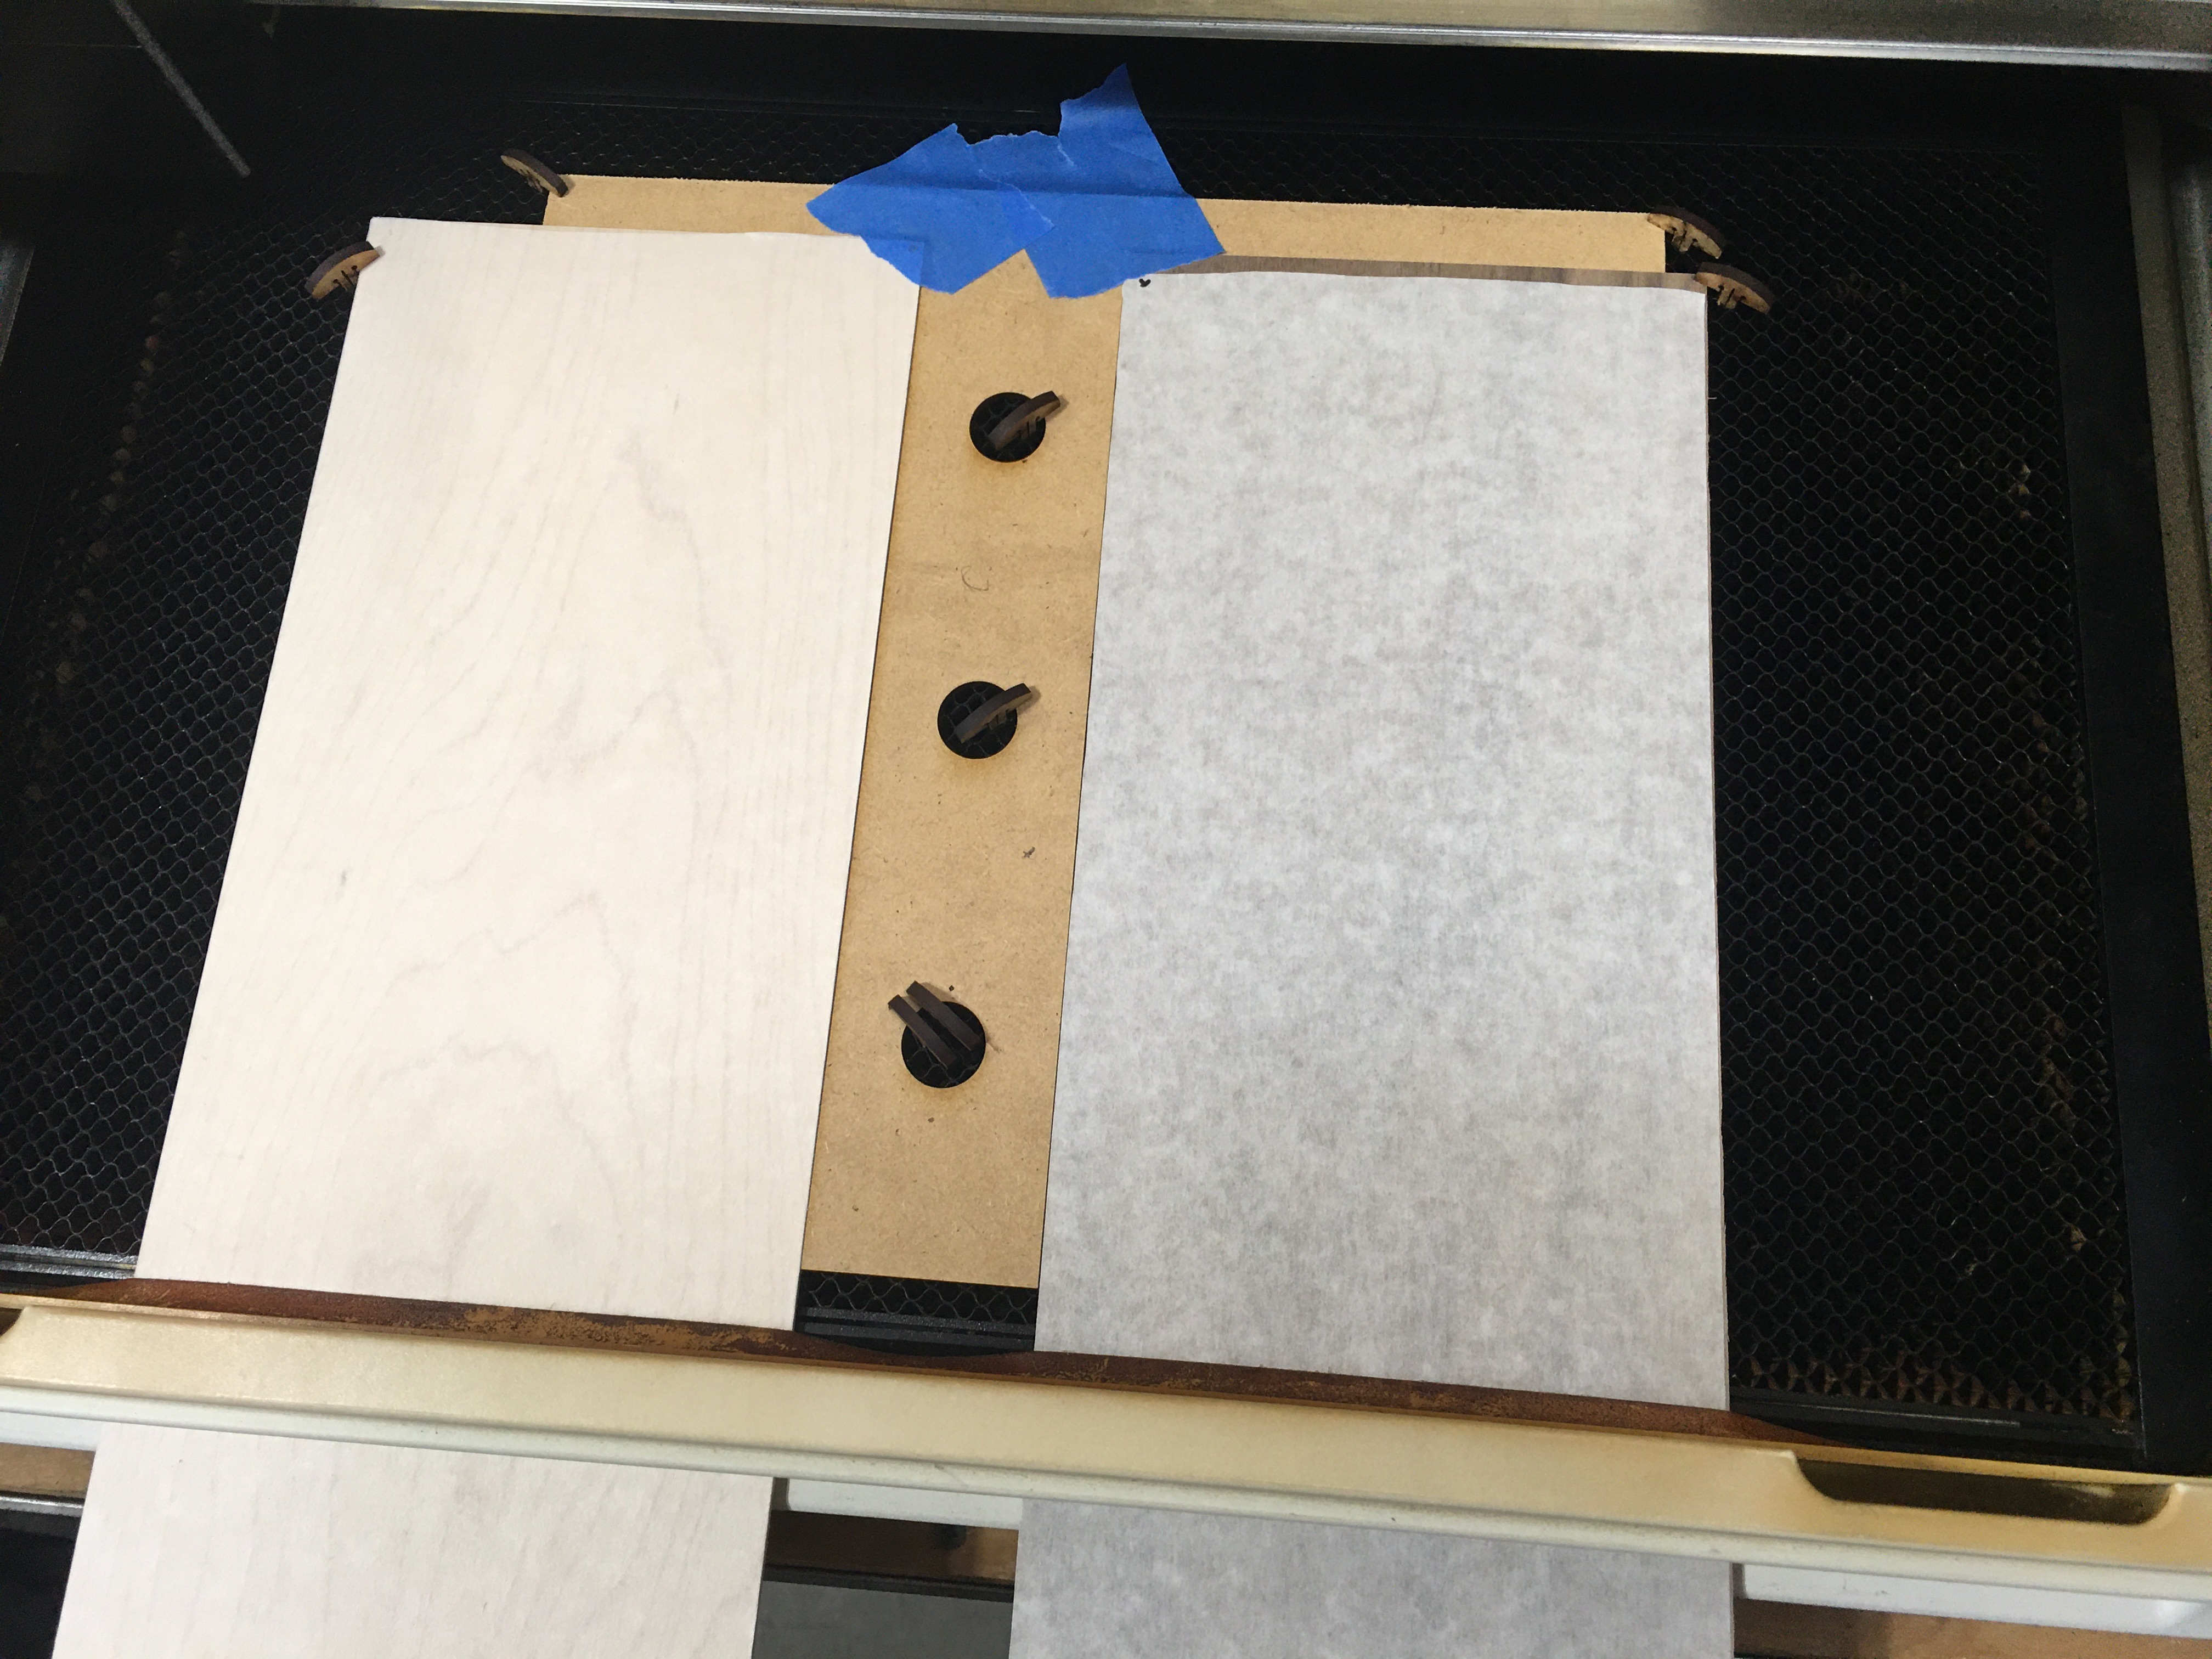
Now cut out the pockets and inserts (pockets in walnut on right, inserts in maple on left, though that’s arbitrary, you could do it either way.
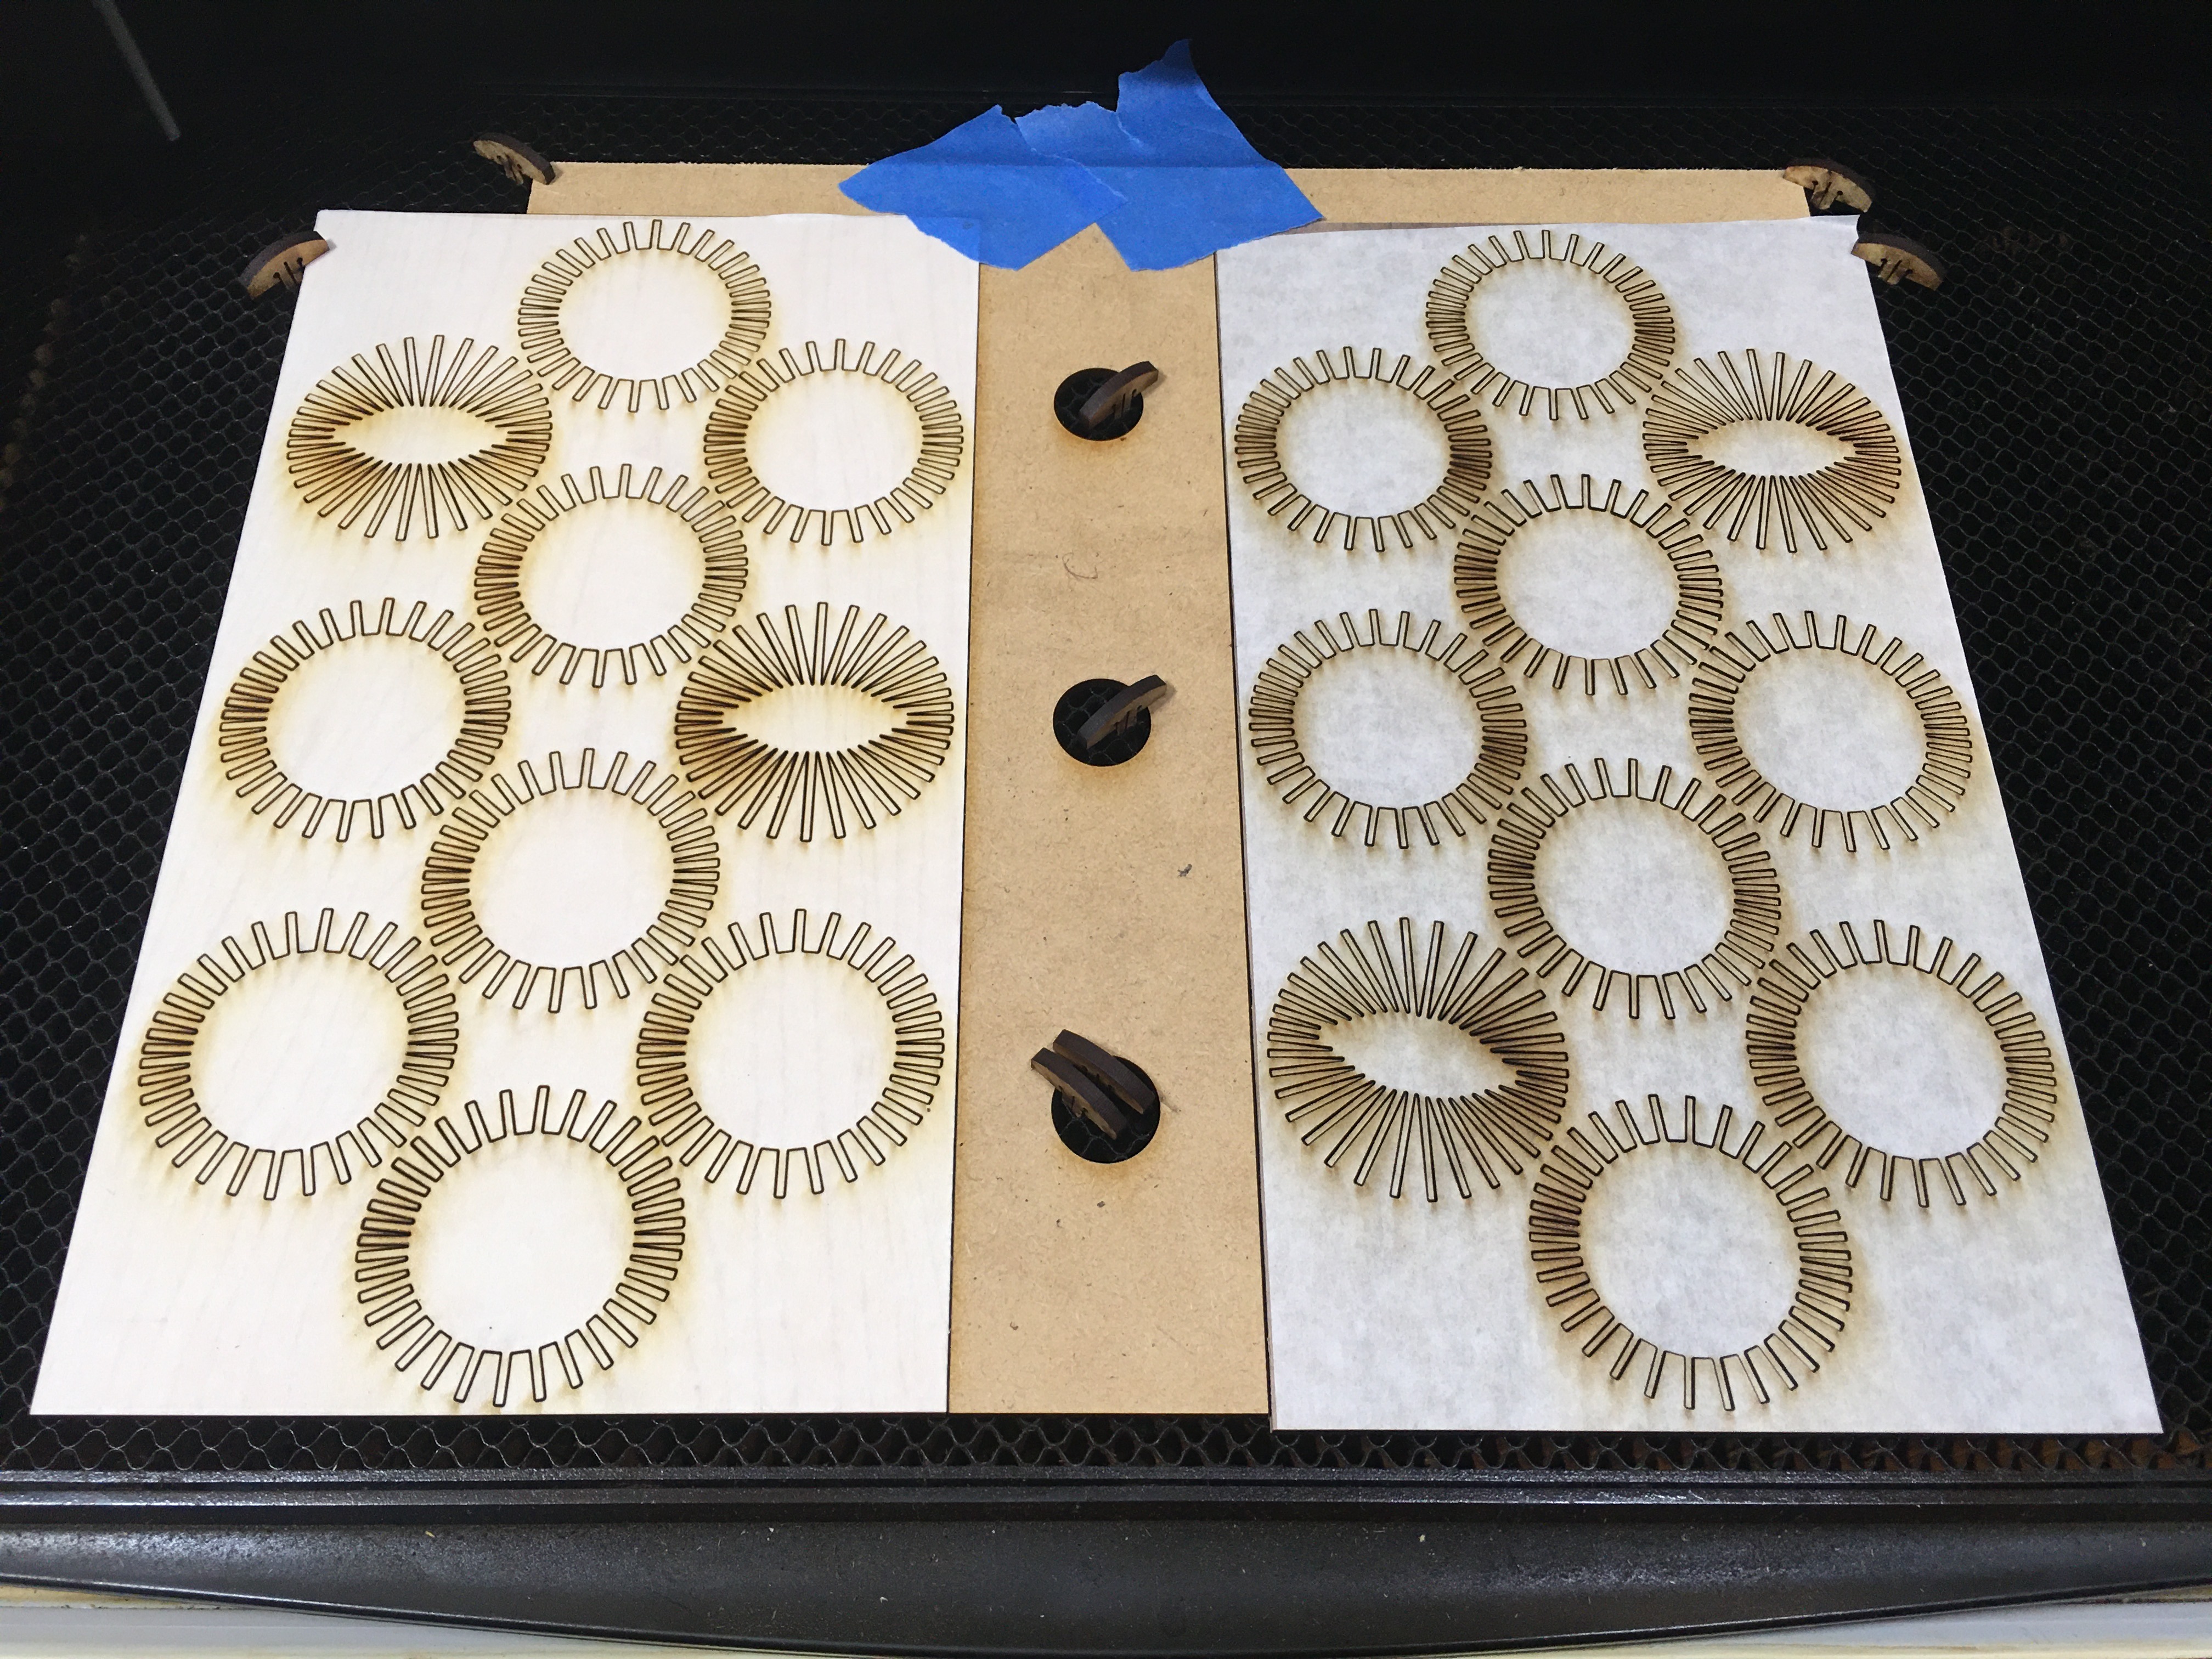
Inlay the entire board
Reinsert that inlaid board into your jig and cut the layers out. It’s a pain to do, but it’s the only way to get it right without having to inlay a million pieces. This way, you only do ten large inlays, and you’re done. It’s still tricky to get it right, but it’s a whole lot less tricky than inlaying each piece separately, which would be… minimum… Hmm… 360 inlays. Yeah… no way, do it this way.

 again. I must remember to wear a hat when looking at your posts of your amazing creations!! Gorgeous work and inspiring that there are really no (well, very few) limits to what can be done!
