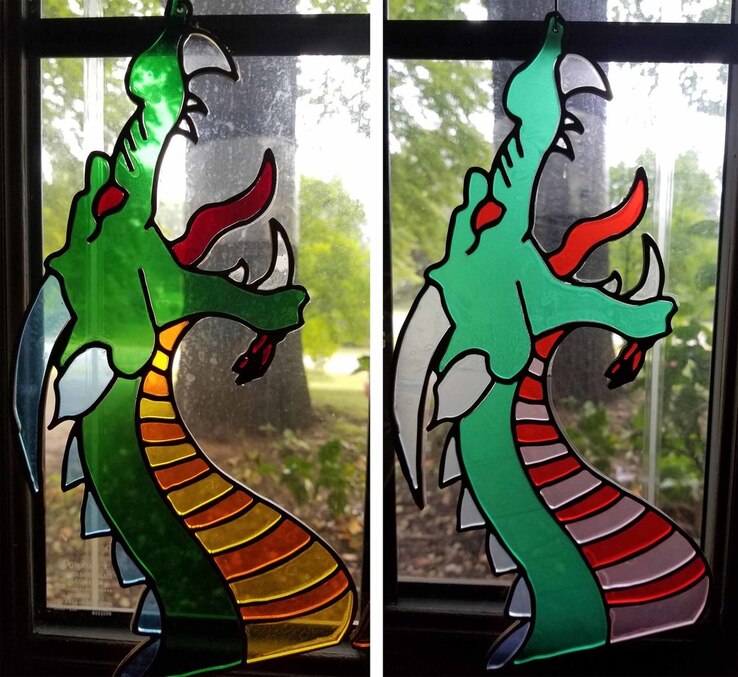
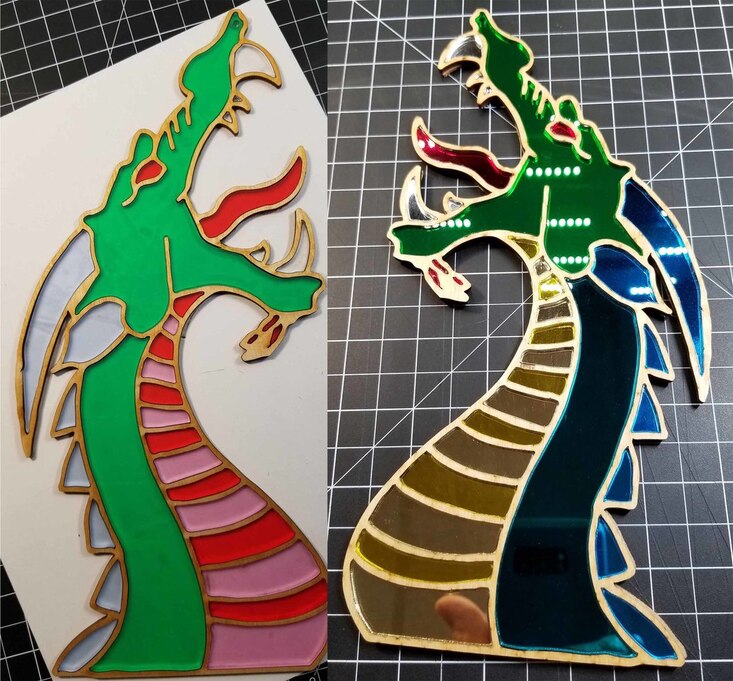
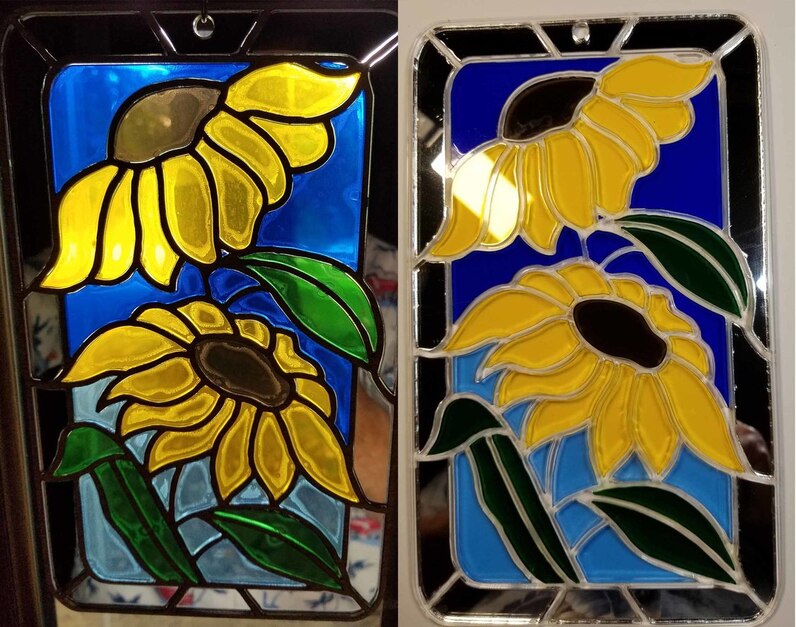
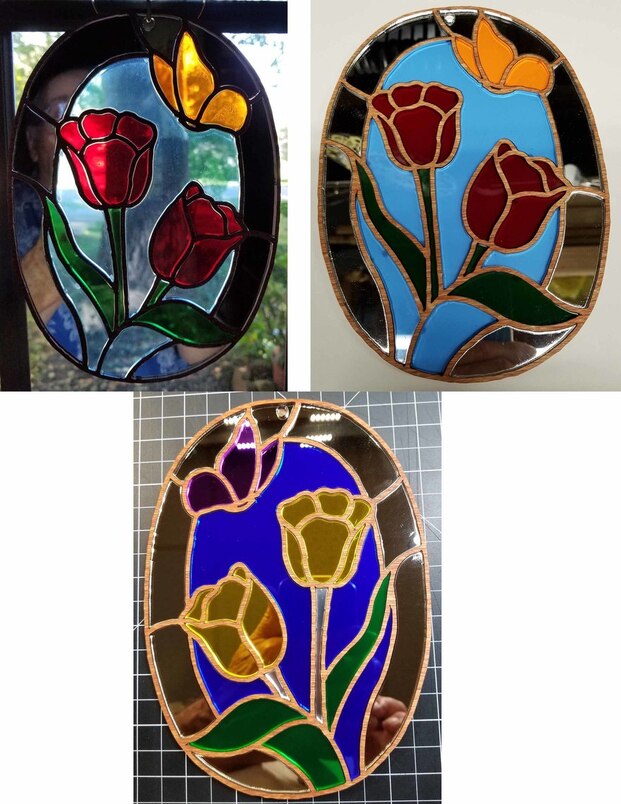
These are some wood and Plexiglass versions of stained glass
that I have been doing.
I used Baltic Birch, proofgrade maple, and Plexiglass for the frame work.
I used clear, frosted, and mirrored Plexiglass for the inserts.
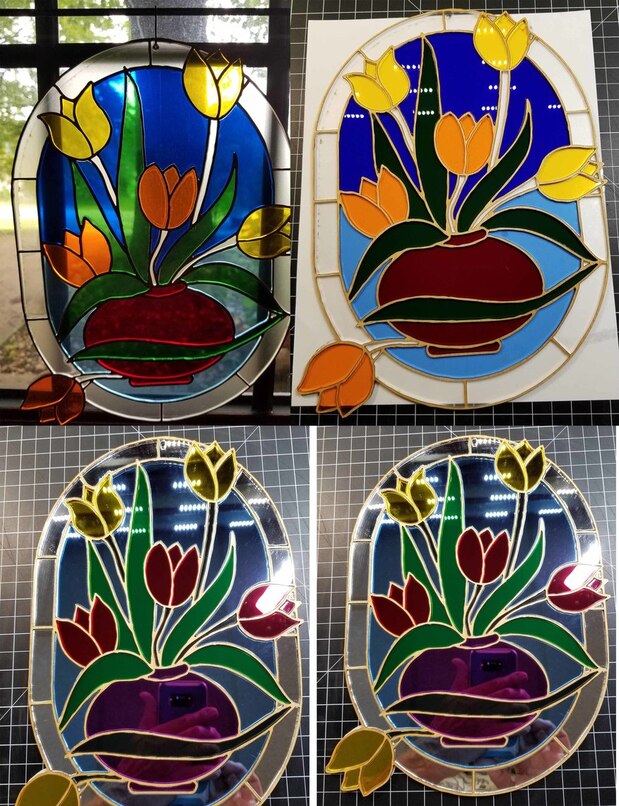
After a lot of trial and error, I found the best way to keep the inserts
In the frame is to cut an outline of the frame in clear gloss plastic label.
Then place the frame on the label cutout. Remove the protective paper
from one side of the Plexiglass and insert it into the associated opening.
Apply a drop of super glue on the really small pieces to help keep them in place.
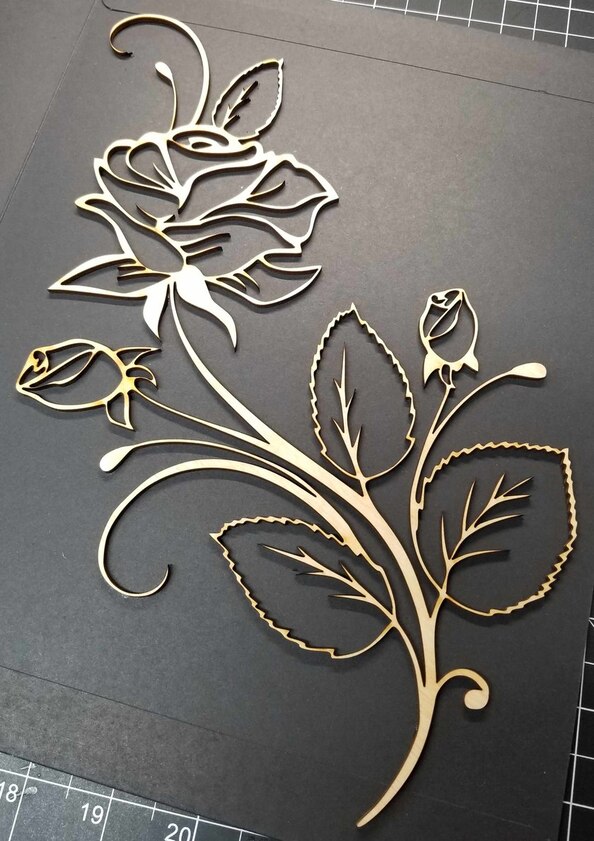
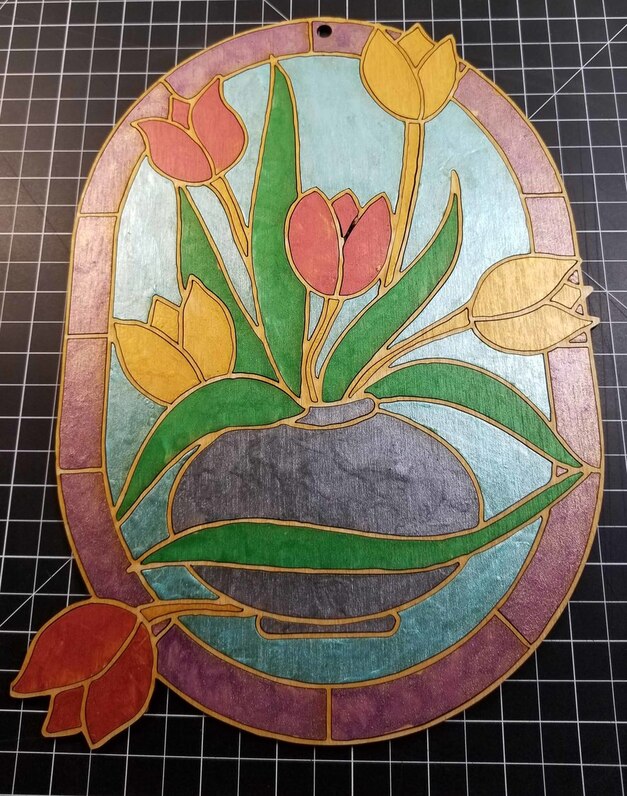
You can paint and use the cutouts from the frame to make an all wood
version or just paint and use the frame itself.
Somehow I’ve got to work this technique into a fan !
Desperate to get back to Glowfinger, and get these ideas you’ve given me up and running.
Thank you for sharing your workflow.
John
1 Cut the frame. (If you are going to make an all wood version save the cutouts)
2 Cut the outline from the clear label material. (The outline is included in the SVG)
3 Peal the backing from the label and place it on a flat surface.
4 Place the frame on the label. (This is the hard part. Try not to touch the sticky
part of the label while placing the frame. On some of the more complex pieces
I split the outline into two pieces to make it easier to place the frame. Now you will
have the frame with the label attached to one side.)
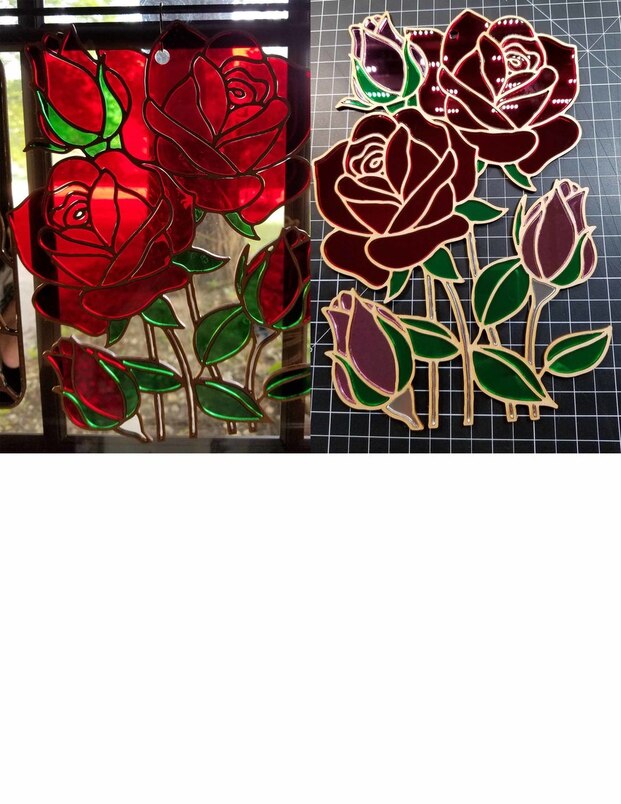
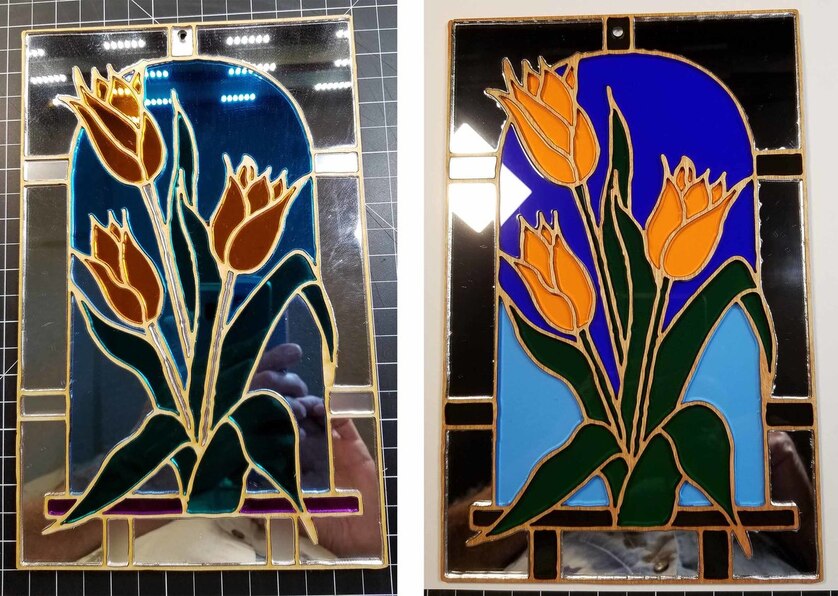
If you are going to use mirrored Plexiglass, Check the orientation of the pieces.
You may have to flip the frame over to match the shape of the pieces before
attaching the label.
Insert the mirror into the frame so that the painted side attaches to the sticky part
of the label. (The shiny side of the mirror should be facing up.)
5 Peal the protective paper or plastic from one side of the Plexiglass. Try not to touch
the unprotected side of the Plexiglass. Place the piece into the frame.
6 Once all the pieces have been placed, flip it over and press the label with your fingers
to insure a good bond. If there are any air bubbles, puncture them with a pin.
7 Remove the protective paper or plastic from the front side of the piece.