Stand for Engraved Tile (made for 6" wide tile at 3-6 inches in height)

So what do you do when you’ve taken your first step engraving tile, and you decide that the tiles will make great gifts? You design and build a display stand and cut in on left-over draftboard.

(and I’m making several of these as well as other wooden plaques with the Musician’s Prayer for our Choir Director, Pianist, and Organist as gifts to be presented at our end of year gathering in just over a week…)

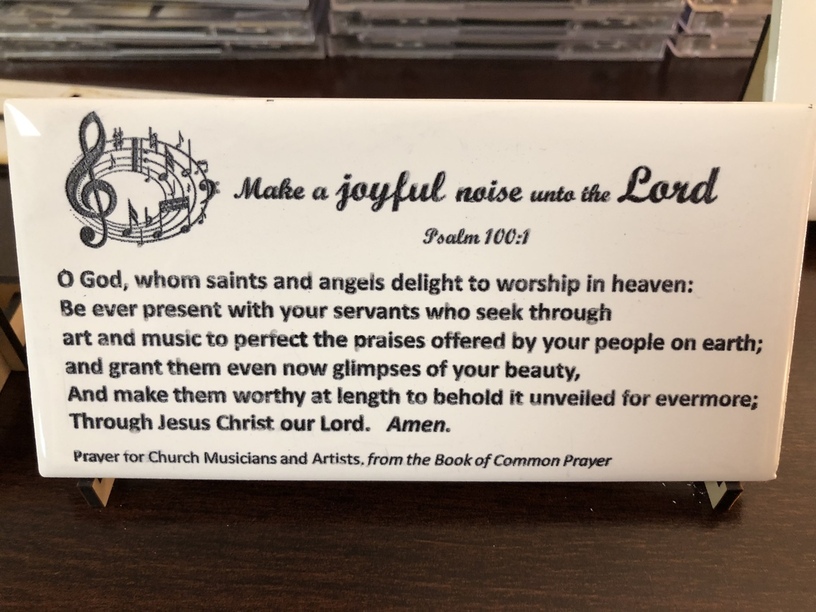
(Yes, I know there is a typo - I left out the “Y” in Worthy. (It’s already reprinted, but I need to re-ink it)…
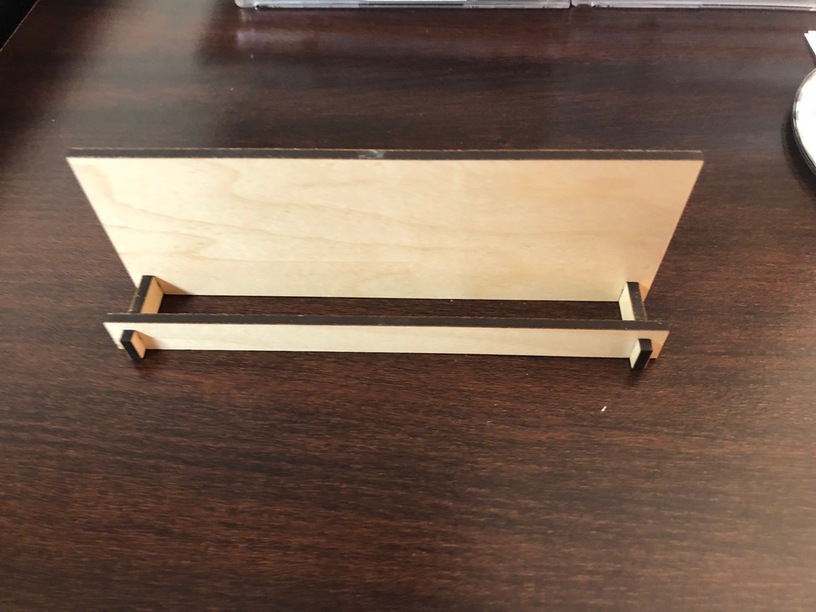
image1

Stand, front side:

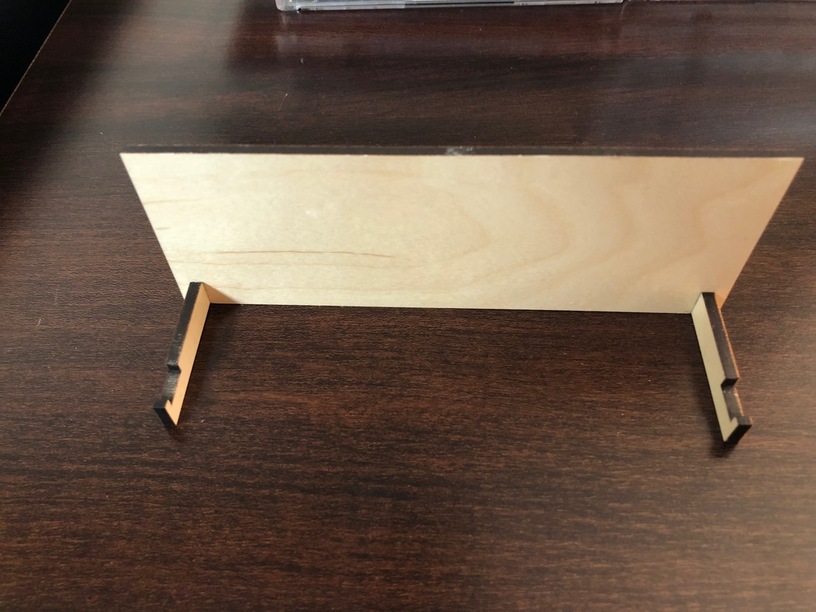
Stand, Back Side (extra brace for stability):

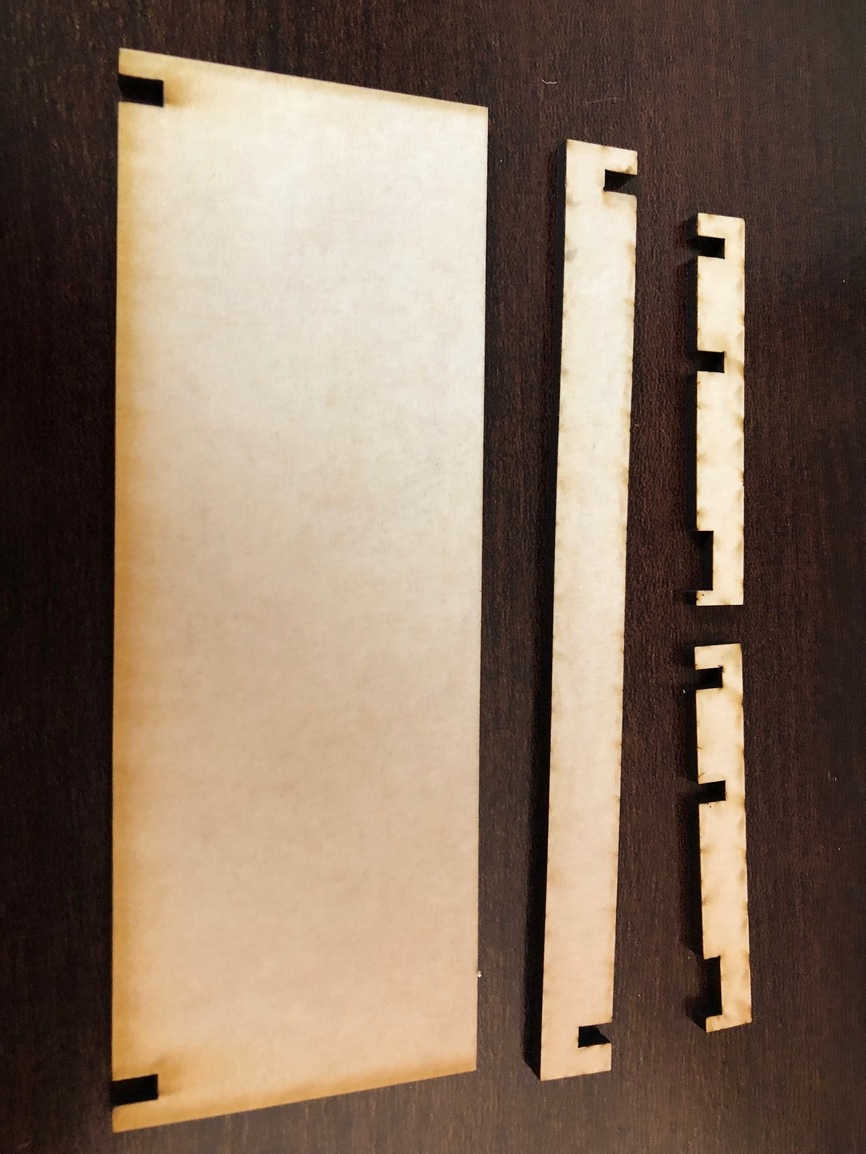
Stand, parts, pre-assembly:
image4

And then you discover, after it’s cutting, that nope, that wasn’t your draftboard, it was your PG maple plywood. OOPS, Because you are certain it will require a few tweaks, to get right, to deal with kerf, etc.

So you attempt to put it together and… It’s perfect. Even though you used Draftboard settings with Maple Plywood. Whew! (So you print a bunch more of them!)

And of course, the after you are so pleased, you discover a typo in the tile… (left out the “Y” in worthy) - which means the tile itself is just a draft… so you reprint (and eventually repaint) the tile.

Since the re-painting isn’t done yet, the picture of the TILE is the one with the known mistake - but I’m still quite pleased with the tile and Sharpie Ink Marker results. (The final version will have a better consistency…)

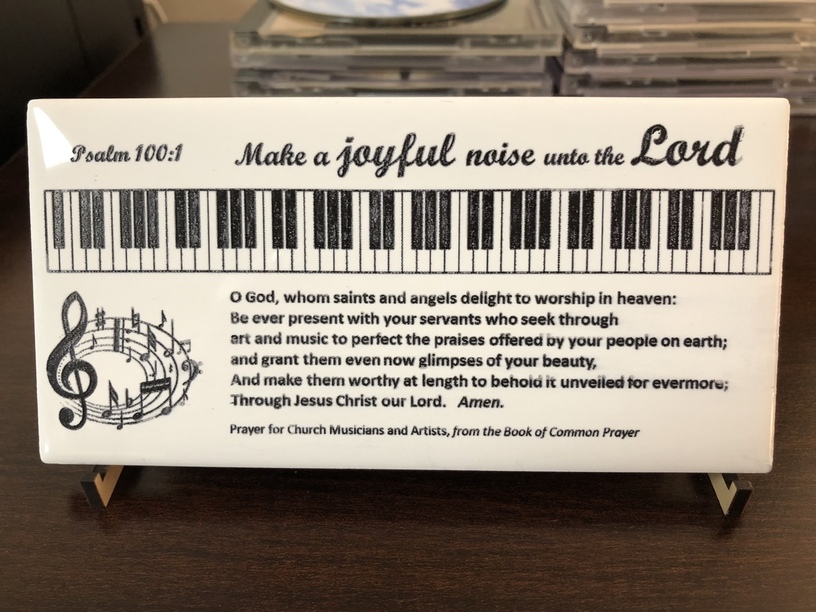
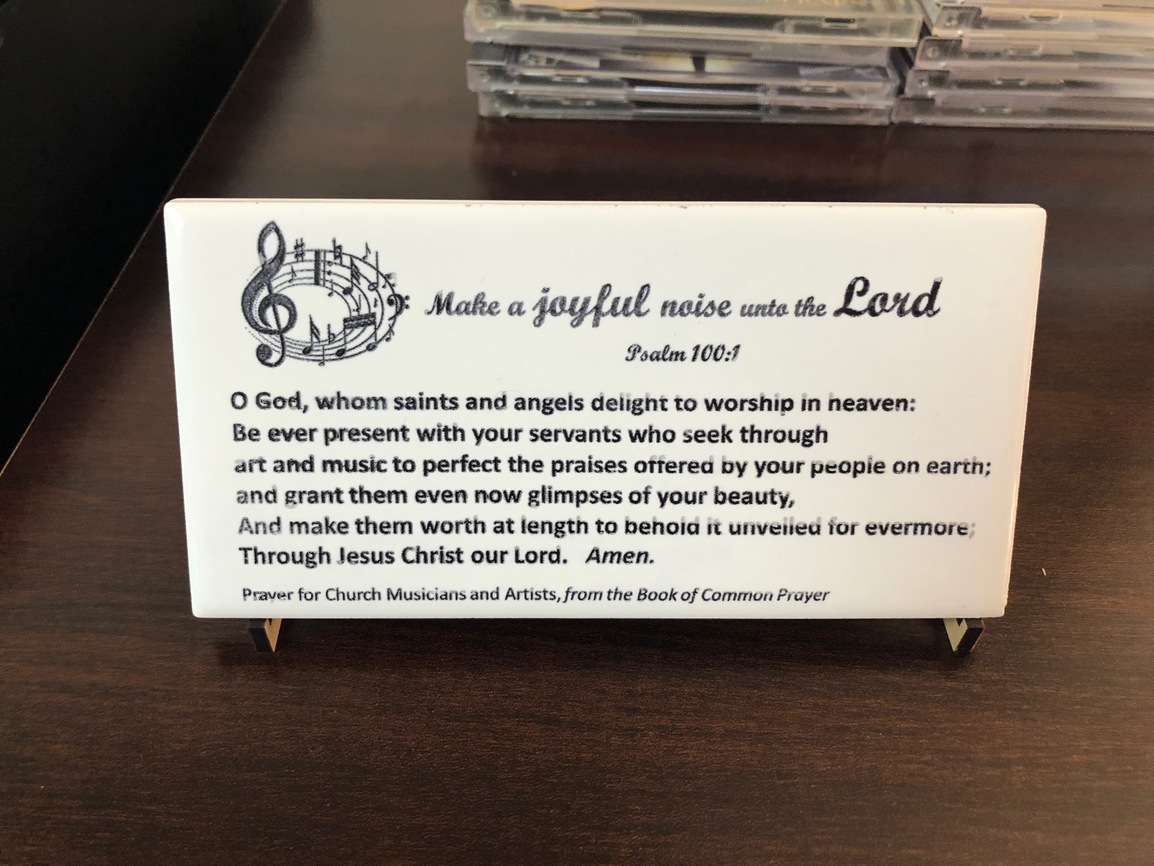
Anyway, see the photo of the display stand in action, then empty, and finally, with parts. SVG is attached as well.
6 inch tile stand Horizontal.zip (2.1 KB)

41 Likes

Nice stand! (And tile is cheap.) :wink:

2 Likes

Like 15 cents cheap! After the first one turned out so well, I bought 30 more at home depot yesterday, plus a 12x12 square and a 6 x 18 that looks like wood for $5.84

Can’t beat that, eh?

5 Likes

That’s a really nice stand and a really nice quote—thank you so much!

2 Likes

Lovely work! Thank you for sharing your file!

Looks good and thank you for sharing! Has anyone etched the white tiles with the black top on them? Philip is having issues cutting all the way through as he is wanting to get to the white underneath.

I believe you should search on “Laser Tile” - several folks here have used them and seem to be very pleased, but that may be for the white that engraves to black.

And here is the corrected original tile…

And the one that I made for our piano accompanist.

Now, (this coming week) I just have to figure out what variation to make for our organist… and fix a smudge I now see in the picture… but that’s easy enough to do.

6 Likes

Oh, I like the piano one…my sister’s into that. :grinning:

3 Likes

Are you placing anything on the tile to protect it once you’ve engraved?

I didn’t for the first ones that I did, but need to do so if I’m going to make any more. Life has been unexpectedly busy with non Glowforge things… so I don’t have a good recommendation.

2 Likes

Thanks. I’ll keep reading the forums about engraved tiles. I’m sure someone will mention what works well for that purpose. :grin::+1:

Thanks!

I have not had the practice of coating it with anything. If I were to do so, I’d probably go for either clear rustoleum or a generic tile sealer.

I have done clear gloss rustoleum on slate, with nice visual results. I haven’t done any durability testing on it, though.

Thank you. I’m going to try it with clear sealant spray. I’ll let you know how that turns out. I am loving the results of laser on tile!

Thank you , i’ m engraving some tiles now . fun

1 Like

i love that…also i go there and get wood scraps cheap and they have some wood floor samples for .25

Thank you for sharing.
I am going to try this out on the GF and then on a bandsaw just to see which is faster.
Very kind of you to post this for others.

1 Like

I’m curious how your sealant spray ended up working, and which type you used?

Any update on durability testing with sealants you’ve used?