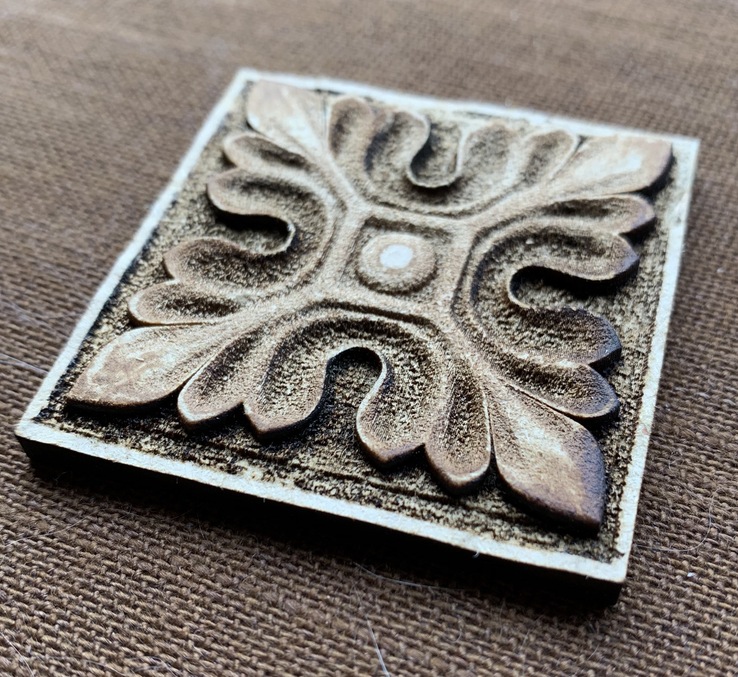
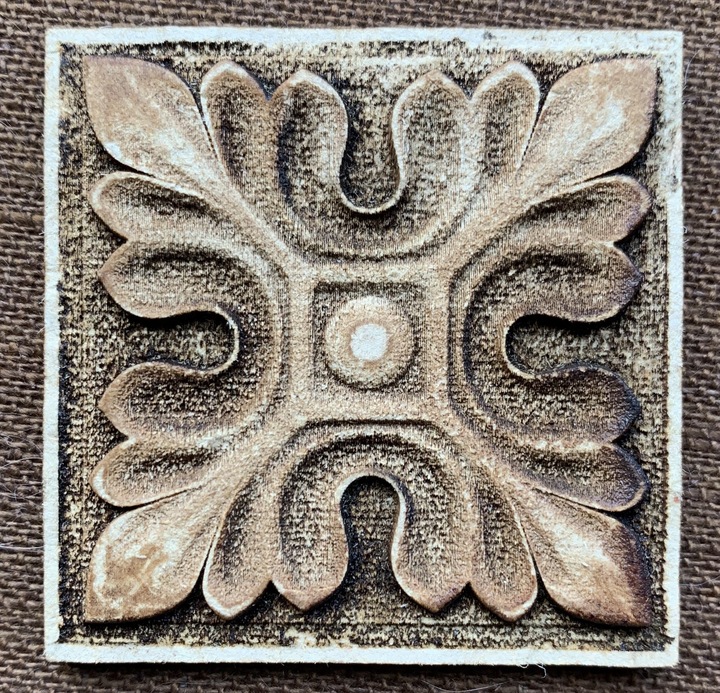
I think smoke residue (it’s on the high part so shouldn’t be overburn or char) but scrubbing didn’t get it off. I forgot to remove the masking beforehand, so it might have been hardened somehow.
Oh yes you are! (LMK of any good tips you discover…I’m playing with it too now. I’ve been leaving the masking on and adjusting the minimum power to burn it off even on white areas, just to cut down on the char that gets blown onto the edges…cleaning up that front edge without it is tough if it’s not masked. It really stains lighter woods.)
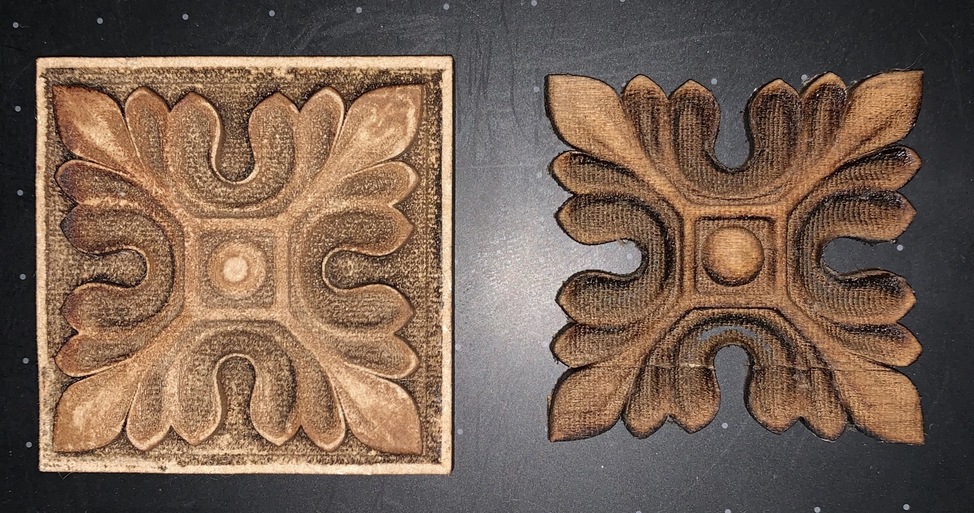
It looks a lot more rounded. The engraving cut all the way down to the black layer so I suppose you’d have to glue two layers of basswood together to prevent that. Or get hold of some 1/4” somewhere.
One thing you want to watch for with those though, I tested a couple of them on deep 3D engraving, and maybe it was just the luck of the draw, but I kept hitting weird striations in the wood - they were a significantly different color than the surrounding material, and very visible. (Basically never could get a good 3D engrave on them.)
Their Padauk is much better - very uniform and hard.
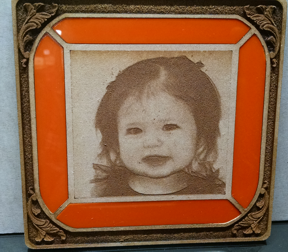
The engrave does not have to be the entire goal.
For inspiration, here is a pic of 3 experiments that came together for something grander than any one part.
3D the outer edge.
Clean it up and remove the masking.
Photo engrave the picture and cut the inserts out.
Plastic for inserts.
Great overall effect and does not look like a one layer chunk of low cost draftboard anymore.
Has anyone else tried 3D on EVA? I think I might need to defocus, because the striping is kinda bad, but it runs real fast… (pictures when I’m in the same place as the GF)