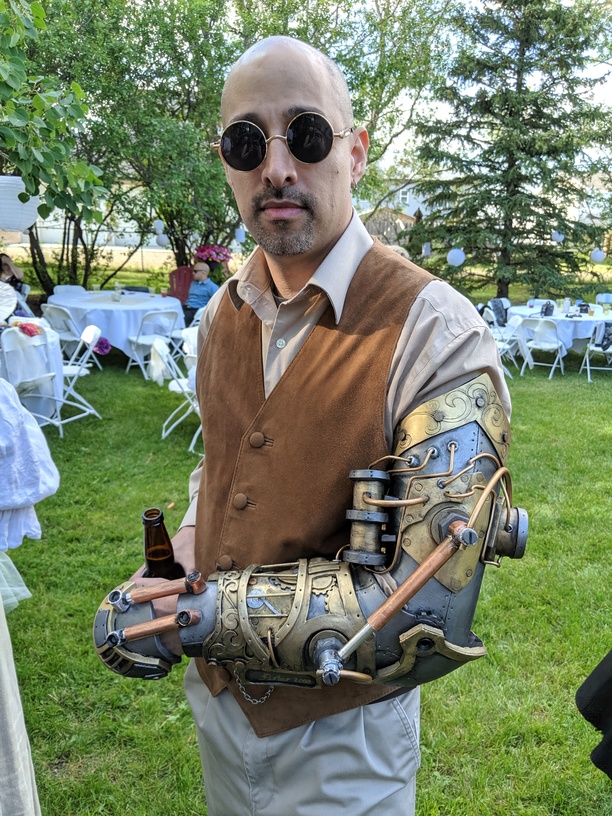
The GF makes costuming SO much easier. Recently, we attended a steampunk themed wedding. My husband and I had long been admiring the mechanical arm pattern by Lost Wax (Steampunk Mechanical Arm Downloadable Pattern) and decided now was the time to make it.
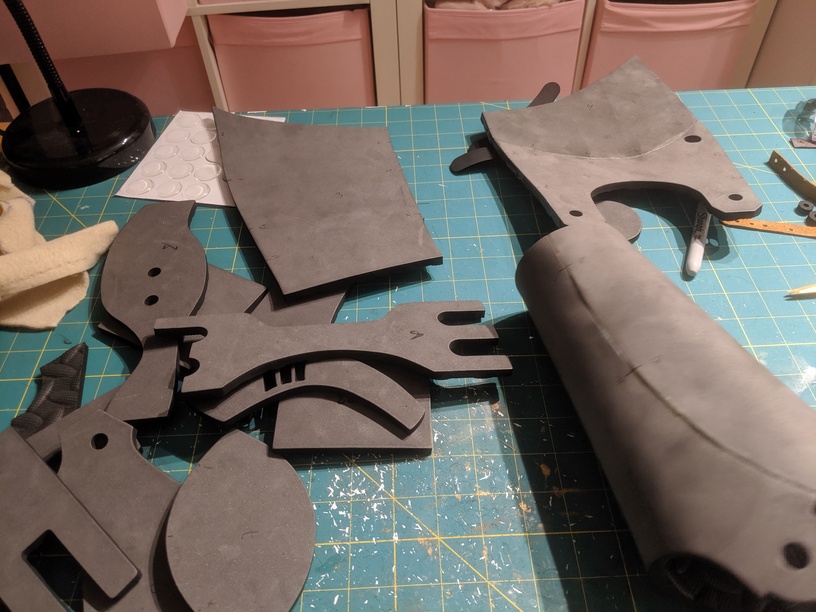
The arm is composed mainly of eva foam. Cutting all the pieces on the GF significantly shortened the build time as there were around 50 pieces in this pattern. It also looked a lot better than if I had cut it out by hand.
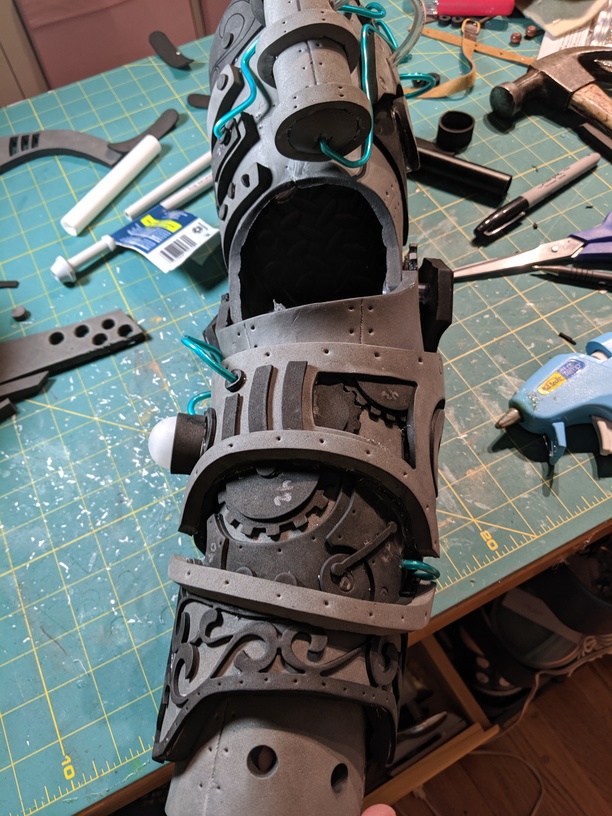
I used an anti-fatigue mat that I got from a liquidation center. It’s about 6mm thick. The blue lines are made from plastic sheathed utility wire I got at the hardware store.
The wire looked like EL wire but you wouldn’t have painted that. I like the idea of using wire instead of tubing but it might be susceptible to the paint scratching. For a one off it is excellent work.
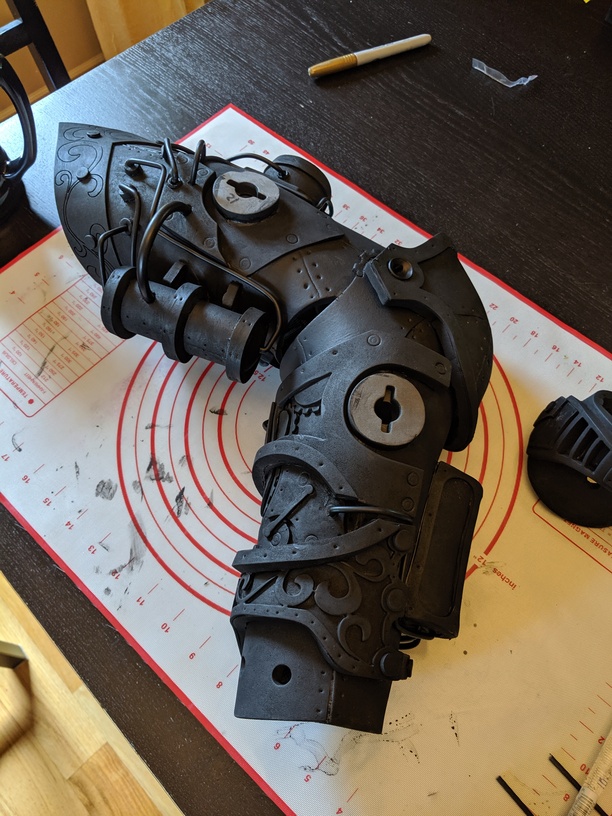
The foam held up great. I also used vinyl tubing in a couple of places. I am a little worried about the paint scratching but now that the wedding is done and I have more time, I’ll seal it.
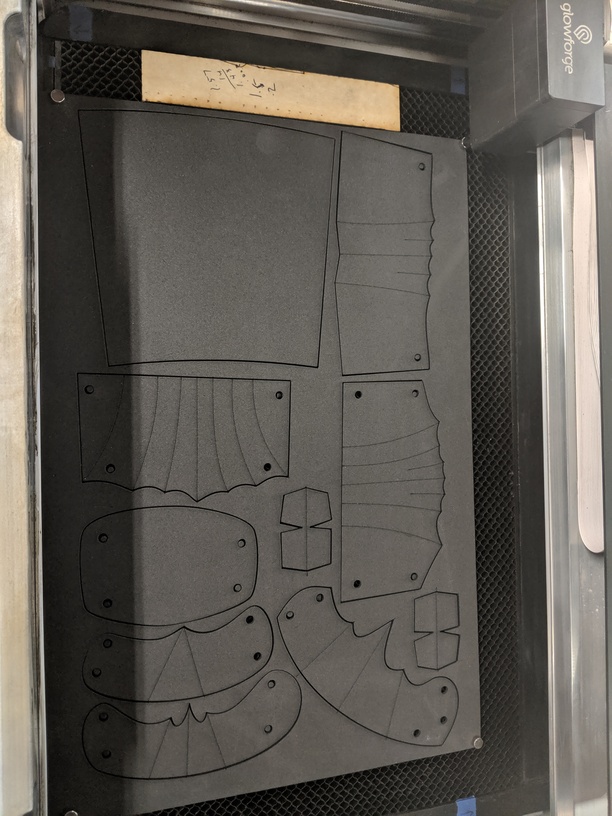
I just cut out all of the pieces for a pair of Nazgul Wraith (LOTR) gauntlets for someone at our Makerspace who just found out lasers could do this. When I told her I’d also score the fold & shaping lines she was ecstatic Each gauntlet had about 40 pieces so she had been looking at a lot of hand cutting.
Love the bed calibration - I was able to squeeze them onto the foam sheet with very little waste. The 2mm thick scales were cut out of smaller 9x12 sheets that just barely fit Three larger sheets (12x17) of 4mm foam for the two arms and 2 sheets of the 2mm foam for the scales.
It’s a gorgeous build very well executed. I have to thank you for introducing me to Lost Wax, he’s a total delight! Just spent an hour watching his videos and am off to buy the pattern bundle now.
Hi @danielsalce84! Forum rules prohibit discussion of non-PG settings outside the Beyond the Manual section, but as I recall there’s quite a bit of discussion over there on cutting EVA foam and what settings people have found useful.